
In choosing how to style a dish, there are many decisions that you have to make. What color background will you shoot on? What props will you use? What camera angle will you shoot from? These are just a few of the questions that you will have to decide. Let me show you why styling with the final layout in mind is something you should always consider.
When working with clients whose images will go to print, there are two general final layouts that you will encounter. The first is a vertical or portrait layout. This could be a cover, full page, quarter page, or any other layout where the image's height is greater than its width. The other layout is horizontal. This could be an image running across a two page spread, an image running half the page, or any other layout where the image's width is greater than its height.
When working with editorial clients, it is very common for them to want a vertical tightly arranged styling of the subject on the cover and then have a more loosely arranged horizontal shot as a two page spread later in the publication. The following series of images depicts the same Brie and Fig Jam appetizer styled for each type of layout. Let's first take a look at the image shot for a vertical layout that could be used on a cover.
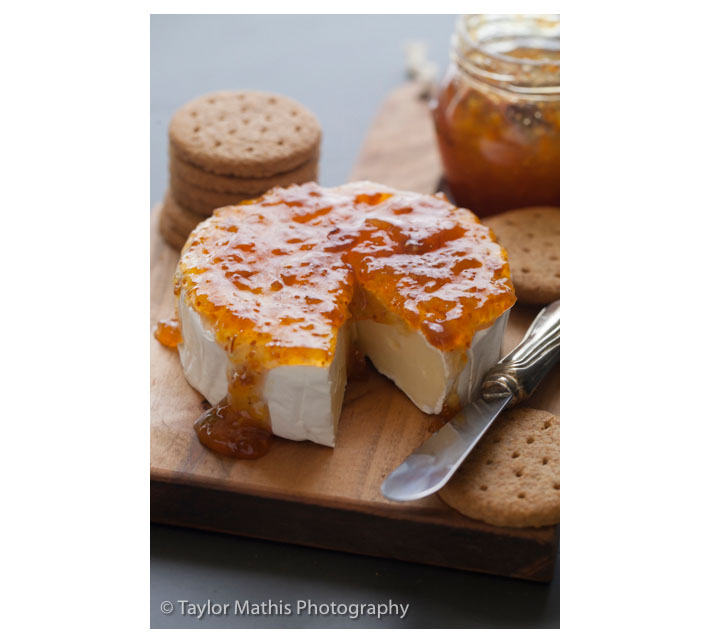
Above is the Brie and Fig Jam Appetizer shot with a vertical use in mind. Notice how the subject is placed in the center of the image with elements placed in both the foreground and background. The foreground and background elements aren't distracting and could have text placed over them. If my client wanted to use this image in a horizontal layout, it might not be as effective as it is in the vertical layout seen above. Below is what happens when you try to crop an image shot with a vertical layout in mind into a horizontal layout.

On the left are three horizontal crops taken from the vertical image. When you go from a vertical to a horizontal crop, you will only be able to take a portion of the image. The crop in the middle is the most effective, but is cropped very close around the brie. This could be a problem if you had text or other elements that you wanted to place over the image.
For the styling on the vertical image, I wanted to focus your attention towards the center of the image. Placing the jam on the brie and removing a slice worked well for a vertical arrangement. For a horizontal layout, I wanted your eye to wander around the scene. For this layout, I wanted to show the appetizer portioned out onto a tray. This is the type of presentation that you would see at a party or other entertaining function.
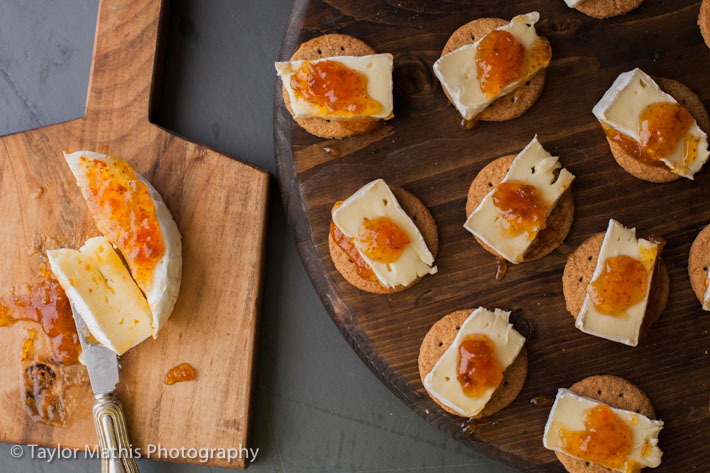
This horizontal layout would work very well in a two page spread or a half page image above a recipe. Here is what happens when you try to go from a horizontal crop to a vertical crop.
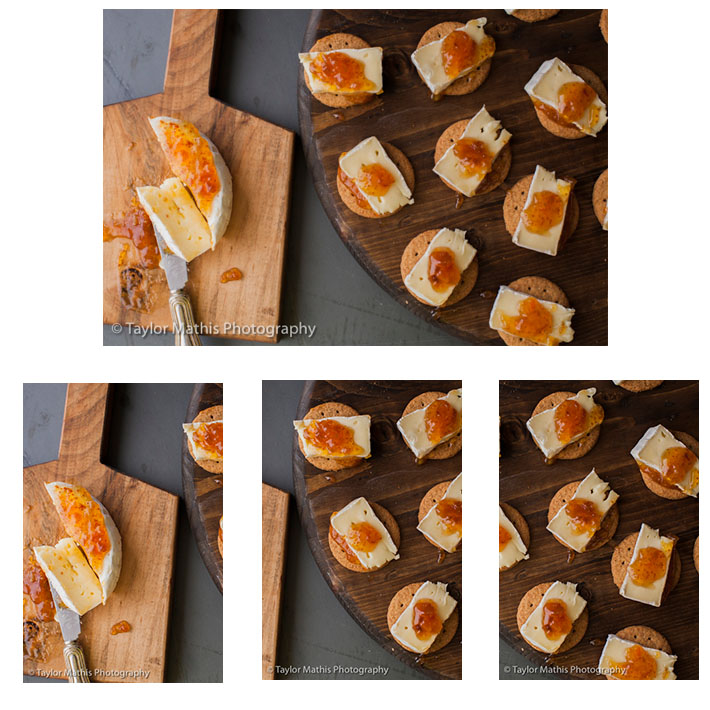
With this new vertical crop, you can see that you are losing a lot of the image. This vertical from a horizontal could work as a cover, but generally it will not be as effective as an image that was designed specifically with a vertical layout in mind.
I know what you may be thinking, you could just style a dish one way and shoot both horizontal and vertical versions of it. Yes, that is true, but if a client wants multiple options for layout uses, then it is a great idea to style the dish with its intended layout in mind.
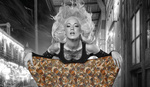
For those of you interested in the lighting set-up for this image, here is a set shot of the lighting diagram.

Both of these images were shot using a garage door, a bed sheet, and the tips and tricks found in issues 1-8 of photographing FOOD.


Taylor what is the mount you are using on the side of the table for your camera?
Hey Chris Its the Manfrotto 131TC http://www.bhphotovideo.com/c/product/5546-REG/Manfrotto_131TC_131TC_Tab...
Thanks Taylor.
Great work!
cool