
In a perfect world, you will have a stand-in and hero version of your food subject. You will be able to pre-light the stand-in and have everything perfect when the final hero version is ready. Then, all you have to do is add the hero and take the final shot. Unfortunately, most food assignments don't take place in a perfect world. There are times when you will have to use a non-edible stand-in for your pre-lighting.
Pre-lighting is a habit that every photographer should develop. If you are photographing a person, you can have an assistant stand in for the model. Prior to the model arriving on set, you can use the assistant to figure out lighting placement, intensity, and exposure settings. Having all of this done before the subject arrives, will insure you have the maximum amount of posing time and you won't be waste time setting up lights. You may need to make minor adjustments, but the bulk of the work is already done. If you are working with a celebrity, executive, or other model that you won't have more than a few minutes to work with, having the lighting figured out ahead of time is incredibly important.
The same concept applies to food. Sure a plate of pasta doesn't have to to be at a board meeting in 10 minutes, like the CEO of a company has to be, but food does have a shelf life in front of the camera. After a few minutes, many dishes will start to seize up, fall flat, or melt. Once this happens, you won't have a subject that looks as appetizing as it could be.
The solution is to pre-light your food. If you shoot has a large budget, you might have a stylist on set who can make you a stand-in version and will be able to give you the hero version exactly when you need it. Many times though, this won't be the case. If it is an editorial assignment where you are shooting a chef's dish, the chef will most likely make you one version of the final dish to shoot. When you aren't able to have an edible stand-in, you will have to use a non-edible stand-in for your pre-lighting. Here are a few examples of items that I have used.
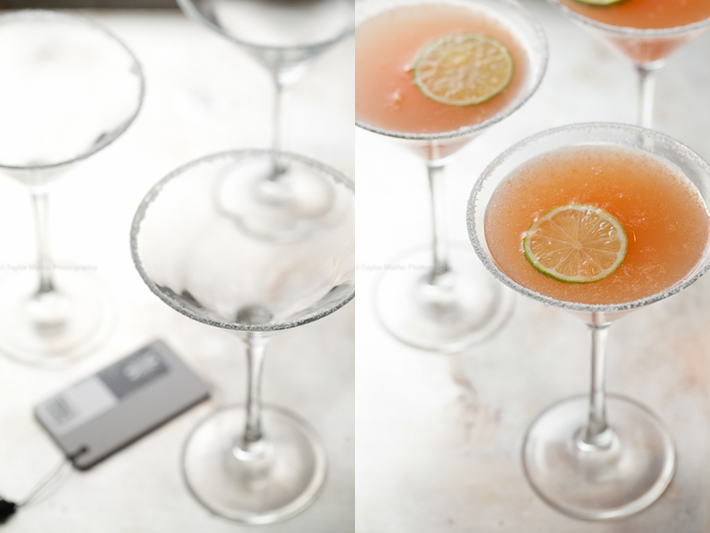
Above is a shot of a group of cocktails. With beverages, you will most likely be able to get a hold of the same type of glassware that the final shot will be in. Using this, you can pre-light and compose your shot. If you know how your final dish will be served, pre-lighting with that bowl, plate, or platter is a great way to frame your shot and get a very close approximation to the final shot's exposure.
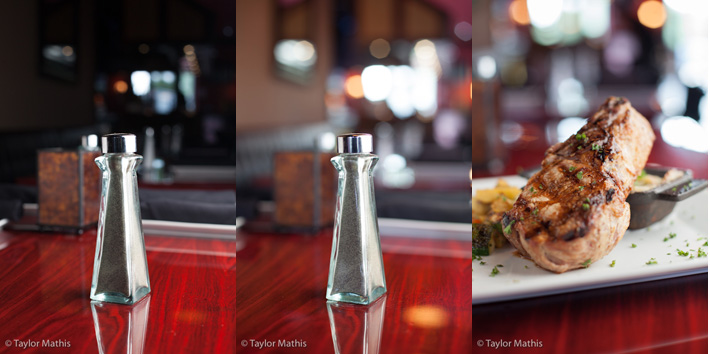
Shooting at a restaurant? You can use a condiment container to test your lighting. Below is an example of how I used a pepper shaker to figure out my exposure and how the final dish would rise above the plate.
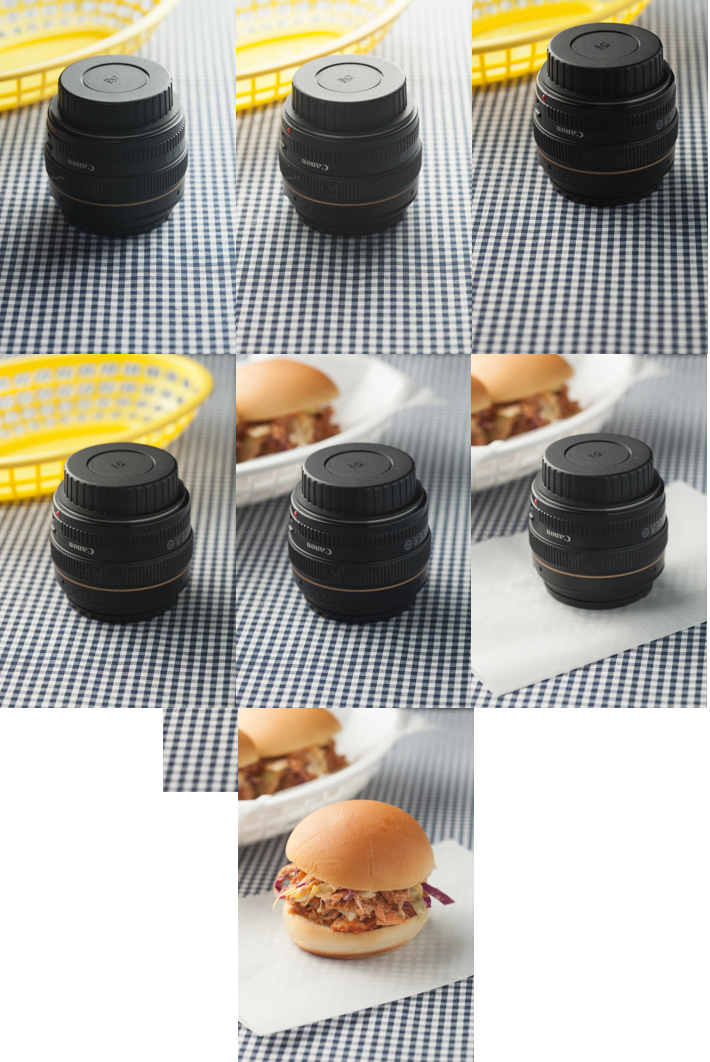
When all else fails, look in your camera bag. For this slider shot, I knew that the final slider was going to be a similar shape to a 50mm lens. I used the lens and an extra basket to figure out my lighting and composition in the frame.
I realize that some of these items may be kind of a stretch, but using them allowed me to be ready to shoot the hero when it arrived. If you are working alone or with a low budget, you will have to be flexible and use your time efficiently. Even if your non-edible stand in isn't a perfect match for the hero dish, pre-lighting with it is better than doing nothing at all.
Want to learn more about food photography? Check out the tips, tricks, and tutorials in photographing FOOD Issues 1-8.


I like using a near identical stand - in that I can touch and move and smudge before the final shot. Makes the final much easier to work with. Thank you for the insight. Awesome work!
Thanks Ashanti! I agree, when possible it is really nice to have an identical stand in.
Fully agree. A pitch black lens standing in for a burger (bun) is profoundly pointless. The guinea pig has to resemble the final object as much as possible.
I've seen a documentation about Pirates of the Caribbean where the light-double of Johnny Depp was depicted. It was nearly impossible to tell the two apart.
Taylor, I look forward to your articles every week! Thanks for posting. Used your techniques taking this mint sundae photo in the summer!
Hey Keegan looks great! Thanks for sharing! So glad to hear that you have enjoyed my weekly articles. Are there any topics that you are interested in learning more about?
Wow, thanks for responding! I'm very interested in how to light labels well. Have you ever had to photography food with the product also in the shot? Would you composite? Maybe light the product itself and then the food, or all in one? Attached is an example of what I mean!
Great ideas, thanks for sharing!
Dammit...so...hungry