
A stone background provides a great look for many food shots. The only problem is the weight that comes with it. Spend a day hauling around large stone tiles and you will understand the price that comes with this great look. There is a solution though. Let me show you how you can still have the same great stone look that is easy on the back and the wallet.
In the flooring aisle of your local hardware store you can find a wide assortment of adhesive vinyl tiles. These tiles are printed to look like real stone. They are a fraction of the weight and with a 1'x1' tile costing around a dollar, they won't break the bank. If you've got a piece of foam board, you can adhere the tiles to the board to create a very light weight background with the stone look. To avoid noticeable seams, I matched the foam board to the tile color. In this example, I am using a darker colored tile and pairing it with black foam board. If I was using a lighter colored tile, I would used white foam board as the background.
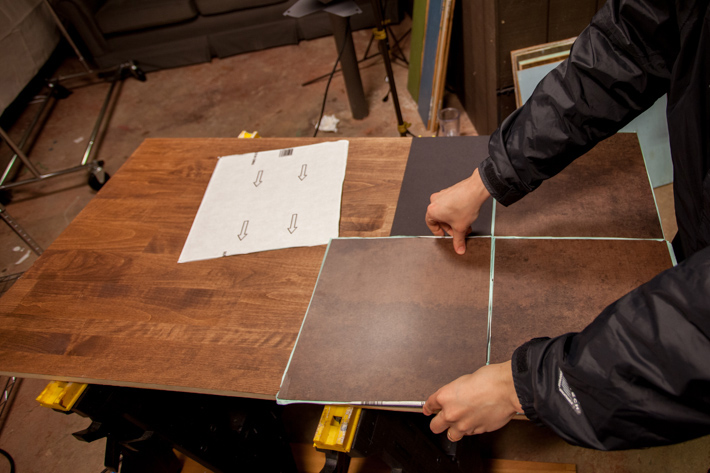
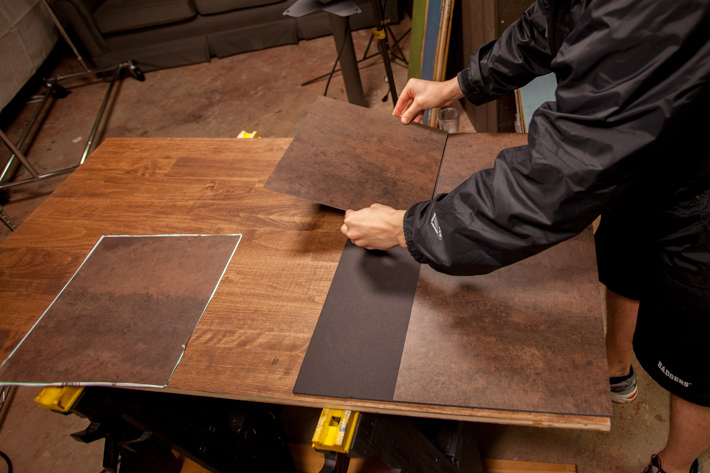
The first step is figuring out the tile placement on the board. I do this before peeling off the paper backing so I can easily move the tiles around.
Once I have my order figured out, I pull the paper backing off the bottom row of tiles and place them sticky side up. I ensure they are in a straight line and their sides are touching. Having the tiles touching will prevent a noticeable seam.
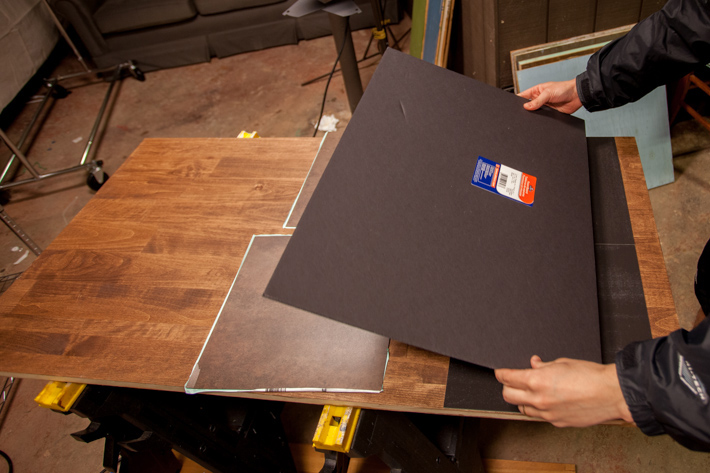
The next step is to carefully place the foam board onto the sticky side of the tiles and press down so the tiles adhere to the board.
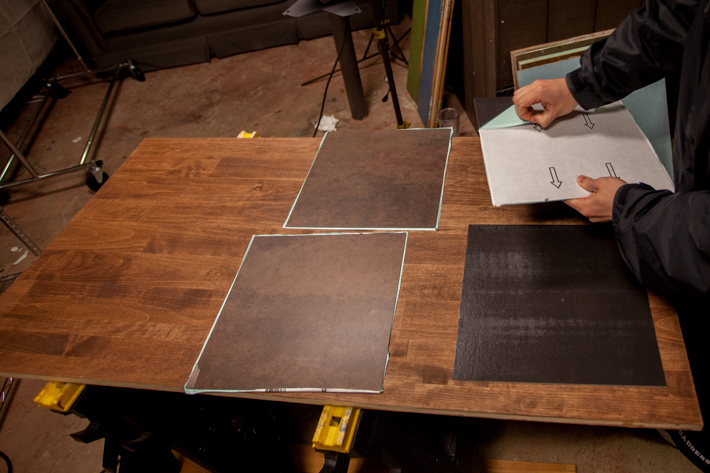
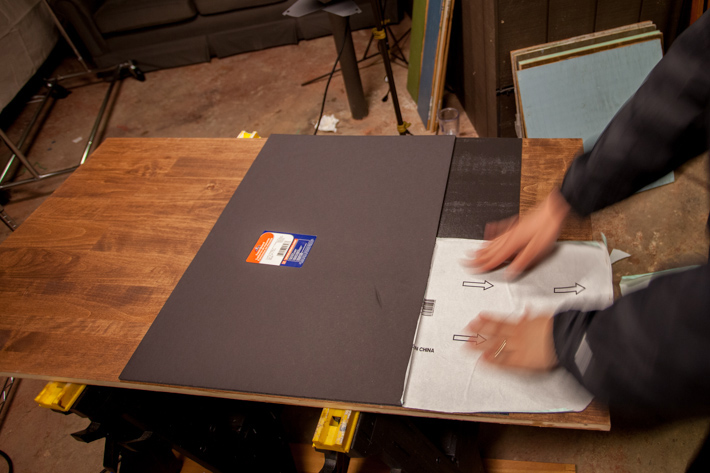
I then turned the foam board over and prepared the final two tiles. I carefully placed the onto the foam board preventing any noticeable seam from forming.
Depending on the size of your foam board, you may have some of the top row of the tiles hanging over. You can either remove this with a utility knife, or cover the sticky portion in the paper backing that came with the tiles. In this case, I added the backing to cover the remaining visible sticky side and trimmed the excess paper.
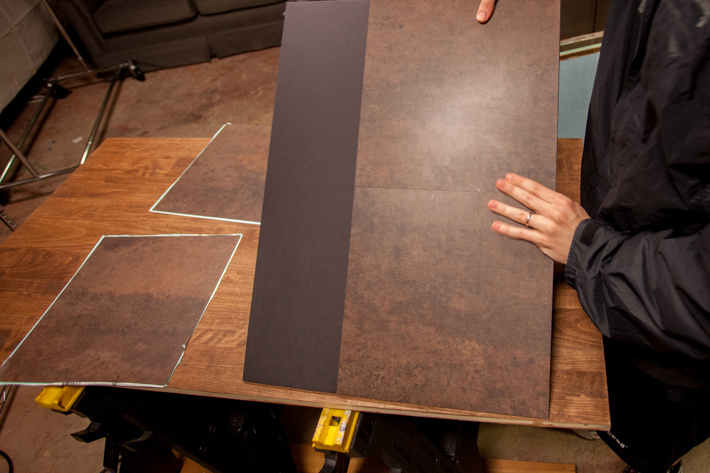
I placed several wooden backgrounds on top of the tiled foam board to ensure that the tiles had adhered to the board.
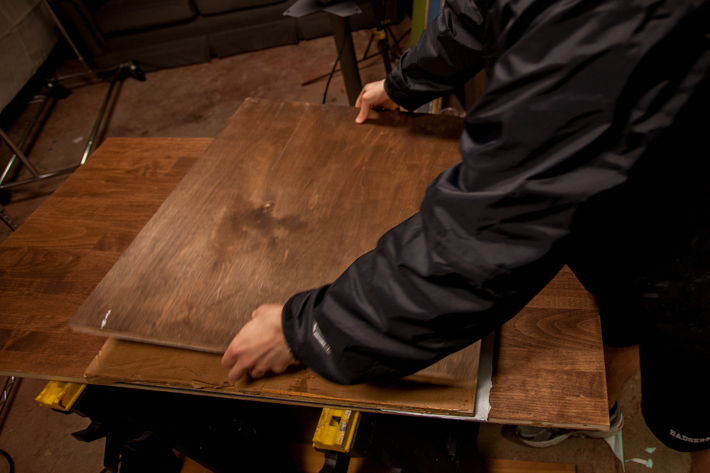
This works best with foam board that doesn't have a glossy finish and hasn't warped. If you use a warped piece of foam board, your tiles may have trouble adhering.
This lightweight stone look is great for overhead shots like this.
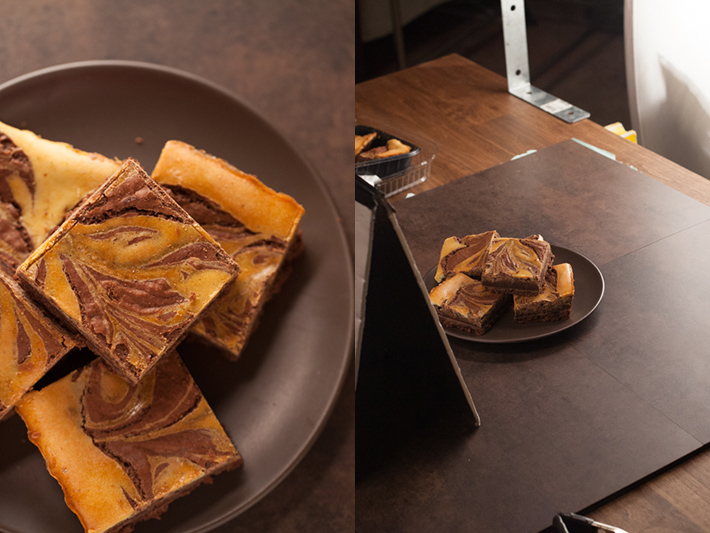
Or for head on shots where you need to create a false wall.
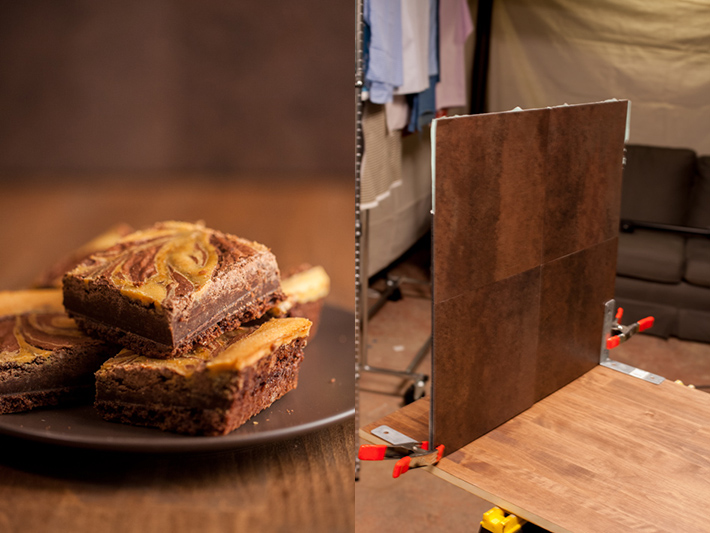
If you love the look of stone, but need a light weight solution, give this set-up a try!
Want to learn more about taking mouthwatering images of your food? Check out issues 1-8 of photographing FOOD.


Very cool idea. After reading your articles walking around Lowes has become a whole lot more fun! haha
have used stone and wood effect wallpaper as well
did anyone else think they squished the marble brownies at first...
What kind of lighting is used?
Great stuff as always Taylor!
I've seen so many of your food photo blogs I can't remember if I got this idea directly from you or I just wound up with the same materials in my cart when I took this shot a few weeks ago. I used 1/8" MDF board to mount my tiles onto so they are mini table tops basically. The seam was pretty easy to photoshop out. Here is a picture of my setup and final shot.