One of my favorite things to do is fly my drone around Indonesia and share photos and videos of my country's natural beauty. When I flew my first DJI Phantom back in 2013, I realized the incredible opportunity drones gave to capture that beauty from a unique perspective. Since then, I've upgraded to the DJI Phantom 3 and DJI Inspire 1 for all my aerial work; specifically, I focus on creating aerial panoramas and 360-degree panoramas. Today, I want to share some tips on how you can create your own 360-degree aerial photo and upload it to SkyPixel for their Aerial Panorama Contest for your chance to win a DJI Phantom 4.
The process of creating an aerial 360-degree panorama is surprisingly easy and just takes a few steps. The first and most important factor is finding a beautiful location and great lighting. Next, you'll want to set up your drone's camera with good settings. I tend to shoot raw in 4:3 format using manual mode with low ISO. These settings will give you the best picture and color quality your camera can offer while also allowing you to clean up your image well in post.
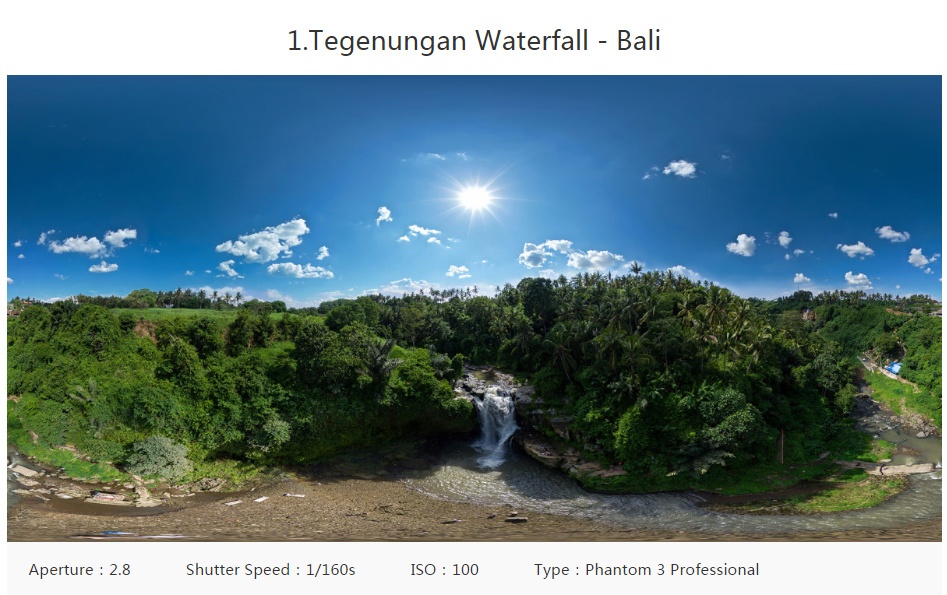
Above is a perfect example of a pretty waterfall scene I stumbled across with good lighting. To get shots like this, I send my drone up to a height that gives an interesting view of the surroundings and horizon. I then let the drone hover for a few moments while I double-check my camera settings and make sure everything is exposed appropriately. I often choose to underexpose slightly to save some of the highlights in post, depending on how bright and contrasty my scene is.

After I've confirmed that my camera settings are dialed in correctly, I turn on the grid function in my DJI Go App and start shooting. I use the grid function to rotate the drone horizontally and overlap each frame by 1/3 of the same perspective. Once I've made a full 360-degree rotation, I rotate my camera downward by about 40 degrees and repeat the process for another 360-degree horizontal rotation. The third rotation of photos is taken with the camera pointed downward at around a 70-degree angle. Finally, the last image I take is a single shot pointed straight down toward the ground. I usually take between 17 and 22 images to capture the entire scene. During this entire process, it's extremely important to keep the drone as steady as possible. For scenes like the one above, timing this process right after sunrise or before sunset will give your final image an extra layer of depth and texture.

Once I finish my shoot, I back up all my photos into carefully organized folders. I typically use Adobe Lightroom CC to correct any white balance, exposure, or color issues. I then use Autopano Giga from Kolor to stitch all my images into one big equirectangular photo. Finally, I use Adobe Photoshop CC to blend in the sky and correct any stitching issues that might have happened.

The final step to my process is to turn my equirectangular image into a 360-degree viewing experience with Skypixel. Skypixel offers a platform to upload your 360-degree panorama images and turn them into a virtual reality experience, allowing you to pan and zoom around your scene as if you were really there. You can also create your own profile to store and showcase all your best work with thousands of other people.
To see a little more of my work in Indonesia, check out my profile on Skypixel.
Article written by Rendy Cipta Muliawan.