Compositing is no beginner’s tactic. Before you dive in, provide time for the proper research and learn the skill set to prior to the job. Like many photographers in the game, initially I had serious trouble with lighting groups of 3 or more. There was always a face with a hard shadow or one more exposed than another. I never had a 6 foot octobox or a parabolic umbrella at my disposal so I picked up a technique that would issue an initial challenge, but be a real game changer for both my clientele and my work.
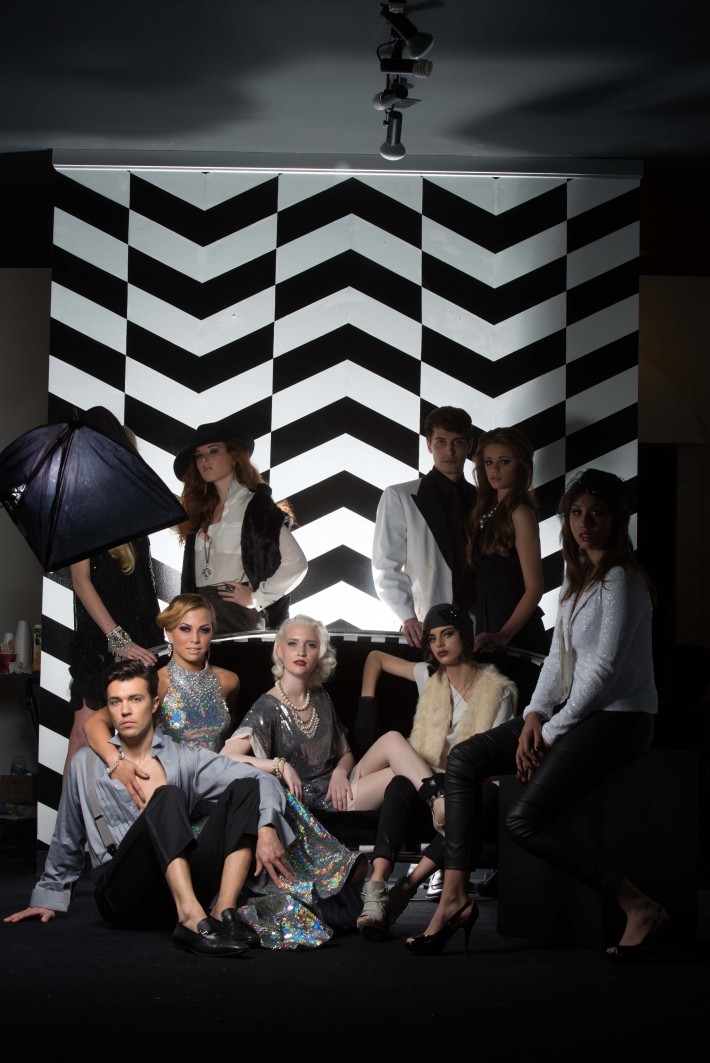
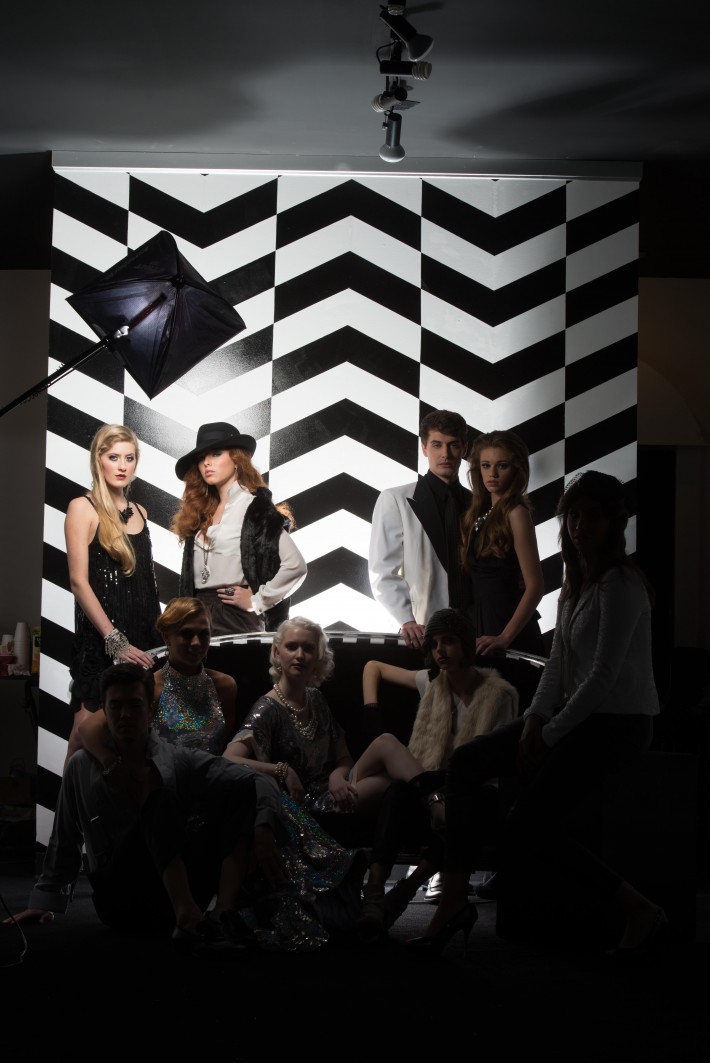
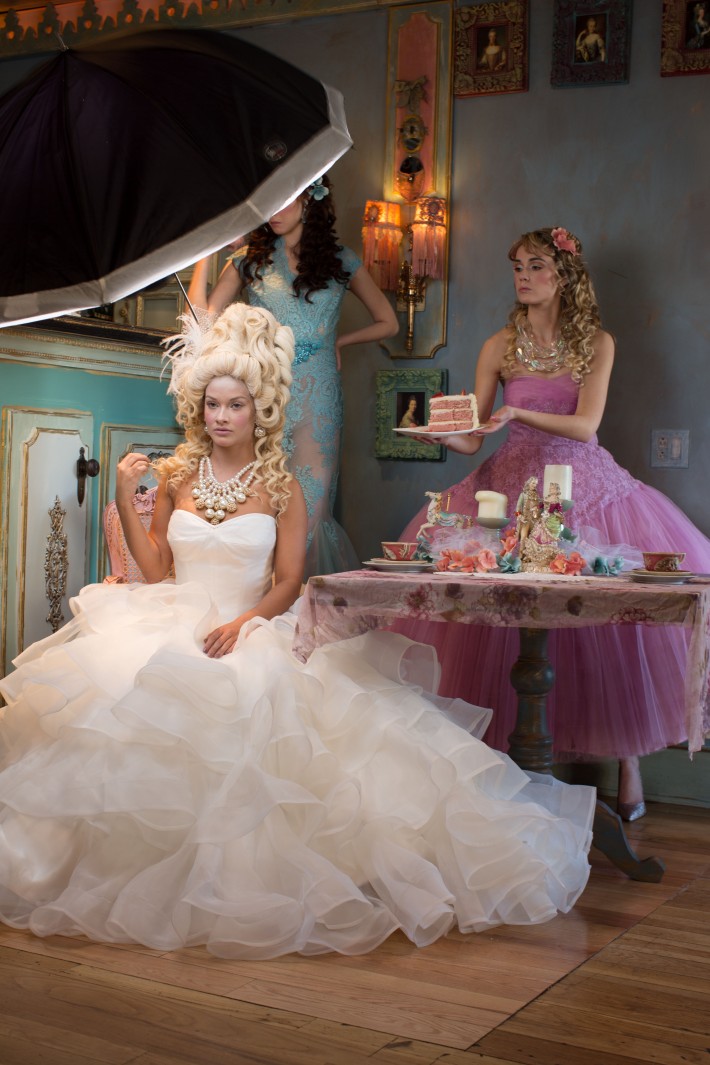
Although my style has changed the past year, lighting one subject always came easy to me. But when the time came to shoot a group of 9 models for an agency advertisement in a confined space, I was stumped. I wanted “the look” of an dramatically lit individual, but the question was; how can I accomplish that in one setting, with a group and in one shot? The answer: compositing.
I once stumbled on a brief YouTube video featuring a young wedding photographer using this technique to shoot a powerful portrait of a large wedding party. It was simple and straightforward enough, but more importantly the technique seemed like a good solution to my problem. I was nervous to try it out for the first time, but the results were well worth the gamble.
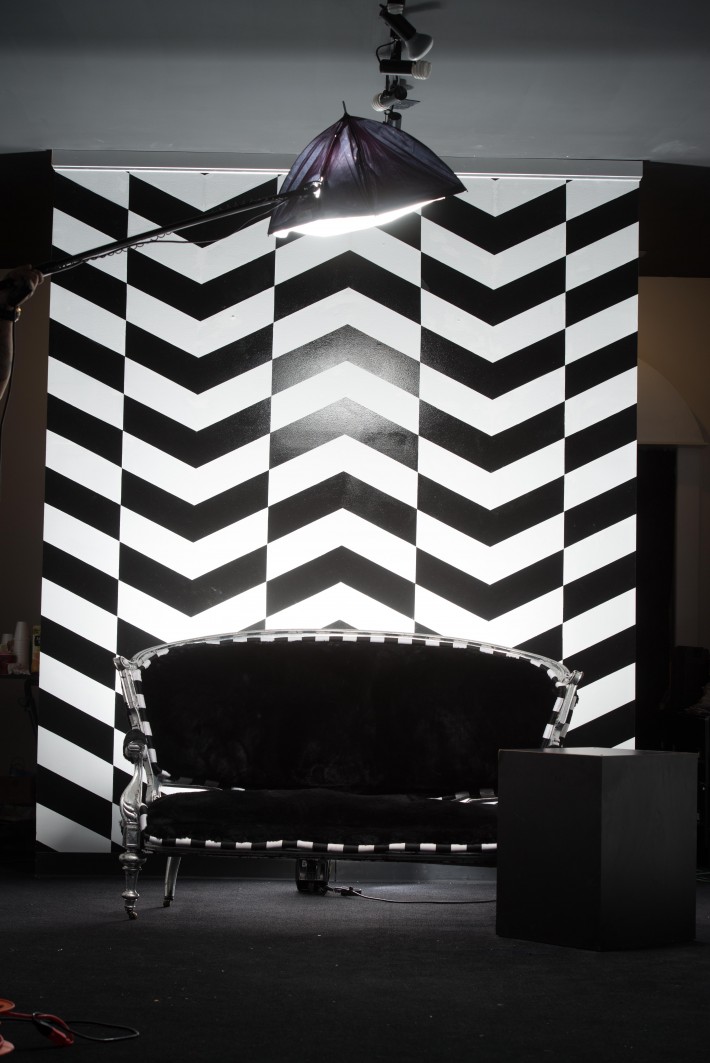
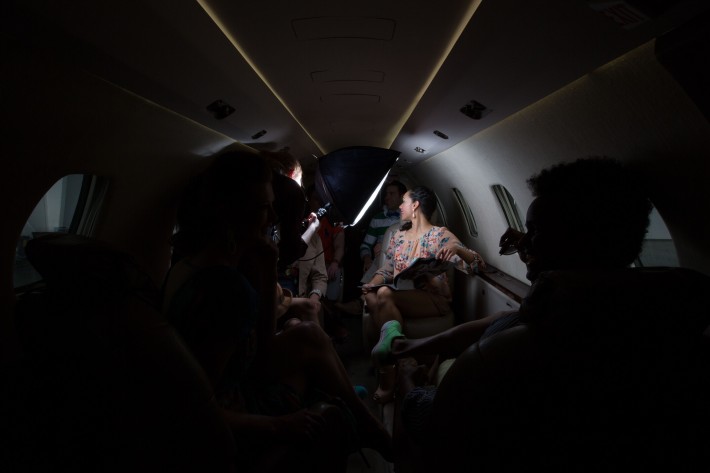
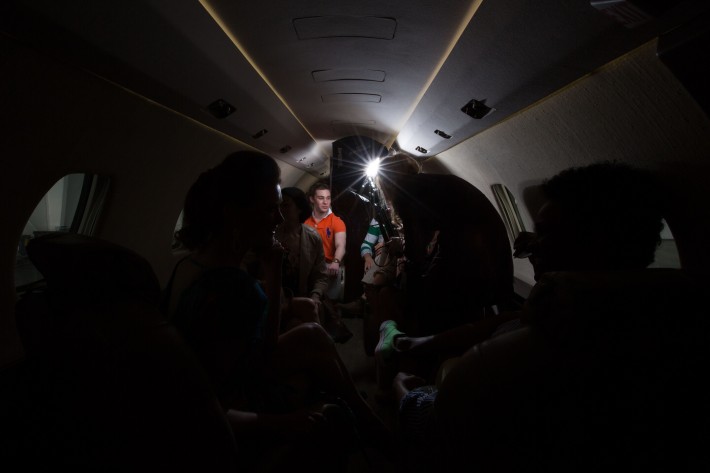
The camera in a static position on a tripod, each subject is individually lit and captured. Then, merge all the images together, mask out the light stand and blend it all together in Adobe Photoshop. Easy enough?
 |
 |
 |
 |
 |
 |

ON LOCATION
- Set the frame. It’s important to use a good tripod for not only having the ability to “Up The Ambient” but also to maintain sharpness and keep a static frame for compositing. In order to make this whole technique work, each image you capture must have the same perspective and frame. If your camera moves just slightly the entire post-process becomes a lot more difficult and in some cases impossible.
- Find the composition. When setting up your shot, make notes of where the edge of your composition lays. If for some reason that tripod gets kicked or the ball head slips, then you have some reference to where your original frame stands. If you’re using a zoom lens, set your focal length and lock it in. I’ve even gone to the extreme of placing gaff tape over the zoom to prevent any risk of the focal length being altered.
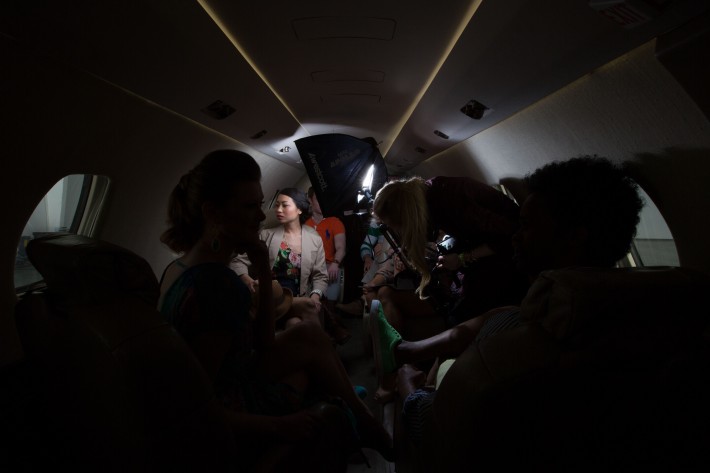
- Talk to your subjects. Let the group know the process, let them know it’s a technique that will take some time to capture. Direct them to a pose and have them stick with it, and remain as still as possible. Then, when you blend all of this together masking won’t be nearly as intricate and “involved”.
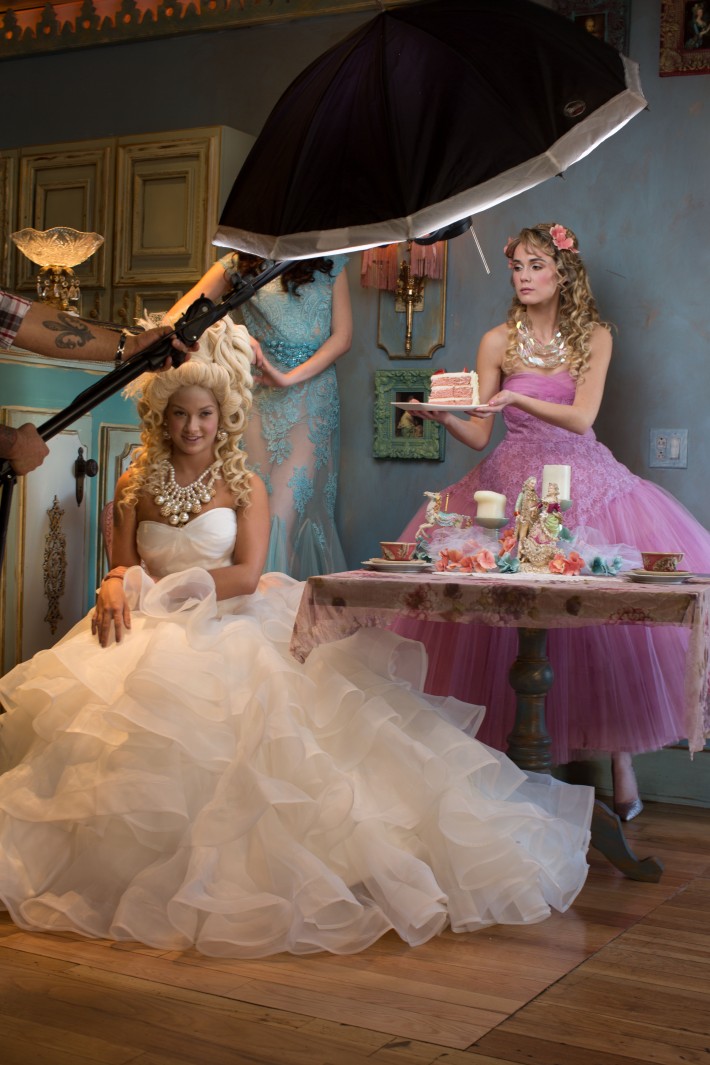
- Choose your light. If you’re shooting outside or on location, you'll likely need a powerful strobe to overpower the ambient light. I have always used either Paul C Buff Alien Bee B800 or a Profoto D1 with a small modifier such as a Westcott Mini-Apollo or a 36” Photek Softlighter II. These options work because of their low profile, they don't take up much of the frame, but put off a nice soft pop of light.
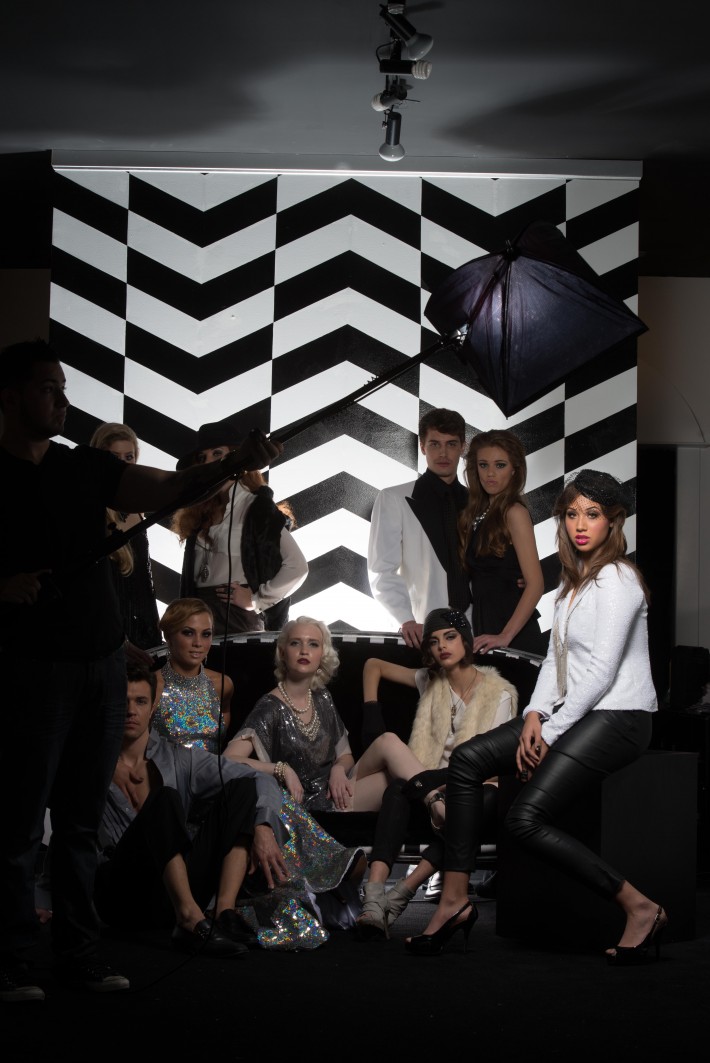
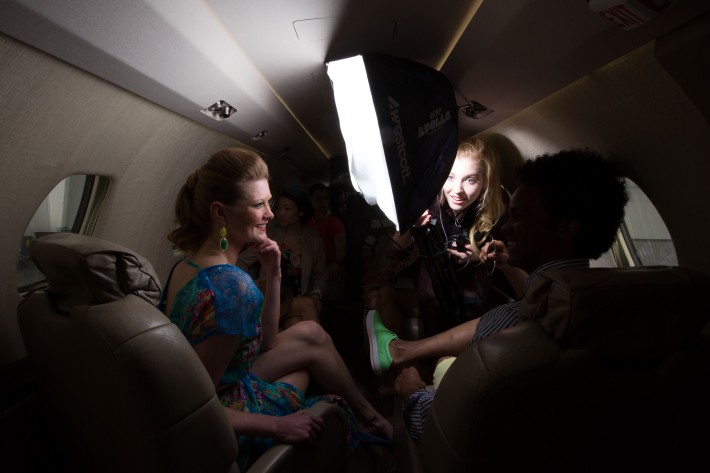
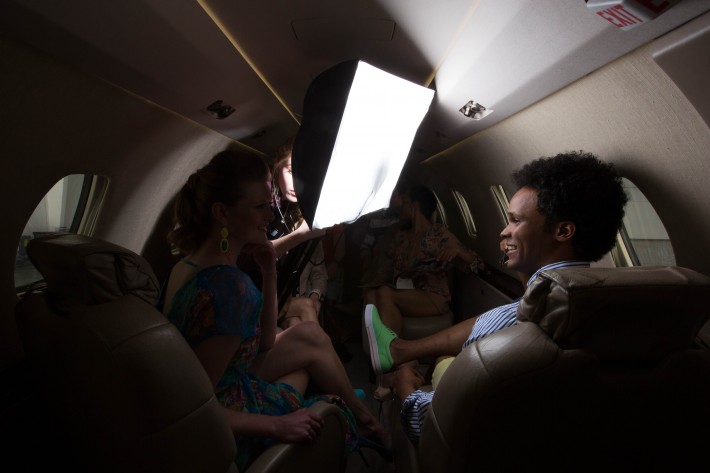
- Work an assistant. Although, practicing patience is an important aspect to creating a compelling image, it’s also important to maintain a speedy on-location workflow. When using this approach, instead of jumping back and forth… moving the light, snapping the shutter, moving the light; have an assistant. This process will move a lot more quickly and efficiently. With an assistant, light stand in hand, you can make micro adjustments and find the sweet spot in seconds, which could take a lot of time by your lone self.
- Focus stacking. Using the large single point AF array on your camera, focus on each individual, lock it in and snap the shutter. If the subject is outside the array, focus on a subject that is in the same focal plane. Remember, to keep the camera static and the frame stationary. Use light hands and be very careful when you nudge the controls and trigger the shutter.
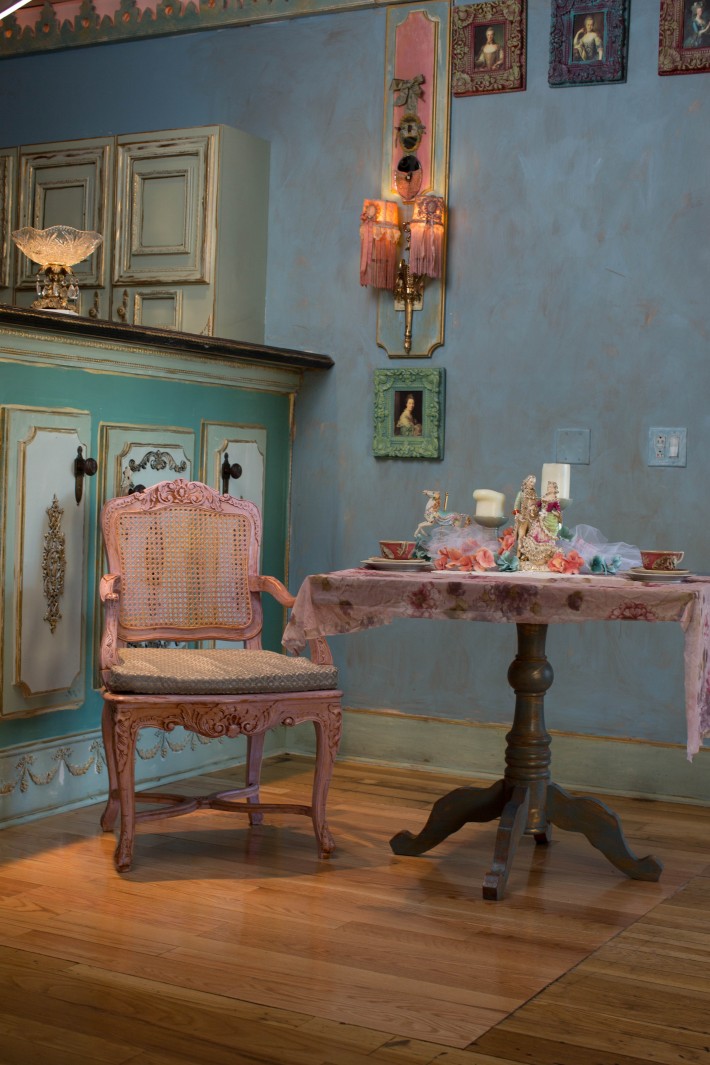
- Capture background and backup images. You’ll find that a crucial element to compositing is having the proper background elements and images. Once all the subjects have been lit and captured, ask them to leave the frame. Depending on the mood you want to create, capture multiple exposures levels of the background. I also recommend capturing close-up images of the background elements. For example, walls, texture, floor and ceiling. During the editing process, you may find yourself in a pinch and need to fall back on those high-resolution elements.
- Review. Before moving the tripod to the next shot, be sure to review all the images you've captured for the composite. Pay attention to the details; posing, hands, expressions and lighting. One small error can throw a big wrench in the plan, this is why I always recommend tethering on location. Tethering can be irritating, but my friends at CamRanger and TetherTools have created some amazing workflow solutions for on location tethering.
 |
 |
 |
 |

POST PROCESSING
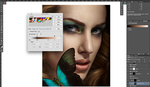
- Merge all the images. Once the images have been imported into Adobe Photoshop, click “Window” > “Arrange” > “Tile”. That will organize all the images into a tile format. Then, find the background image, tap & hold “Shift”, drag every individual image onto the background image. By holding “Shift” it will automatically align each image to the background image. Once all the images have been merged in one window, close the extraneous images, they are no longer needed.
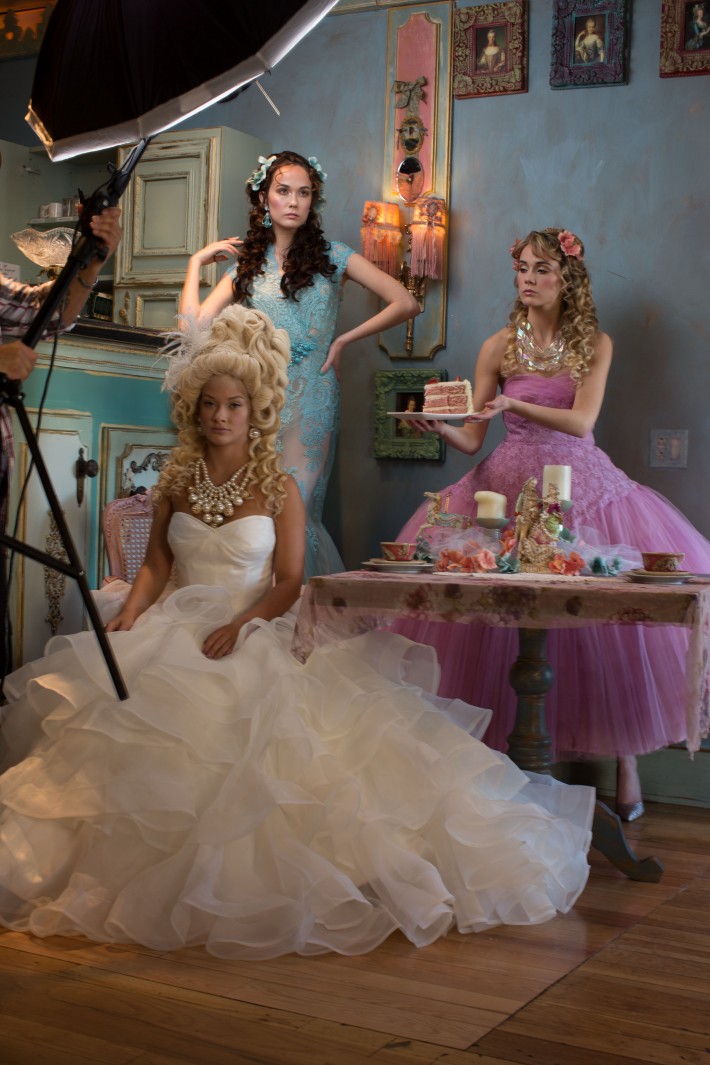
- Mask and blend. This is where things can become quite time consuming. You will have to mask each subject and blend that layer with the next layer. I work my way down, so from the top layer I mask each subject into view. A soft brush at at 30% "Flow" works magically when blending the subject into the background. Luckily, because everything was shot in the same frame, you won’t have to deal with perspective or any complex compositing situations. If you’re unfamiliar with masking and blending, then I recommend the tutorials of Phlearn. Aaron Nace is an incredible photographer and educator who dives into this process with precise detail.
After masking, blending, re-touching grading and sharpening, depending on the size of the group, your image will range from 30 to 80 layers. It will feel like you just painted the Mona Lisa; a grand display of hard work, vision and time for one stunning image.
It’s never an easy process, but it’s one that is well worth the time and energy. But like anything else, the end results will be a direct output of what you input into the process.
 |
 |
 |
 |
 |
 |


If you like what you see here, check out more of my work on Facebook , Instagram or blog.


this is good when you shoot commercial and fashion but when you shoot a family or other big group you dond have time to place the light for composite like this! just getting everybody close anought to be in the shot is hard i cant imagine keeping them for composite lightning. what do you think?
I've done it and it isn't that hard, but you need a very capable assistant/second shooter and be very well coordinated.
The technique is simple, you compose and tell everyone to stay still (but not necessarily like a statue). Then your assistant quickly moves the boom over each person/small group making sure to be approximately the same distance from them (so you don't need to adjust your exposure). You can have it done in less than thirty seconds if you are well rehearsed with your assistant. You will have to tweek your exposure in LR/Aperture, but the actual shoot is not that hard. In some respects it is less difficult because you don't have to care about the details of the people you are not lighting (i.e. little johnny on the edge making a face).
Awsome, i just need a good assistant now :P
Great points Jim! Thanks for chiming in!
hi james,when composing is it crucial for the camera to be on a tripod and does that mean there is absolutely no side movement ie panning of camera?and how do you handle focusing considering the subjects are spread across the frame?
I have never used a tripod when doing this, but it might be helpful. I just align the layers in Photoshop as best I can. I once had a large group that I couldn't fit into frame and essentially created a pano out of it.
I have shot it with a large depth of field with everything in focus and by adjusting the focus with each shot. I recommend stopping down the camera to get a larger DoF. It is much easier to make it to look natural that way, however, it can be done if you have a huge/deeply arranged group.
thank you for your answer
I use this technique often for group shots in weddings. It's great outdoors when you need the light (usually a speedlight) to be close to the subject to have enough power to overcome the daylight. I never considered using it in such a tight space like a jet (though a limo would be more common for me). Well done!
Awesome! It's a great technique for wedding parties! Thank you much!
I've applied this technique to inanimate objects a lot but it never occurred to me to use it on humans. The most difficult to manage task is to keep the proper distance from light source to object. Just a few inches more or less can make quite a difference in exposure.
It's like the Mike Kelley technique, but with people!! Awesome! How much movement do you allow with the models before you start throwing things or punching people? Great articles, keep up the great work man (and post more often!) =)
Thanks for reading Bert! As long as you let the subjects know the process and ask them to find a position and freeze, you should be perfectly fine. I really appreciate that!
I recently lit a family portrait this way, but there was space between everyone so when they moved between photos, it didn't affect the final image. 14 squirmy people wasn't as hard as I thought it would be!
Awesome!
Amazing!
Thank you Jeremy!
Awesome article, Clay!
Thanks my man!
Thanks Clay, learned a lot!
Sure thing man! Thanks for reading!
Perfect technique for such a small space! Compelling image too Clay. Loved the Phlearn shout-out. Aaron is a beast.
Thanks Stephen! Aaron is a great guy, and great educator.
Was bouncing off that white ceiling not an option? I think that's the first thing I'd try in that situation. Or did you try that and didn't like the result?
Hey Roman! I want dramatic light with my portraits, if I bounced off the ceiling it would be a very flat light even light. Thanks for the comment!
Cool article! I use this technique for car shoots, but how you can freeze people for a long period? And how you stack all images in PS if people have different poses?
When I saw the first group shot I was like, "Well buy some more lights!" Thinking this was just a way to light on the cheap. But seeing things like the jet, you realize it may not be impossible to get all the lights in there and this technique is essential.
Thanks
Great article. I just tried out this technique not to long ago and it also works great if you are trying to clone people. I created an image where I cloned myself and tried to get the lighting to look as if it were coming from a single central source. The compositing is done, still working on replacing the floor which was badly damaged.
Awesome Brett!
I am using this technique a lot as well and love the process. It's almost like painting with flash. What I do differently is I light AND build up the scene from back to front - taking a cue from traditional painting. This solves some of the compositing problems with moving people (blocking the view on a person that's presently lit etc,), but it creates potentially new problems with missing shadows and people unable to interact directly because they aren't shot at the same time. In these cases, I have to compromise and do a similar thing to what Clay's doing. Still finding little ways of optimizing and simplyfing the process every time though.
Another well-written, clearly explained technique executed perfectly. Nice work, Clay!
Nice article Clay and great composite! 60 layers? Wow! I'm curious to know how much RAM does your computer have in order to do the compositing without bogging down your system and PS.
I recently completed my first composite, it is a very powerful technique for creating off-the-wall images or getting as much control out of a shoot as possible.
If it hasn't been said already, the 'load images into stack' script in Photoshop will build layers much faster than opening the frames and manually dragging them into the same document.
Awesome post can't wait to try this! I've only tried dealing with group shots by using one light and yeah, inevitably there's some exposure adjustment on a couple of the subjects etc.
thanks clay for sharing.the subjects are spread all across the frame in the plane cabin...how do you achieve good focus per subject,especialy the ones extremely off centre considering you cant move the camera