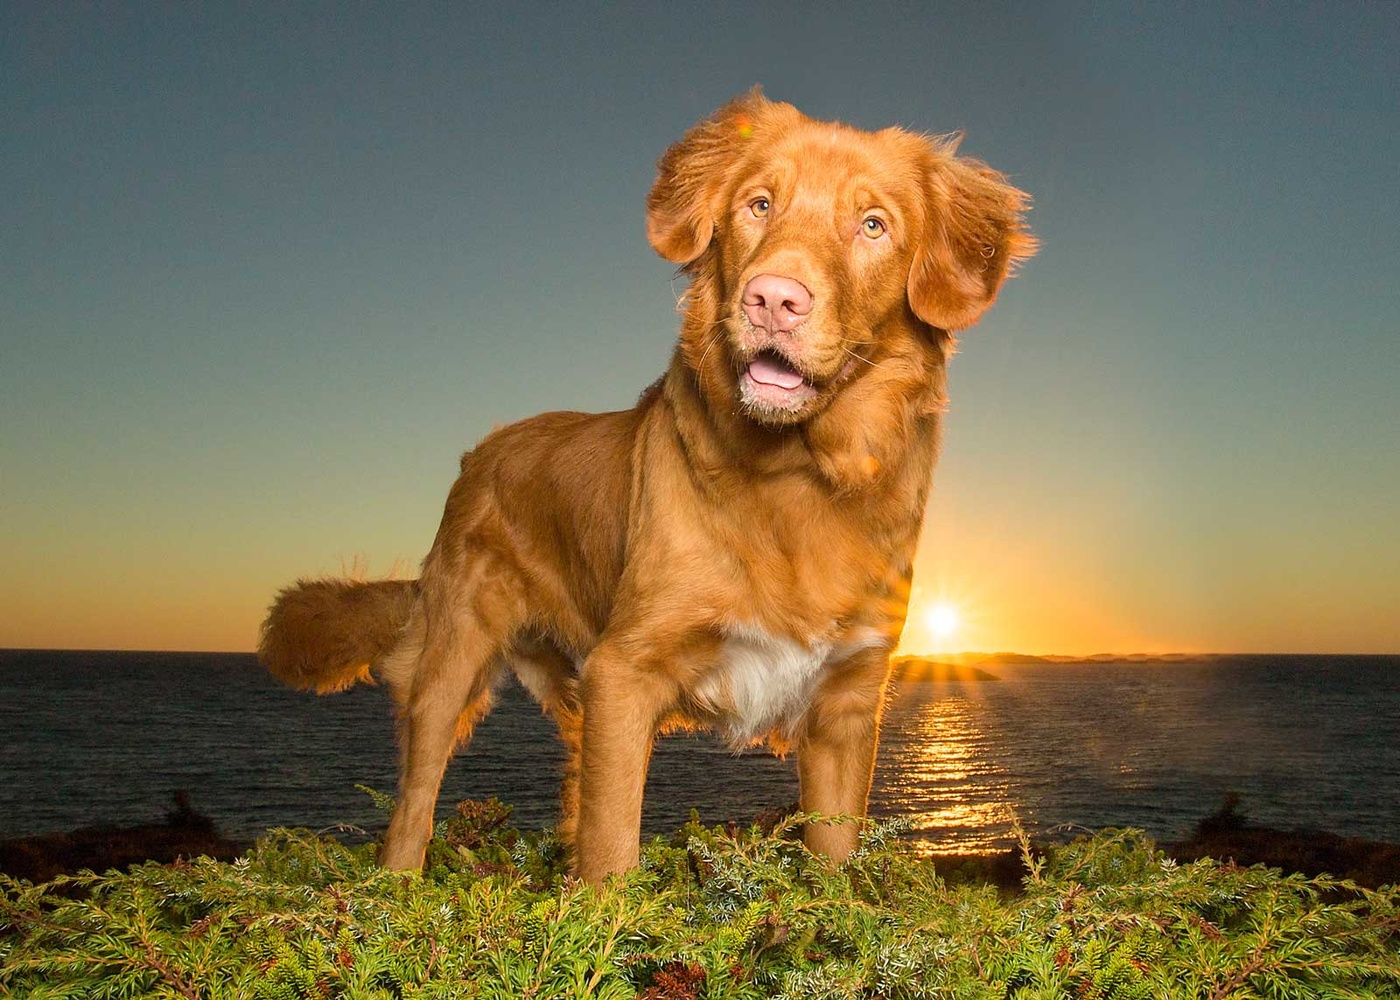
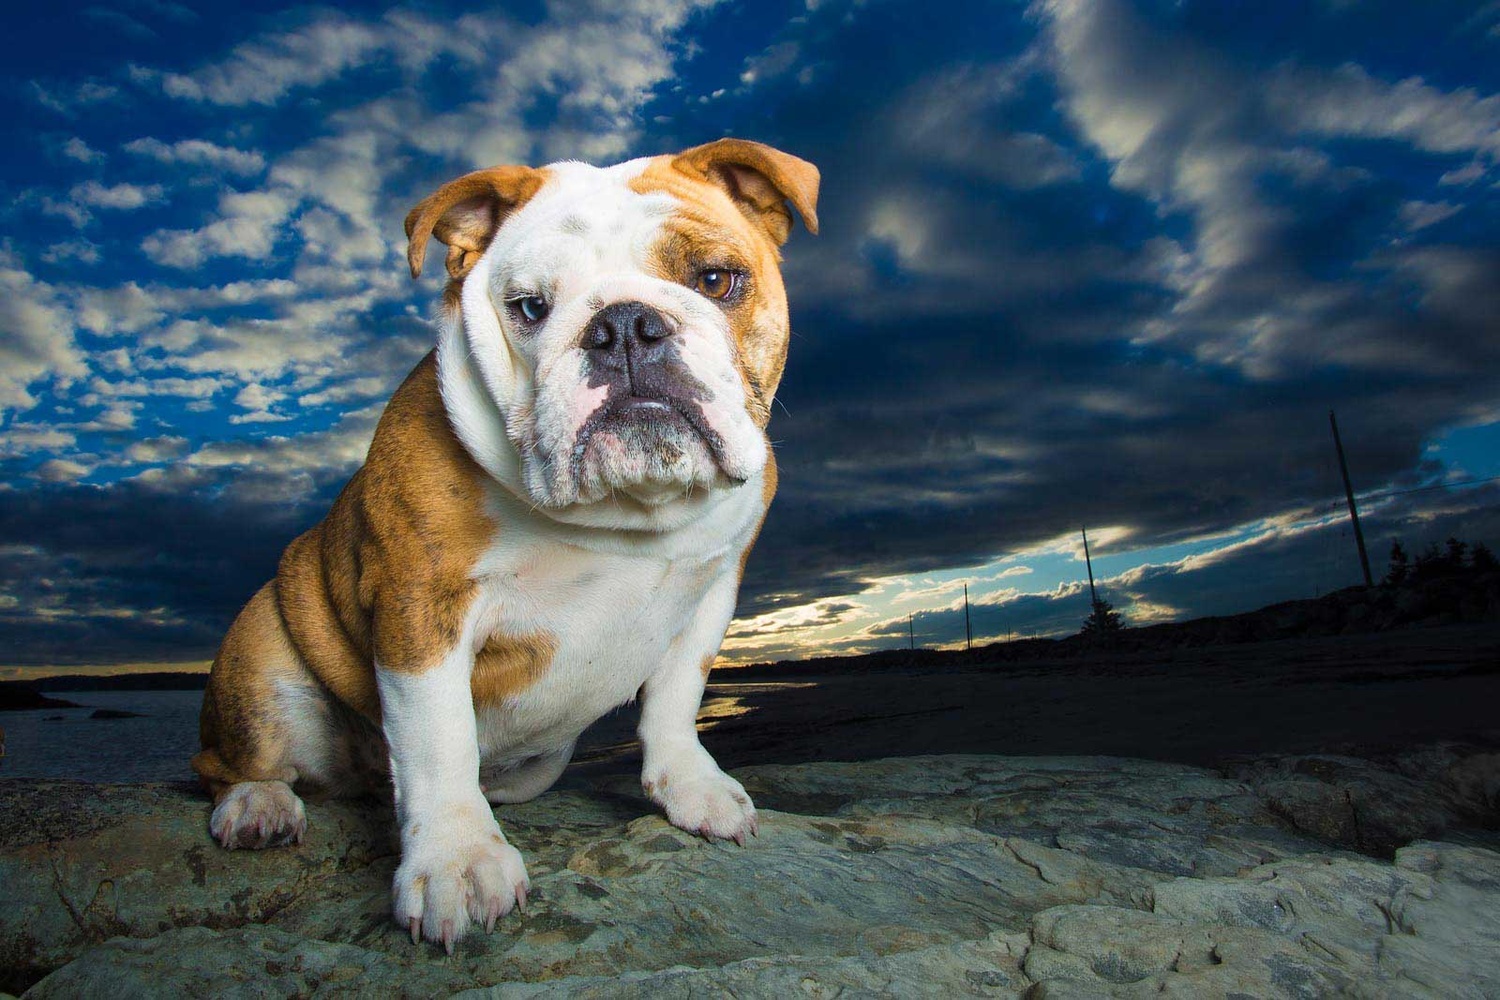
One of the main reasons why I love photographing dogs outdoors is the challenge of creating beautiful backdrops from the natural surroundings. One of my favorite ways to photograph dogs on location is to use a wide-angle lens to allow the sky to be the dominant background feature. When photographing dogs during the golden hour, incorporating a single speedlight or strobe in your outdoor dog portraits will allow you to effectively use the sun as a backlight and create eye-catching compositions at sunset.
Balancing Artificial and Ambient Light
Scheduling your dog photography sessions for around sunset will give you the best chance of capturing colorful and interesting skies. The challenge of positioning your canine subject in front of a sunset is that without any fill light, the details of your dog’s face will get lost in shadows when you expose for the sky. One solution is to use a reflector to direct some of the ambient light back into your subject’s face. But when you want to overpower the sun to really emphasize the rich colors in the sky, something more powerful than a reflector will be required. Either speedlights or strobes can provide enough light to overpower the sun. Compared to during the day, there is less ambient light at sunset, especially when the sun is partially filtered by either clouds or the horizon. This means that less flash power will be needed to match or overpower ambient light.

Even on a cloudless evening, incorporating the setting sun into your dog portraits will add flair to your compositions.
Compose to Emphasize the Sky
For sunset photos, I like to compose in a way that features as much of the sky as possible. This look was made famous by world-renowned photographer Kaylee Greer of Dog Breath Photography. For this style of portrait, I use a wide-angle lens, and position the lens slightly below the dog’s face so that it’s pointing ever so slightly up toward the sky. I set my camera to manual mode, exposing for the sky and then adding in enough flash power to effectively light my subject’s face. I generally prefer wide-open locations like beaches and fields for these sessions, as tall trees and buildings tend to distract from the composition and can obscure the vibrant colors in the sky that often appear close to the horizon near sundown.
Overcoming Autofocus Challenges
One significant challenge of shooting with the sun directly behind your subject is that when direct sunlight enters the lens, your autofocus will either be very slow or will not work at all. There are two ways to get around this: either focus and recompose or switch to manual focus.
For the focus-and-recompose technique, move so that the dog is directly between your camera and the sun, preventing direct sunlight from entering the lens and enabling faster autofocus. Lock focus, and then shift sideways to recompose the frame with the sun in full view. Take the photo, and repeat. If you use back button focus, you can keep the focus locked while you capture a few frames so that you don’t need to re-focus every time you want to take another image.
Using manual focus seems like a difficult technique for photographing a subject as unpredictable as a dog. But for a dog that can either “sit” or “stay” reliably on command, I will resort to manual focus more often than not. Setting your camera to manual focus will avoid any delay in taking a photo while the camera hunts for focus, so that when your dog makes that face that only lasts a split second, you will be ready to capture it. I typically shoot with a very narrow aperture for maximum depth of field. I set my focus distance to about two feet, and try to make sure that I’m always holding my camera about two feet from my subject. Because of the depth of field achieved by photographing at f/16 or f/22, most of the images I take this way end up being tack-sharp.

Allowing the sky to dominate your frame by pointing the camera slightly upwards will create beautiful natural backdrops in your outdoor dog portraits.
Another advantage to positioning the sun behind your dog is that you’ll avoid the dreaded squinty eyes, which are as unflattering for dogs as they are for people. Don’t pack up your gear once the sun has set, as sometimes the best colors in the sky won’t appear until after the sun as dipped below the horizon. Using off-camera flash for dog portraits (also covered in this article) can be a bit cumbersome at first, but with some practice it will become second nature, and will lend a professional look to the images you create from your golden hour dog photography sessions.


everyone loves dog pics.
I love your dog photography articles. Keep 'em coming. I've seen, and like, Kaylee Greer's tutorials but she can be difficult to listen to.
just no iPhone dog photography articles please.
Absolutely!
It may be just me, but the dog in the title shot looks like he's shooting a photon torpedo out his butt, lol!. Overall I like the sunset idea, but I think placement is key here.
I think you watch too much SciFi! :-)
The article was actually a bit misleading - the lead image isn't actually a sunset but is indeed a photon-pooping bulldog. One of a kind.
does it count ?
Just wondering if this is possible with on camera flash?
You can certainly use on-camera flash, but your lighting will be much flatter (and the dog's eyes won't quite look right) than if the flash is positioned off camera.