
The annual Lyrid Meteor Shower is nearly upon us, peaking on the evening of April 21-22. While it’s not the best of the annual meteor showers, it is a good opportunity to try your hand at the challenge of capturing an image of a meteor. And even better, you may already have all of the equipment on hand: tripod, DSLR or mirrorless camera, and wide angle lens.
If you’ve never tried meteor photography or any night sky photography, some starter tips are below, but set your expectations realistically. Meteors generally zip by in a second or two, and for long periods (minutes), nothing may appear at all. And to make things more challenging, they may appear in the sky away from where you have your camera pointed!
- Go to a dark site, away from man-made light pollution and haze.
- Use a wide angle lens and fixed tripod.
- Shoot in manual mode and raw with your lens wide open.
- Try ISO 1,600, 20-second exposure as a starting point.
- Use an intervalometer in camera or external.
- Plan to shoot hundreds of frames.
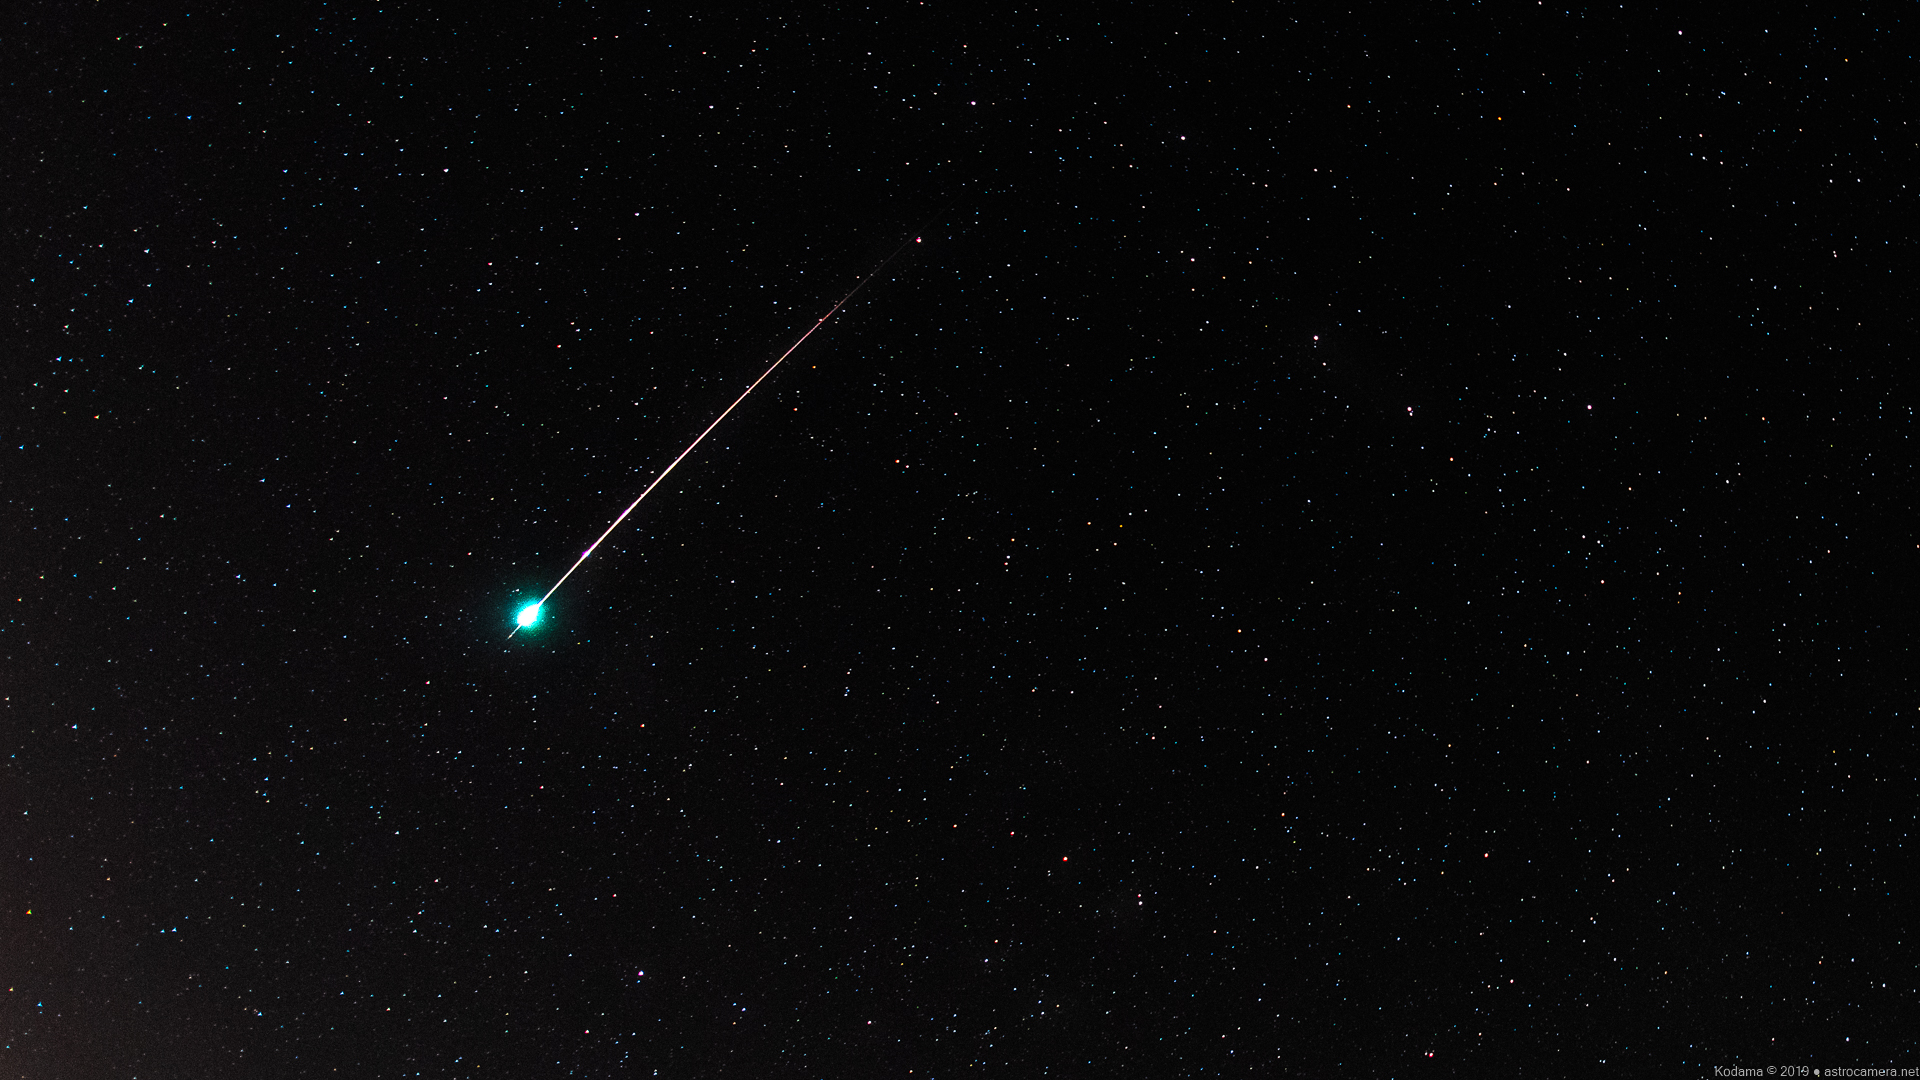

The photo above was shot towards the North. The outlines of the large and small dippers have been added for reference. This exceptional meteor terminated in an explosion (but no sound) bright enough to light up the landscape. This type of meteor is called a bolide.
It should be obvious that the farther away you get from man-made lights, the better off you will be, but be mindful of haze too. Dust, air pollution, or ocean spray cause any light to be scattered, decreasing your contrast. Since meteors are generally dim and fast-moving, maximizing your contrast is a key to success.
During a meteor shower, meteors appear to emanate from a fixed point among the stars called the radiant, but they can appear all over the sky (depending upon the angle at which they hit our atmosphere), so using a wide angle lens is the best strategy. Actually shooting directly at the radiant is not necessarily the best strategy, since the meteor paths will appear shorter. Aesthetically, it’s also beneficial to be able to include some of the landscape in your shot. The third benefit of a wide angle lens is that if the camera is set on a fixed tripod, less star-trailing will occur during your exposure.
Shoot with your lens wide open to get as much light as possible into your exposures. Meteors are fast and dim, so give yourself the best chance of photographing one by shooting it wide open, even if you are sacrificing image quality at the edges of the frame (time to shop for a better wide lens?).
If you have an extremely sensitive camera (e.g. Sony), you could shoot real-time video, but you will end up with a smaller frame (2K, typically), noisy, compressed video, and large files. So, I recommend that you shoot raw + JPEG frames in manual mode. The smaller JPEG frames are recommended for fast browsing of the frames after the shooting session and as a backup. As a starting point, try ISO 1,600 with 20-second exposures, and look at some test frames to adjust the settings for your camera and sky conditions. Check your camera’s histogram to make sure your exposure is long enough to bring the sky’s background level above the shadow end of the histogram to ensure that you will catch dim meteors. With luck, you will also capture the ionization trail of a bright meteor.

Also, examine your test frames at the highest possible resolution to ensure that the stars are sharply focused (don’t believe the infinity mark on the lens). To minimize potential problems, tape your lens focusing ring in place for the night.
Be aware that the exposure you choose is a tradeoff parameter. Longer exposure means stars will be more noticeably trailed, but it has the benefit of decreasing the dead time between frames as the camera writes the image to your memory card. To some extent, you can also decrease the dead time by using a fast memory card. To minimize star-trailing, bias your frame towards the pole rather than trying to straddle the celestial equator.
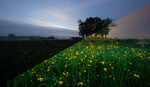
If the moon is out, as it will be for much of the night for this year’s Lyrid meteor shower, it doesn’t mean that you can’t try capturing photos. In a haze-free sky, simply aim away from the moon, use your lens hood, and shorten your exposures. Take a few test shots to ensure that the moon isn’t causing a lens flare, and consider where the moon will be over the course of the night. For this year’s Lyrid shower, the moon (a bit more than half-illuminated) will be in the West while the Lyrid radiant point will be rising in the East after midnight. On the plus side, the moon will be illuminating the landscape in your shots. The situation is similar to the conditions pictured below in the August 2020 Perseid meteor shower.


Capturing a good meteor shot is a lot like fishing. It takes patience, persistence, and lots of luck! Fortunately, your camera can do a lot of the work. Many modern cameras have an intervalometer built-in (e.g. Nikon D850), but if yours doesn’t have this feature, an inexpensive external intervalometer can be used. Plan to shoot all night and end up with several hundred (perhaps more than a thousand) frames. Of these, in one of the major meteor showers, perhaps 50 will contain a meteor, but typically, I get less than two good meteors (bright and well-framed).
Batteries are another point to consider when going out to shoot meteors. Your camera, intervalometer, and a large memory card may easily allow you to shoot all night, but your camera’s battery will almost certainly run out after a few hours. If you use new, freshly charged batteries, you can minimize the number of battery swaps you need to make, but this becomes tiresome if you plan to shoot all night. To eliminate this last bottleneck in the imaging flow, use a large external battery, or an AC-powered battery eliminator. If you use either internal or external batteries, be aware that battery capacity is reduced by cold temperatures.
If you’re using an external intervalometer, keep in mind that it will have its own battery to worry about. These generally take very little power and last all night, but use a fresh set of batteries to eliminate unwelcome surprises.

Don't let a few clouds shut your meteor shooting session down. Bright ones can still be picked up.
Now that you have a fully automated imaging setup, you could go to sleep! But, if you haven’t seen a meteor before, you may want to set your cot out under the sky to watch the show. Just be sure to dress warmly, no matter how comfortable you feel while setting up your equipment. Even with no breeze, a clear night will chill you down as soon as you stop moving. And be sure to avoid using your flashlight or looking at your phone or camera’s display even momentarily. It takes as much as 30 minutes of darkness for your eyes to reach maximum light sensitivity.
At the end of the night, you’ll have hundreds of frames to process (check in later for a follow-up article). Perhaps that sounds like a lot of work, but you have all the material you need to make a time-lapse movie too!

Thanks for this article!
I wish that I had the luxury of being able to stay up late (and hopefully clear skies) to try these techniques, but unfortunately, I have to be up at 4:30am to get ready for my real job.
Good luck to those that can try!
You don't necessarily have to be out on the peak evening. The rate of meteors will be lower, but the shower is already active. On Saturday night (4/10), despite a lot of clouds, I was able to capture two Lyrid meteors.
The best night for me will be the 19th (don't have to be up so early for work). Maybe I'll have clear skies and some decent luck!
Any tips on focusing on the stars in the background? Or the the Milky Way?
For really wide-angle lenses, you can just determine the true infinity position once and mark it on your lens, so you only need to do one of the following steps once. Just be sure to use the center of the frame for checking focus, and point high in the sky so the atmosphere doesn't add to the difficulty.
For this, I would first try to use live view at maximum magnification using an area where you have bright and dim stars (should be easy with a wide lens). Get the bright stars as sharp as you can see, then concentrate on the dim stars. Maximize the dim stars for best focus.
If your camera doesn't give you the clearest live view or doesn't give you good live view magnification, you can shoot a set of shots stepping through the expected focus point, then look at them in your computer at high magnification. Allowing the stars to trail in the shot will make it easier to decide what's the sharpest position.