
As is the case with most photographers, I have my usual go-to light modifiers that I know are a safe choice and can guarantee usable shots. However, sometimes, you need to step out side the box.
It's always good to have a reliable set of gear to work with, but this can sometimes lead to a rut where I just do the same thing repeatedly, and that can get boring. Not only is that just not fun, but when a photographer is bored, it most definitely shows in the final photos. Like everything else in life, we need to keep things fresh every now and then, so once in a while, I try to take a step out of my comfort zone by using modifiers that I rarely ever touch. Such is the case for me when it comes to the Profoto Magnum reflector!
The primary benefit of the Magnum reflector is that it works well as a sun replacement modifier.
Reference Images
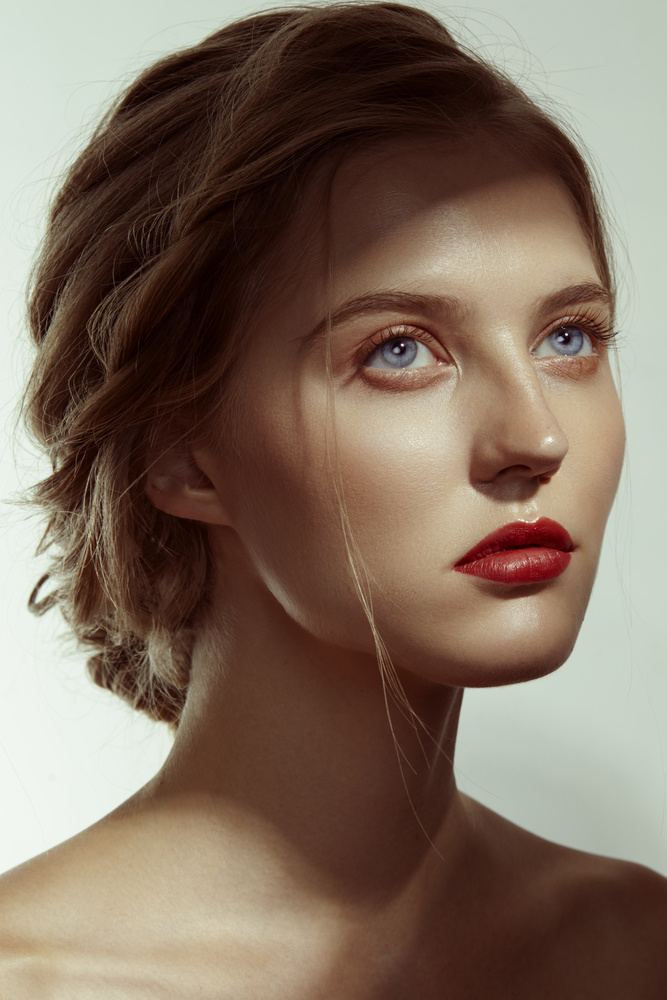
I saw images by Benjamin Kaufmann and really loved the lighting. I knew I would also want to get a girl with light-colored eyes for this, as they would really pop in this light.
As I was setting up the light, I knew I wanted to create hard shadows around the model, which meant a small source of light far away. With that, I fiddled around with the lights and just taking some time to get something that I was happy with. On my first try, I placed the light too close to the model, which caused the shadows from the boards to be too feathered instead of the clear lines I wanted.

With that in mind, I moved the light farther away, making the Magnum an even harder light source. This also allowed me to have the boards held farther away from the model while still creating harsh shadows. I had experimentation, progress, and was definitely not bored! All of that resulted in these images below!

Wanting to get even more interesting shots, I started having random things held in front of the model's face. How great are our jobs as photographers that we can have random things held in front of someone's face and they happily oblige?! Not everything worked, so it took a couple of attempts, but there were some cool films that were lying around in the studio and I really loved the effect they gave.


Equipment List
- Canon 5D Mark II
- Canon 85mm f1.8
- Profoto Magnum Reflector
- Profoto 5' Octa Softbox
- Profoto 8A and Pro Heads
- Silver Reflector
Lighting Setup
The main light was the Magnum, which was placed as far and high as I could put it from the model. As there was a limit to how high the light could go due to the ceiling, I also had the model sit down on the floor to help create a little more distance. Fill light was an octa from the front, and there was one more strip light placed behind the model to light up the background.

Hope this has been helpful!
Closing
Don't be afraid to try different equipment. Experiment, step outside of your comfort zone, and you might end up with something amazing! At the very least, you won't be bored.
Photography: Shavonne Wong
Retouching: Marco Verna
Makeup: Michelle
Model: Patricia Orchel


Nice feature. Thanks.
Glad you like it! (:
If you got your hands on a Profto MultiSpot and the attachments it will change your world of sharp shadow edges :) Also invite me over so I can play with it too . It is is too expensive to own :(
Haha so many things to play with, so little money to spend... Hahaha
Thanks for the BTS. Features like this are inspirations to get in the studio and try new stuff.
Here no problem! Glad it can help and inspire!
Nice work :)
Thank you!!
I really like that you’re shooting this with a MkII 5D as all too often we see blogs and tutorials where the equipment used is every latest version.
People are so obsessed with gear these days they convince themselves they need to upgrade every time a new model comes out.
My main camera is the MkIII 5D and I see no need to upgrade so long as it’s still working.
Haha yeah I still use my 5DMK2 for commercial jobs too. Unless they need to print my images billboard size (which usually equals budget for rental anyway), it's so far proven to be good enough. Not that I would say no to a newer camera though... Hahaha
I'm right there with you on only making necessary upgrades, but having had the 5D II, III, and now the IV, I have to say the amount of latitude in editing files in post with the IV (vs the III) is pretty great. I've also noticed an improvement in AF and the touch screen is nice too.
Very nice write up . Really like the professional looking work. Thanks for sharing.
Thank you! Appreciate it!
Stunning!
Thank you!! (:
Great results. Thanks for sharing.
Yay glad you like it!
fantastic photos!
Thank you!!
I would definitely love to try different equipment, but Adorama has that Magnum for $355, and hurting even more, the grid is nearly the cost of the reflector, $300. Whoever shoots with that setup is hardcore :0
Could try just renting (:
Or wait for chinese companies to make cheaper though strangely identical versions
try Honey Grids. http://www.honeycombgrids.com/grid-catalog/profoto-grids/profoto-magnum-...
Honey grids are *not* cheap. At all. I've been to their site looking for grids for my elinchrom softboxes and prices make my eyes hurt.
Lovely work Shavonne! Your articles are always top notch.
Aw thank you so much, that's lovely to hear (:
Shavonne Wong :) I was going to ask; what sort of material do you use for creating the nice shadows on you models face.
I don't really know what they are to be honest haha, I found them in the studio!
Love the results!
Thank you!! (:
Stupid question, but what type of boards did you use to block the light in the diagram? Foam, cardboard?
Nice pics by the way. Love the color photography one you did and this one as well.
Hey James! Haha I think they were plastic boards. Any black board that's opaque should be fine though!
Thank you also!! (: