If you enjoyed Nathan Elson's last short-from tutorial in his How I Got The Shot series, you're going to love this one. Moody with just the right hints of drama.
Continuing with his successful format, Elson uses his well-crafted 10 minutes to go behind the scenes, clearly illustrate his lighting setup, and then delve into the post-production of the image. This time around Elson works through two darker portraits:
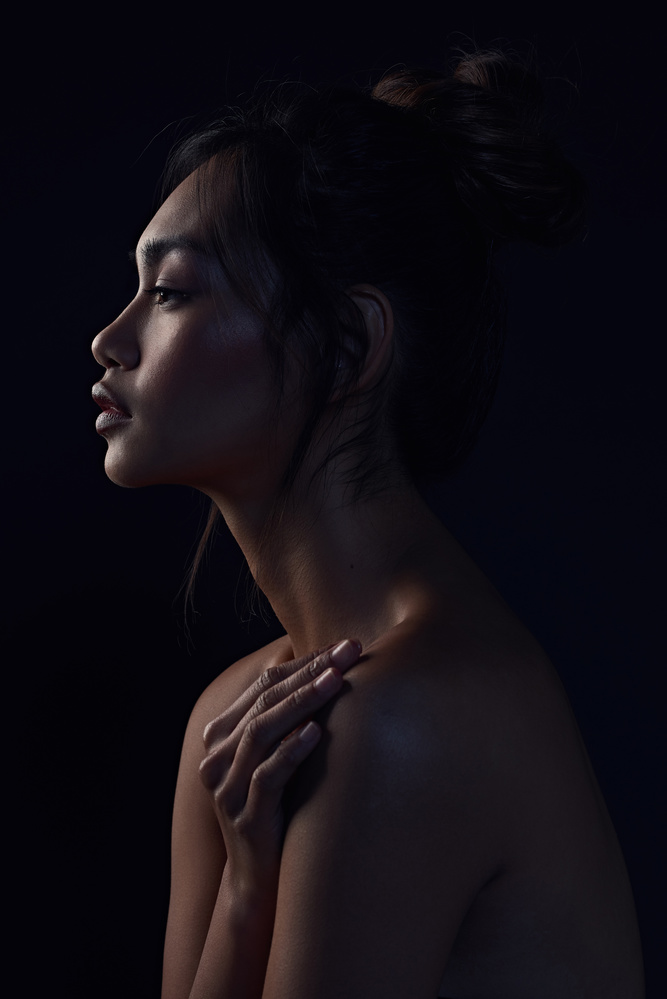
Nathan Elson, second final image.
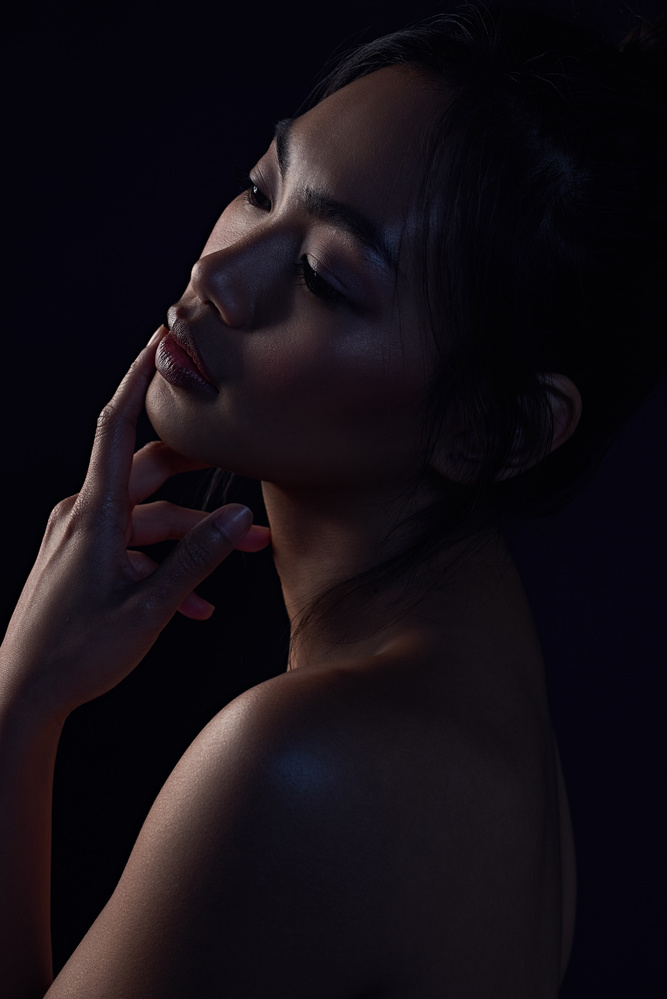
Nathan Elson, first final image.
Both images use the same lighting set-up with two flashes. First, the key light, modified by a parabolic umbrella is metered to f/8 and second, a fill light on a deep umbrella is metered three stops below the key, at f/2.8. Note how the key light is set to indirectly rake across the the model's face and torso.

Nathan Elson's two light set up.
What you can't see in the lighting setup, but, what shows up in such subtle terms in the images, Elson has added a gel to his fill light to provide just a tiny bit of drama to his shot.
Jumping into Capture One, Elson uses his own cinematic action to create a bit of punch to his color grading.

Nathan Elson, color grading before and after.
As Elson points out, there, isn't a huge difference, he just wants to add a tiny bit of visual appeal, a little intrigue. Subtle is the word of the day.
When Elson moves into Photoshop he takes the time to paint out the models right eyelid. This is where the gold is in Elson's short-form tutorial. Sure, we can all paint, so this isn't the interesting part. What's interesting is Elson's take on it. He's right. Looking at the RAW image, the eyelid is distracting. Looking at the finished image, you don't notice that it's missing.
I think that this is the most important take away from Elson's tutorial: minimal changes that don't jump out at you make for the most subtle final images. If you're into Elson's style, subtly is key. Your edits shouldn't be heavy handed, they shouldn't call attention to themselves, they should be just enough to gently pull you into the image. I'm thinking the blue gel and the edited eyelid.
Going forward, Elson is asking readers to help him select which image he'll prepare a walkthrough for next. Just head over to his IG account and leave a comment on the image you'd like to see in his next tutorial.
All images by Nathan Elson and used with permission.