
Using textures to enhance photographs is a creative technique that is often overlooked. The best part is that it can be achieved completely free and usually in a matter of seconds. A texture is essentially an image of anything with a relatively continuous surface. Examples include brick, scratched wood or metal, dirt, or even older film image like in my first example. It doesn’t need to be entirely uniform but the texture should be relatively consistent throughout to avoid being noticeable once it has been applied. Ideally you’ll want to create your own catalog of textures to refer back upon when it suits your edit. Anytime you see an interesting surface, take a shot and save it for later by tagging it with the keyword “texture” so you can search for it in your catalog. Below are two examples where I decided to use textures as a way of enhancing the mood or drama in my final image.
Using Textures in Portraits
Here is a shot taken last week of a Wesley Johnson, a model from my home town of Austin. The shot had a contemplative look to it and I felt that by adding a texture it would make it seem a bit more timeless. I opted for an old film photo found at a vintage store, an odd choice that ended up working well.

A strange, almost landscape looking image of an old film photo
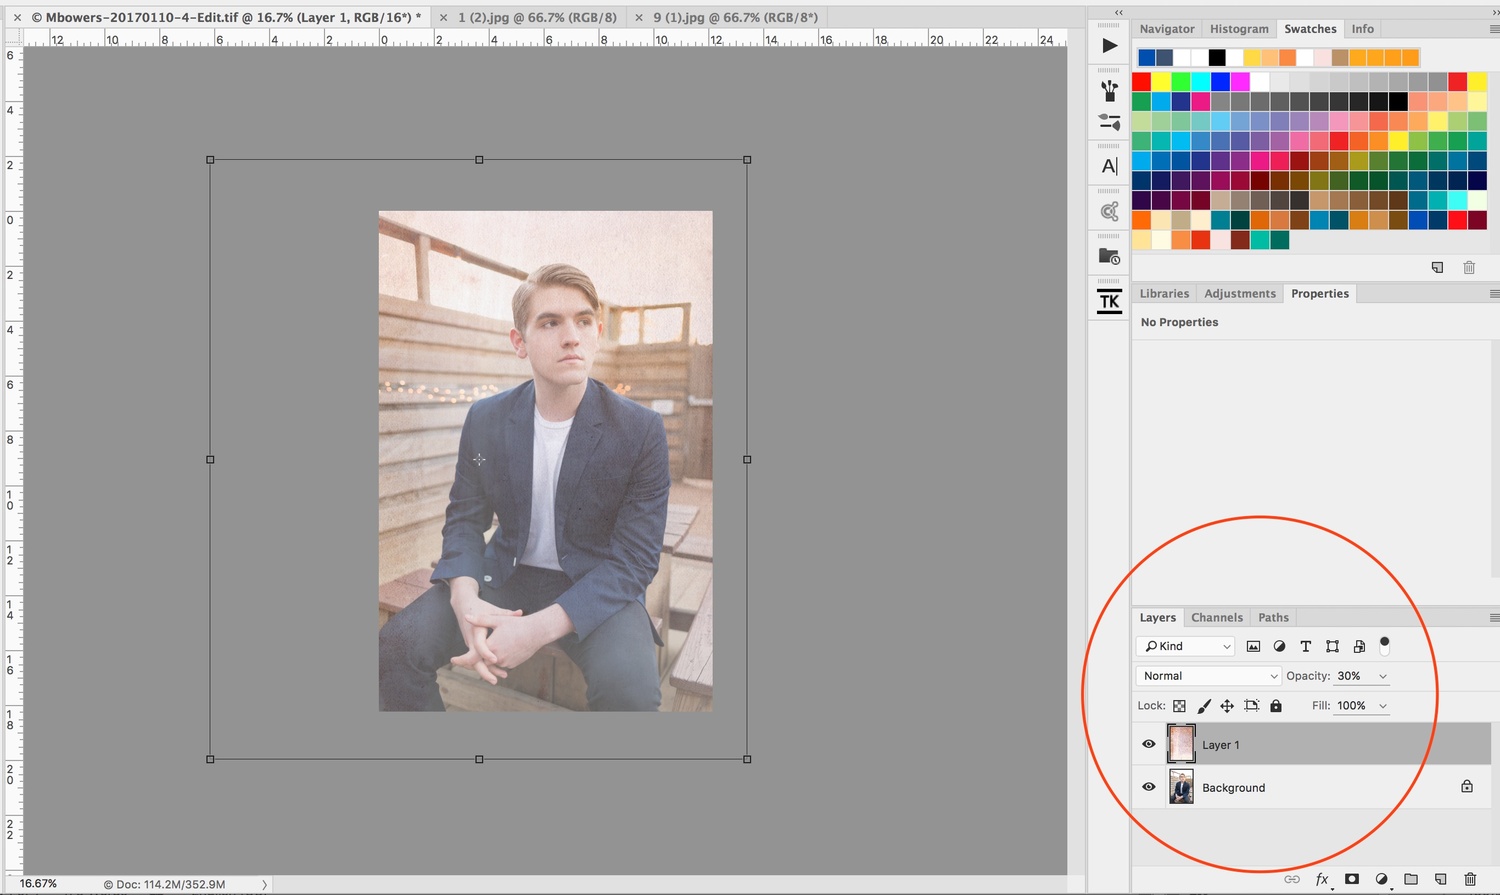
My Photoshop view including the texture layer on top. Here the opacity had been reduced but the blending mode was still unchanged. Noticed how far I stretched the texture layer outside the image to avoid unwanted spots


Using Textures on Landscapes
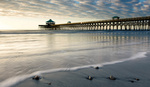
This next shot was taken in southern Colorado as a massive storm approached. The scene already had a ton of drama and I thought adding a texture would enhance the timeless feel of the aging building. The texture I decided on was a rocky patch of dirt that I literally stepped outside to shoot 20 minutes prior to writing this article.

A photo of rocks and dirt can work as a nice texture. This was taken with my smartphone as well


Using Textures in Google Nik Analog Efex Pro 2
An alternative to shooting or downloading your own textures is to use Google’s free plugin, Google Analog Efex Pro 2. This plugin has an incredible array of surfaces to choose from including libraries of dirt and scratches, light leaks, and photo plates. Furthermore, you can control the intensity of the effect as well as where it appears in the image using Google’s control points functionality. A quick free and very effective way to achieve the same results.

Google Nik's Analog Pro 2 plugin is free and has some amazing variations to play with
Summary
Often times it’s easy to forget this technique even exists but when used sparingly and with caution, it can create some amazing results that will help your photos standout from the occasional snapshot. Next time you’re editing, give it a shot and see what happens. You may be surprised.


Texture overlays are a great way to quickly add some film-era flair to otherwise sterile digital images. I remember the good old days of delivering paper developer via spray bottle to selectively reveal parts of an image. With digital it's much easier of course, but can be just as fun especially when creating your own textures for specific projects.
Jeff I couldn't agree more! I always forget about this technique so writing an article on the subject seemed a fitting reminder for myself and others. Please share if you found it useful
The one thing often forgotten is that in nine cases out of ten, the texturized image is photographically inferior to the original. But this fad, too, will pass.
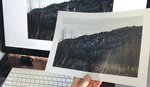
Hello, great post. I have one question however. Your last screenshot seems to show you're running Analog Effex Pro 2 as a plugin from PS CC. This I have not been able to do for a long time...If you have any tips on how to do this it will be greatly appreciated!
My Analog Effex Pro 2 shows in the filter menu. You might have lost it a while ago with one of the updates. Trying seeing if there is an older photoshop cc folder on your computer and look for the "Plug-ins" folder or try reinstalling Nik Collection.
If you are on pc look in c:\program files\Adobe\Adobe Photoshop "XYZ" then you can copy your plug ins over and try that way.
So for example my old folder is: c:\program files\Adobe\Adobe Photoshop CC 2015.5 and the new folder is: c:\program files\Adobe\Adobe Photoshop 2017 (if you are on Mac, sorry I do not know what folders Mac uses, but you should have a rough idea)