
Cyanotypes are a type of printmaking process invented in the 1800s by Sir John Frederick William Herschel, 1st Baronet KH FRS. What a name!
With a name and title like that and money at his disposal, he was able to spend his spare time working in math, astronomy, and chemistry. He was an inventor and a photographer and dabbled a bit in botanical work. He even named a few moons of Saturn and Uranus.
Herschel is the inventor of cyanotypes. Cyanotypes are most popularly used to recreate technical and architectural drawings. When used in this way, the prints are called blueprints because of the rich blue color of the paper.
Anna Atkins
Anna Atkins was the daughter of a friend of Herschel’s. Her list of job credits isn’t as long: she was a botanist and a photographer. But that’s totally alright; I am still a huge Anna Atkins fan.
Unlike the men of the time who were interested in photography to get rich or famous, Anna Atkins was more interested in the art of photography and the pursuit of knowledge. She collected local plant and algae samples and used these to create images, which she shared with her friends and family. She’s believed to have published the first photobook, and she’s also believed to be the first woman to create a photograph.
Making Cyanotypes
Materials
You’ll need a few things to get you started. Firstly, you’ll want a substrate to create your images. You can purchase these pre-made with the emulsion on them, as part of a kit to make your own, or just the chemicals and use your own papers and brushes. Speaking of papers and brushes, you’ll need papers and brushes. I found a brush with a sponge tip worked best. I also used paper intended for watercolors. As a note, I personally didn’t use a kit, so can’t comment on pre-made emulsions. If you do opt to go the kit or pre-made route, I’d be keen to hear your thoughts in the comments.
You’ll need botanicals or printed clear sheets with images on them for your print. Finally, you’ll need a pane of glass as big as your print size to weigh down your prints.
The Substrate
The process uses two chemicals: ferric ammonium citrate and potassium ferricyanide. If you have a pre-made substrate, then you can skip this step. Otherwise, read on!

To begin, you’ll need to prepare your emulsion onto a substrate. The chemicals are generally mixed in equal amounts (or if store-bought, please use caution and follow the instructions on your kit). As with anything, proceed with caution and read the safety information on your specific items. The mixture is then painted on a substrate, such as watercolor paper. This paper with the emulsion is left to dry in a darkroom. I know of artists who have painted on other substrates, such as fabrics, to varying degrees of effectiveness. I have not done this personally, so if you do go this route, I’d be really keen to hear further (in the comments). To clarify, this can be done in a dark room or a darkroom.
The Images
As with the anthotype process, you are welcome to use plants or objects to expose your film. Alternatively, I worked digitally before transitioning into the darkroom. First, select the digital image you’d like to print. Be wary that this is a two-tone process (your final print will be blue and white), so you’ll have to work with a digital image that is also two-toned (black and white). For your digital image, start by converting the image to black and white if it isn’t already. Next, convert your black and white image into a negative image. Note that parts of the image that are black will be printed white, and parts of the image that are white will be printed blue.


I had my negatives printed at my local printing store onto clear plastic sheets; you are welcome to do the same or purchase similar sheets to print at home.
Exposing Cyanotypes
In a dark room, cover your dried emulsions and place your negative on them. This can be botanicals or your clear transparencies. Cover this with a piece of clear glass to weigh it down. Put all of this under direct sunlight for about 15 to 25 minutes. Alternatively, you can place this under a specialized UV bulb.


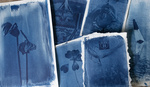
Cyanotypes after being exposed (left) and after being washed and hung to dry (right).
After about 15 to 25 minutes, wash your exposed prints under lukewarm running water. Yes, literally wash them. The parts that were covered should expose as white(ish), the parts that were left uncovered and exposed to the light should be blue(ish). Hang your wet prints to dry in a dark(ish) room.
Whereas anthotypes fade after some time, cyanotypes do not. They are more archival than anthotypes, so you’ll get to enjoy them for quite some time. Like with printed images, try to avoid displaying them in direct sunlight.
Final Thoughts


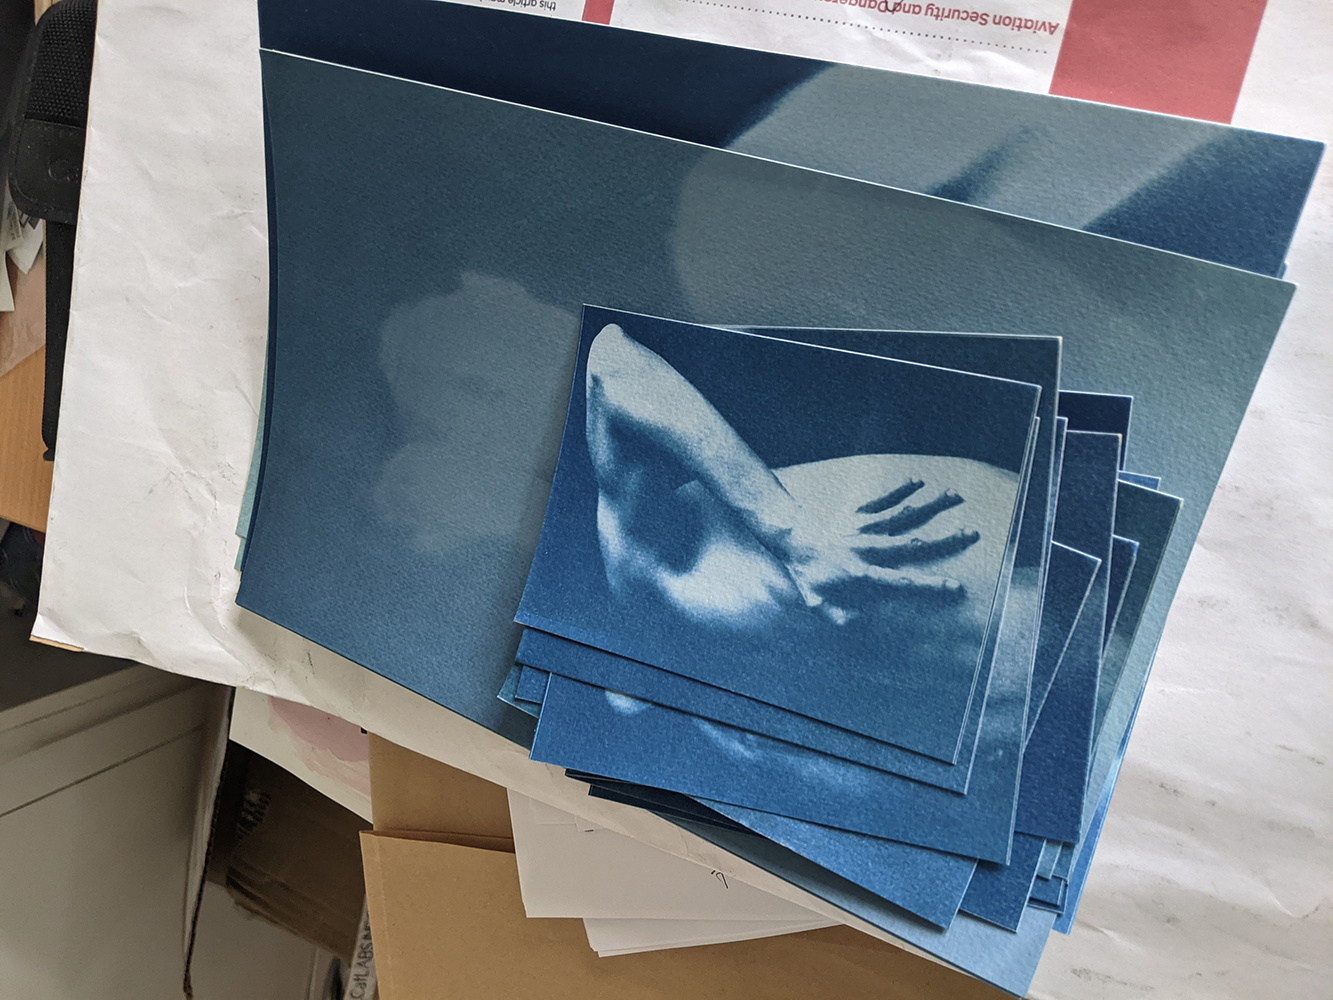
Cyanotypes scanned as well as in situ.
Cyanotypes are mechanical and chemical processes intertwined with a human element. Because of all the intricacies of the steps, there is a margin for error, and not each print is exactly the same. As a tip, though: if you are working on a series and want each print to be the same (or very similar), then work on a larger sheet of paper as your substrate and print most of your series onto that.
I know I’ve had streaks from brushes or just random areas I’d left unpainted (even though I will swear up and down I had painted them). I’ve also had weird things happen where I didn’t clean the glass properly or accidentally dripped water onto my drying prints. There’s a lot that can “go wrong,” but that’s all part of the process. You have to embrace all these minute differences and accept that each print will be unique and thus special.


I rather like the brush strokes, especially with the images that you used for these! I think it adds to the movement and ethereal feel of the images.
Thanks Abby! I agree too. The little mistakes and brush strokes or splashes of water also bring a materiality to the images. Two images processed exactly the same way with this process still won't be the same.