
Sharpness: it's what we all want from our photos and it's something many of us obsess over. If your shot out of camera isn't quite as razor edge as you'd like, there are quite a few ways to get more sharpness in post-production. This method is by far my favorite.
Many photographers will vehemently argue that regardless of whether you have the most beautifully composed or well lit photo, if it's not sufficiently sharp then it belongs in the veritable digital dustbin. Cameras and lenses these days can produce incredibly sharp images but sometimes you just want to do a little more with what you've got. Or there may be circumstances where you have a gorgeous photo that might just be a smidgen off perfect focus and you want to do all you can in post to turn it into a keeper. There are many options available but there's one I use time and time again and it has become my default technique for adding that little bit of extra sharpness to my images.
Before I begin, some honorable mentions for sharpening include the high pass filter, the Nik Collection output sharpener (free download available) and even Photoshop's default unsharp mask. At different times I draw on all of these but most of the time I use the method I'm going to explain today: using surface blur and blending modes.

The first step is to create a new base layer (ctrl + J if you're working from the background layer or ctrl + shift + alt + e if you've got lots of layers below). Once you've got that new base layer, duplicate it two times (ctrl + J) as in the image above.

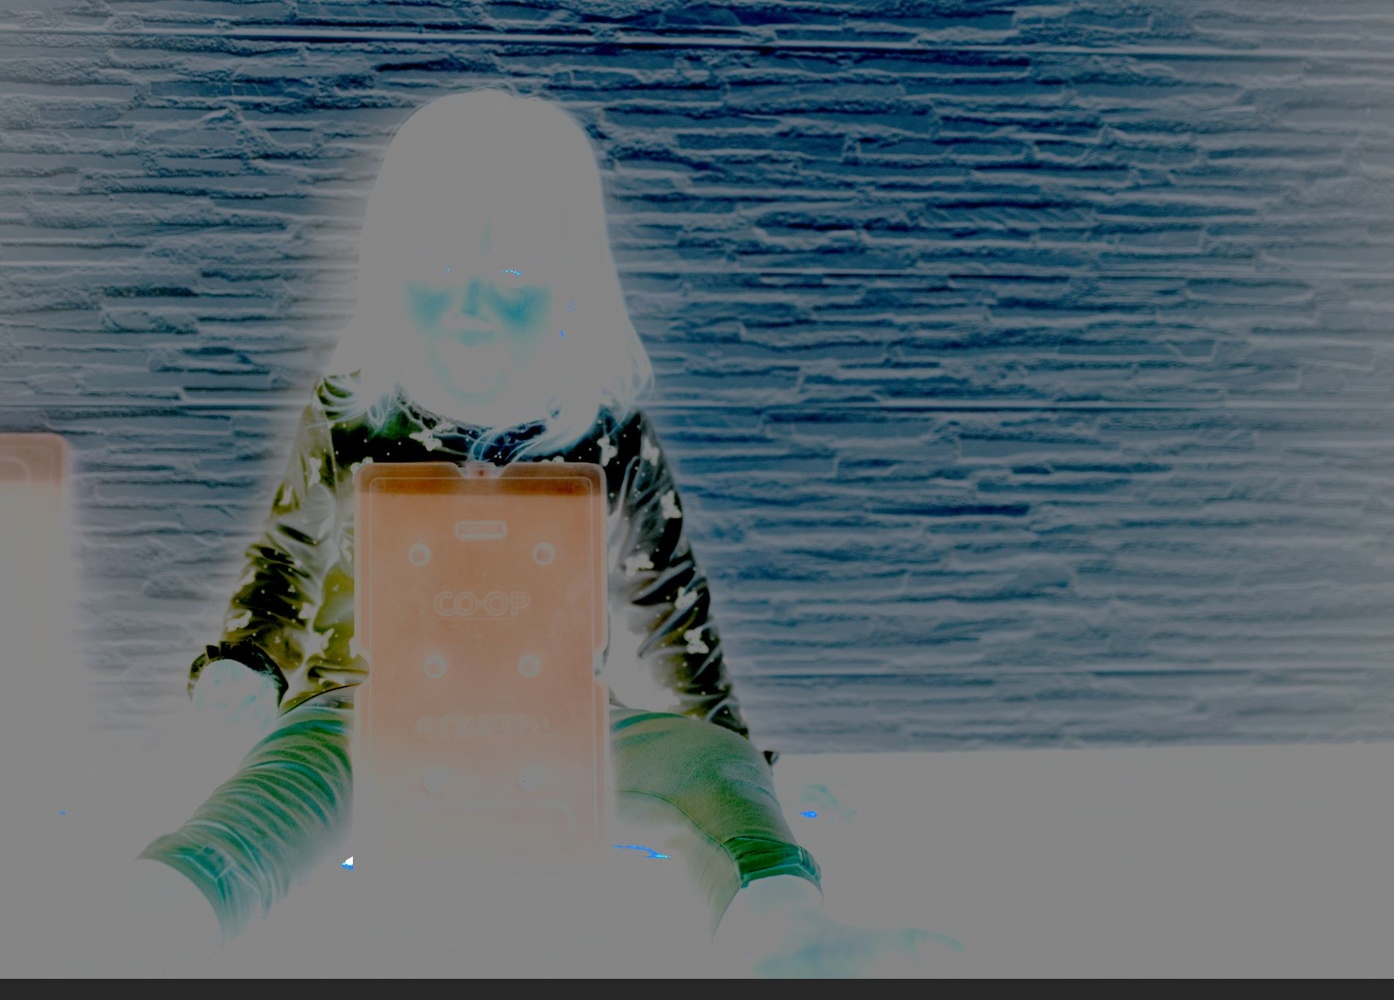
Then select the top layer and switch the blending mode to vivid light. Once you've done that, invert that layer (ctrl + i) and you'll get a psychedelic funky looking thing in front of you. Do not fret.
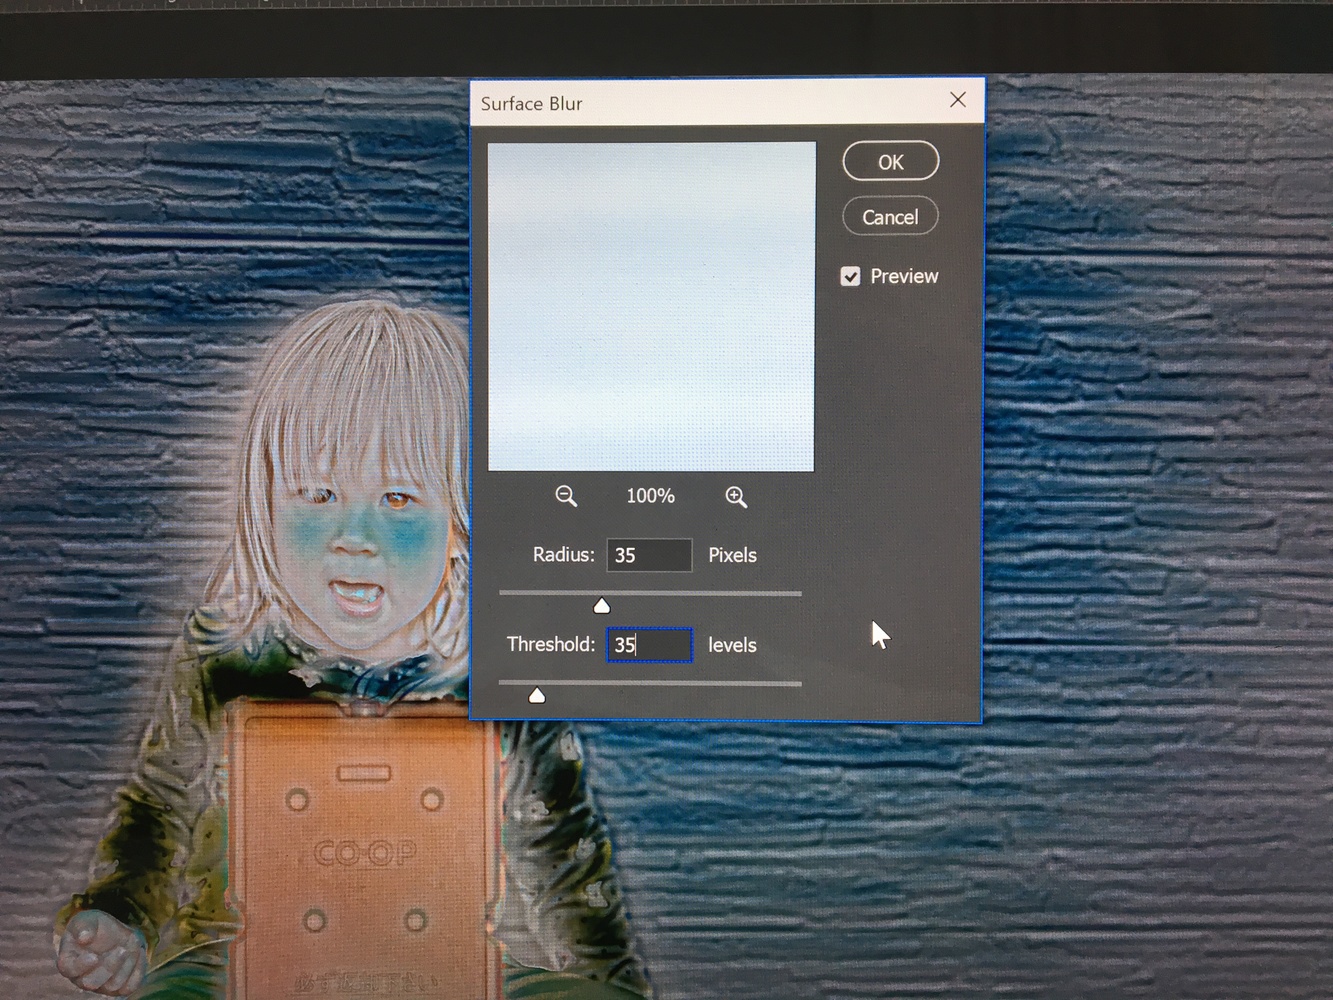
From there, go to the Filter tab up the top, then Blur > Surface Blur.

It's seems strange, or counterintuitive that you're choosing a blur option but because the layer's inverted, it's having the opposite effect. Once the Surface Blur dialog box opens choose a value between 30-40. I've tinkered with different values and by all means do the same for whatever suits your tastes, but I've found that 30-40 is about the sweet spot. Also, I've found keeping the same value for both Radius and Threshold is important. In the example below I've used a value of 35. Once you're done, click OK.
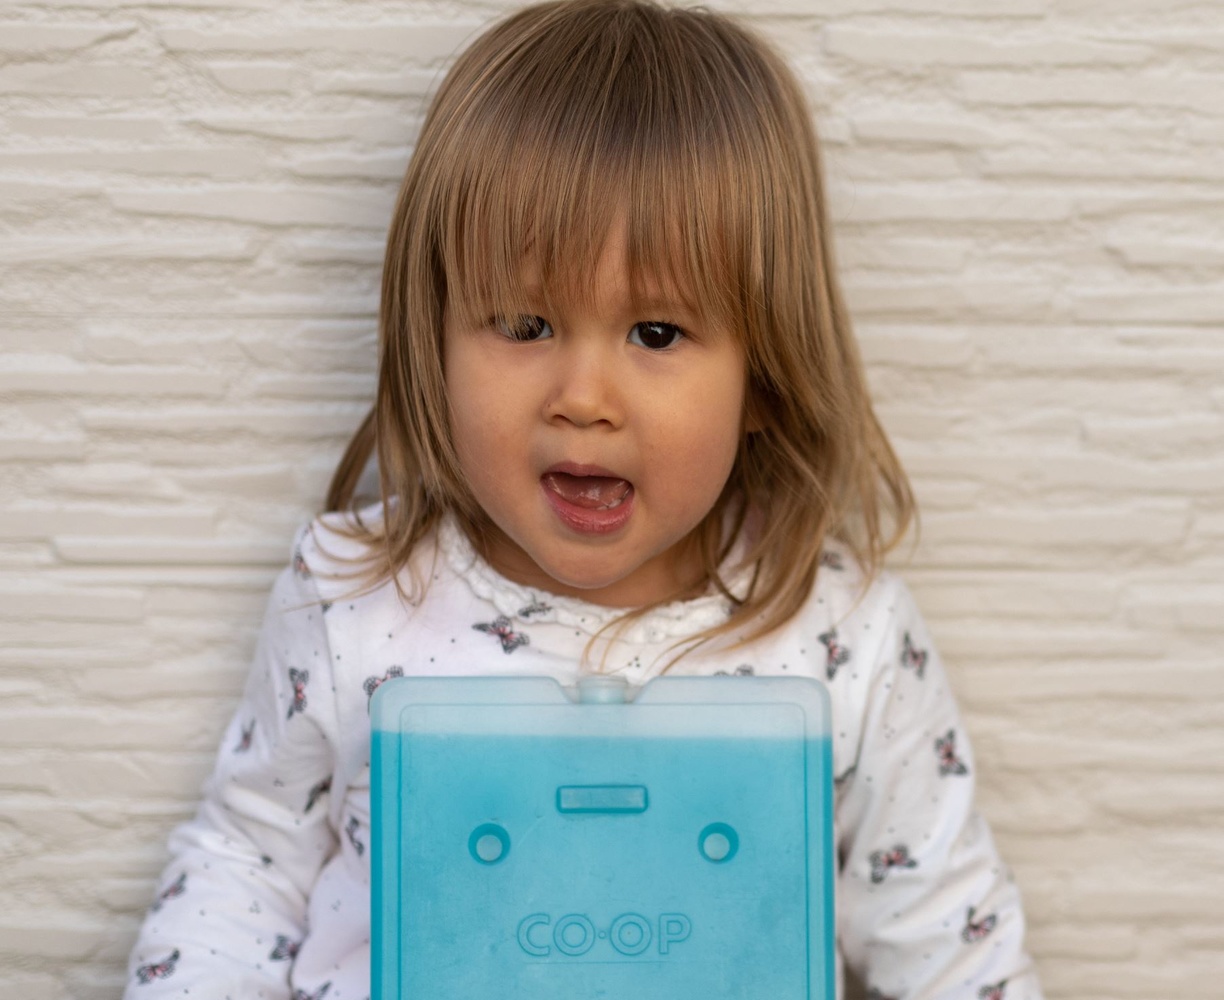
From there, with the top, inverted layer still selected, right click on the layer and then click Merge Down, so that the top layer merges with the layer underneath (duplicate layer 1). Then for that layer, choose the Soft Light blend mode. You'll see the result of your sharpening across the whole picture. Most likely it will look pretty ugly so you'll need to do some selective masking. As a reference, here's the first before and after once the initial sharpening was done.

With the duplicate layer (in Soft Light blending mode) still select, create a mask and then invert that mask. The mask should turn black, as in the image below.

When you invert the mask, you'll notice that the sharpening effect you just created disappears. That's because you inverted the mask. This allows you to mask in selectively on the specific areas that you want to sharpen. To do so, just select the Brush tool and make sure the colors are set to default black and white. Then make sure white is set to foreground (so you're painting with white) as in the image below.

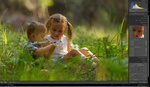
Set the Opacity and Flow of your Brush to suit (I tend to use about 20% Opacity and 15% Flow to start with and go from there) and then start brushing in the areas of your image that you want to sharpen. In this example I brushed over the eyes and the edges of the eyes as well as the lips and the front portion of the hair. This was a quick example so I haven't done any other editing but typically, with portraits, you don't want to sharpen the skin. With landscapes, I sharpen areas with edges and strong contrast points. For this example, you can see the before and after below. You can brush in to taste and even reduce the Opacity of your layer if you've gone too far.


And that's it. Once you've done it a few times the whole process barely takes more than a couple of minutes to get through. Using the Brush tool can take a little longer depending on what you're trying to bring in to sharpness, but I've found this method tends to give me the best results most consistently. As I said at the start, there are so many options available and by no means is this the one, definitive method you should use to sharpen your images. But it's nice to have an array of options and I like this method more than others I mentioned.
Please give it a try and let me know how you go. And if you have any other, better methods for sharpening I'd love to hear from you in the comments below.


Surface blur is a great sharpening tool!
I still think that it depends on the kind of image, though.
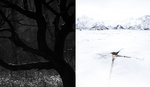
I use it mostly for people shots as it sharpens the skin really smoothly. On landscapes, I still prefer the high pass.
On grainy images at night, I also most likely use another method. Other than that, surface blur is great! :)
I’m not an expert in Multi Scale sharpening. Would you mind sharing how you do it and what steps you take? Thanks
Always have to laugh when people come up with roundabout ways to replicate the unsharp mask algorithm.
All of these methods are based on removing low frequency details, leaving only the high contrast areas, then just overlaying that on top of itself - thus it's not true sharpening.
If you want to stay inside Photoshop, usually smart sharpen is your best bet as it's deconvolution based and can control the noise. Otherwise, go with the new topaz ai stuff or Sharpen Projects.
Interesting article and thanks for posting. I'm sort of a sharpening nerd and like to collect as many different types of sharpening as possible. This is a good one that mimics the old method of sharpening in pre-digital days which used a blurred negative of the image; that's where the Photoshop unsharp mask got its name.
It's also worth using the BlendIf sliders on the sharpening layer with the method of sharpening you describe. It avoids sharpening the darkest and lightest tones and you can gradually introduce the effect in the mid tones.
Yeah as I said it’s certainly not the only way to do it, nor is it necessarily the best for everyone. Of all the methods I’ve tinkered with over the years this gets me the nicest results without visible artefacts.
I’m curious about the Blend If slider. At what stage would you use that in this process and how would you do it?