
If you're like me and love spending time both shooting and editing your images, why not get creative and refresh those deep-etching Photoshop skills when you've got a few hours in between projects? Composites look really neat, but there's a lot of work and patience that goes into it behind the scenes and if done correctly, it would look amazing and really take your conceptual photography to the next level. In this article, I'm going to talk about creating a composite step-by-step and to finish it off, I've recorded a retouching time-lapse of the process.
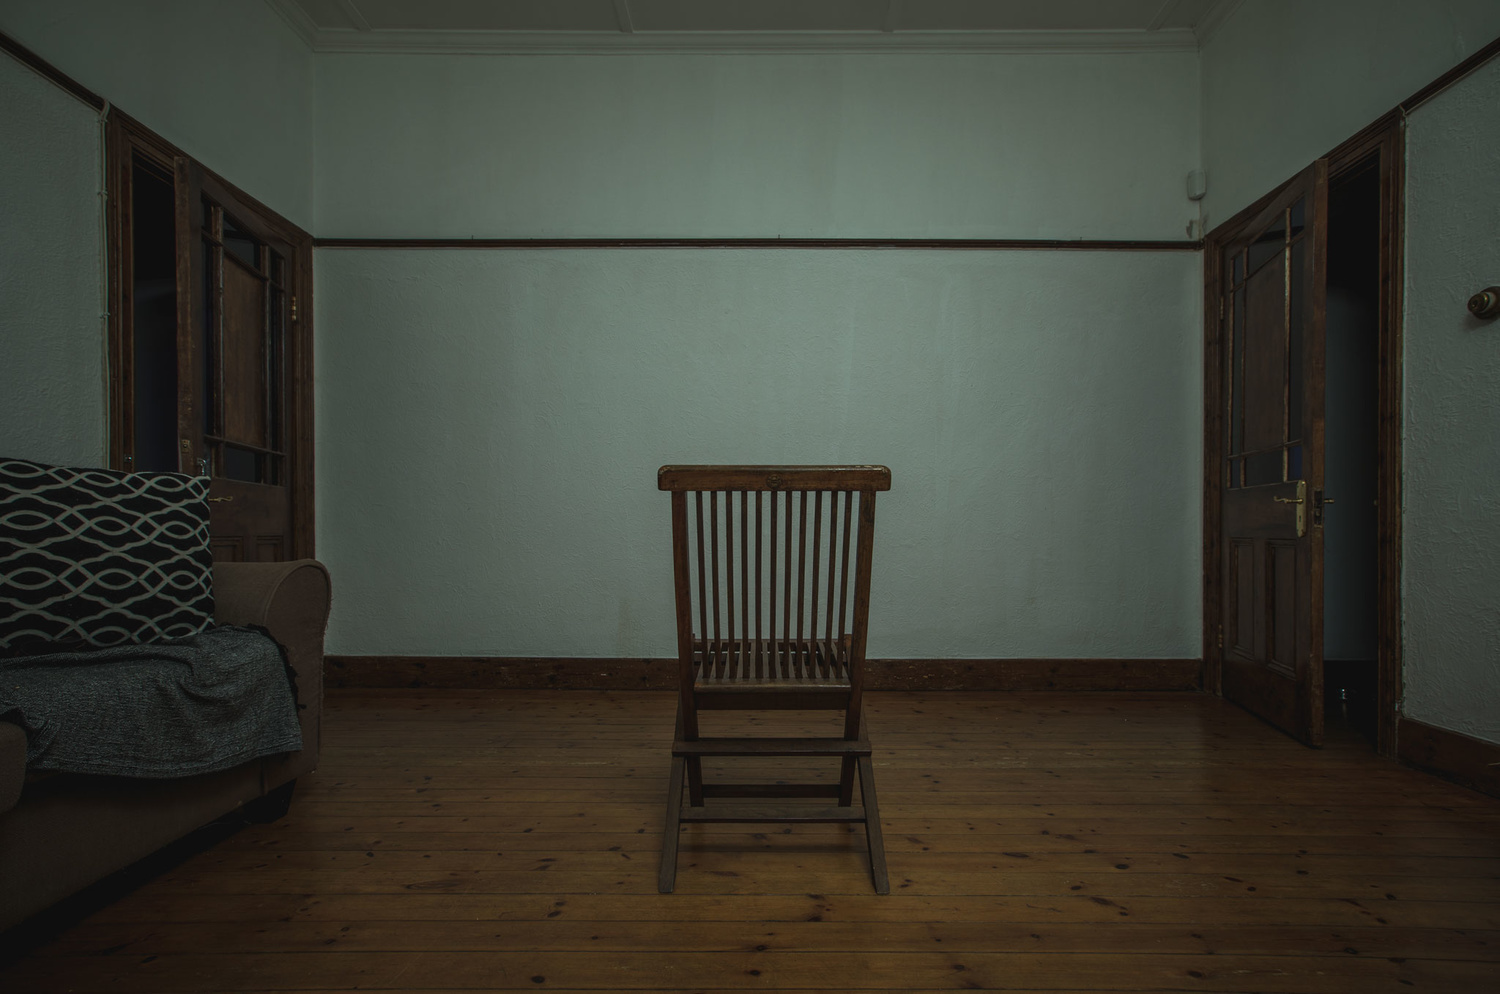
The first step is to choose your scene based on the concept of the image. Are you cloning yourself or your model in the boxing ring and letting them battle it out or are you creating a horror scene with weird arms and legs creeping out of dark corners?

As we are going to basically create a montage of images it's important to remember that the camera needs to be locked down in the same location during the duration of this shoot. Even a slight nudge will give you an endless headache when we try and line up the images later in postproduction. When you've locked down the camera, choose your lens, aperture, and shutter settings, and don't change anything in between shots. This will give you consistent quality throughout the range of images.
Also, make sure you've checked focus on your model. Create markers on the floor where you want your model to stand for each image. Once you've focused, do not change it again. Remember, consistency is key here if we are to fool our viewers into thinking it's one image.
The next step is lighting. Now for home use, I have these old Elinchrom D-Lites that I use, and they're great for a quick portrait here and there. They also come in handy to ensure the lighting is exactly the same throughout the image. If we were to shoot with natural light, we might see a shift in lighting position, shadows, and exposure and would render the image useless. Shoot in a studio environment where you can fully control your lighting and you should spare yourself a lot of trouble in post. And as I'm sure you already know, lock down your lights and do not move them between images.
Now you're ready to take your shots and start editing. But before you tell your model to start posing, remember to take a back plate first. The back plate is important as it gives us a clean background image in case you need the detail at a later stage.
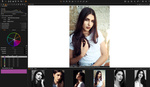
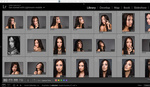
A lot of you use Lightroom for grading and sorting your images, but I prefer to use Photoshop for this one. Open up the series of images in Camera Raw, select all of the thumbnails on the left, and start making your adjustments. Once you've applied your corrections, you can click "Done" and let Camera Raw save an XMP file containing all the tweaks you've just made.
Our next step takes us into Adobe Bridge to open up our series of images as layers in a single Photoshop document. To do this in Bridge, select your photographs and choose Tools > Photoshop > Load Files into Photoshop Layers. Sit back and relax and wait for the process to finish.
Now the real challenge starts. Once the images have loaded into Photoshop, I usually start with the first image. Select your pen tool and start creating points around the model. This takes some time, so patience is necessary. Get up a few times, have a smoke break, but do whatever you need to do in order to get it done accurately. Once you've created and closed your path, double click on the Work Path in the Paths window. This saves your path and protects it from being overwritten when you repeat the process on the next image layer.

We now need to create this path into a mask. We do this by right clicking on the path we just created and select "Make Selection..." A new dialogue box appears with a feathering option. I prefer to feather my selection around 0.5 px as it creates a bit more of a natural feel around the edges of your mask. Once you're done there, click OK. You've now made your selection but one final step is needed in order for this to work. Look for the Mask icon at the bottom of the layers palette, and with the selection still active, click on the Mask icon. Suddenly the background disappears and we're left with only the model. If this is not the case, and you're left with a background and no model, simply select your mask by clicking on it and invert it by pressing control (Windows) or command (Mac) + i.
You should now have a perfect cut out of the first image you've taken. Now wash, rinse, and repeat the rest until your composite is done.
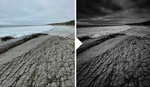
The only thing left is to now add some color grading to it. For this, I'll add a few adjustment layers, such as Curves, Hue & Saturation and Selective Color.

I'm looking forward to seeing your composites!


Masters at work