Regardless of how long you've been into photography, every so often, you'll wish you had tried a different setting, shot the photo with a narrower or wider composition, or shot a vertical orientation. I have a technique that I employ from time to time to ensure I get the perfect photo.
I don't always employ this method, but it is useful from every now and then, especially when I'm on unfamiliar ground. As you become more experienced with photography, you'll usually know what settings and composition to use for your photo. Usually. Sometimes, it just doesn't work out like you thought it would, and you end up wishing you had done something a little different.
Thinking of what that "different" should be at the time is sometimes difficult with all the possibilities there are for lens choice, compositional choice, and exposure choice. There's also the possibility that your "perfect" composition doesn't lend itself to various other print sizes like 8x10 prints or a square composition. This method also helps you avoid compositional tunnel vision.
This is why I'll sometimes employ my Insurance, Experimental, and Alternate photos techniques.
The Insurance Photo
The insurance photo is the shot that I "know" will work based on my past experience with exposure, the gear I'm using, and any pre-visualized ideas I had before the shot. The goal of the insurance shot is to get a good, usable, properly exposed, and sharp image. Once I get a "safe" image, I work on the other shots as time permits.
I use this technique often with wildlife. I compose the image and then take a shot at a safe shutter speed/ISO/aperture combination to ensure that I get a shot while the wildlife is still in front of me. I've had birds take off after taking just one shot, leaving no time for trying a different setting. I once had a couple kiss while standing in front of me before I could recompose the photo. They were a little close to the left edge of the photo, but it worked because it told a great story.

"Pier Love" - While set-up on a tripod and with a wireless remote, I was 10 feet from my camera when this couple walked into my shot, kissed, then walked away. I was only able to take one shot - the insurance shot.
Sometimes, all you get is the insurance shot, which is why it is called that. Once I get the insurance shot, I then start working on my experimental and alternate photos.
The Experimental Photos
The experimental photos are primarily aimed at getting a better quality version of the insurance shot, such as lower ISO (lower noise), a different depth of field, or a different shutter speed.
For example, my normal starting point for bird photography is manual mode, 1/1600 sec shutter speed, and the aperture at f/4 to f/6.3, and auto ISO. If I have time, I may roll the shutter speed back to 1/800, or up to 1/2000. After getting the insurance shot, my experimental shot would consist of lowering the shutter speed (for stationary birds) to get a lower ISO, less noisy shot.
In this barred owl example, I first shot it at 1/500 sec, f/5.6, ISO 800 for my insurance shot. I then started my experimental shots at 1/50 sec, f/5.6, ISO 100: it did not turn out sharp. I also shot at 1/250 sec, f/5.6, ISO 400, and that image was just as sharp as the 1/500 sec image, but with much less noise. This is heavily cropped so you can see the detail.
The Alternate Photos
Finally, I'll take my alternate photos. These photos may be anything from a composition that I didn't initially think would work to a full-out pano. Sometimes, the composition that you didn't think would work is actually one that looks better once you get home, and sometimes you just end up deleting them or saving them as bad examples.
I don't always take all of these variations, it depends on the subject and how much time I have.
The Wider Photo
Take a photo that has a wider field of view than the original. This sometimes is needed to produce an 8x10 when your original composition is a little tight. I've had to resort to this on more than one occasion for various sizes of prints.

"Cellphone Solitude" - Originally shot as a single row 4-shot pano, this image can't be cropped to 8x10 unless I were to extend the sky. Taking a wide version would have made an 8x10 possible since my double-row pano version of this failed to stitch.
The Narrower Photo
Opposite of the wider photo, this photo zooms in on the original composition and shows more detail. This can be useful in a number of different scenarios. I've had to resort to this photo when the original just didn't show enough detail or was not as sharp as I had wanted. Think minimalism.
The Panoramic Photos
Panoramic photos take longer to set up and shoot than a single image. If I'm shooting a really epic landscape, I'll often shoot a pano because I like 1:2 and 1:3 ratio images. If my insurance (original) photo was a pano, my alternate version photo would a single wide-angle shot just in case the pano failed to turn out.
The Vertical or Horizontal Photos
I've taken a few photos in the past only to get them on the computer and realize that a vertical composition would have probably been the better choice. I've also had people request a vertical print of an image for various reasons. Having both compositions allows me to choose later which one looks best.
The Different Focus Point Photos
Sometimes changing the focus point on an image can have a great impact on the feel of the photo. Also, you could take multiple photos and focus stack them later.
Conclusion
After you get your photos on your computer, you can analyze them and determine how you did. This can reinforce your choice that the original insurance shot was the "correct" choice, or it may teach you why the experimental or alternate photos were the better shots and influence what your insurance photo should be the next time you go out. I firmly believe that often you can learn just as much, or even more from a bad photo as you can from a good one if you analyze it.
Don't delete your "bad" shots until you've resolved to yourself why they didn't work as well as the insurance photo.
Do you have an organized method of taking experimental or alternate photos?


Get over it ... there is no perfect photo !!
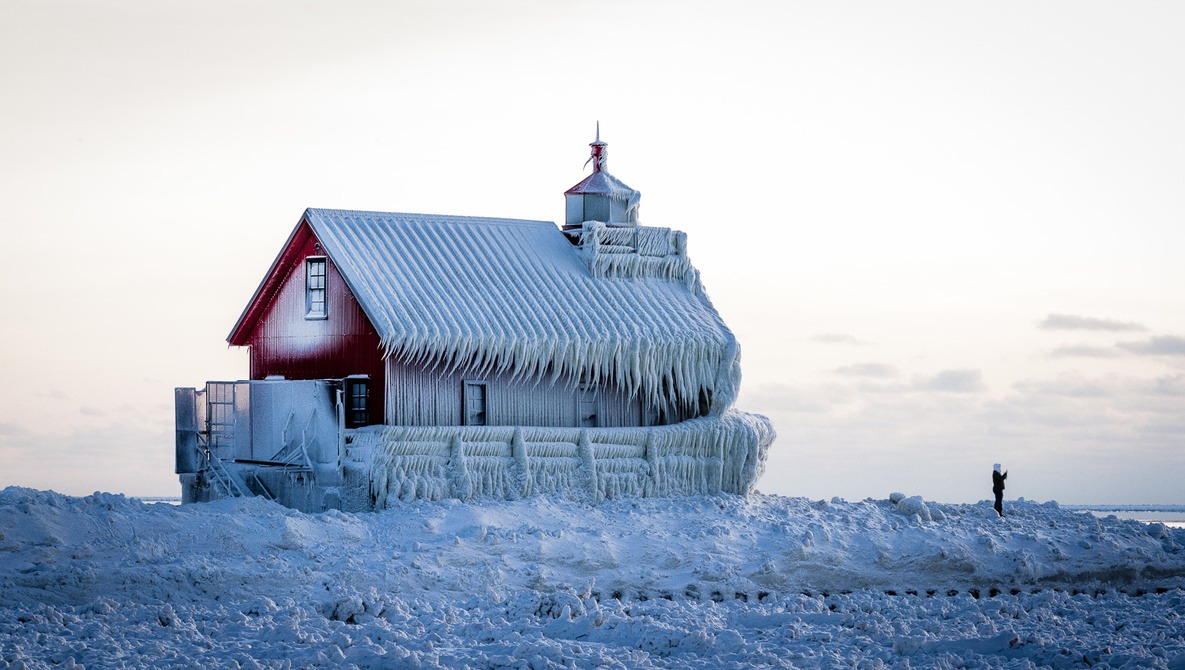
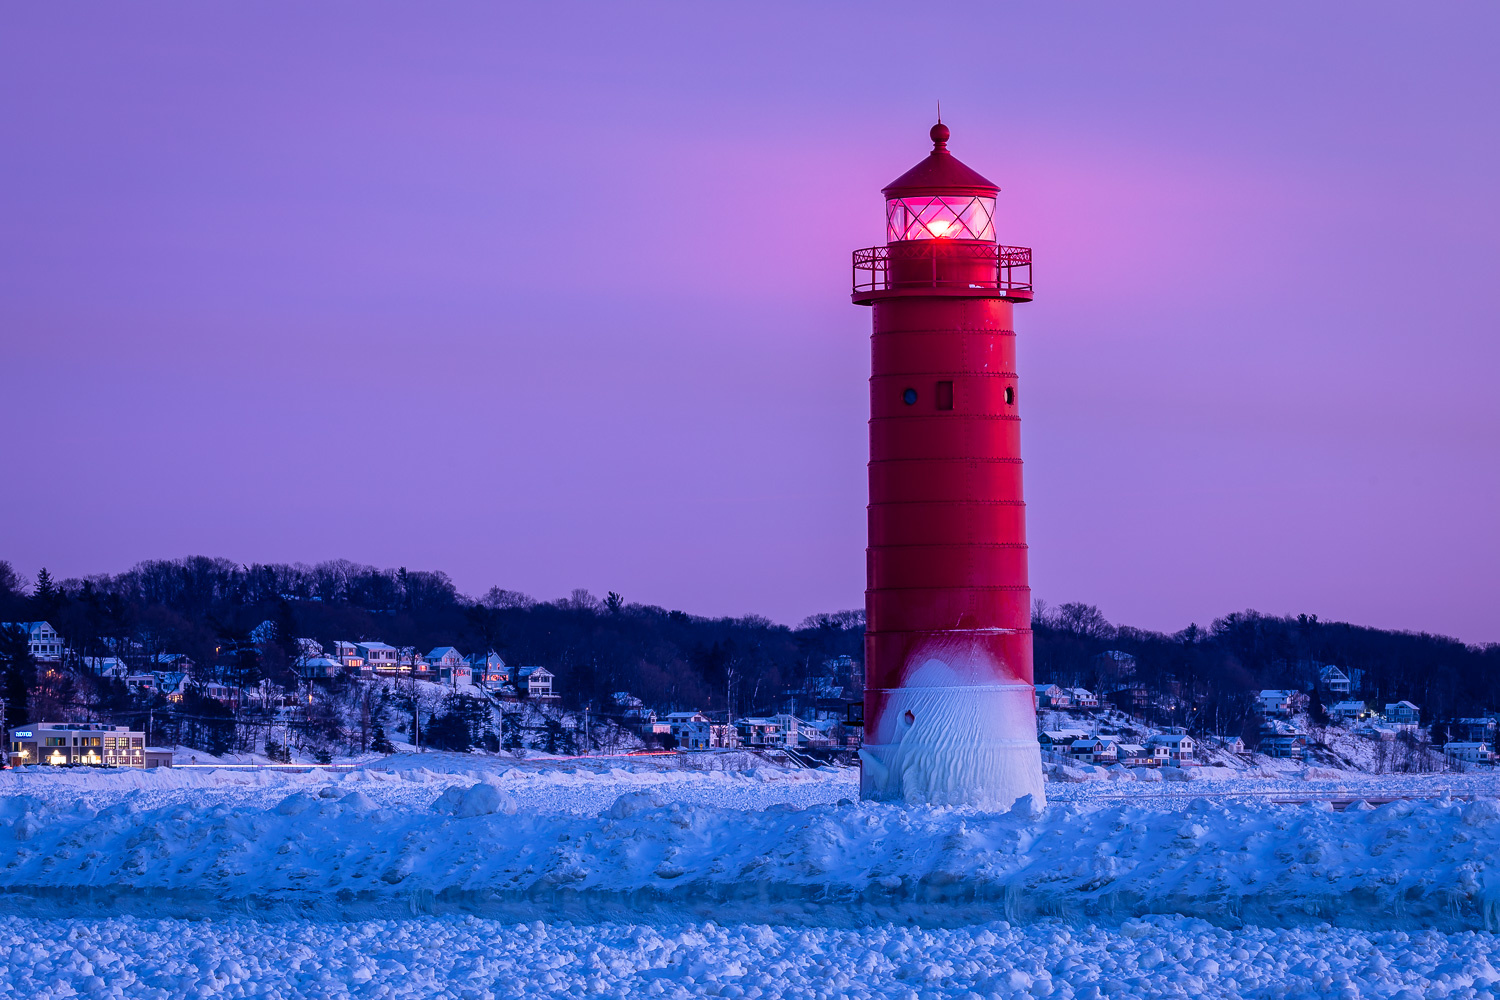
It's a good thing that photography is subjective. The lighthouse photo for example. Waaaay better as a landscape format than portrait. Context, colours and it's standing straight.
The first one with the seemingly forced colours and couple, I'd have cropped them out ion the shot, they're too far to the side of frame to be any use to the composition.
See, each to their own, perfect shot? If I ever get there I'll pack up and find another job/interest/hobby.
+1 - I was starting type my thoughts about the lighthouse but Rob had read my mind and beat me too it :)
Having an 'insurance' shot is a good idea.
BTW sorry to be a pendant, but I suggest you find an alternative.word to 'alternate', which means something completely different.
" ... sorry to be a pendant ... "
:-)