
The Internet is full of articles and videos telling you what technique will revolutionize the way you add sharpness to your images, but almost none of them tell you the most crucial step to take before sharpening, no matter the technique. In this article, I’ll show you this simple yet essential action to make your sharpening genuinely efficient.
Sharpening is great practice to make the texture more visible, to correct any lack of sharpness, or to emphasize the impression of depth in your images. However, when poorly used, it can make someone’s hair looks gray, it can create moiré when there was none in the original shot, or make details you don’t want people to see more apparent. Most of the time, the issues that people attribute to sharpening are actually an issue that comes from how and when sharpening is applied.

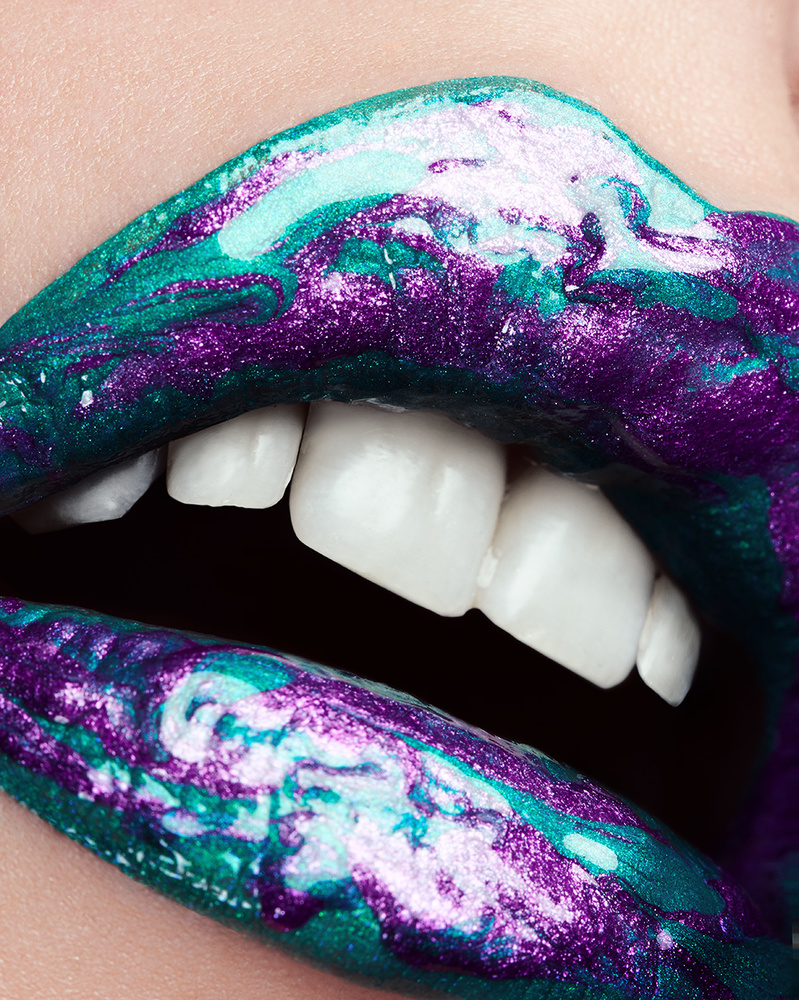
Both images above were sharpened using the same method, with a similar amount of sharpening according to their sizes. The difference between these in the final result comes from one being resized after sharpening was added and the other one before. Notice how the tiny glitter in the first image is a lot more visible even in the areas that are slightly out focus. It may not be extremely apparent after web upload and JPEG export, but the first image also shows a halo around some of the contrasty edges.
I’m guessing with the above paragraph you figured out what the crucial step before adding sharpness is: resizing your file for its final use. There are multiple ways to do this.
Best Practice for Sharpening with Photoshop
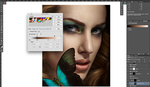
In Photoshop, I find the best way is to create a different file for each final support. I’ll retouch my file in full resolution in 16 bits, and then create one file for each format my client requires. Let’s say he wants the picture in 1800x1800px in sRGB for Instagram and also in full resolution in AdobeRGB for print; I’ll then create one file for the Insta format and another for print. To create a copy merge of your current edit, press cmd/ctrl+shift+alt+e, and then in the two new files simply press cmd/ctrl+v to paste. Once you pasted your edit, resize your file, and add sharpness however you feel like is best for your needs. It could also be the time to do any color correction needed due to a potential color profile conversion – say if you need to offer a file in CMYK or change from AdobeRGB to sRGB.
Sharpening for a Specific Support Using Capture One
If you rely on Capture One for your raw files processing, you could also take advantage of its export feature that lets you add sharpening accordingly to final support – print or digital display. When creating your process recipes, go to the adjustments tab of the process recipe tool, and set the sharpening option to the desired value. Make sure to use the proofing option of Capture One 10 and 11 to see how the exported file will look with the options you’ve selected. For a more in-depth guide of how to add sharpening using Capture One, be sure to watch the following webinar:
The advantage of using Capture One to set sharpening according to your file dimensions is that you won’t need to create multiple TIFFs or PSDs, the software will export the same edited file in different sizes with different settings for you. You’ll thus save space and time as well. The advantage I see of using the Photoshop technique is that you can add sharpness selectively to each file, but it could be done in Capture One as well using variants and local adjustments though.
Next time you’ll want to add sharpness to your images, keep this article in mind. Adding sharpness after resizing your file is best to avoid any oversharpening artifact and deliver the best quality possible to your customers and audience.


I highlight the layers then duplicate layers- destination new then resize and sharpen then no merge is necessary still have layers for both images.
All this is true, nice and well BUT ... (yes, the very infamous "but" strikes again :D ) I find it completely useless to bother with optimal sharpening for all resolutions, except for a client which I definitely know will look up for these things (and the rest of the world just won't notice anyway).
This is because it brings constraints and significant amount of clutter to your workflow and hence more time and headaches. So usually I will only create one full resolution image that I sharpen and that's it.
The fact is you don't know how clients manage their files and if they really take the care and time to select the intended version for each use. And surprisingly, I know for a fact that more often than not, they use the same "full rez master version" and just let the next parts of their workflow scale the images as appropriate.
So why bother ?
I prefer the 'Before' picture. I like how it's sharpened.
Should mention that Lightroom does exactly the same thing - sharpens according to output size. Also, this 'resize before sharpening' has always been the case, right back to pre-Adobe days. You absolutely cannot generically sharpen a file - it must be done at the final size. Which is also one reason why in-camera jpegs are so limited.
Good info.