A few months ago, I wrote an article about using Lightroom calibration to create magic in your images but found out from many readers that this feature sadly didn't exist in Lightroom mobile... or does it?
Technically, Adobe removed "Mobile" or "CC" from the official name of their cloud-based Lightroom software, but to make things less confusing for you and me, instead of calling it by the official title, I will be using Lightroom Mobile. In case you need a refresher or you missed the original article on Lightroom calibration, you can find it here. I will be referencing that technique quite often throughout this article, but really, all you need to know is that magic happens when you increase the blue saturation in the camera calibration panel. One question or comment I received quite often is if this technique worked in Lightroom Mobile, and I couldn't personally answer because I had never used the program before.
Earlier this week, during my live stream, I finally got around to giving it a try and confirming that the calibration panel doesn't exist in Lightroom Mobile, which was somewhat disappointing. As I continued learning the differences between Mobile and Classic, I realized that the photos I had edited within Lightroom Classic still had the calibration settings applied once I synced them into Lightroom Mobile. Yet those settings don't actually exist within the mobile version, so how did they carry over? I was intrigued.
Setting Up Adobe Sync
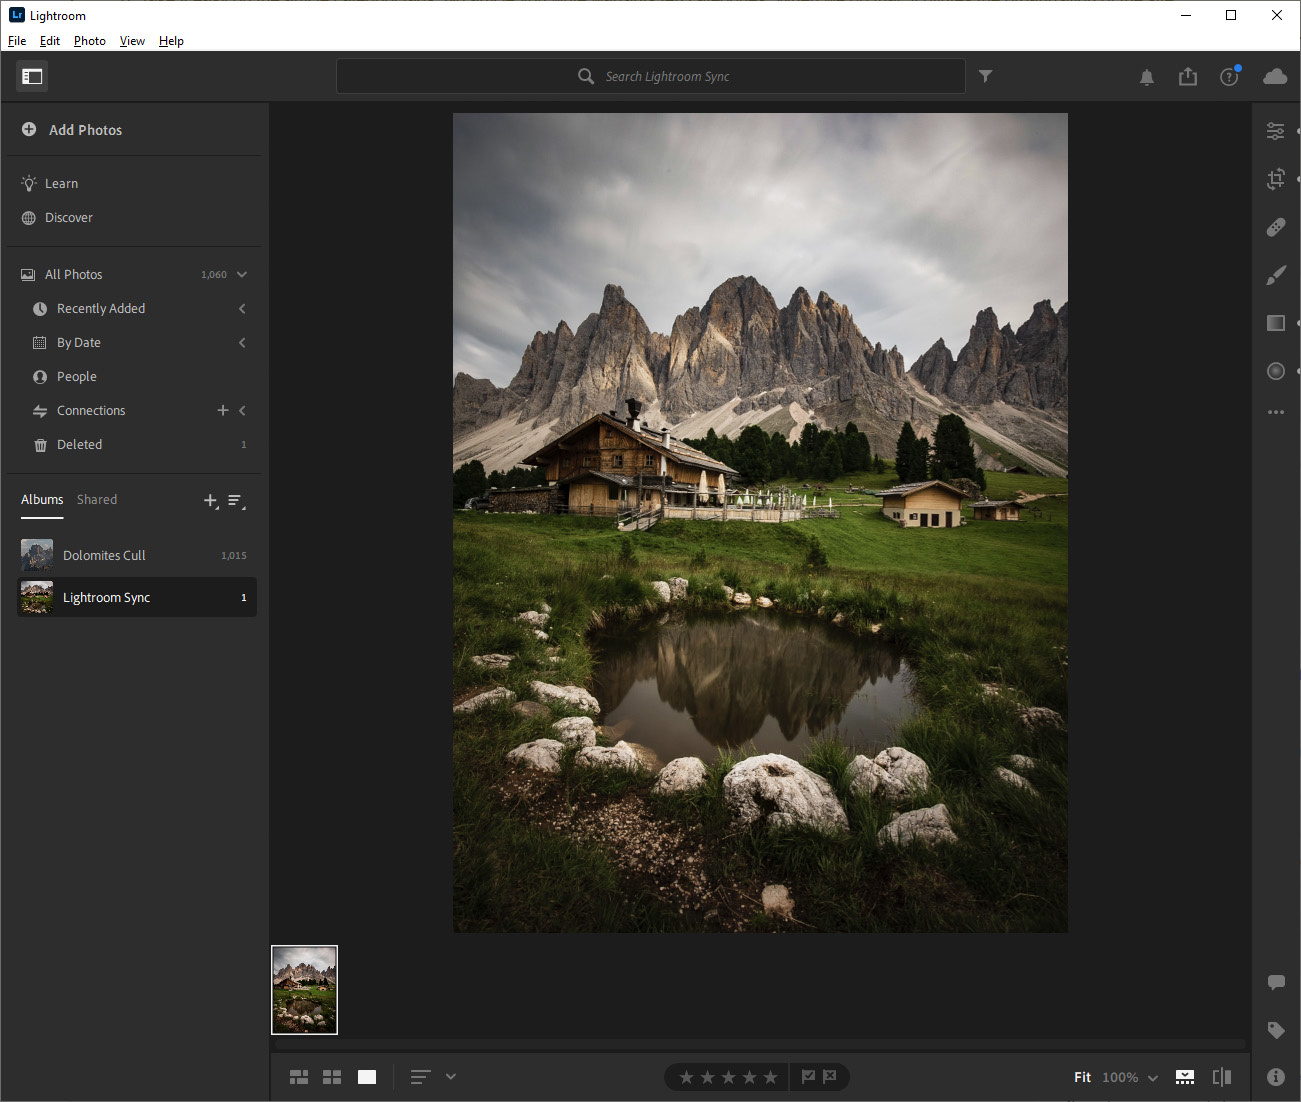
Let's start out by finding an image to sync from Lightroom Classic into Lightroom Mobile. This way, we'll have at least one photo we can apply settings to within Lightroom Classic to create our presets in Lightroom Mobile.

Create a Sync Collection
First, make sure you have sync enabled for your catalog, which you can do under Preferences > Lightroom sync. Once you have that turned on, it's time to decide what to sync to the cloud. The easiest way to do this is to create a collection and tell Lightroom to sync all photos in that collection. Once you have done this, add a photo to the collection.

Check for Sync
After adding a photo or making any changes to a photo that is synced, you'll see this icon in the top right corner letting you know that the preview file is syncing to the cloud. Keep in mind that your raw photos are not synced into the cloud, only the smart previews of the photos.
Adding Calibration
Confirm Sync Worked in Lightroom Mobile
Now that you have Sync enabled, you should be able to open Lightroom Mobile on your desktop, iPad, or phone and make sure you see the photo there. Note that there is no Camera Calibration panel within Lightroom Mobile in the edit window.

Adding Quick Calibration Settings to Confirm It is Working
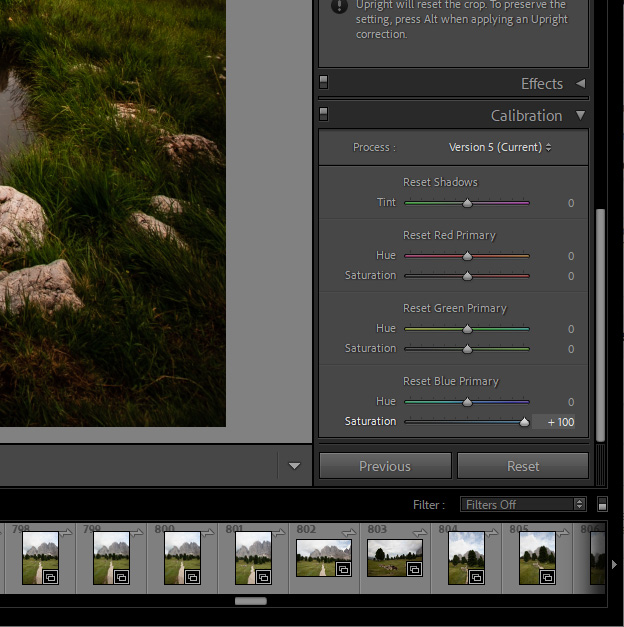
Go back into Lightroom Classic and set your desired calibration to the synced image. Again, if you didn't read or watch my content on this, it may be a bit confusing why we are doing this or how it works.

Confirmed Calibration is Working
In the above example, I pushed the Green Hue and Green Saturation to 100 so that it's obvious the calibration settings are working in Lightroom Mobile. So, there it is, proof that these settings actually carry over even though they are not actually in the program, at least not the ability to control or manipulate them. I confirmed this further by making sure these settings were also applying on my phone as well and working correctly.
At first, I thought maybe it was simply syncing the preview file and not actually applying the settings to the image, but we can disprove that as well by making a preset, which also enables us to use this feature in the future.
Save as a Preset
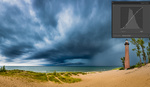
99% of the time I use the Calibration panel in Lightroom Classic, it's to turn the blue saturation slider to 100; thus, that's a setting I would use most often with Lightroom Mobile.

Reset Your Photo in Lightroom Classic
Set Blue Saturation to 100
First, go back into Lightroom Classic and reset your image. Doing this will make sure that the preset we create will only contain the calibration setting, essentially allowing us to add this feature into Lightroom Mobile. After resetting the image, adjust the blue saturation in the calibration panel to 100.

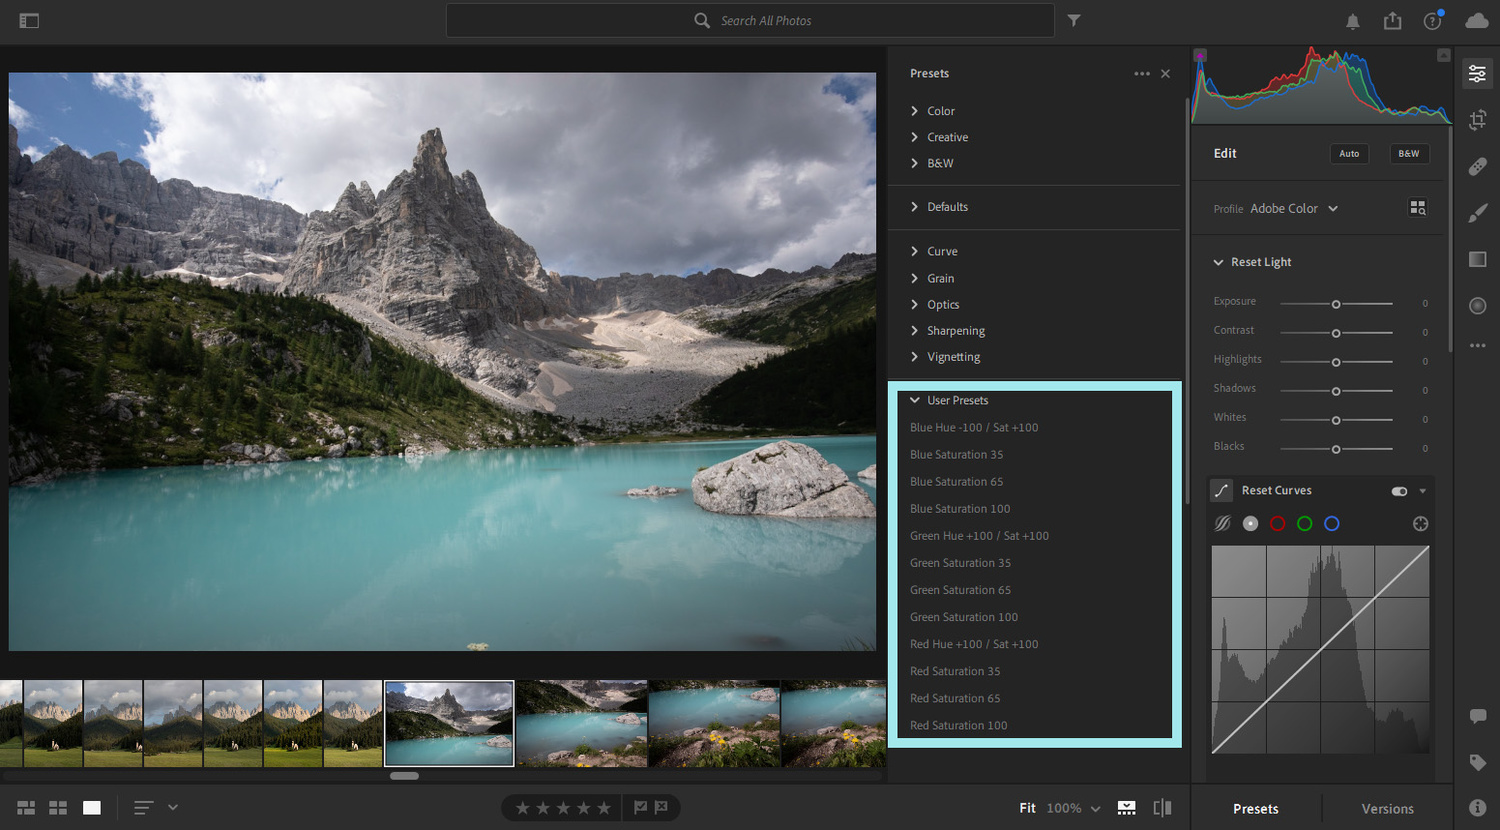
Create a New Preset in Lightroom Mobile
Head into Lightroom Mobile and wait for it to sync. Once it has done so, in the bottom left corner, select Presets. When that panel opens up click, on the ellipsis (...) and select Create Preset.

Preset Settings
Name your preset; in this case, this will be my Blue Saturation 100 preset, and only check these boxes.
Once you've created your preset test, test it on other photos you have synced within Lightroom mobile. I confirmed this again by using my presets on my phone, and it worked as well! Speaking of which, it's good to remember that any preset you create within Lightroom Mobile on your desktop, tablet, or phone will sync to all programs.
Conclusion
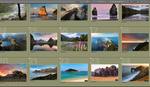
12 Presets I made for Lightroom Mobile
I'm typically not someone who promotes or even uses presets because I would much rather just teach people how to make their own. I also don't think preset packs work all too well on landscape photography and mostly just give you ideas on stylization for your photos. All of that said, this process is a little different. I don't really consider these presets. They're more like a workaround to enabling certain calibration settings to be used within Lightroom Mobile. You can repeat the steps above to create as many calibration settings as you think you would use in your mobile editing. You can see I've created 12 different settings, but many times, I will only use different levels of blue saturation. If you'd like to save yourself some time or you simply don't want to go through the process of installing Lightroom Classic, I have created this pack of 12 settings so you can download them and import them right into Lightroom Mobile.
I find it fascinating that these settings actually work in Mobile but don't exist in the interface. Even range masks work, but that is a topic for another time. Thanks for reading and watching. I'd love to hear your thoughts down below. If you have any issues or problems replicating what I've done throughout this article, feel free to ask for help as well.


Thanks for the article.
Calibration is an often overlooked setting.
Anytime Indy and thank you!
It works probably because Adobe has the same raw rendering engine across all its products. The raw adjustments are just saved into the raw file, and when you export to jpeg/tif, the same raw rendering engine handles those adjustments. The different apps (CC, mobile, vs classic) just provide different user experiences for modifying those raw adjustments.
Bret I agree. This was basically the same conclusion I came to and I have to imagine the interface for things like Range masks just hasn't come around yet but I can't imagine it's that hard either. I dunno.
Very helpful Alex! I’m looking forward to more time in the field as the pandemic subsides and I’m hoping to more fully utilize my mobile devices for social media post processing. It’ll be awhile before I let go of LR Classic for more comprehensive editing. Thanks!
Thanks Mike :)
Good Idea! Calibration does some "magic" to the colors I miss this feature in CC. You can even skip the step with the Cloud Sync and create the LrTemplates directly in Lightroom Classic and then import them into CC.
Good idea! Didn't think about doing it without Sync.
I just tried turning the blue saturation slider to 100 for the first time. It makes such a difference. Thank you for sharing this tip because I love it.
Anytime Leslee!