After shooting more sunsets than I can count along the Pacific coast, I've experienced many different conditions and learned a plethora of valuable lessons. These are the most important tips I found throughout that journey that will help you the next time you're shooting along the coast.
In my last article, I covered how getting in the water can change your entire experience, determining weather conditions, and predicting compositions. This article will continue talking about compositions, accessories that will make your life much easier, and how to get your shutter speed exactly where you want it for those glorious moving water shots.
Tips for Gear
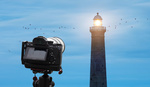
Hopefully, at this point, you have something to get into the water with, and I'll also assume you are shooting with a tripod, because you should be for most of the type of images you want to capture along the coast. If you're out in the water, capturing the waves as they flow under your camera, you'll want to leave your bag somewhere safe up the coast. I highly recommend putting it even farther than you think because the tides can change rapidly, and if you can find a spot to leave it elevated, that's even better.

Keep your gear safe
I shot this location four days in a row, and on one of those days, the tide reached where my bag was sitting in the above photo, so I ended up putting it higher on the rock behind it. The most important thing is making sure you still have quick access to the bag and line of sight if possible. You'll have to gauge the crowd around you, but in my case, there's a much greater risk of falling in with my bag than it getting stolen by someone watching sunset. Another great reminder is to make sure you keep your bag closed when you leave it. I made the mistake of leaving it open once in a hurry, and you'll quickly find out just how much sea mist is in the air when you come back to find your once dry equipment is now coated in a lovely salty mixture.

This section never even touched the water
Speaking of salty mixtures, be prepared to deal with salt everywhere, specifically, building up on your tripod. If you have multiple tripods, I'd recommend using an older one that you might not care as much about simply because the saltwater is going to corrode and build on your tripod very quickly. Regardless if you use an old or new one, you'll need to clean your gear and your camera after shooting along the coast.
Last and maybe most important is to have a microfiber cloth with you. Actually, you should have multiple, depending on how wet the conditions are. Some spots, like the shots throughout this article, weren't too hectic when it comes to splashing or mist. Other spots I visited required me to constantly wipe off my lens between every single shot, thus soaking my cloth. It also doesn't hurt to have a full towel with you in case you need to wipe down yourself or equipment from a big splash.
Slow Your Shutter Speed

You only need one ND!
Below are ideal starting settings for capturing moving water, but please keep in mind these aren't strict requirements. I'll try to explain each setting's variability and reasoning.
- 14mm to 24mm focal length: Most of the guidance and settings here are based around shooting super-wide angle compositions.
- Aperture set at f/16: It serves to provide the largest plane of focus possible, thus eliminating the need to focus stack in many instances. You will definitely end up adjusting this as light fades, but this is a good starting point.
- ISO to 100 or lowest natural for your camera system: Keep your ISO as low as possible, but we will likely be adjusting this when we only have access to a single ND filter to compensate for darkening skies.
- Shutter speed between 1 and 2 seconds: This is not a strict setting and will highly depend on the type of waves you're trying to capture. That being said, this setting is our primary one, meaning all other settings will revolve around the shutter speed, as it will dictate our results. More on this below.
- 5- or 6- stop ND: You'll need at least one ND filter, and if you're trying to save cost, it's better to get more and compensate with ISO or aperture than to get less and not be able to get the shutter speeds you need for your shot.

Settings: 1/6 s, f/11, 16mm, ISO 100
Your shutter speed is the most important setting when it comes to shooting successful seascapes. Thus, my guidance of 1-2 seconds is a very loose suggestion. In my experience, that's been the sweet spot for starting out. Nonetheless, the above image was taken at 1/6 s and f/11, neither of which are what I recommended. This will be where learning and experience come into play. Pay attention to how fast the water is moving, review your images after a wave crashes or passes by you, and after a few outings, absolutely make sure you review your images. Take note of what shutter speeds give you the most pleasing results based on water speeds.

Foreground being slightly out of focus isn't a huge deal with moving water.
As the light changes and you hone in on what shutter speed looks best for the water you're shooting, you'll likely have to adjust your aperture or ISO. The image above was taken at 1/8 s and an aperture of f/11. I recommend dropping your aperture to f/11 first or even f/8 if the scene you're shooting doesn't have any close foreground objects. If the closest thing you're capturing is moving water, such as the example above, the water not being pin-sharp is manageable because it is already captured in motion. If you need a larger depth of field, increasing your ISO should be first, but not past ISO 400-800, depending on your camera system.
The truth is, I can provide endless information for settings in different conditions, but the best way to learn is to go out there and do it. I continually improved while working along the coast in knowing roughly what settings would probably work for the results I wanted. Another great tip is shoot multiple shutter speeds if you can't really tell which one is giving you the results you're looking for. It's always better to come back with options than just a bunch of results you aren't satisfied with.
Endless Compositions
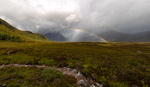
I spent a lot of time talking about compositions in both my videos about seascapes, so if you'd like a deep dive into those, definitely watch them. I can't possibly cover that much information in text, so I thought I'd provide a gallery of images to give ideas of how conditions can really dictate results of the compositions you're trying to capture. I visited this spot four days in a row, trying to capture the specific sea stack with a wave as the leading line up to it. I changed compositions depending on the conditions, which you'll see in my day-to-day breakdown below.
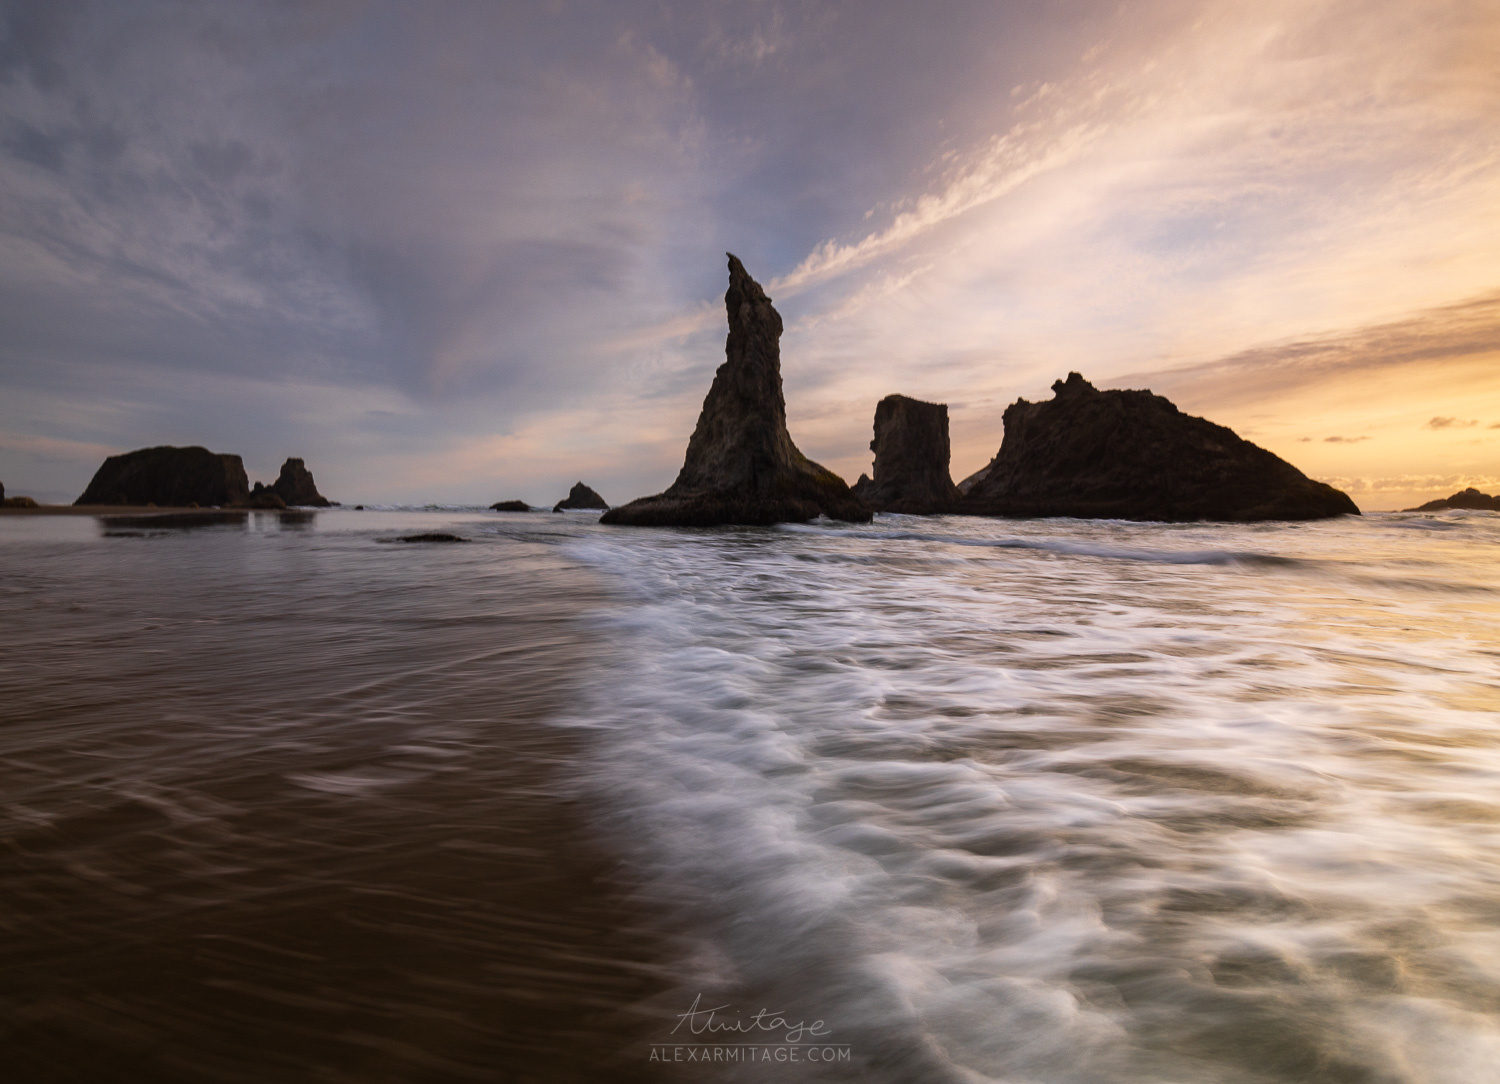
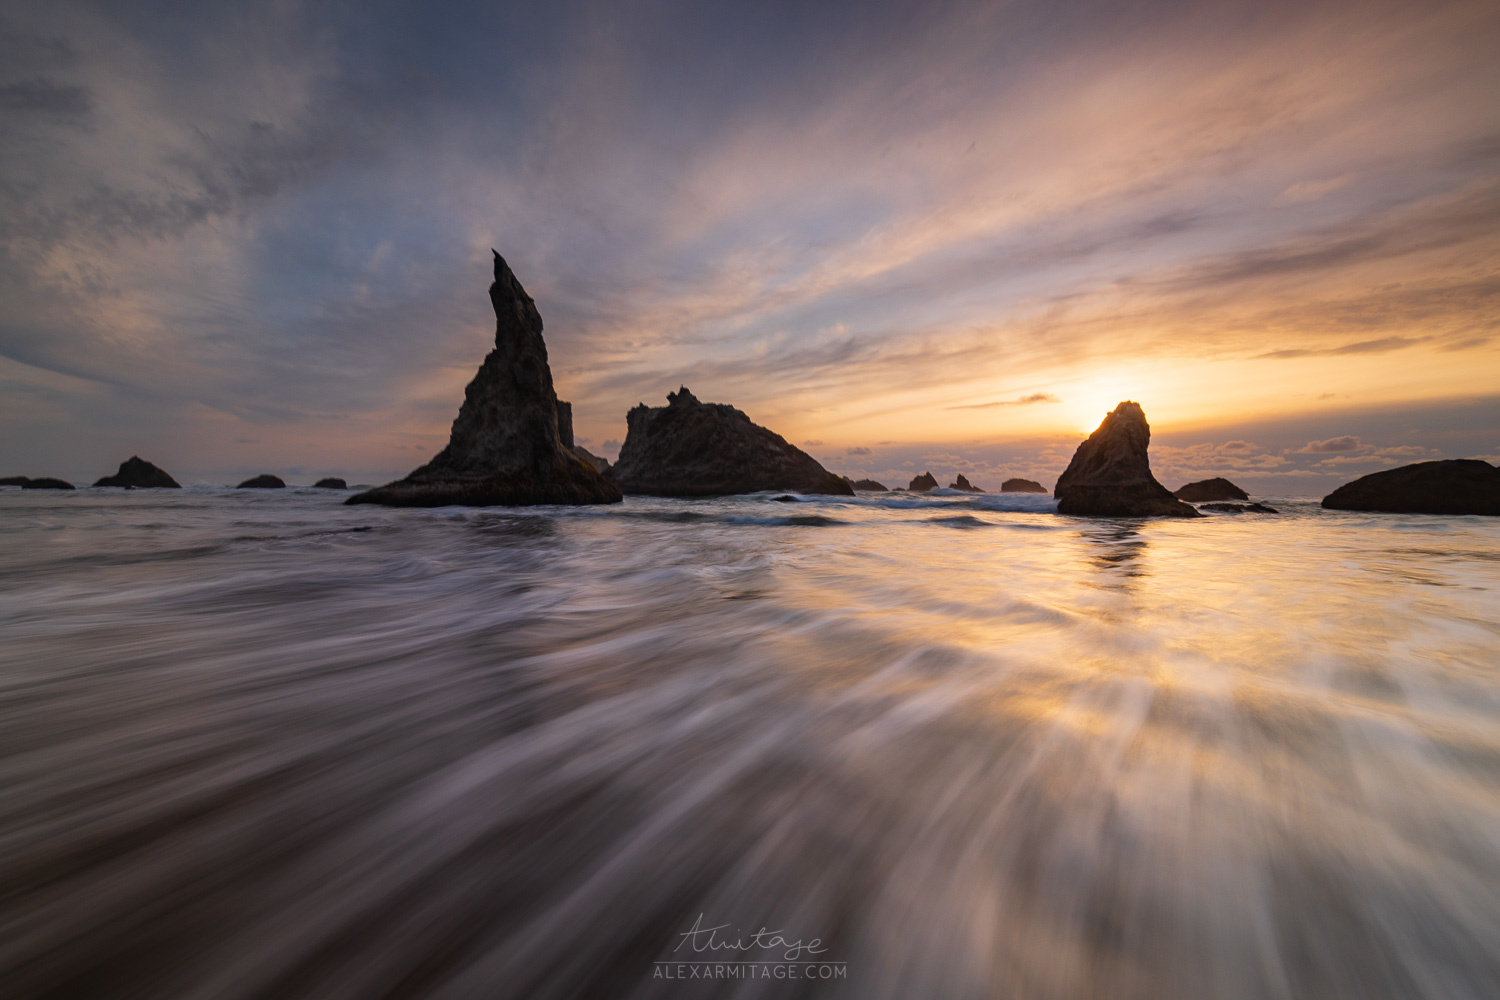


The first day had some great conditions in the sky, but I was still quite a novice to the area and how to tackle it. I started off trying to shoot a wide shot with the wave as a leading line up tho the sea stack, but just couldn't get a good break in the wave for that line, thus I switched to shooting directly into the sun. The majority of these shots were taken at 1/3 s or longer shutter speed. I've included a few imperfect images where the background is definitely blurry from camera movement, but what is important to pay attention to is the patterns in the water and how different they appear depending on your composition. Note how I tried to balance the composition using the rocks and sun in the background while paying attention to how the patterns were being created in the water.


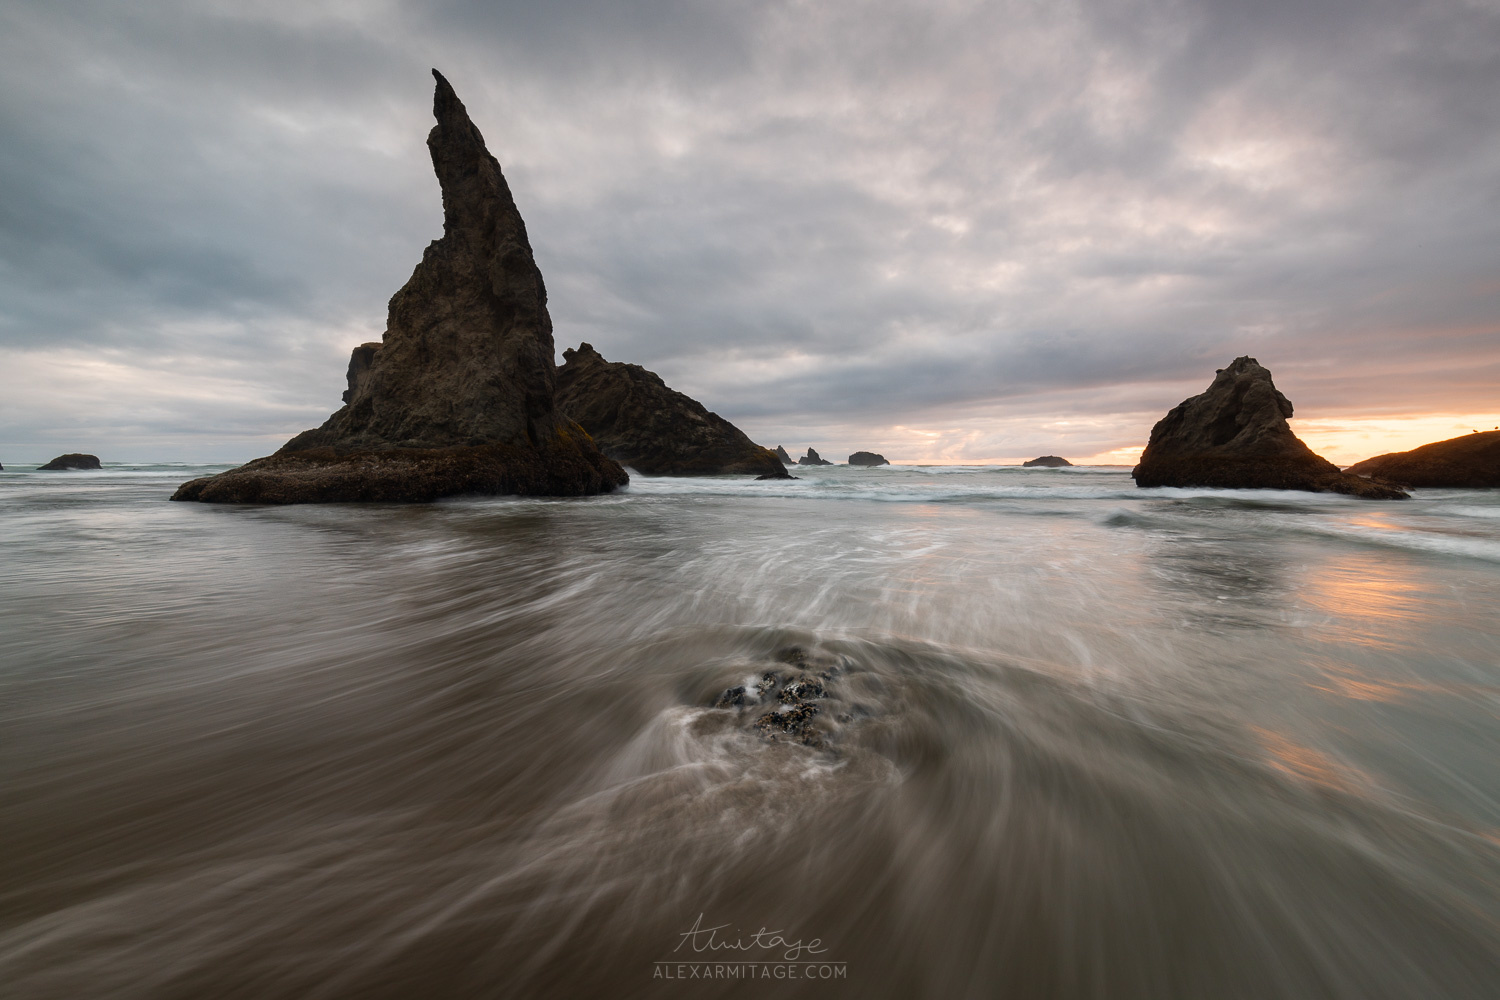


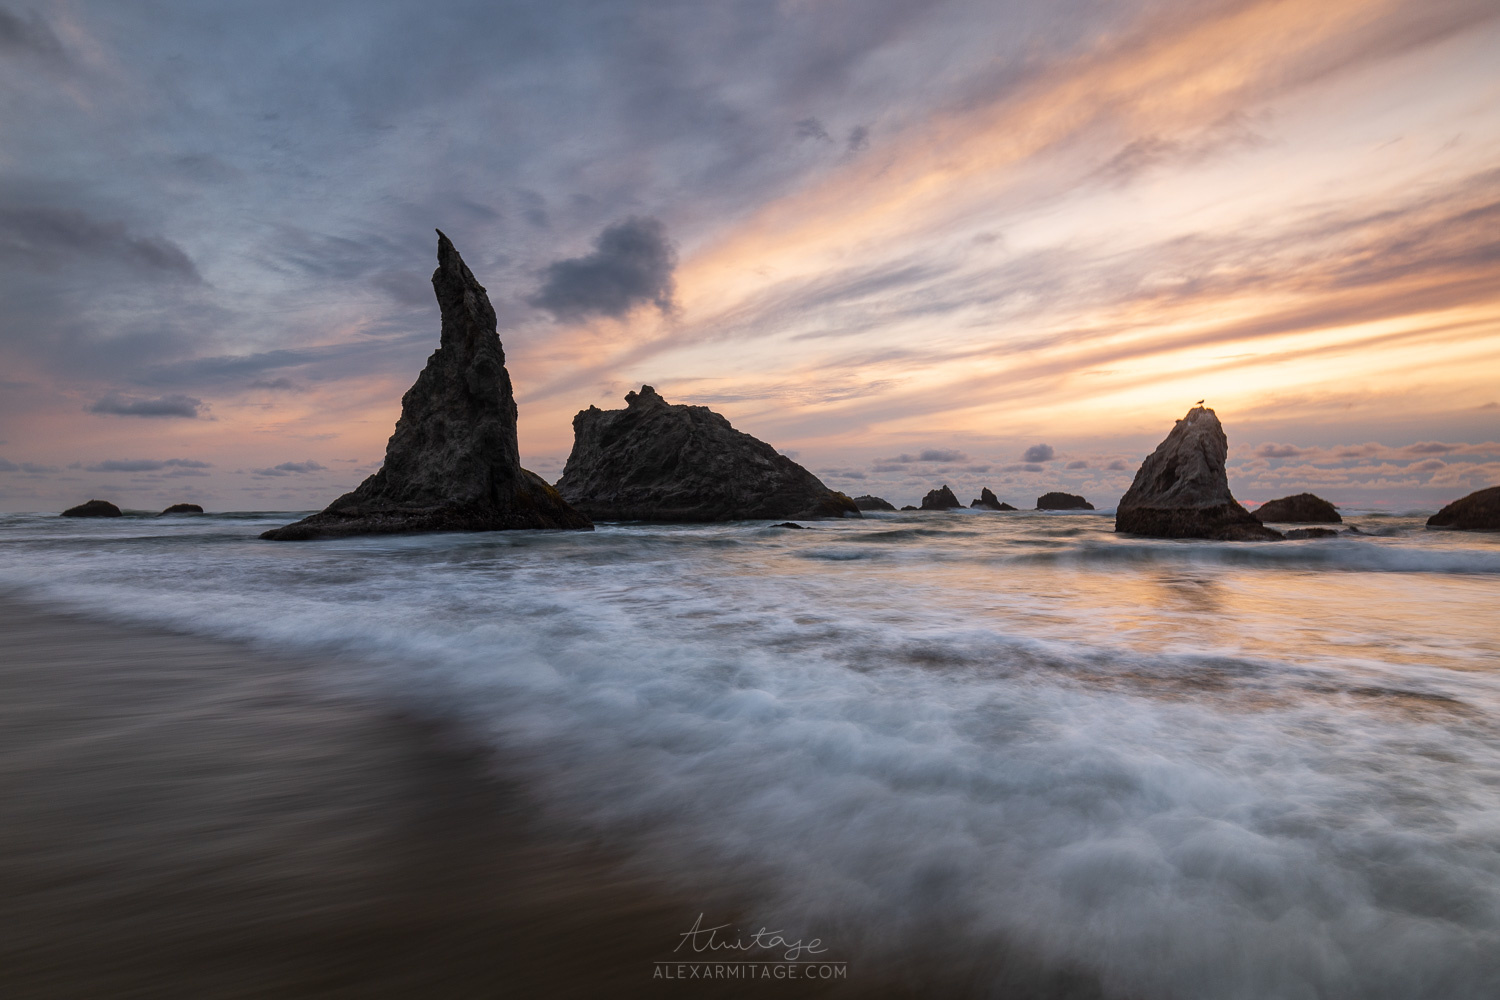
Day two and the conditions weren't nearly as beautiful. The tide was also lower, and the swell was shorter. Believe it or not, the shutter speed in most of these images is between 1 and 2 seconds, but there's much less turbulence in the waves, which gives us a lot less enthusiastic results. I tried using a foreground object for better balance and to create ripples in the waves. The most important takeaway from these images is how the movement of the waves can improve your composition. Which one pleases you the most?


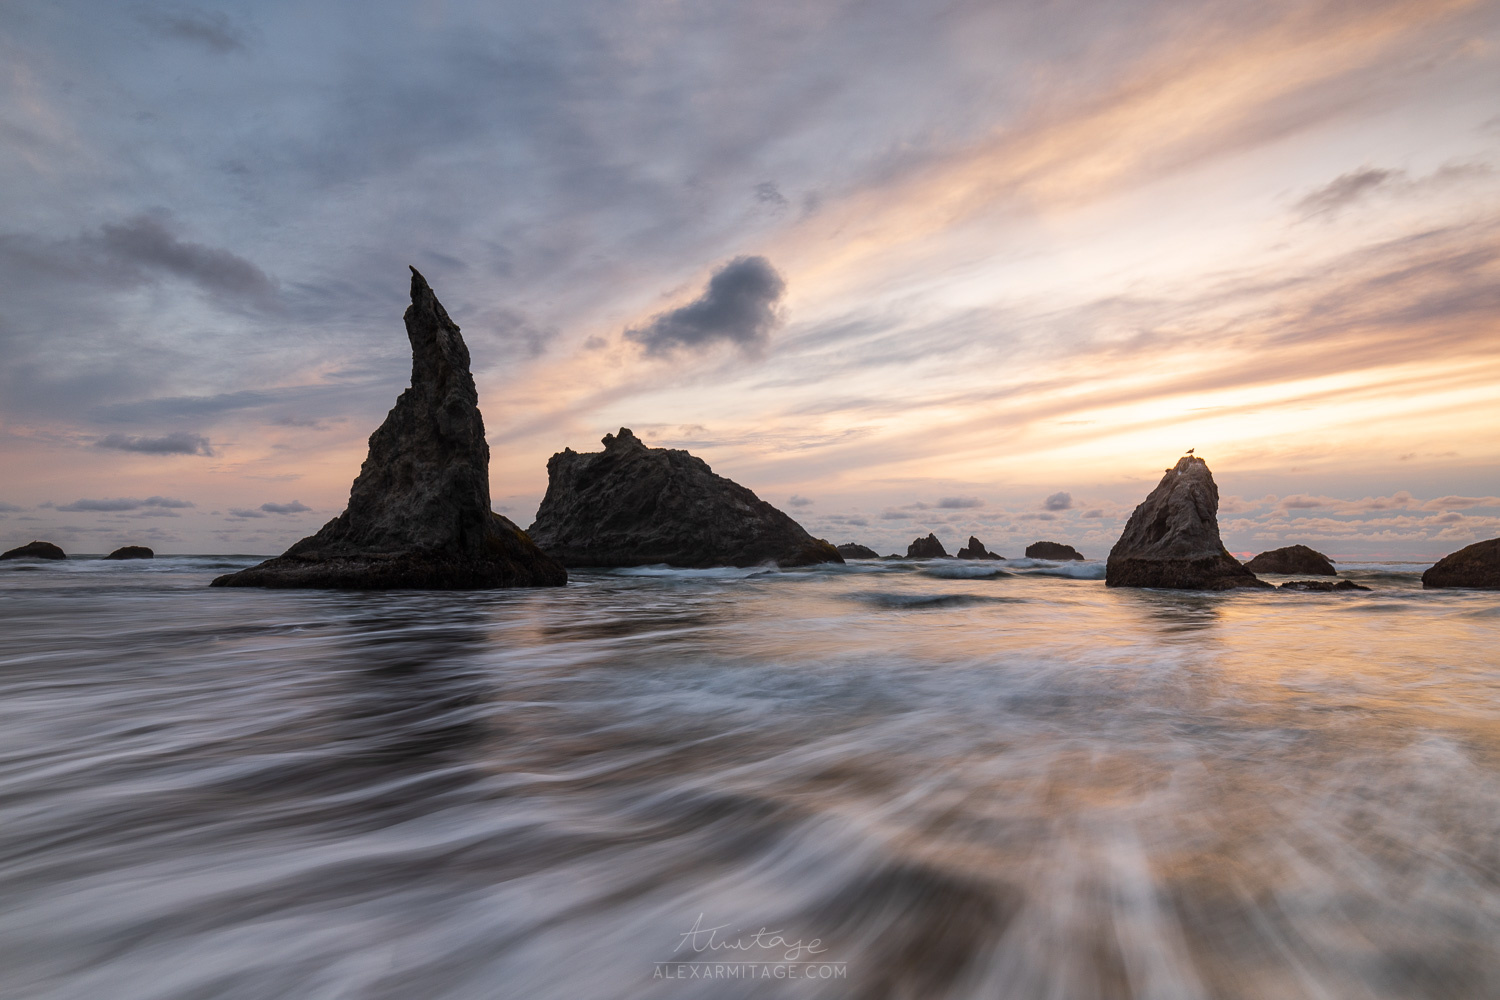
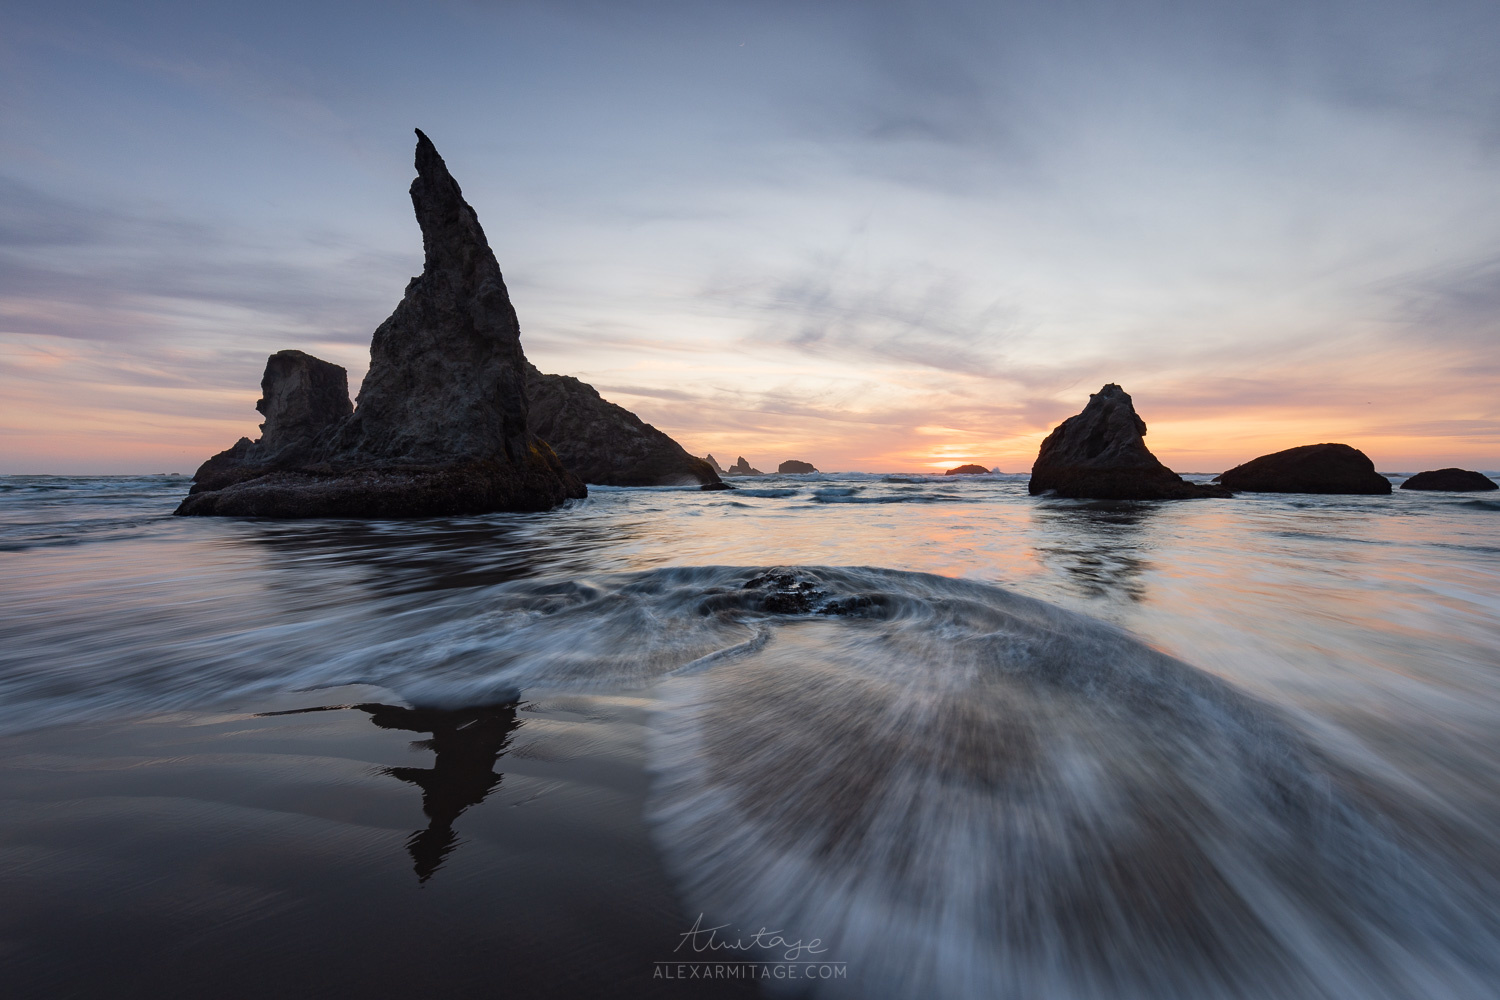
I didn't take very many images this time because I really wasn't getting what I was there for. That being said, we can use these to bring up if it's better to take images as the water is approaching you or receding away. The honest truth is: take both! The results vary, and some of my favorite captures are with the water rippling away, as you can see in these images.


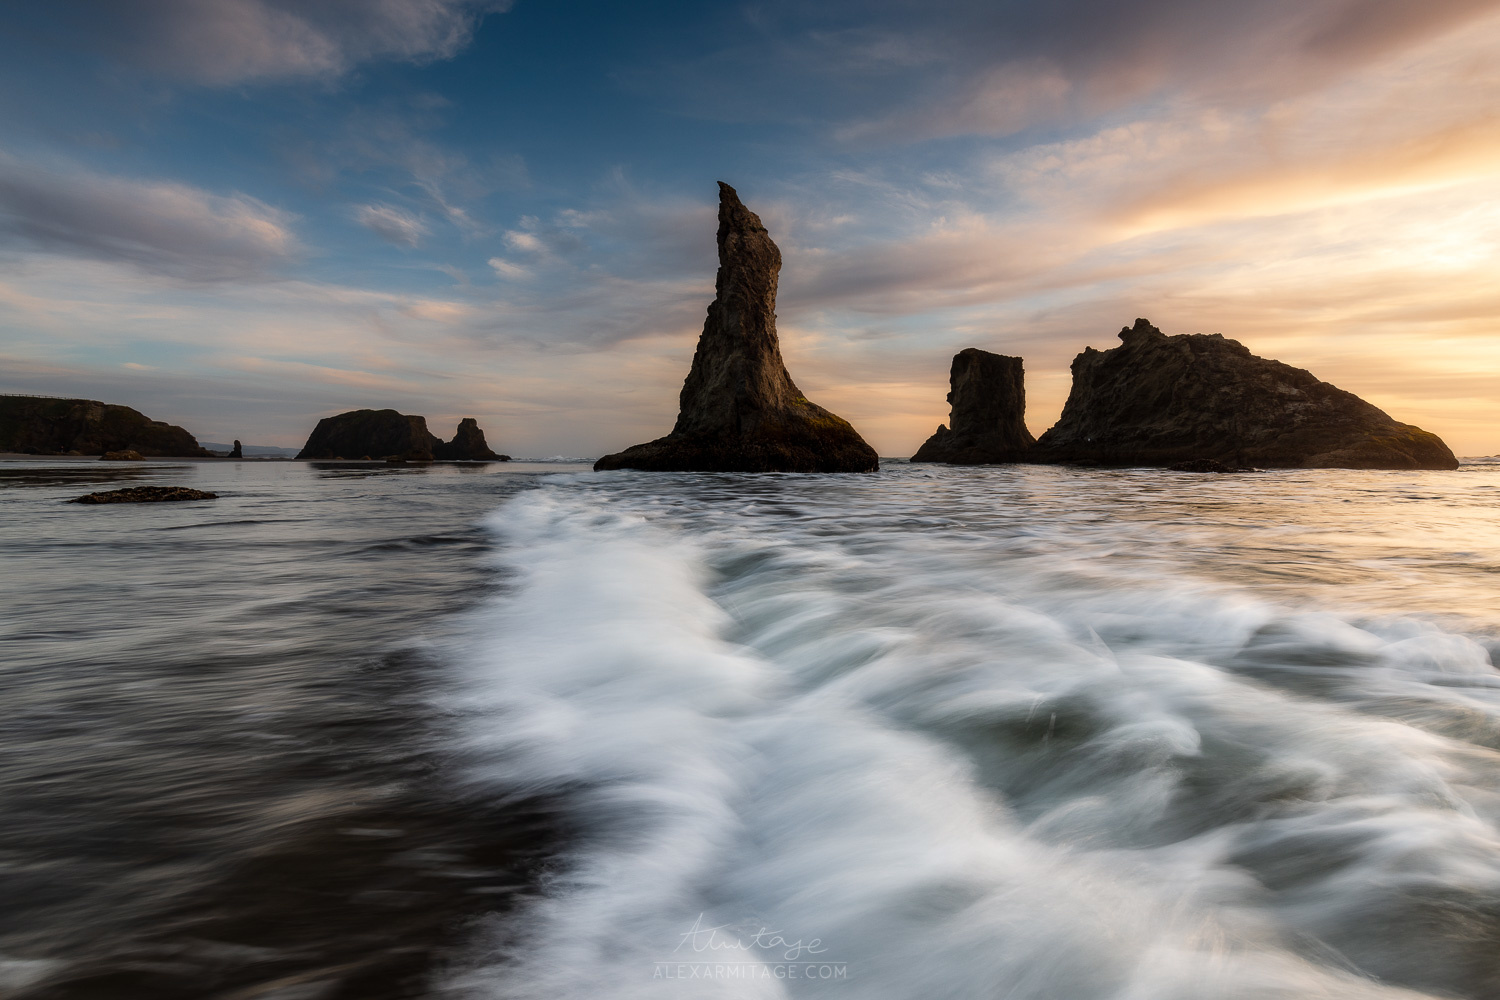
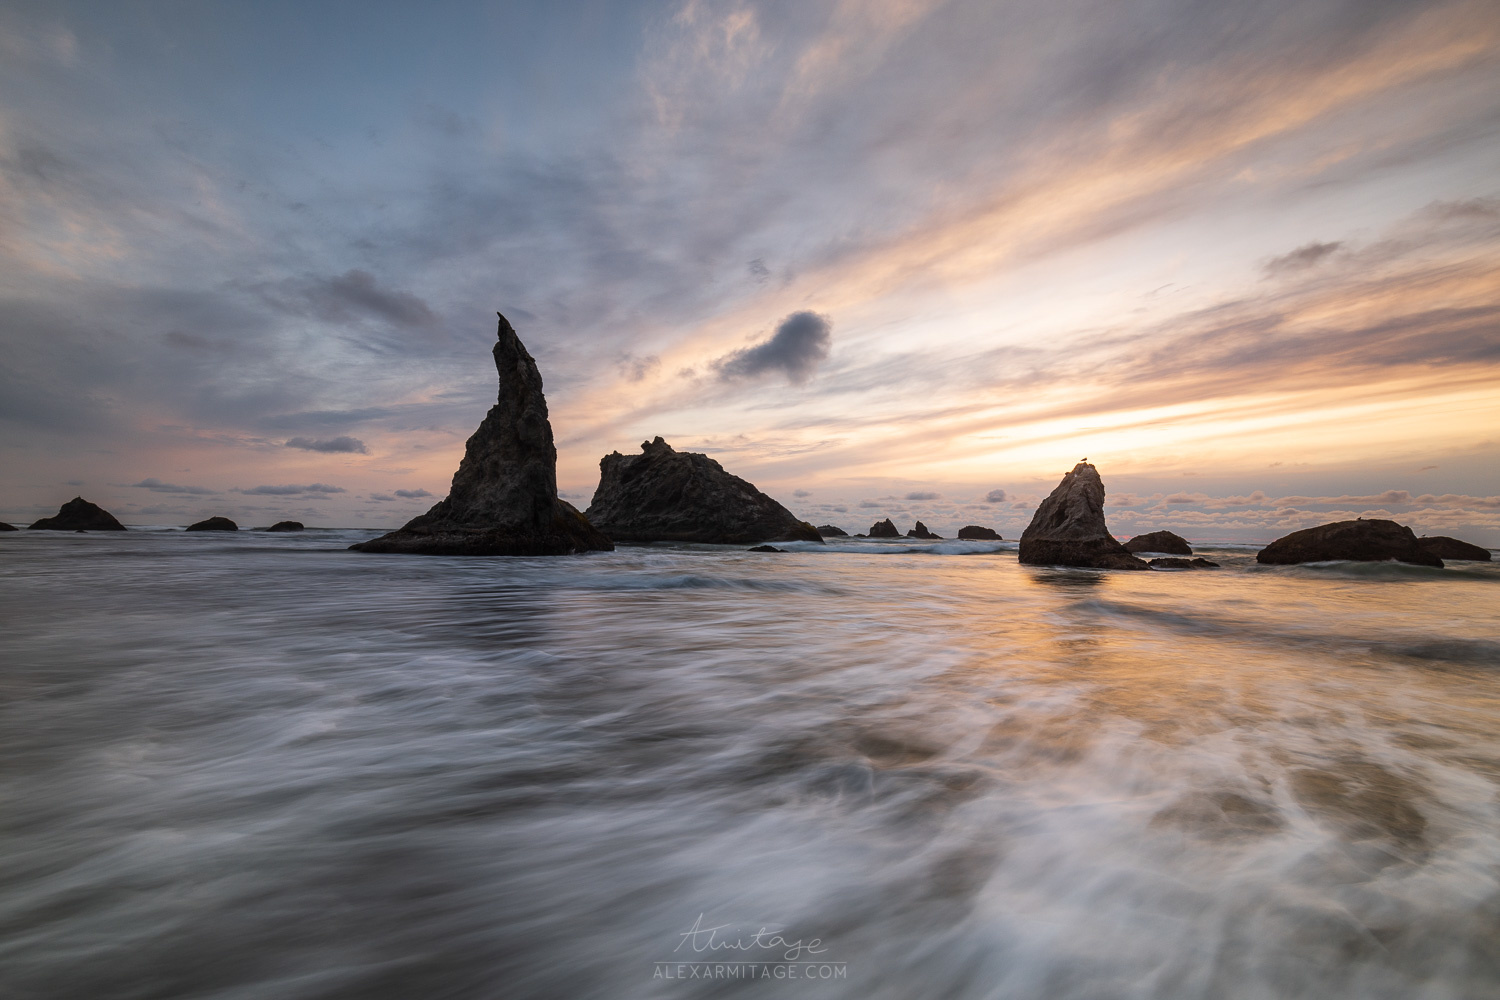
Last and most certainly not least is when I finally got the image I wanted to get among many others. Not only were the conditions excellent, the waves and the structure were exactly what I had been waiting for. These images were all faster shutter speeds, usually 1/8th or 1/6th of a second. Giving me just enough movement, but balanced with detail. I've included moments as waves progressed to show how important it can be to capture as many shots as it glides past you because it can make or break a composition.
Like I said, I could talk about compositions endlessly for seascapes. The beauty is no composition will ever be the same, with each crashing wave being unique, and you can go back to a location your entire life with different results. I'd love to know which ones stick out to you, and maybe I'll even do a separate article talking about water movement and compositional elements along the coast.


Beautiful images and great tutorial - thanks for this.