Late last year, Really Nice Images released their latest Lightroom preset pack, All Films 5. I've spent the last couple of months experimenting with it and will share my experience with it so far. I'll dig into the flagship features of creative profiles, native fading, and highlight protection to see if they are all they're cracked up to be.
As with all preset packs, it's not for everyone. For those of our readers in the "all presets are bad, do your own post-production" camp, this isn't a review for you. For those who like to use a preset as a base for their post-production, this might just be a pack of presets you can get behind. Let's find out.
Profiles, Not Presets
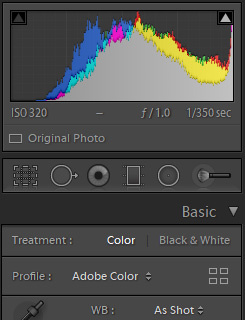
Hands down the best feature of All Films 5, in my opinion, is that all of the changes are done within the "Creative Profiles" Lightroom supports. What this means is that rather than messing with your sliders in Lightroom, All Films 5 is actually getting access to Adobe's raw pipeline and interpreting the data from there.
Basically, what this means is that RNI is not trying to manipulate the Adobe Standard or any other profile into looking the way they want. They can thus achieve a higher level of similarity across camera models. That means if you're a wedding photographer who works with Canon and has a second shooter working with Sony, it's much easier to get a consistent look across cameras with a single click.
However, for me, the greatest benefit is that the sliders are left alone. Thus, it is possible to build your own presets on top of the base that All Films 5 provides. Not only that, but if you decide you'd like to change the underlying profile, later on, all you need do is click another of All Films' presets. Since they leave the sliders alone, all your other adjustments will be left in place, and the new profile applied underneath.
As "film simulation" presets tend to push colors quite hard to get where they want to go, this can sometimes result in unpleasant renderings with certain colors or color combinations. While most of the films in RNI's All Films 5 are fairly subtle in their application, sometimes, you might lose more saturation in, for example, lips than you might like. By jumping down into the untouched HSL sliders, it's easy to adjust any colors that might not fit your taste. While packs such as the now-discontinued ones from VSCO have made use of a mix of profiles, camera calibration, and HSL in the past to achieve their looks, All Films 5 uses only the profile, which gives you complete control after applying the preset. You can work on one color without affecting the overall look too much.


Fading
One other interesting feature that is enabled by only using profiles is the ability to fade the effect of your All Films 5 adjustments. For example, if you love the look of the Velvia profile but wish it were a little more subtle, you can use the fade slider to back it off a little.
The way this works is much like the opacity slider on layers in Photoshop. So, if you're hoping to back off a black and white profile, you're going to start seeing the color underneath. To work around this, I updated each of the black and white presets to have -100 on the saturation slider by default. That way, I can fade the contrast without having color show through. It might be interesting in a future release of All Films to see the fade slider work in the positive direction for black and white profiles as well. Right now, going past 100 does nothing with the black and white emulations.

RNI All Films 5 - Agfa Scala faded to 80%
Fading the color profiles also works exactly as you might expect. Taking the slider south of 100 allows the original image to show through a little more, and going north exaggerates the effect significantly. Personally, I found that reducing the fade slider worked quite well with the color profiles, but increasing it led to some wild results very quickly, especially with some of the more extreme profiles. I wonder if there's a way for RNI to taper this a little so that fine-tuning would be possible when increasing the slider.


Highlights
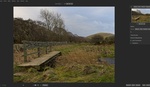
Another of the flagship features of All Films 5 is the "film-like highlight compression." RNI has included a function in each of their "films" that emulates the tonal response of negative film. As we know, negative film holds highlights in a very different way from how digital sensors do. The roll-off between detail and blown highlights is softer. Blowing to pure white is a single digit on a digital sensor and leaves the pixel completely unrecoverable.
Of course, RNI cannot completely recover lost data because of bad exposure. That sort of voodoo simply isn't possible after the fact. What they can do, however, is prevent you from blowing out highlight areas in post-production in a different way from the standard Adobe method. It seems to work quite well for images that have a lot of mid-tones in them. However, I find the standard Adobe recovery to be more effective for many extreme highlight situations. RNI tends to recover with a softer gradient than Adobe by simply clicking the profile. It also seems that the highlights slider is softer in its response and less effective at recovering subtle tones than when using Adobe's profile. I actually think having both methods as options in the preset pack would make this even more versatile.
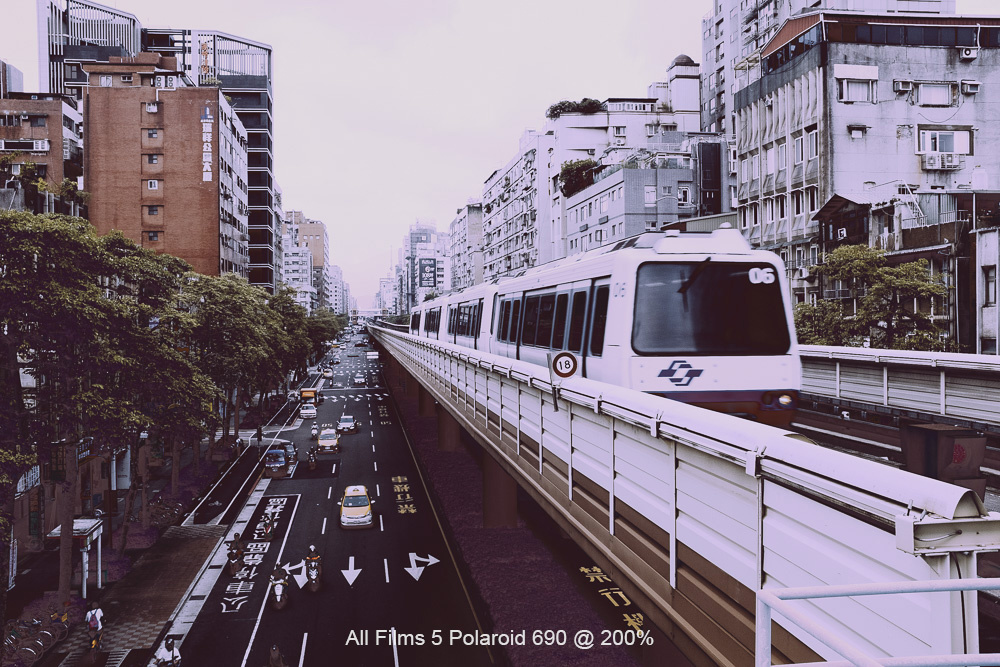
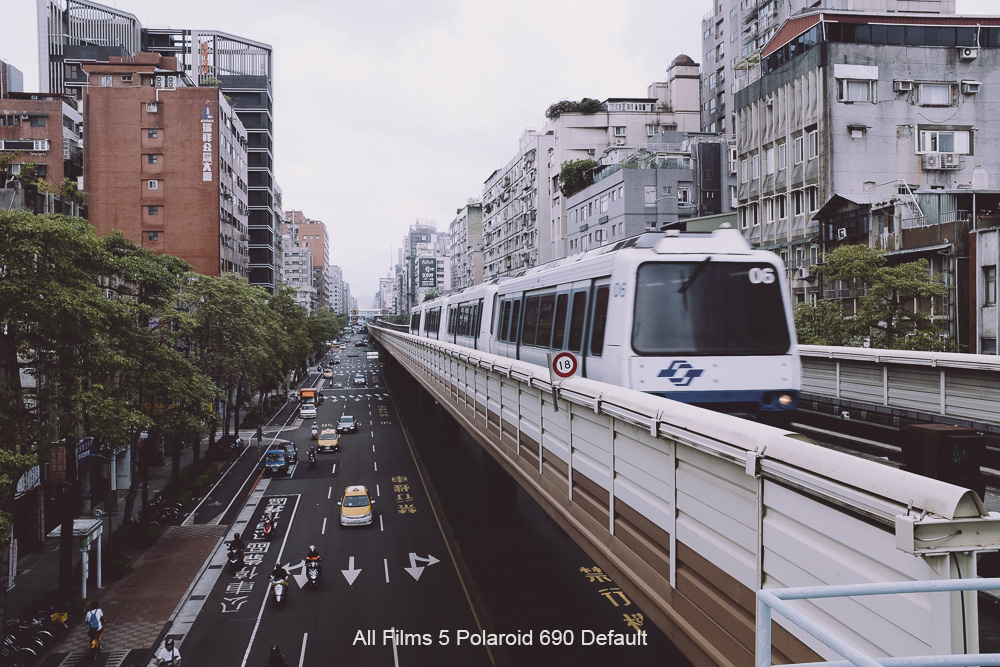
As you can see below, part of how RNI achieves this signature look is by placing a hard stop on how bright a pixel can be (lower than complete blow-out). However, there's also plenty of other work going on to make the transition to loss of detail smoother. Below is a single profile change to show just how much RNI is interpreting the data of your raw file.

You can see below that while the Adobe image recovers fine details more visibly, the RNI image is smoother in the highlight areas. Both images were left alone except for a -50 adjustment in the highlights slider for both.


Included Films
RNI has hit all the popular film stocks with this pack, including both negative and positive options from Kodak and Fujifilm. They've also included some slightly more out-of-the-way films like Rollei Digibase and a selection of instant films.
When it comes to the color negative films, many have multiple options for contrast level or color variation. I found that in most circumstances, I preferred the first one in the list most, as it tended to be the cleanest. The "faded" presets tended to block up a little too much for my taste, and I would rather have more control over that fade through something like the tone curve.
Conversely, as I tried the instant films, I wished that most were more heavy-handed than their defaults. The fade tool tends to send these renderings a little too whacky for my taste, so I'd like actually to see varied intensities built into a future All Films pack. Nonetheless, these profiles can be fun for certain applications and are a great addition to the pack.
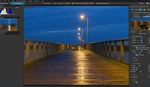
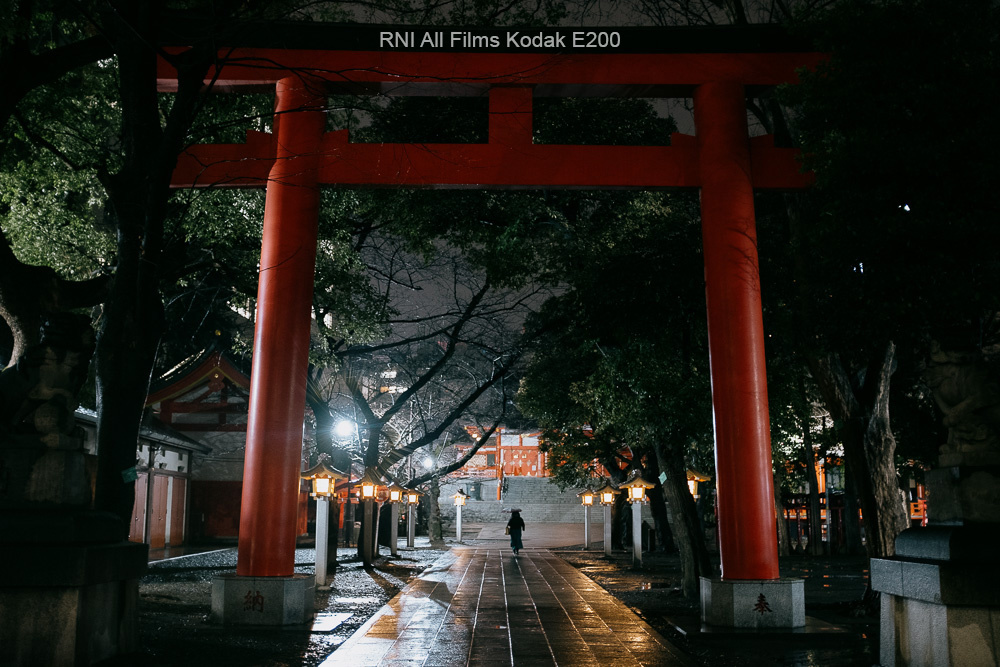
The selection of positive films has been my most used for travel photos. While with my family and portrait work, I tend to prefer a softer and more desaturated look; when it comes to travel, I usually process with a little more punch. I've really enjoyed the Kodak E200 (one of my favorite film stocks) and Agfa RSX II renderings. They have a classic slide film look without being too over the top.

With so much variety, there are plenty of one-click solutions, but it can be a little overwhelming to sort through them at times. As with many film emulation packs, you'll find yourself using certain profiles more often than others, so it can pay to make a favorites folder in order to find those quickly among the many choices.
In Conclusion
RNI All Films 5 is the most versatile and consistently useful "Film Preset" pack I've used to date. It is varied enough that it's useful for a lot of different photography styles and subtle enough to make it a good starting point for your own processing. If you're interested to learn more, you can read RNI's own product page (lite version / pro version).
What I Liked
- Variety of "films" available
- Subtlety of adjustments (especially with negative films)
- Leaves the sliders alone (uses only Adobe's Creative Profiles)
- Consistency across camera models
- Positive films are a good balance between digital and film feel
What I Felt Could Be Improved
- Allowing versions of the presets without RNI's highlight processing
- Making black and white presets properly able to be faded
- Making 100+ fades a little more subtle
If you'd like to learn how to use Adobe Lightroom more efficiently on any device, make sure to check out our Mastering Adobe Lightroom course with Pye Jirsa. The content Pye covers will appeal to every level of photographer and will save you an incredible amount of time on your image editing. Save 15% by using "ARTICLE" at checkout.