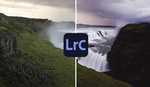
One of Lightroom's lesser-known but highly useful features is the range mask, which can make your editing both easier and much more efficient. If you have not used it before, this awesome video tutorial will show you how to use range masks in Lightroom.
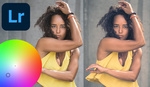
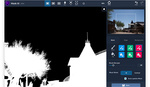
Coming to you from Saurav Sinha, this great video tutorial will show you how to use range masks in Lightroom. The range mask sometimes gets a bit overlooked, but it is highly useful for a wide range of edits. The idea of the range mask is to make it easy to apply edits to commonly chosen areas only, such as a certain range of luminance values. This is particularly useful if, for example, you want to boost the saturation of a bright sky, but there are a bunch of trees in the image and you want to avoid drawing a complicated selection around hundreds of leaves and the like. The function also includes a smoothness slider that allows you to feather the edge of the selection to make edits blend seamlessly. While the luminance range mask probably gets the most use, there is also a color version that lets you zero in on a specific hue for further edits. Check out the video above for the full rundown from Sinha.


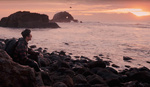
This is a Huge step for Lightroom users. Especially landscape folks or when highlights slider runs out of room and we want the entire background of a photo to change. Especially where trees are involved. Worth a watch.