If you've ever left a shoot a little disappointed with how the weather panned out — and I imagine this is a feeling we're all familiar with — perhaps changing the sky in post-production might salvage your images.
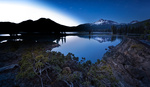
Changing the sky in an image is one of the most fundamental tools in modern post-production and one of the most contentious if you're a landscape photographer. There has been much debate over whether a landscape can be considered a "real" landscape image if it has had something as dramatic as the sky replaced. Many competitions will not accept an image if it has been changed that drastically, but there are plenty of examples in which the lines blur. For example, shooting the same landscape with a gap in between and using the foreground from the first and the sky from the second.
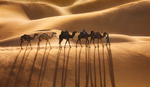
In other genres, it's less of a talking point. I have had to do various shoots where the weather just wasn't going to play ball. The sky could be ruined by the wrong conditions, the wrong time of day, or stylistic factors. I once shot an album cover for a band in which we needed a stormy sky; that either requires unprecedented flexibility and luck, or some post-production wizardry.
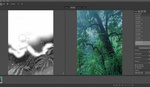
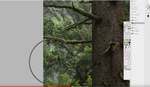
In this quick video tutorial, Aaron Nace of PHLEARN takes you through how to change a sky in Photoshop. I'm a fan of these brief and to the point tutorials; no adverts at the beginning and middle, no fluff, just raw learning.