
Skin retouching takes time, so any plugin that can help speed up the process is a bonus. Infinite Skin is a Photoshop plugin from the Infinite Tools range and is probably the quickest skin-retouching plugin I've ever used, producing great results in next to no time.
It's actually so quick and simple to use that by the time you have read through this article, I would reckon you could have edited at least five images using it. It does exactly what it says on the tin and does it well.
Infinite Skin Panel
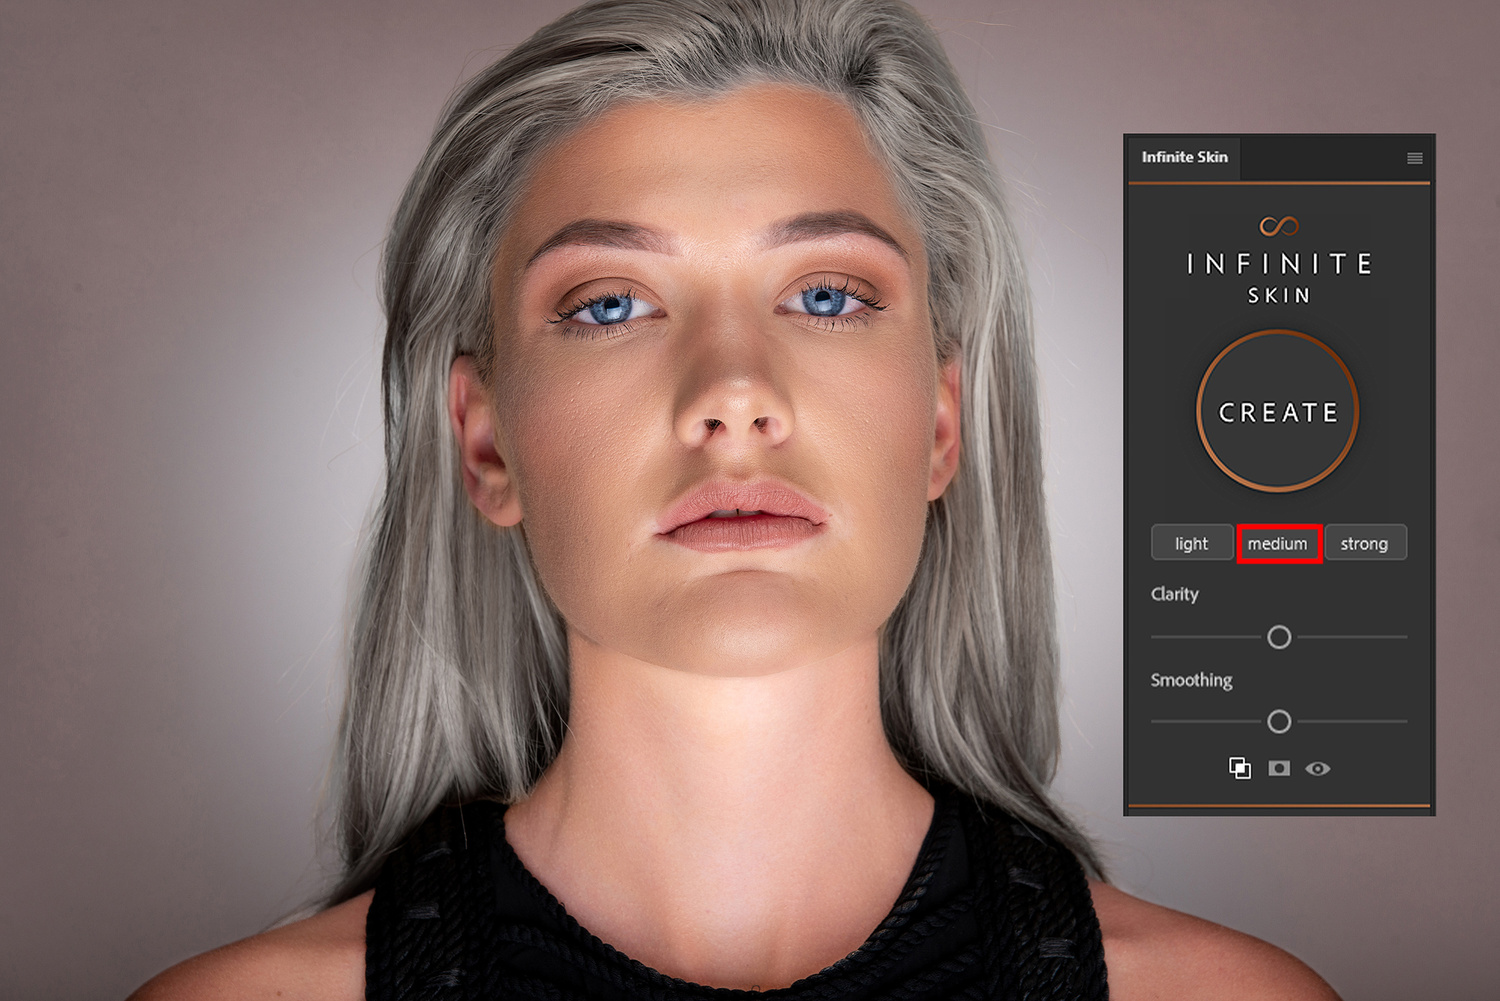
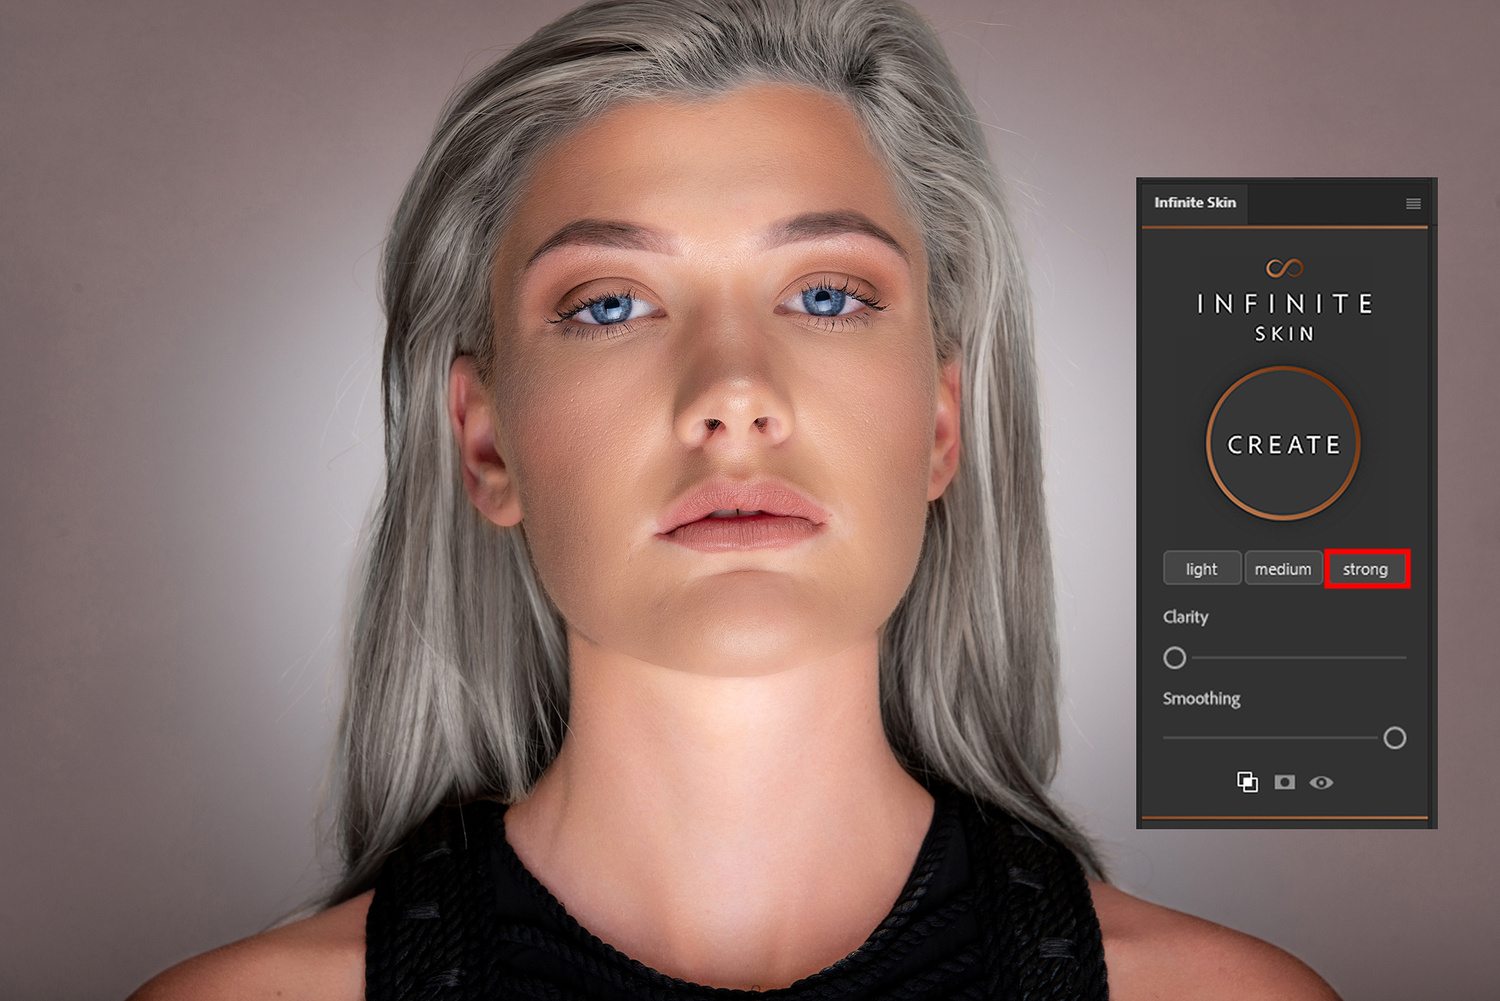
The panel is simple and very effective in its execution providing a straightforward layout for even the first-time user. The predefined settings allow for quick results, and the Clarity and Smoothing sliders allow for fine adjustments to get the results you are after. The three icons below these have other functions:
- Blend IF: when selected, it doesn't apply skin smoothing to the brightest and darkest areas. It creates a mask that allows you to decide later if you want to apply smoothing to these areas.
- Mask: if selected (white), the smoothing isn't applied automatically and you are able to paint via a masking layer and brush. If left unchecked (gray), the skin smoothing is automatically applied.
- Eye: when selected, the mask is disabled and shows skin smoothing over the entire frame.

Layers
Click on the create button, and the panel creates the layers required to effectively smooth the skin to the desired amount you are after. Each layer is editable with masks and opacity settings, but straight out of the gate, the results are good enough to leave as they are.
 As you can guess, depending on what initial setting you have selected (light, medium, or strong), the resulting layers will have different variables applied to them to achieve the result. The texture of the skin is retained as expected, and the differences between the three settings are subtle, yet clearly visible.

Conclusion


For this edited image, I've used three of the Infinite tools panels to get the result, starting with Infinite Guide, then Infinite Skin, and finishing with Infinite Color. Used in conjunction, these panels make quick work of your portrait images, and although some elements of them are automated, they still allow for complete manual control.
The Infinite Skin panel as I mentioned is the quickest panel I've used to get skin smoothing, and if you want to find out more about it, you can check it out here. It's one of the panels from the Infinite Tools range, and I'd recommend taking a look at the other panels available, as the scope for speeding up your workflow and producing creative professional results is quite impressive.


To my eye, the results are very unrealistic and tonally the face does not match the neck of the model. It could just be not to my taste. What do others think?
Totally unrealistic results, plastic skin.
I've used this software a bit and what it can do is pretty powerful. I do agree with the other comments, this probably went a little too far but that's always easy to say when you have a before and after slider to compare it to the original. I do find it hard to compare the retouching when the color palate has been altered as much as it has too.
For the article I did push the plugin to it's extremes simply to show how far it can go, perhaps too far ;) The light slider was more than adequate for this model's skin as you can probably tell. Please check out the upcoming colour grading article where you can see it used to subtly adjust the skin.
But why push to the extremes for the sake of the article? Surely for the article and for photographers we all want to see the most realistic ability of the software. I dont think anyone at all has even the slightest interest in the extremes to show how far it can go.
ruined the pic sorry :)
It would have been nice if you could have used an example photo with better lighting. Up lighting from below the model is about as unflattering as it gets. Just my 2-cents
Really appreciate the comments and although I did take the edit to extremes, which doesn't do the plugin justice, I thought I'd also provide a more natural edit to let you see how the plugin works. Raw image, no edits, and simply light, medium, and strong applied.
This seems quite powerful, if you can mask areas like the neck then you can easily correct the highlights and shadows. The comment section seem to be attacking the messenger which isn't very smart. If this plug-in worked with Affinity I would probably be all over it. It is a great time to be in photography with so many tools available.
This pic is i think not good example, original image have already weird lightning
I think the problem with these examples are:
1. The model have good skin to begin with. So, trying to smooth out good skin will just look plastic. Here's a larger view of the before: https://cdn.fstoppers.com/styles/full/s3/media/2023/02/07/before_2.jpg
2. The lighting is bad to begin with. It's uplighting. Then, you end up thinking smoothing skin will fix it. Then, you end up over doing it.
That is totally correct the model had great skin to begin with and no need for softening. The uplighting was requested by the client to emphasize the difference in the makeup applied to the face to that of the body. It actually had a hard edge under the chin and was used to provide a visual reference for the non-blending of makeup.