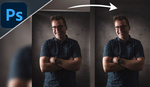
Learn how to liquify portraits in Photoshop CC, without the world-bending errors you've likely seen all over the internet where straight lines stretch space time around the subject.
What Is Liquify?
Liquify is a Photoshop filter used to morph an image into all kinds of twisted shapes using push, pull, rotate, pucker, and bloat tools. It's commonly used in retouching portraits to make corrections to body features, hair, and clothing. It's a powerful filter making it easy for amateurs or those new to the tool to make photos look unrealistic.
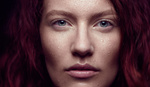
A common problem you might find using liquify on portraits is the bending of the environment or backdrop around the subject, distortion on textures such as clothes and skin, and unnatural shapes or contours. I decided to use a picture of myself for this tutorial because after the Christmas holidays I could do with losing a few pounds, and what quicker way to do this than with Photoshop? I'd like to say I was sticking my belly out for this photo... I'd like to say that.


Let's Get Cracking

Open your photo and duplicate the layer to see the changes you've made afterward by toggling the layer visibility
I started by opening the photo in Photoshop CC 2021 and duplicated the layer (keyboard shortcut Ctrl + J, or Cmd + J on a Mac) so that I could toggle between the two images later on to see my progress. This is my preferred way to see how far the edit has come probably because its an old habit that I used back when I started on Photoshop some 15 years ago. Then with the new layer selected go to Filter>Liquify (Ctrl+Shift+X or Cmd+Shift+X on a Mac). This will open the liquify window. This may take a few seconds to open depending on the power of your device.
Freeze Mask Tool

The freeze mask tool can be used to stop any changes being made to painted areas
Although it might be tempting to jump straight in and start pushing stuff around you'll fare much better if you set up a mask. The freeze mask tool (F) located halfway down the toolbar on the left can be used to paint over parts of the photograph you don't want to be affected, essentially freezing it from movement. I began to paint over sections that I didn't want to move and I could see where I was painting due to the default red overlay.
Thaw Mask Tool

The thaw mask tool can remove accidentally frozen sections and help refine the freeze mask
Just as the freeze mask tool stops things from moving while you liquify your portrait, so does the thaw mask tool allow things to move again. Hey, liquify, freeze, thaw — there's a theme, right? Anyway, use the thaw mask tool (D) to paint over any areas you accidentally froze. As you can see I went over my shirt a little so I simply thawed it by painting away the red overlay.
Time to Start Moving

The forward warp tool allows the user to push and pull sections of the scene with the brush
After all the masking preparation it's time to get liquifying. In the top-left of the toolbar in the liquify window select the forward warp tool (W). This tool allows us to push the photograph around, a bit like smudging paint on a canvas. The key to using this tool effectively is to make the brush the right size. Since I wanted to tuck in my whole belly I chose quite a large brush to cover the whole area. I then set pressure to maximum (100) so that it would take full effect when I clicked and set the density slider to 78 to provide a little give around the edges as I moved the photo around.
I selected the belly and just top-left above it to drag down heading to the bottom-right. To start with I moved everything in one go then went back and refined the edge with brushstrokes that were further left into the frozen mask section to keep the edge straight. It can take some time to get this right so make sure you experiment with the technique. You'll notice my mantelpiece is now bent out of shape and the texture of the wood is stretched. Don't worry, we'll come on to fixing that in a minute.
Pucker Tool

Use the pucker tool when you want to bring in all edges of the brush simultaneously - we won't be using it here
To spot-reduce areas and "tuck" them in, you can use the pucker tool (S). This is a brush tool that sucks everything inwards. It's a good idea in some areas but for this kind of liquify work it doesn't really help because it pulls everything in from all directions. Look at the texture on the shirt in the image above and you can see the hand being dragged down. Sure, you could freeze mask the areas you don't want as in the step above, but then it causes a sharp deviation in the clothing, and believe me, texture in clothing can be a pain to clone-stamp. The bloat tool (B) does the opposite to the pucker tool in that it pushes everything outwards wherever the brush is applied, again I won't be using that in this tutorial for the same reasons as above.

The bloat tool works in the opposite way to the pucker tool, pushing everything out to the edges of the brush, I seriously don't need this tool for this tutorial
Clone-stamp for Clean Backgrounds

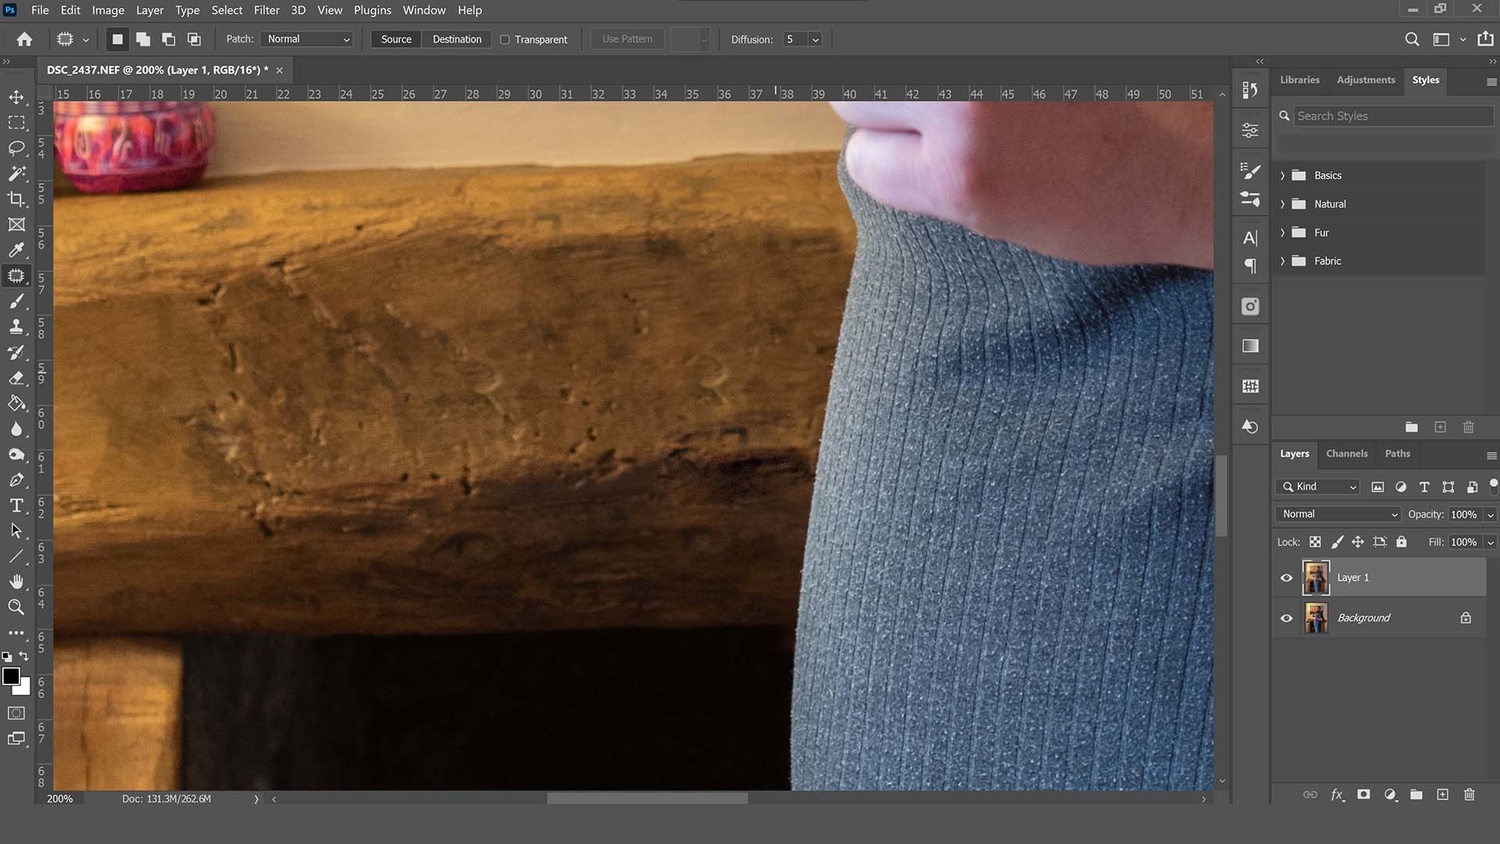
Clean up warped backgrounds with the clone-stamp tool once the liquify filter has been applied
The next thing I need to do is get rid of that awful stretching on the wood. This is the step that separates the bad retouches from the good ones. After applying the liquify filter grab the clone-stamp tool (S) and let's get this texture under wraps. Press Alt on the keyboard and click on another point in the image that replicates the desired texture. I've selected the wooden mantelpiece to the left of where I want to clone. Don't clone too close to the area because it'll appear as if it's doubled because the texture will repeat right next to itself — an easy mistake to make. It's tricky to determine how far away to clone from because you need it close enough so that the tones and shadows match. Take it one step at a time and if it looks like it's doubled up don't worry, just take the next step.
Patch the Clone

With the patch tool (J) select some of that doubled section by drawing around it and then pull the selection somewhere else with a different texture. I chose to match it to a piece of wood just next to my selection. You should now have a fixed, cloned area that doesn't appear to just be replicated from the area next to it.
There's nothing more to it than that. Of course, you could spend a lot more time editing and getting everything looking exactly right, even clone-stamping the clothing to even things out and you might want to liquify more than just one area, but the same principles apply to anywhere you're editing. The first mask off the areas you don't want to change, then make the adjustments, and finally clone or patch out any erroneous bent scenery and you should be done.