
Shooting landscapes at night often calls for gear that isn’t entirely essential for shooting during the day. Here are some suggestions for shooting single images, as well as star trails and time-lapse photography.
Photographing landscapes and nature at night offer almost an entirely different world from what we see during the day. We deal with different weather conditions and we face different challenges when it comes to lighting. Shooting during the day often means having to deal with imbalances in luminosity, and being able to use exposure effects despite the overabundance of light. Shooting at night means capturing clean and colorful images despite the scarcity of light as well as getting past the limitations caused by movement, weather, and artificial light.
While landscape photography at night requires a different process of its own, astrophotography is an even more meticulous and specialized process. This article talks about photographing landscapes with the night sky either with a single exposure or composite images.
Camera Gear
Of course, nowadays almost any camera, even ones on a smartphone, can be used to photograph the night sky. However, there will always be cameras that would have advantages over others when it comes to resolution and low-light performance. More than that, a good and reliable lens may be more important if you wish to capture the night sky with significant brilliance and come up with the cleanest images possible.
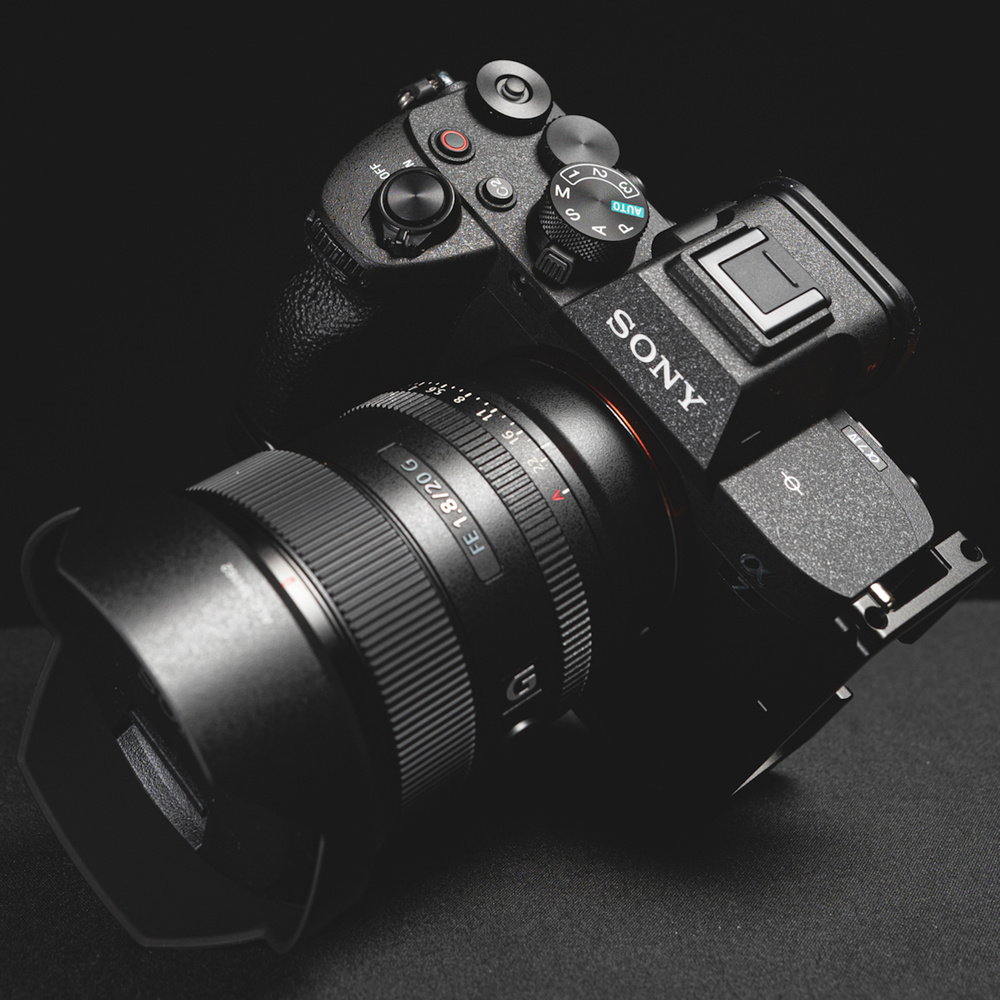
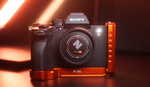
I mainly now use the Sony a7IV and Sony a7R mark III for my landscape photography work which is why the lenses I will mention are the ones for the said camera bodies. However, the more important factors in these lenses are their focal lengths, aperture, and overall image quality that they produce.
When it comes to landscape photography overall, the most universal ultra-wide-angle lens would have to be a 16-35mm. An f/4 aperture variant would be more than capable for landscape photography most of the time except for shooting at night. Having an f/4 opening would mean having to use significantly much higher ISO which would result in more noise even with a camera that has considerable ISO invariance. A 16-35mm f/2.8 would obviously do better following this logic and would therefore be one of the first zoom lenses to consider.

Shot with the Sony 20mm f/1.8 G on an A7IV
ISO 1000, 25 seconds, f/1.8
Wide-angle prime lenses on the other hand would offer a little more extra in terms of low light performance. Common options for Sony users would be the 24mm f/1.4 G Master, the 14mm f/1.8 G Master, and the 20mm f/1.8 G. For full frame cameras of other brands, similar focal length and aperture combination options are mostly available. My personal choice is a 20mm f/1.8 G for a number of reasons. For one, I particularly like the angle of view of a 20mm lens not just for landscape photography and the night sky but also for outdoor videos and street photography. When shooting the night sky from a location that isn’t entirely unobstructed, it still gives a significantly wide angle of view while being able to avoid obstructions in the foreground. While the 24mm f/1.4 is also a great option because of the wider aperture and relatively similar angle of view, and the 14mm f/1.8 is a great option for ultra-wide angle shots, the 20mm f/1.8 G offers a middle-ground for both lenses and is significantly more affordable than the other two.
Filters
Given the fact that good quality filters for landscape photography should only do one thing which is to limit light, filters are generally not used when doing night photography. However, there are two exceptions to this rule. One alternative use of a soft-edged GND filter is using it with the dark part pointing downwards when shooting a relatively brighter foreground. This can be done to tone down a bright cityscape with the intention of coming up with a brighter sky. This effect can be beneficial when there are visible elements in the sky such as fast-moving clouds, or even when stars or the moon are visible despite light pollution.
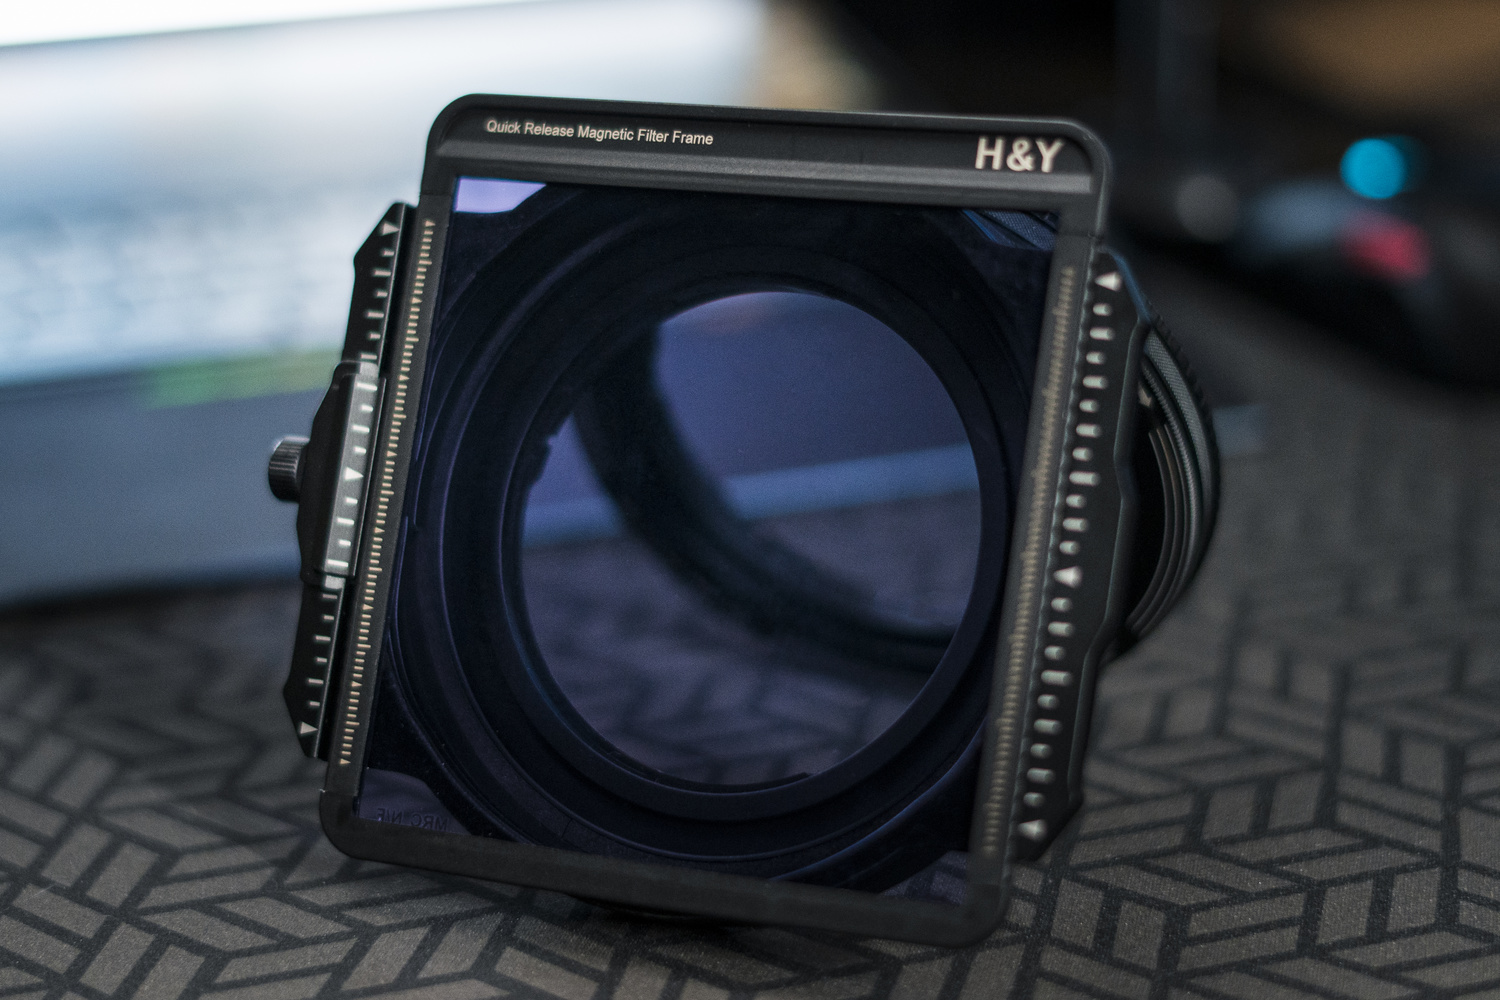
The second filter is a light pollution filter. This special filter cancels out light pollution to an extent and allows for better clarity and brilliance in the night sky. This also gives better chances for colors from stars and other galaxies to be captured better when the effects of artificial lights are canceled out. I particularly use the H&Y Starkeeper anti-pollution night filter for general purposes, however, there are also specific multi-narrowband filters for dedicated astrophotography with specific targets.
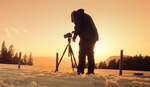
Tripods
The requirements for tripods are similar to daytime landscape photography. For relatively lightweight mirrorless camera setups shooting in a fairly gentle environment, a travel tripod is enough. However, when shooting from an elevated location, a location with significant wind, or shooting with the tripod submerged in water, a heavier tripod is a better choice. When shooting single exposures to capture the night sky, the tripod’s ability to resist wind or water current will be crucial in avoiding motion blur. This becomes even more important when shooting star trails or time-lapse since one accident can ruin an entire night’s worth of shooting.
Simple Time-lapse Accessories
Shooting long and meticulously made time-lapse videos requires a lot of mastery and work so much so that doing it alongside shooting stills and doing multiple compositions in one shoot might get overwhelming. However, since I particularly focus on the latter, these two accessories make it possible to shoot time-lapse and star trails in an almost automated way.
The MIOPS Flex camera trigger is an intervalometer on steroids. It connects to the camera as a PC remote which can then control your shutter and also manage files. It has functions ranging from simple long exposure bulb modes, interval shooting, a light sensor for shooting lightning, as well as a sound sensor for special effects. However, in terms of shooting landscapes and time-lapse, this camera trigger can assemble your time-lapse clips automatically using the app and store them onto its own micro-SD card. It can also do the same process for HDR bracketed exposures and process them on-the-fly.

Lastly, if your camera allows USB-C charging, then having a portable powerbank can save you from worrying about your batteries running out in the middle of the night while shooting time-lapse. In the video, I showed a rather big 26,800 mAh powerbank that is great for camping out because of the option of using the 100-watt AC outlet for portable electronics. However, in using it entirely for time-lapse, a smaller and more portable 10,000 to 20,000 mAh powerbank is more than enough for a night.
Photographing the landscapes and the night sky shows the world in a much more peaceful and majestic way. The abundance of light during the day often hides the wonders of the universe from our sight and being able to overcome challenges in the scarcity of ambient light gives some of the most rewarding landscape images.


Thanks for the great article - you captured the unique challenges of night photography eloquently. After trying lots of cameras, I’ve found the Sony a7iii with 20mm f1.8 or 24mm f1.4 work best for me. I shoot a lot in Rocky Mountain National Park where skies are really dark and light pollution is not an issue. In addition to the gear you recommend I’d add a good red-light headlamp, the importance of scouting the shot in the daylight, and planning ahead with an app like PhotoPills. Up here you also have to watch out for bears and mountain lions, so a good whistle and some bear spray can come in handy as well.
Youre absolutely right. Thanks for pointing those out. I also use photopills and a headlamp. Haven't had to deal with wildlife but youre absolutely right. :)
Thanks for sharing your choices but it would have been better to give a general guide on gear rather than just specific gear that you use. For instance, how to choose camera and lenses other than Sony. Secondly, you haven't mentioned anything about star trackers. Thanks!
Thanks for pointing that out! I will work on something about the cameras and lenses that arent brand-specific sometime soon. I didnt mention star trackers because early in the article, I made the distinction between just night landscapes and astro photography.
I wont pretend to have enough experience in the meticulous process of astrophotography at this time which is why this article is specific about shooting landscapes at night. Thanks for your input! :)