The best part about learning rules is breaking them. For example, most of the time, blur in a photograph is a faux pas. But there are ways you can use blur to add energy and emotion to your images. In this lighting diagram, we will explore how to introduce blurring to your images with the use of an on-camera flash.
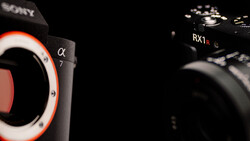
Before you start experimenting with this technique, make sure to go to you menu in your camera and set it to "rear curtain sync".
This will allow your flash to trigger at then end of your exposure, rather than at the beginning. This will help your subject stand out better and not get lost in your image. The length of your exposure will depend on how bright the ambient light is where you are shooting, but I like to be around half of a second.


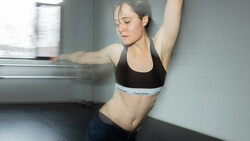
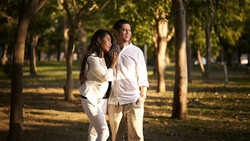
This dragged-shutter effect can be done a couple different ways. One way is tracking with a moving subject. This causes the blurring to mirror the movement and direction of the subject. This is a great technique to use at the end of wedding receptions, when lighting is low and you are trying to capture the excitement of the bride and groom running off together.
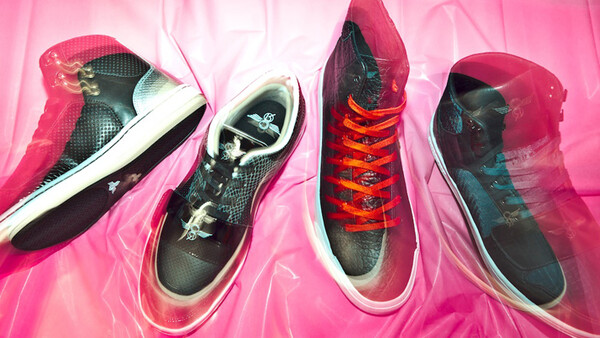
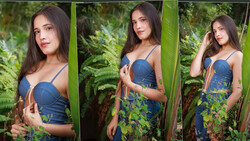
The second technique can be done with moving subjects but is also effective with inanimate objects, as in the shot below. If you have a zoom lens, like a 24-70, you can zoom in to 70mm before you begin the exposure and then zoom out to 24mm as the exposure is taken.

This is a fun technique to experiment with. I'd love to see your images in the comment section. Have fun!
Lessons like this one as well as 25 other lighting diagrams are available in my new e-book, RGLR, The Run & Gun Lighting Resource for $10.


8 Comments
Here's an example of a fun one I did as the sun was setting.
Don't have to use rear curtain sync to have lots of fun with this in creative ways. Can use it for off camera flash as well, some great fashion photography over the last few decades has utilized this quite well. Wedding photographers also seem to enjoy it during the dancing and such. Can make for a good way to isolate a subject in a sense, but also add motion and energy into a photo.
can you describe how wedding photographers do it for dancing pics for the reception?
Similar thing I've done on my last photo shoot. :)
been That every one is sharing , my version,
These are great.
It's a very interesting effect there. I've been doing it slightly different but it still gives the image a cool look. Congratz on the lighting diagram :]
love the effect, here my version...