Adobe is taking all the hard work out of 3D compositing, by marrying stock models with their 3D scene creation and rendering app.
I’ve been working with 3D applications for years now, and I still feel like I’m behind. It’s the single biggest learning curve I’ve undertaken. In fact, it took months before I saw results that I actually liked. Necessary features are hidden behind keyboard shortcuts, even small projects can take hours, and keeping up with various communities takes commitment. If you’re not running a beefy machine, you may need to pay for a render farm to get you the finished goods (on top of paying for applications and plugins).
So it’s without hesitation that I’ve been recommending Adobe’s Dimension CC. It works great on a Macbook Pro, is simple to use, and best of all, creates great looking images without much effort.
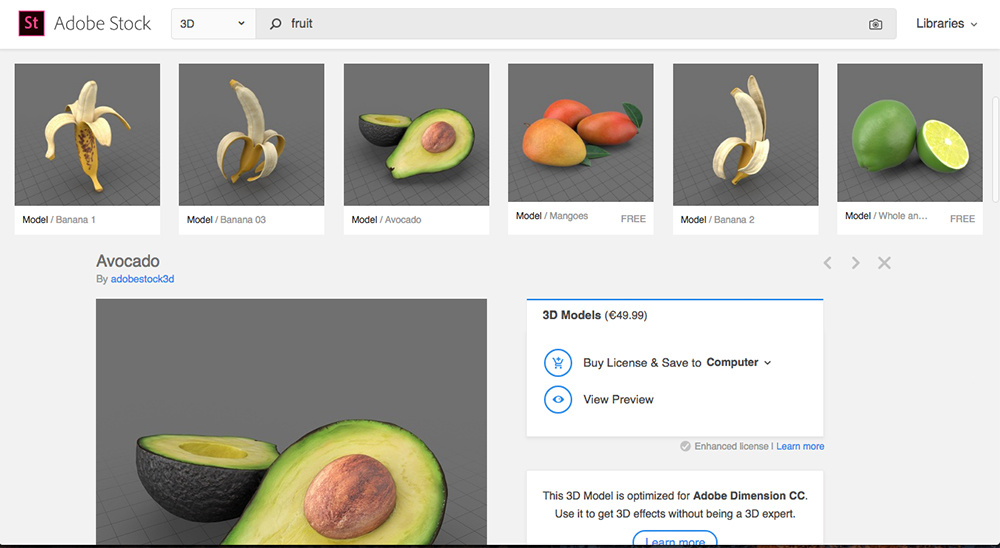
Dimension CC automatically imports any Adobe Stock 3D files that are licensed.
Forget Modeling
3D modeling is no small feat. Unless you’re serious about diving into this world, I’d skip it for the moment and opt for stock 3D models instead. You can find these all over the web and it will speed up your workflow by a mile.
The idea is that you find what you want, download it, position it in your application of choice, and then render it out. Usually that can go pretty smoothly, however, that’s assuming you understand the application you’re using. Whether it’s Cinema 4D, Blender or 3DS Max you might find that bringing in somebody else's model doesn’t automatically make it look beautiful.
As a result, you’ll generally try to find stock models that are specifically made with your application in mind. For Dimension CC, that’s obviously Adobe Stock. When you download a model, it will automatically function perfectly in the app. Its materials will be applied properly, the normals (texture) will fit just right and you can quickly move on.
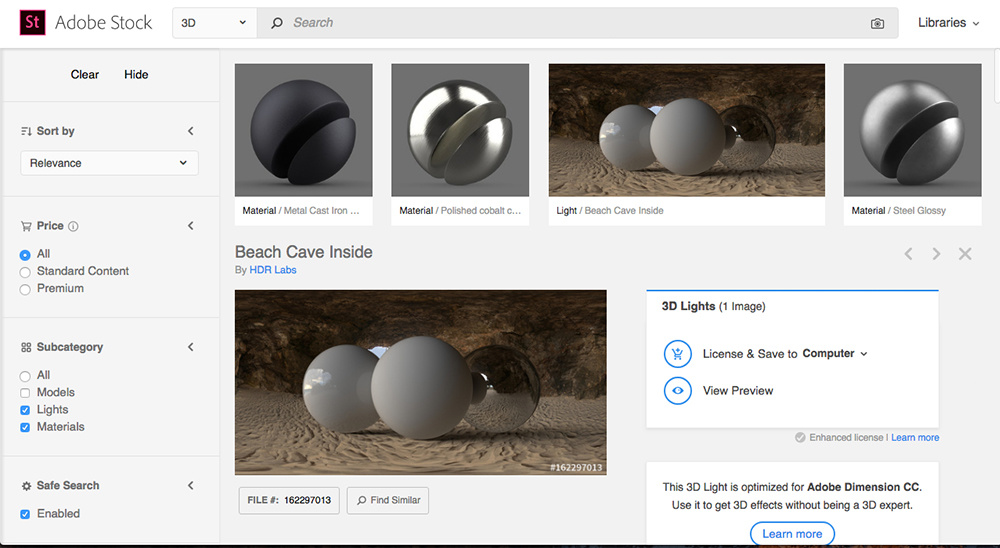
Materials and lighting can be downloaded from Adobe Stock.
The Basics of Creating a Composite in Dimension
I'm assuming you already know a little bit about this. If not, check out Adobe's quick overview of Dimension, and then come back here. You'll need to know and understand the UI first.
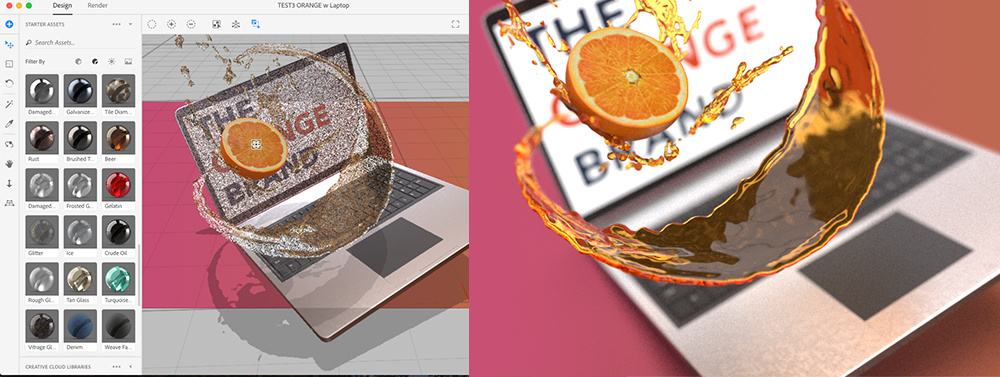
I love the splash models that Adobe has and I want to make something with citrus vibes. I’ll go to Adobe Stock and get an orange, which I’ll then save to my stock folder (no need to download and re-link, it just appears in Dimension CC).
From there I’ll drag my models in and use the tools on the left to place them. You can also control the camera angle from the second group of tools below. There’s nothing here that a beginner wouldn’t be able to do. I find it helps to get everything close enough to where I want it, and then rotate the camera around to make sure it’s all exactly right. I want to leave space on the right for some 3D text later.
Next I’ll want to choose my materials. I picked a yellow glass for one splash and an orange glass for the other. My fruit was already skinned by Adobe so I don’t need to worry there. Adobe Stock has more materials if you need something more specific but I think I’m alright here.
Finally, I’ll want to choose my background and lighting. I made a quick gradient in Photoshop, and then picked Adobe’s “Wooden Studio” preset for the lighting. You can download more backgrounds and lighting setups from Adobe Stock too. Perhaps you’ll want a realistic background (even your own photo). Dimension will ask if it can automatically match the lighting in the background image via its Match Image feature, and I’ve found it to be pretty good. Personally, though I like the surrealistic look, and also find it’s an easier look to achieve for beginners.
From there I can check what it’s going to look like in the render tab on the top right. If I’m happy, I can get the final render exported. I usually like to export a PSD file, and render at the highest quality. Some complex renders will run for hours, but most only take minutes (it’ll depend on your machine). Unlike some other dumbed down 3D rendering systems, Adobe’s isn’t trying to fudge shadows and reflections – you’re seeing the real deal.
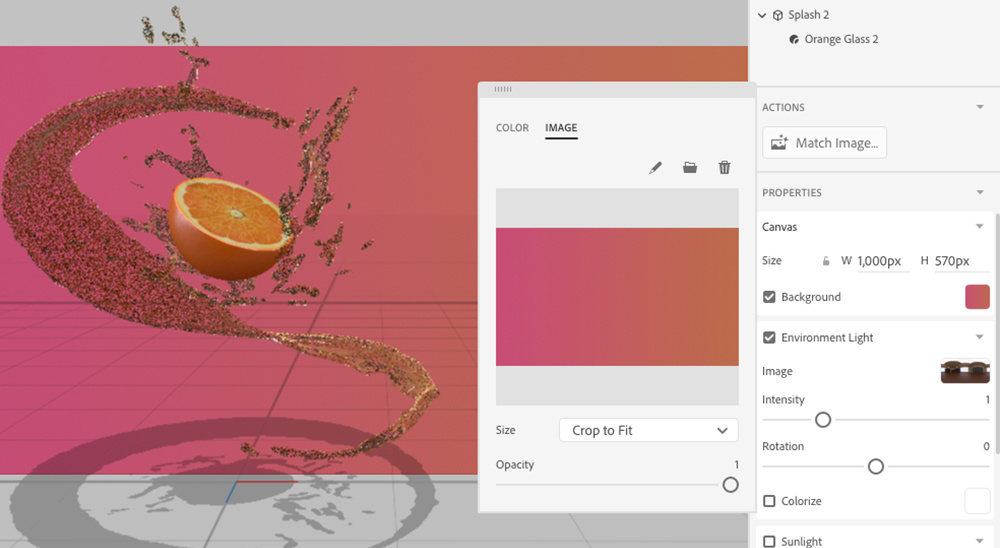
For this graphic style, I like to make a gradient in Photoshop that matches the colors in the scene.
The reason I like to export a Photoshop file is that it’s considered good practice to apply a level of de-noising to your final render, and Dimension CC can export a layered PSD that splits the background from the models. If need be you can use the included depth map to create a mask, and only de-noise the blurred background that needs it most.
- Apply levels to crush the blacks/whites.
- Hit Cmd+A or Ctrl-A to select the entire image, copy it.
- Make a new mask for the rendered image.
- Copy your depth map to that layer in the channels tab, on the mask’s layer.
- Apply de-noising or blurring effects to the masked layer.
Photoshop is also a great place for finishing touches, like color grading. You might want to throw a LUT on top of my renders to bring a more unique feel to the look. Something subtle goes a long way.
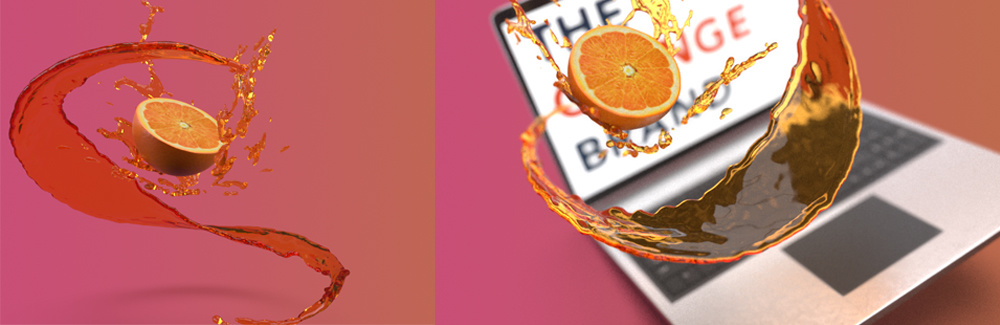
The final results.
Importing Your Branding
So you’ve got your stock assets in place, but need to send a message. You can’t do any modeling in Dimension CC so I like to either add content to a laptop/smartphone screen or bring in some 3D text from Photoshop. It’s a nice way to get your point across without complicating things too much.
Adobe has a bunch of different stock assets for computer monitors and the like, but I’ll just be using the laptop that comes in the asset panel of Dimension CC. After you’ve placed it where you need it, reach over to the laptop folder in the Scene tab. Inside that, you’ll be able to expand the “Screen” part of the model, and see the material. From there you’ll just need to click on the base color and hit the pen icon to edit the texture in Photoshop. Then you can place your custom content in the white box on the canvas. Save it, and it’ll appear in Dimension CC.

Not necessarily "on brand" but you get the idea. I've also used the next technique to create a 3D Fstoppers logo.

If you want to add custom 3D text, then jump back into Photoshop. You’ll need to create your text layer as desired, then in the 3D menu tab select “New 3D Extrusion from Selected Layer”. It’ll bounce you into a 3D view where you can change the bevel and extrusion depth, deform settings and coordinates. You probably won’t need these settings that often.![]()
Go back up to the 3D menu tab and click “Export 3D Layer”. You’ll want to save it as an OBJ, as well as retain the scene and textures. Then over in Dimension CC go to File>Import>3D Model. I like to zero out the coordinates of the object when it’s imported, just in case it’s being placed too far away from my scene.
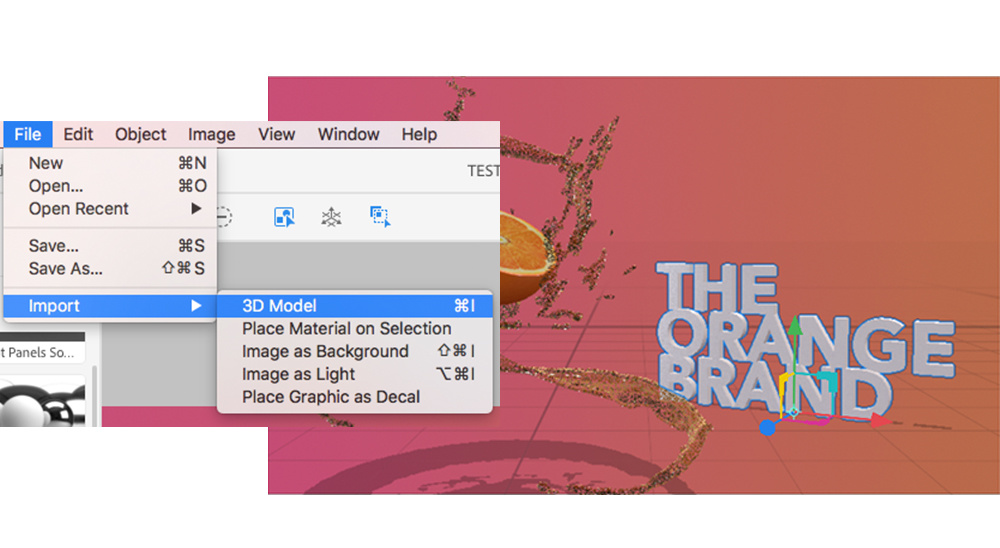
You can import any OBJ file.

From here you can choose your texture as normal, place it as you prefer, and render. As you can see Dimension CC is a frictionless way to create 3D renders. It’s a little frustrating if you’re accustomed to more fully fledged apps, but that’s what makes it suitable for newbies.
Feel free to post your own below!