Variations on Technique
As has been said, I've been fooling around with multiple exposures. Mostly I try to remain still (or as still as Harry allows!) and shoot until my Nikon's buffer is full, typically 13 images. Then I import them into Photoshop as layers and use Photoshop's auto-align component to arrange them. As these are hand-held photographs, the images are never identically framed, so when I align the layers they overlap one another with their edges all over the place.
At this point I have some choices, and here are four examples of different choices made today.
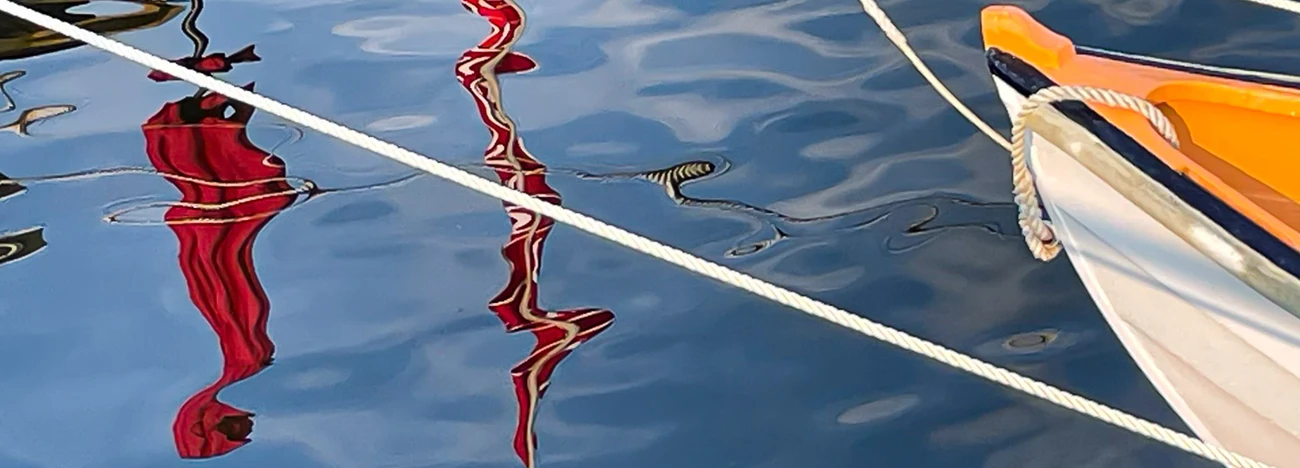
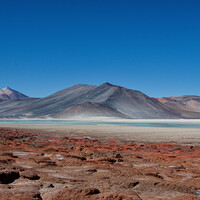
1. I found a frame I liked better than the others and made it the top layer at 100% opacity, i.e. looking "normal.". The other layers are at a much lower opacity, in this case about 20%. I flattened the layers and used DxO Lab's Viewpoint 3 to make certain the verticals and horizontals were vertical and horizontal respectively. Finally, I made some minor changes to the color and tonality.
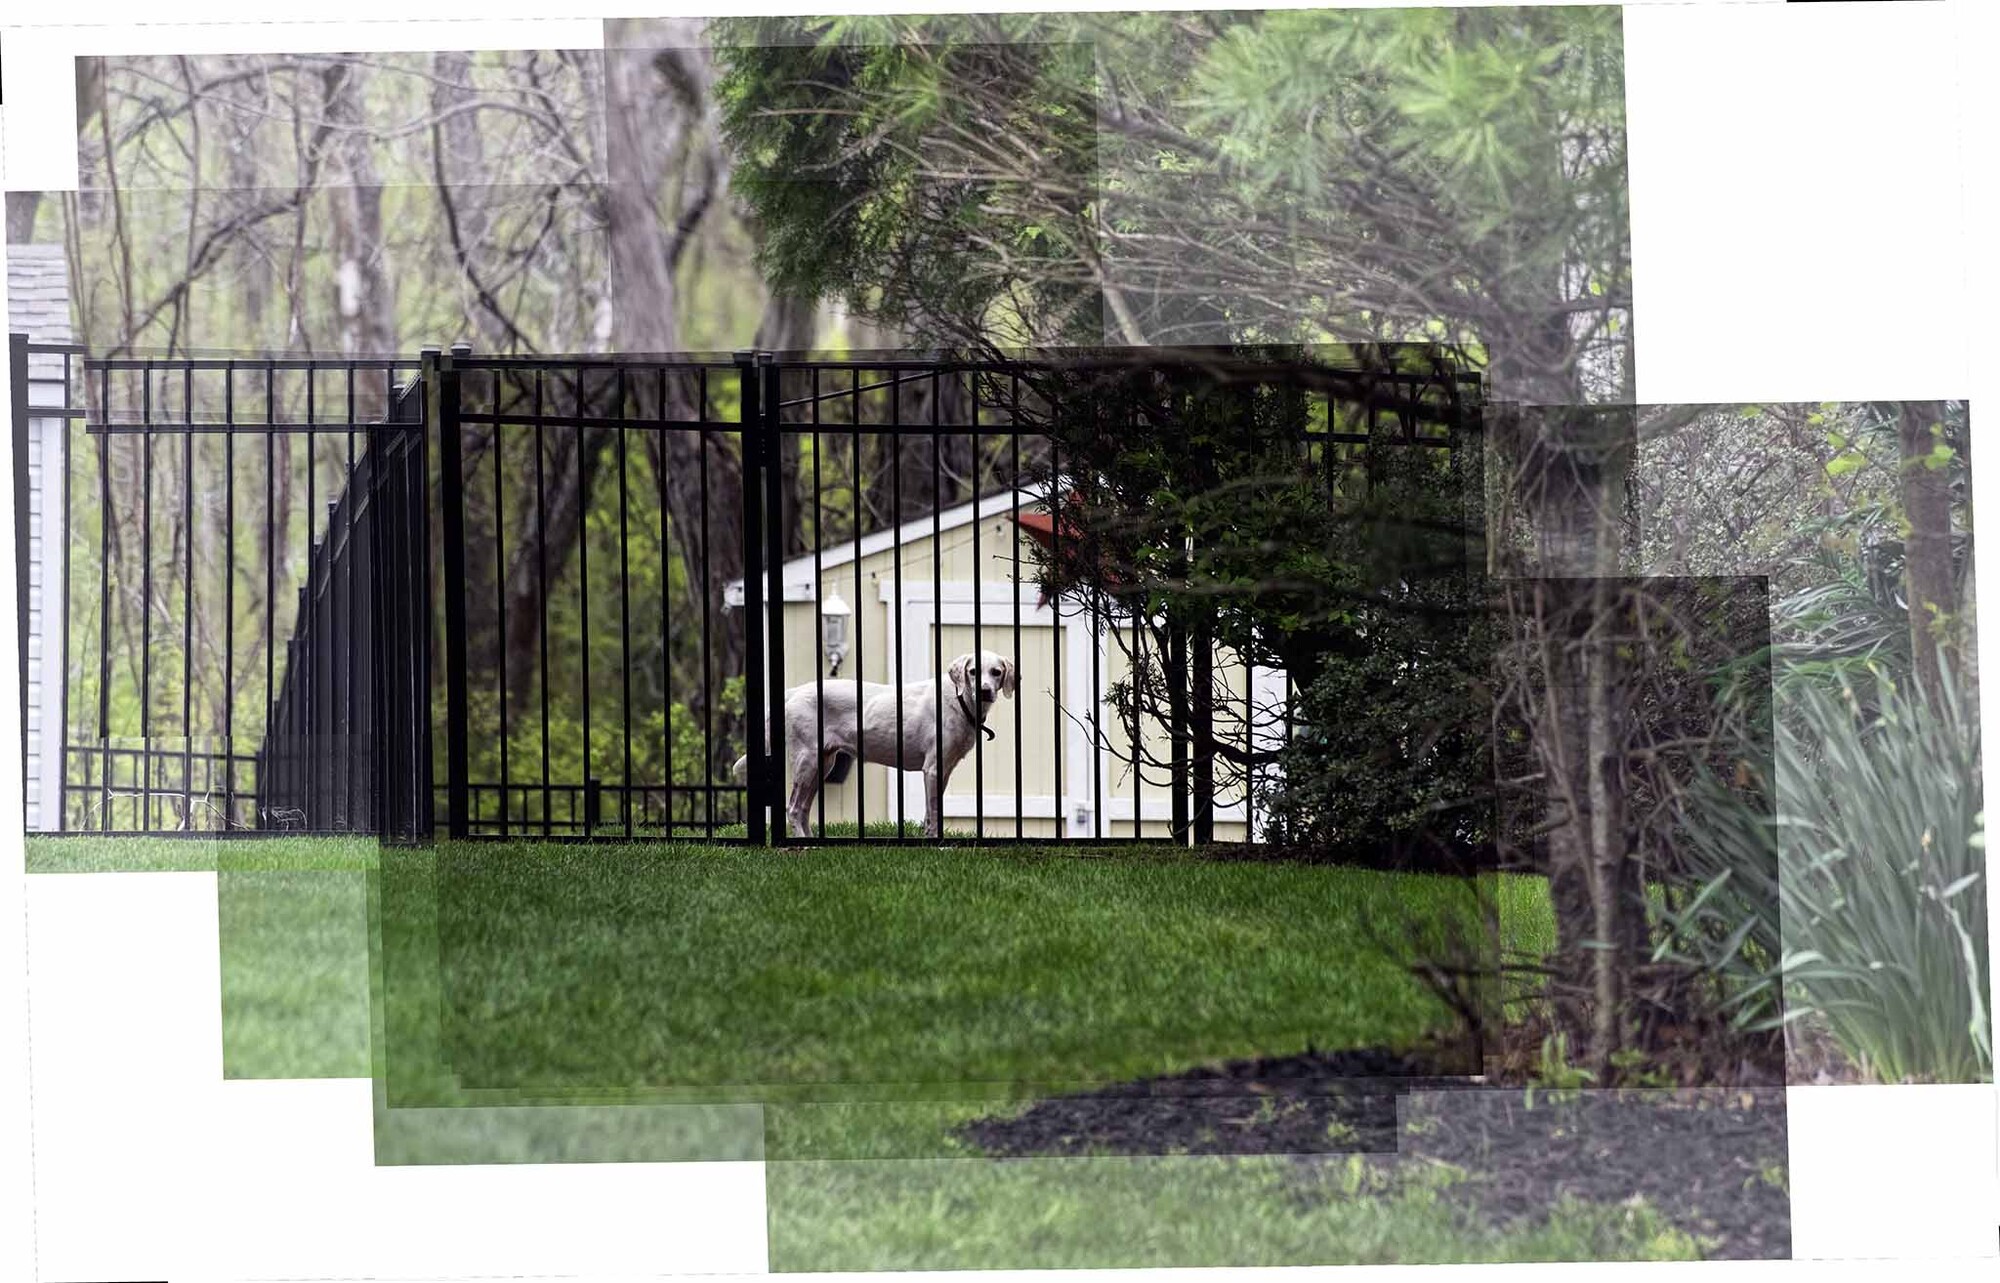
2. This processing was similar to the first except the top layer is not quite at 100%.
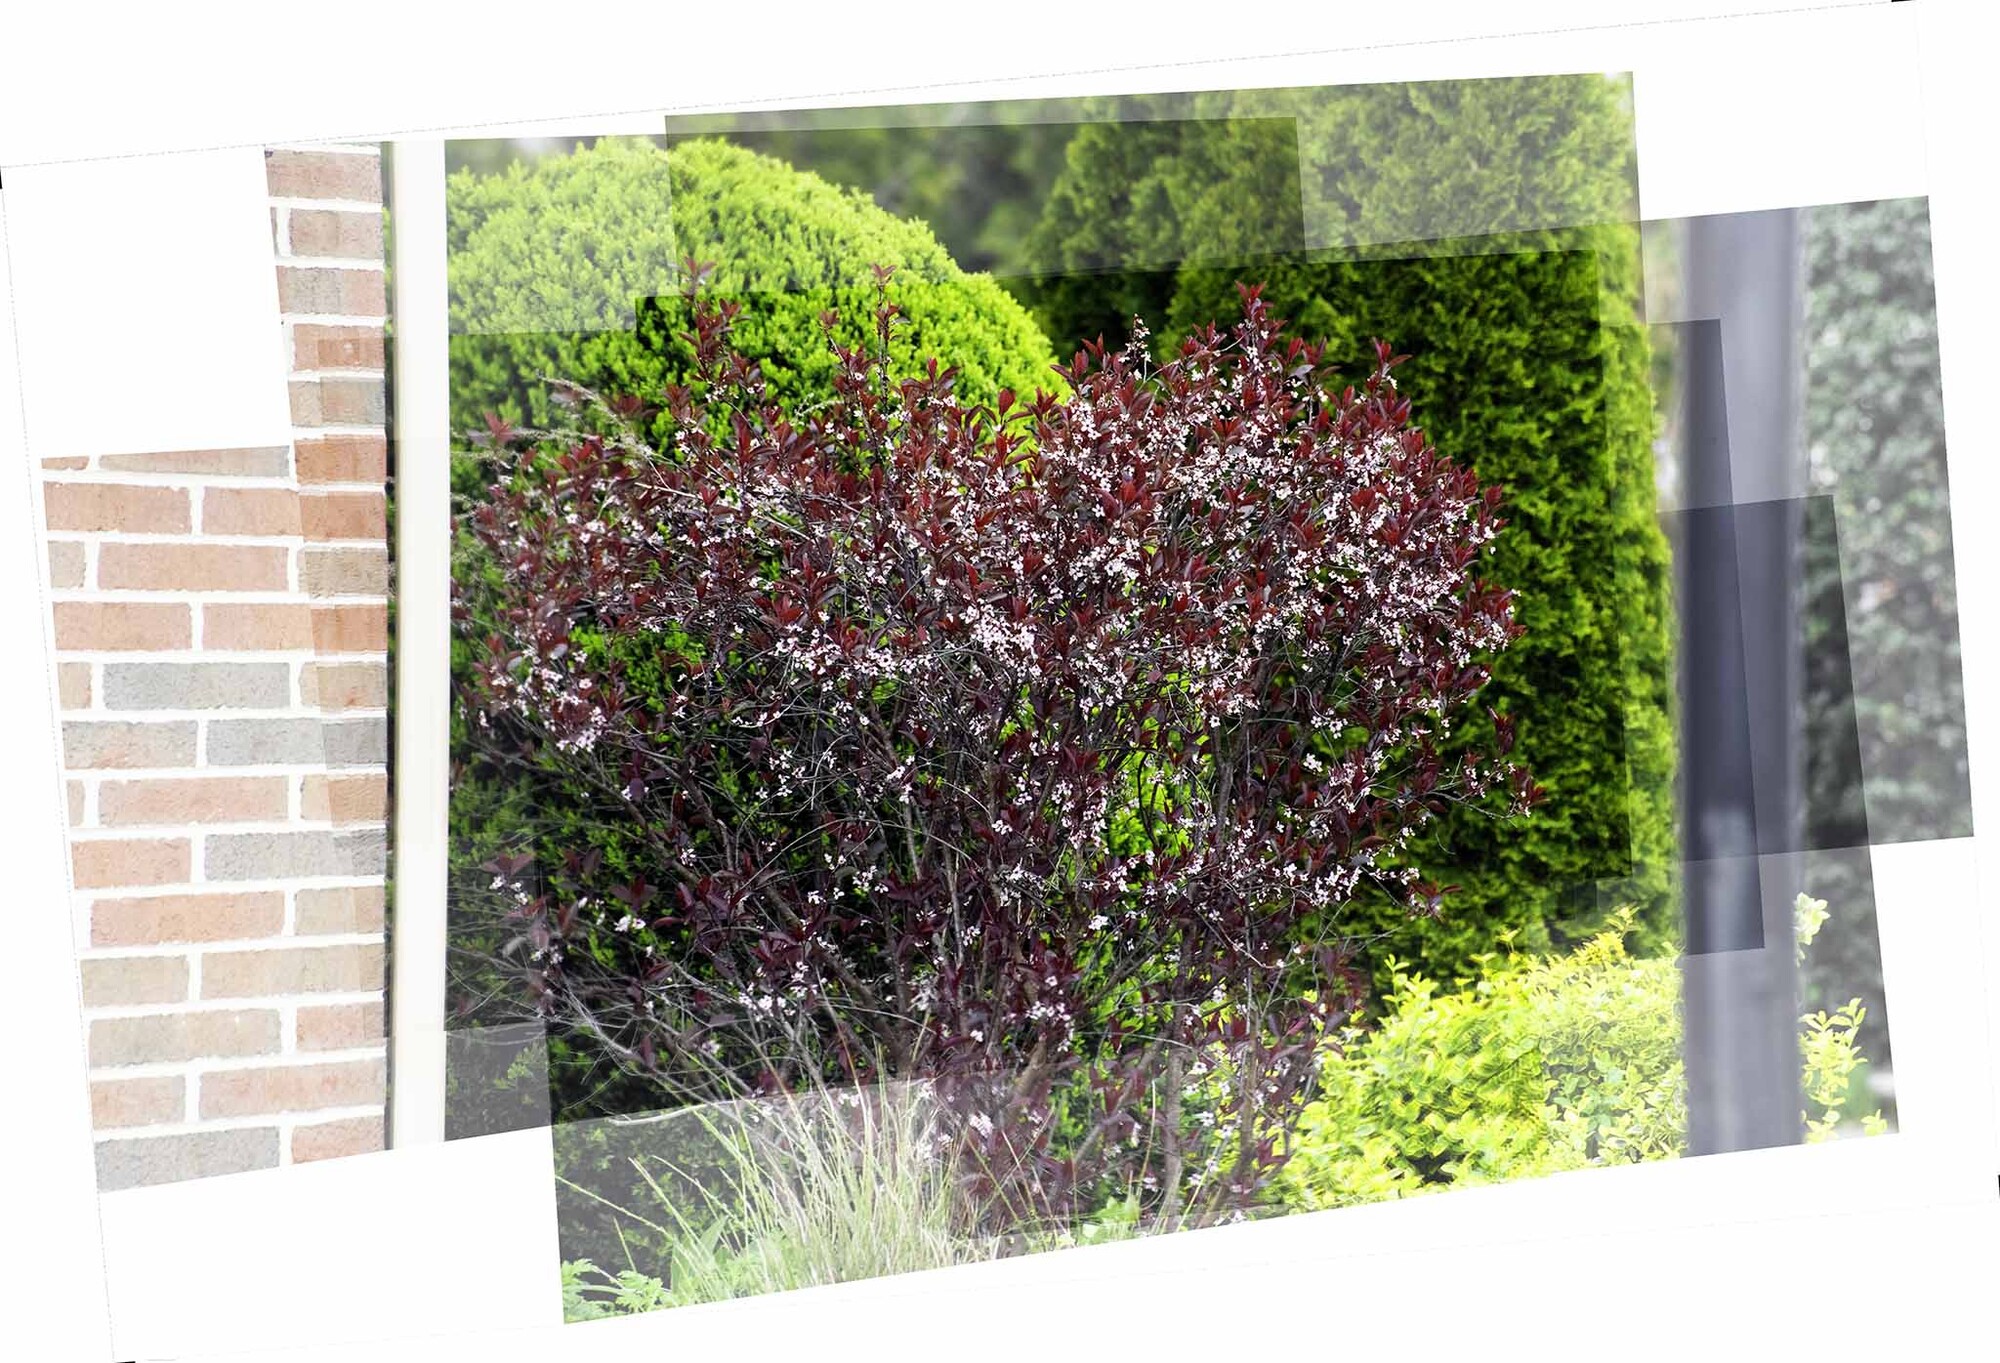
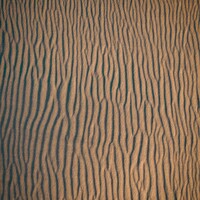
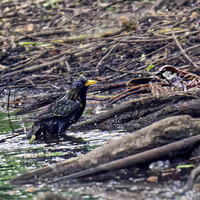
3. Again, similar processing, except I noticed that the layers were no longer rectangles. And the lower levels were at 45%.
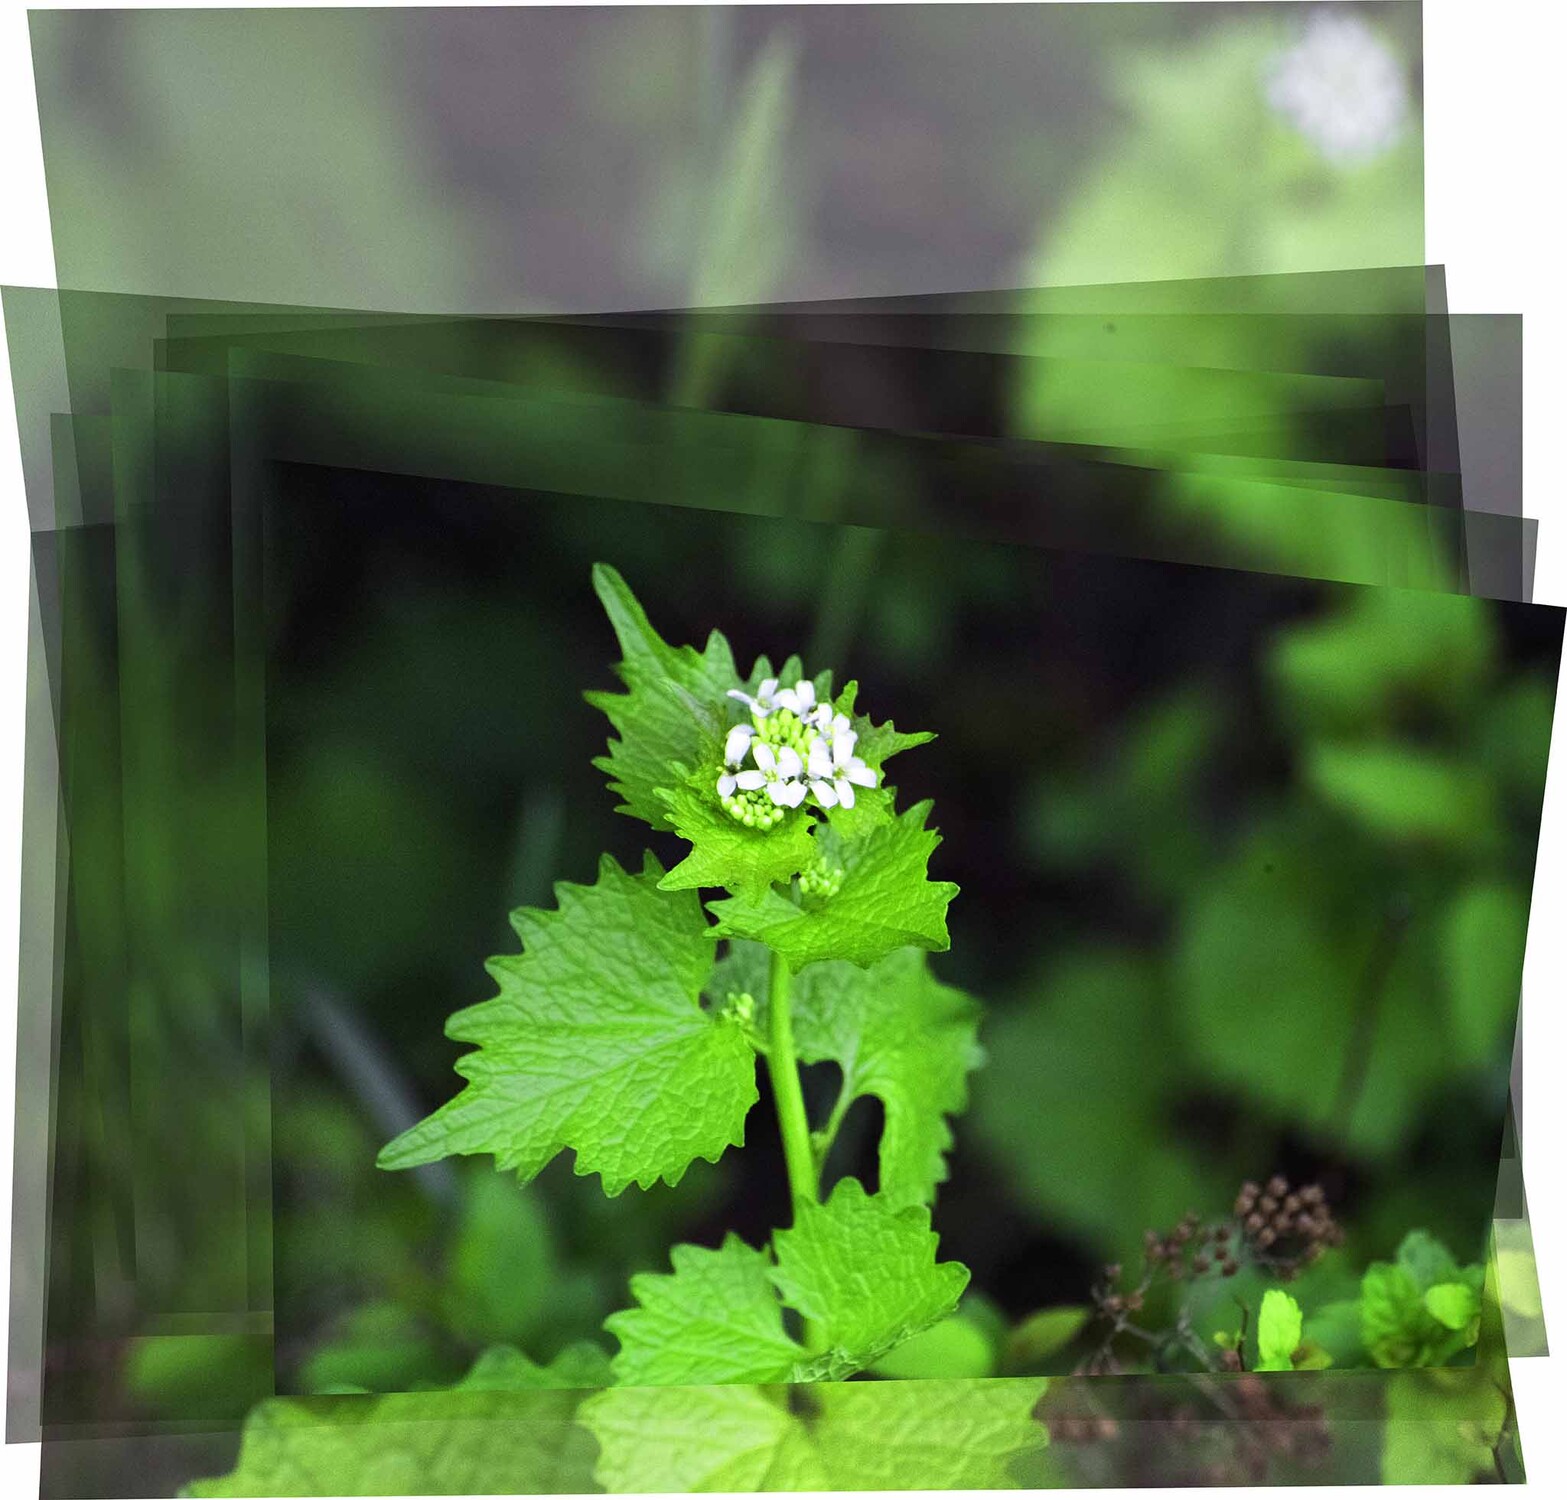
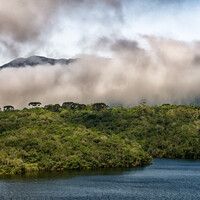
4. These are the same layers as in #3. #1, #2, and #3 were done by letting Photoshop decide how it would align the layers, and there is no which option it chose. In this edit, I chose the "Reposition" setting, which apparently does not allow distorting the individual layers to fit. I adjusted all the layers to 10% opacity. After flattening the layers, I adjusted the curve, color, and contrast to approach "normal. "


2 Comments
This technique you are exploring Andrew is very intriguing.
Lots of fun to look over your shoulder, as it were, as you explore and perfect it.
Thanks so much for sharing your discoveries with us.
Thanks for sharing Andrew. I especially like #1 as the layers all work so well together.
Great technique, and one worth pursuing further.