
Photoshop has a multitude of distortion tools that allow you to correct parts that distract from your image or they can creatively alter the image into a new reality. With so many options is it best to know which tools work best for optimal results in the final image. With the three most popular and sometimes misunderstood explained here you will be able to take those images that might have been discarded and create something new.
Liquify
Liquify can be a powerful tool but must be used with caution. While the abilities can be endless using certain options as pull, pucker, bloat, push, or the updated facial features in the newer versions, it also has been known to go to far. When Liquify is used it will basically be an advanced smudge tool. I use it often to perk up the hair especially after a long day of shooting when the hair tends to fall and become flat. Used properly it can add this bounce to hair, slim dress lines, or even open eyes for a brighter face. Used improperly it may look as if someone feel asleep on the keyboard option pushing the hair in a circular pattern.
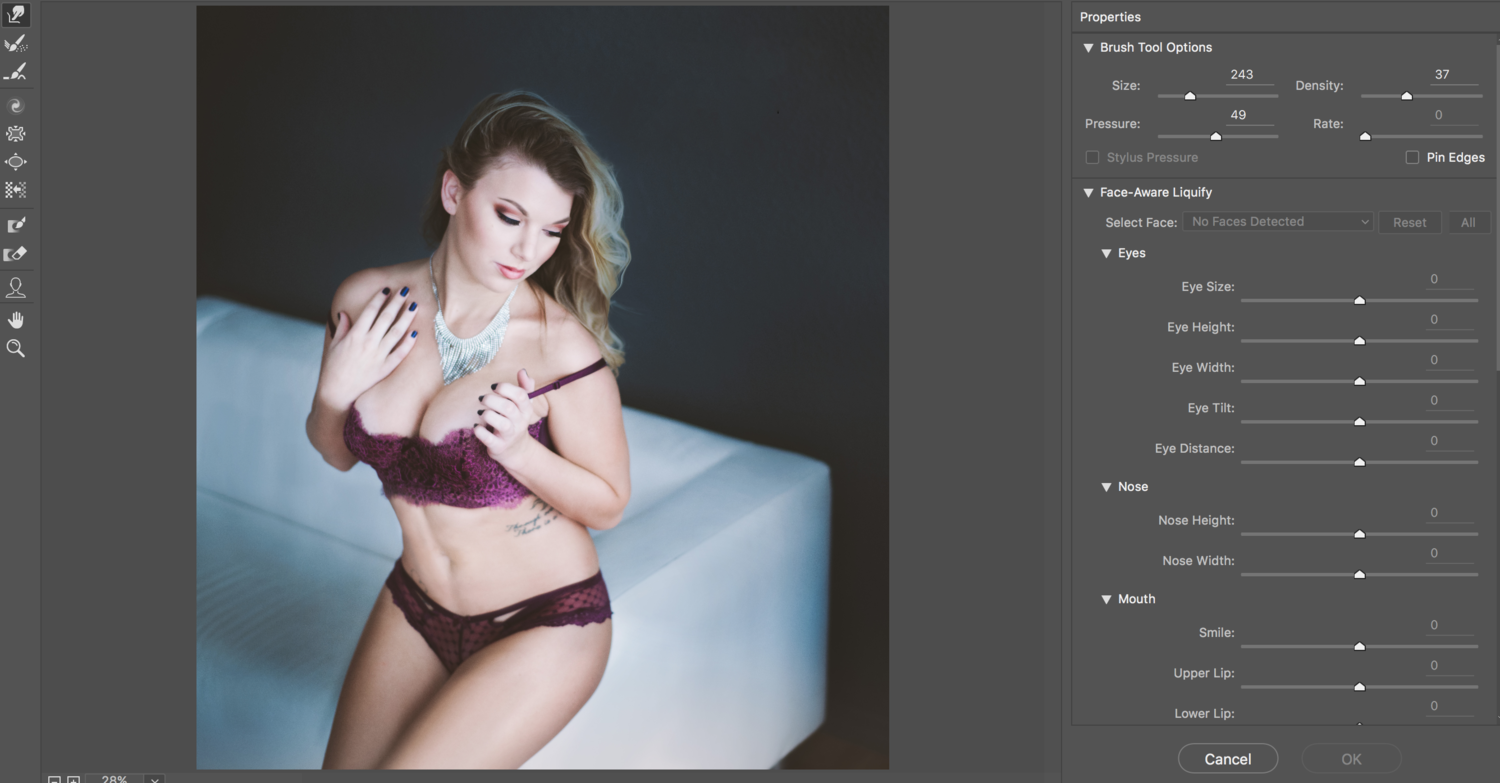
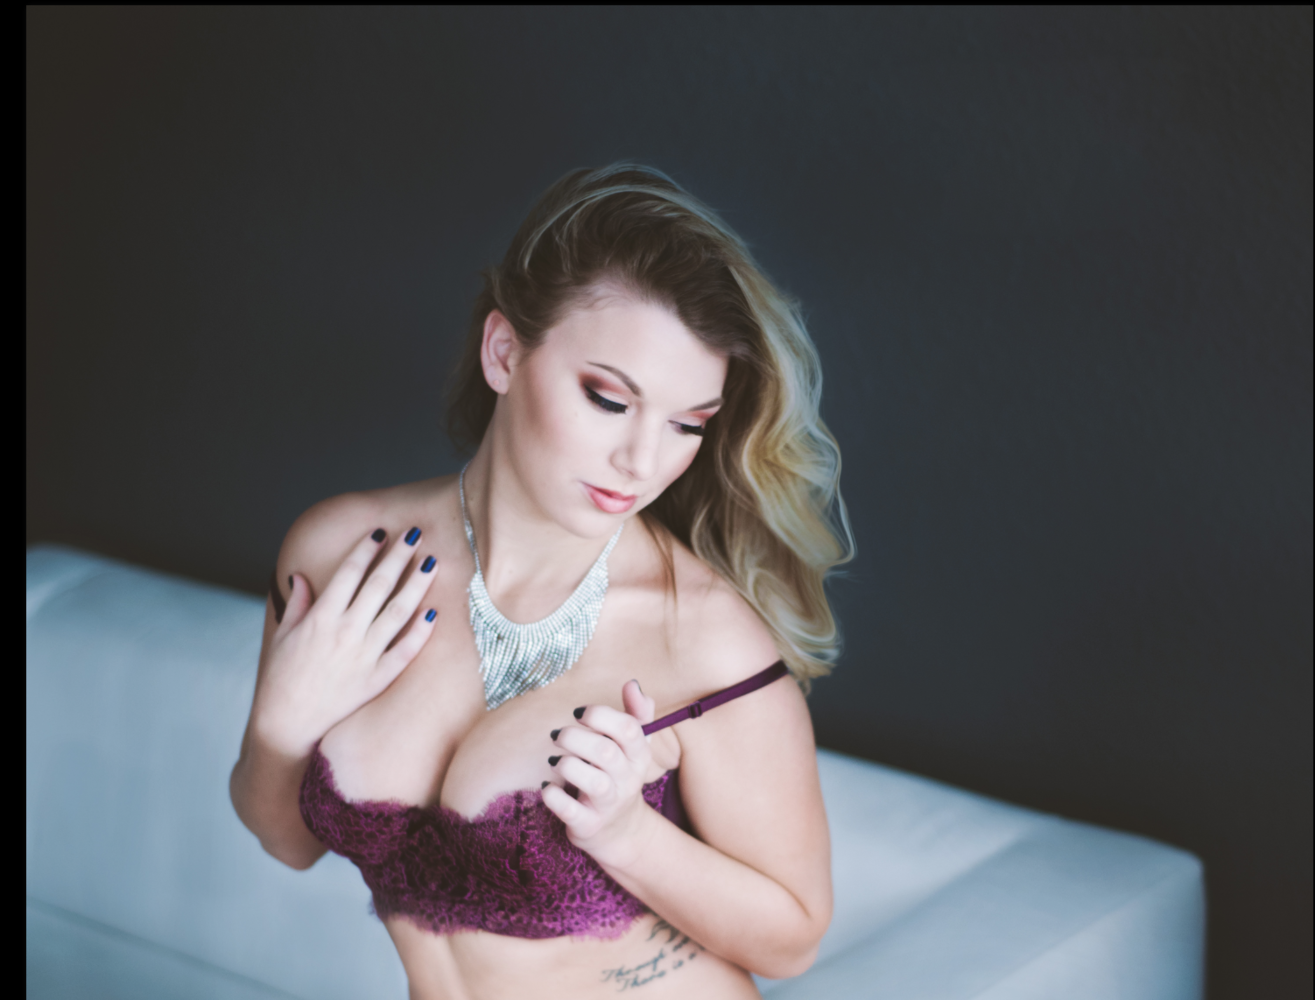
Liquify tool to enhance hair lightly from scalp
An example of overly applied liquify on the bottom ends of the hair show the undesirable repeating or circular patterns.
Overdone drag on the hair creating circular patterns
If certain parts of the image are not part of the desired distortion, the freeze mask option will allow the user to block off that portion and only work with the area in question. The tab below freeze mask will place it back into the affected area. You may mask out the entire body or just the parts directly touching if the drag will not be as severe.

Warp
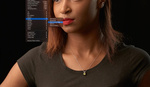
The warp tool is a great option for those wanting more control on eyes (over the liquify's facial recognition) to curve objects or even clothing around a person. The tool allows the user to drag the control points to manipulate parts of the image. It creates a mesh in a rectangular pattern with minimal points.
In this image the underwear line was showing a bit along with the wrap not completely around her waist line. Cloning could very well taken care of this job but with longer editing for color and shadowing. The warp command easily allows for manipulating the skirt over the undesired areas.
Select the desired area with the quick selection tool, preferably a bit above and longer than the area in order to allow for blending.

Next, create a new layer of this selection (command-J on a Mac, control-J on a PC). Right click and select the warp command. This will create the minimal control point mesh to work on.

Here the points allow for pushing or dragging over the area in question. This selection is on its own layer so a clone on the background will not disturb the look of the manipulation. Cleanup is simple and quick. This is the preferred method for myself over liquify due to the less destructive nature when I am shooting underwater in the springs and need to be aware of the pull liquify will have on background objects such as fish.


The final image shows the new layer blended into the background by masking out with a low opacity brush.

Puppet Warp
When the warp tool does not allow for enough control the puppet warp can be your best friend. This tool is my preferred tool for moving arms, legs, or anything that needs a much more defined control on other parts that will stay static. The multiple mesh points allows for control not seen with the other tools. In the underwater boudoir world it is not as easy to get a pose on point every single time especially with outdoor nudes. There is a limited timeframe involved and something as simple as a hand a bit to far from the body can easily be brought in to create a more inviting image with a few of the favorite triangles.
First you must isolate the subject or object your wish to move. Using the quick selection tool as in the warp description above select and refine the area. Create a new layer and make sure you are on the active new layer otherwise puppet warp will not be engaged. Next, go to Edit > Puppet Warp to highlight the new layer.

It is helpful to have the mesh layer visible to see all the control points as well as playing around with the expansion to suits your preferences. Here you can also control the density as well.

Once your mesh is ready place a pin on the spot you wish to anchor. If you do not add at least one anchor point the entire layer will move following the only pin that was placed.

Non anchored puppet warp
If too many pins are placed the manipulation will be overly distorted. It will alert you if a pin is placed to closely near another.

Something simple as moving an arm only three to four pins are all that are needed. Here one was placed on the shoulder to anchor, another on the elbow to hold the shape, and the wrist pin is where it was clicked and dragged around. Keep in mind the anatomy of the subject as if pull directly back it elongates her arm causing unrealistic proportions. Sometimes it is helpful to look in a mirror to see how the body bends and folds to show where appendages shorten.

Just as in the warp command the cleanup on the background layer will be necessary. Cloning will be simple as the new layer will be independent still. After the warp takes on the desired look it can be saved, grouped, flattened, or whatever is the preferred method for the individual.

With all Photoshop tools there is a balance between creatively applying and going over the edge. Play around with them and take a step back for an hour or even a day. If you come back and see some repeating patterns or overall undesired look just keep playing with the tools until you get the looks you prefer. If you have any before and afters you want to show off leave a comment below.


Is it possible that Freeze Tool in Liquify is missing from CS6? Neither in Mac nor in PC version can't find it.
You may have to click "advanced mode" on the right in order for it to show up on the left side tool bar. Let me know if that works:)
OMG! It was just like that! I never realized that option :(
Thank you for your kind assistance!
My pleasure! Let me know if you ever need any other help!