I know a lot of us can't go outside right now to shoot panoramas due to quarantines and self-isolation, but perhaps you have some panoramic shots you took months back on a trip somewhere, buried away on a hard drive in the cupboard. Now's a good time to dust them off and get to work!
Getting Started
But first, let's walk through the gear that's needed in case you want to shoot some panoramas soon.
Firstly, any mirrorless camera or DSLR will do the trick. Make sure the sensor is clean, as you don't want to get stuck with clearing up repetitive spots in Photoshop later once you've stitched the images. Make sure your camera shoots in raw, the battery's fully charged, and you've loaded a high-capacity memory card.
Lens Choice
Your lens and tripod choice matters the most when it comes to shooting panoramas, but let's start with lenses first before discussing tripods.
It's important to note that you can use any lens to shoot panoramas, but remember, the wider you go, the more distortion you'll get.
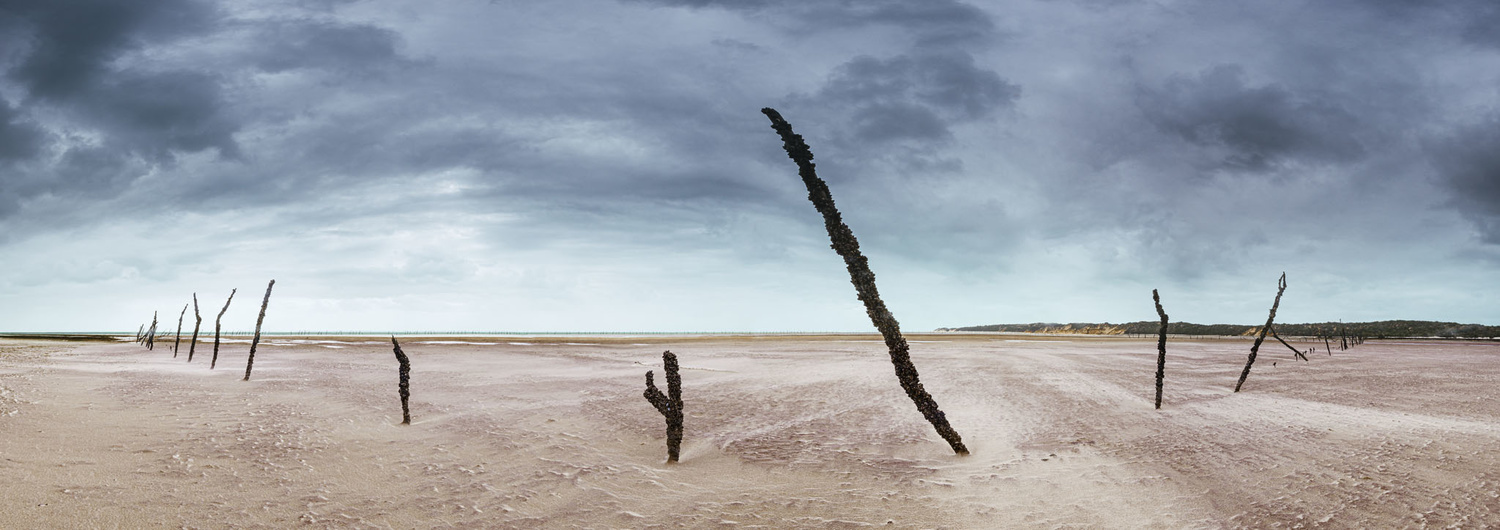
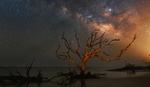
Bazaruto Islands, Mozambique. Canon 5D Mark II, Canon 16-35mm f/2.8L II.
If you choose a more telephoto lens, you'll get less distortion, but everything in the image will appear more compressed (i.e. objects will appear closer together).
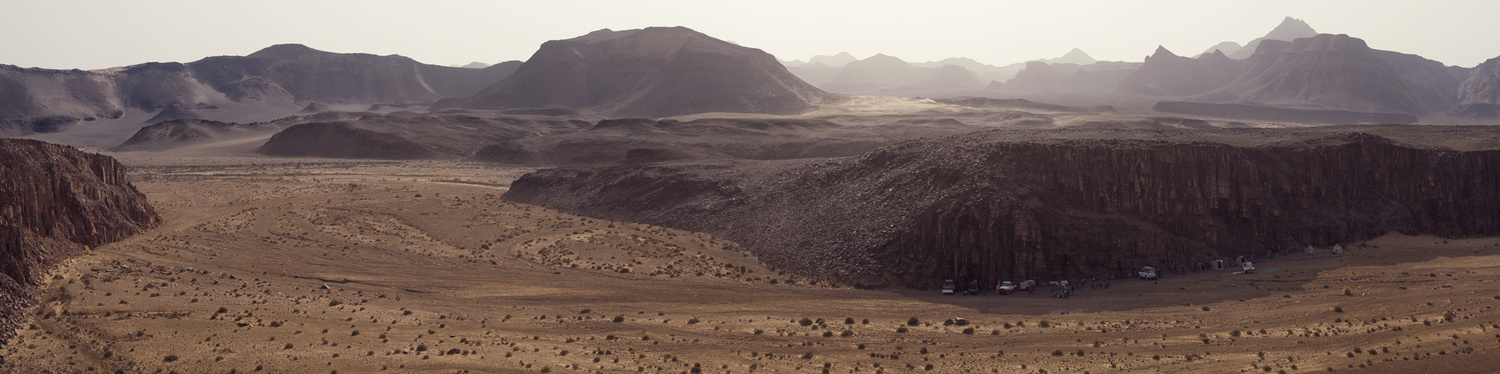
Damaraland, Namibia. Canon 5D Mark II, Canon 100-400mm f/4.5-5.6.
So when do you know which lens to use? Well, I usually use wide-angle lenses if there's something of interest I'd like to capture in the foreground. If the scene has less foreground interest but a lot more towards the background, I'll opt for something like a 100mm or 200mm lens. I've generally had better results with telephoto lenses, as Photoshop seems to struggle with the distortion wide-angle lenses give you. It doesn't always line up, causing you to spend more time trying to correct it in Photoshop.
Choosing Your Tripod
Tripods are the next thing to consider. Sturdier tripods are better for sharp photos in bad weather but bad for your back. So, choosing the right tripod is essential before you go hiking up the Andes next time. Choosing the right tripod head will play a critical role in shooting panoramas. You can shoot a panoramic image with your camera mounted on any mount, but some mounts make it easier to stitch your images together seamlessly. Some take a bit of effort and time. It all depends on your budget and patience.
Once you've chosen your tripod, it's time to select the tripod head. The go-to for any full-time landscape panorama shooter is the panoramic head. Panoramic heads are unique due to the way the camera is seated on the head. Traditionally the camera's body is centered on the tripod head, but with a Panoramic head, the lens becomes the center point or nodal point. As the camera rotates, the lens rotates around the center axis and thus minimizes distortion and gives you perfect results every time. The panoramic head is the easiest and most expensive option. Panoramic heads such as the Benro GH2 will set you back $340. If you don't have the budget for one, a standard three-way head will do just fine. Take the time to level your tripod out before shooting, and you will get the results you need. It does take a bit longer than a panoramic head, but if money is tight, the standard three-way works just as well in a pinch.
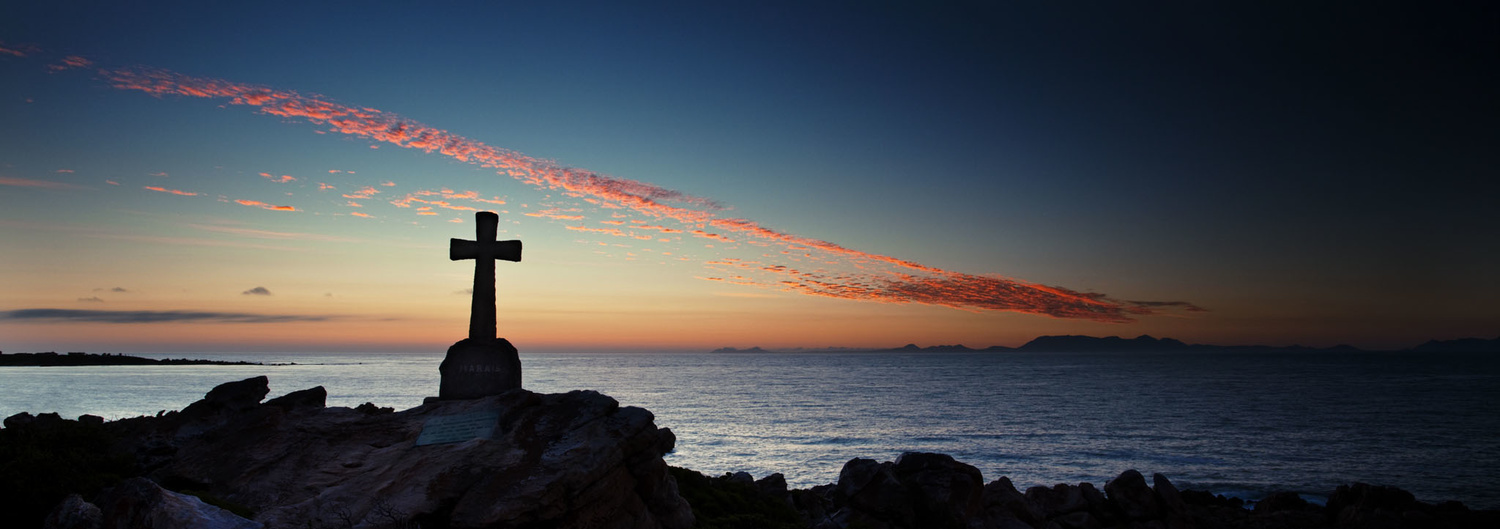
False Bay, Western Cape, South Africa. Canon 5D Mark II, Canon 16-35mm f/2.8L II.
Creating the Panorama
Once your tripod is set up and leveled, rotate your camera to the left or right side of your scene before you start shooting. The edge of what will be the photograph will be your starting point, and the opposite side will be your endpoint. Whether you start from the left side, rotating towards the right, or vice-versa, it doesn't matter. Just make sure your panorama is level from left to right.
Using manual focus, set focus on the subject (whether it's a tree in the foreground or the horizon) in the scene and leave it on manual. You do not want the lens to start hunting for focus in-between shots, as they won't match up in post-production. When it comes to aperture, I generally go for a small aperture, something around f/11 to f/16 to ensure everything is in focus. Lastly, setting your shutter speed to a higher value will mean you have less motion blur in the image if you have any moving elements in the scene. If you're going to start dragging the shutter and introduce motion blur (in case you're shooting grass or trees in the wind), Photoshop might have a difficult time aligning your images as there is too much movement in the scene.
Once your camera is in place, fire off a shot, rotate the tripod head 5-10 degrees towards the endpoint, take another shot, rotate it another 5-10 degrees before taking a photo. Repeat this process until you've reached the endpoint. Once you've reached the endpoint, check your images for any inconsistencies, and perhaps do another series of pictures as a backup.
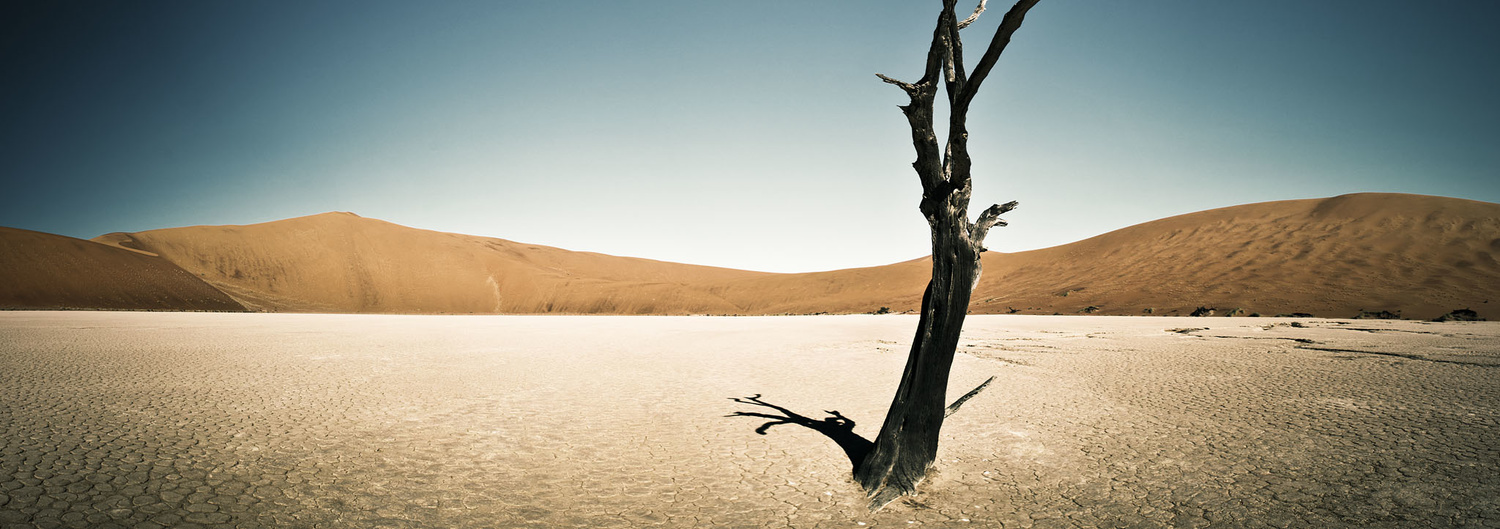
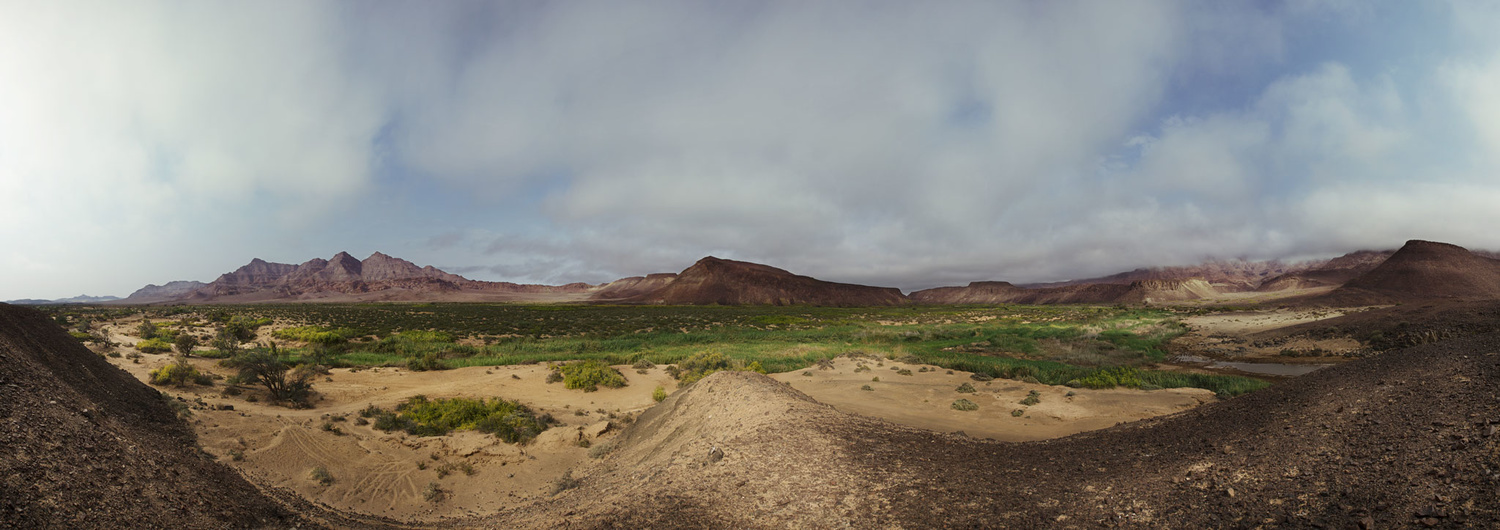
Deadvlei, Namibia. Canon 5D II, Canon 16-35mm f2.8 II L.
Post-Production Time
There are quite a few options out there specifically for stitching together images, but I've had excellent results stitching mine together in Adobe Photoshop. But in case you'd like to try something different, here are some alternatives.
Once you're ready to stitch your images together, head into your program of choice, and start stitching! If you'd like a full walkthrough on stitching the images together in Photoshop, be sure to check out the video at the beginning of the article, where I discuss the whole process. As you'll see in the video, I'm using the worst-case scenario of not having a tripod with me and still managing to capture and stitch a panorama perfectly. But I wouldn't recommend ever going that route.
The process in Photoshop is very straightforward and only takes a few minutes depending on how many images you're stitching together. It requires minimal input from you, so make some coffee, sit back, and wait for your panorama to process.
Damaraland, Namibia. Canon 5D Mark II, Canon 16-35mm f/2.8L II.
Conclusion
Panoramic photography is an excellent way to capture vast landscapes more extensively than most lenses can offer you. It also dramatically increases the resolution of any picture once you start stitching together multiple images, allowing you to provide large prints to clients in the end. Be sure to invest in more hard drive space once you get started. You're going to need it!
Do you enjoy creating panoramas? Comment below with some of your favorite panoramic shots and locations.


A good read, I am planning to shoot panorama for cityscapes in the coming weeks.
Good information. Don’t forget the vertical possibility. I put together a couple panos from a private tour of Alcatraz a few years ago. It was organized for forty photographers by Dave Henry from Canon when they had a San Francisco office. I used a 5DSR and four or five frames with a 35mm f2 for the bridge/city pan and a 24mm TS-E for the vertical cell image.
Good article. Thanks!
Hi, nice article! Panoramas are soo cool! I love taking/making panoramas!
BUT you have missed the coolest free Panorama software:
Microsoft Image Composite Editor (ICE).
I do not have the expertise to say that is is better than Photoshop but is is much much easier and much faster and much more flexible ... well you can see I am a fan! But try it out - I do not think you will regret it! :-)
One more note for the setup when shooting for panoramas. Don't use a polarising filter, especially if you're going to have any sky at all in the shot. Either the polarisation does have an effect on the light, in which case it will affect the light differently between frames, giving you bright & dark bands at each seam, or it doesn't have an effect on the light, in which case, why bother?
My go-to for good panos is Hugin. It seems to be somewhat related to the PTGui you mentioned. Lightroom is certainly quicker & easier, but doesn't quite get the near-perfection I can achieve with Hugin; I'll sometimes use LR for a preview to see if it's worth the trouble before spending the time tweaking focus points in Hugin.
I am sorry to have to tell that the (in my opinion) excellent automatic stitching software Microsoft ICE have been "retired" as Microsoft calls it and can no longer be downloaded ... :-(
https://docs.microsoft.com/en-us/answers/questions/252274/how-to-downloa...
Look for post by Castorix31
Thanks! Really good to give to friends that want to try it out! :-)