New cameras deserve a bit of time for initial setup and customization. This guide should help you with your new Sony camera.
Many things have been said about the Sony menu system. Anyone who uses the more advanced Sony Alpha cameras would find the menu system to be quite overwhelming because of the many tabs, pages, and sub-pages for options and configurations. It’s not wrong to say that the menu system can be confusing especially if it’s your first time using the camera; however, the crowded menu system can be seen as a boon for having a wide selection of functions, features, and customization options.
Mastering the use of your Sony camera, in this video specifically, the new Sony a7 IV means customizing the controls and menus to fit your workflow and give you the quickest access to the functions you commonly need while shooting. This guide does not go through each option on the menu system but instead gives some suggestions for smoother use specifically for photography
Initial Settings
These specific settings are one-time adjustments depending on your common workflow. Cameras come with a default setting in the initial firmware, but they don’t necessarily fit your workflow. It’s important to set your configurations before going on your first shoot with your new camera to prevent any missed shots or file incompatibilities.
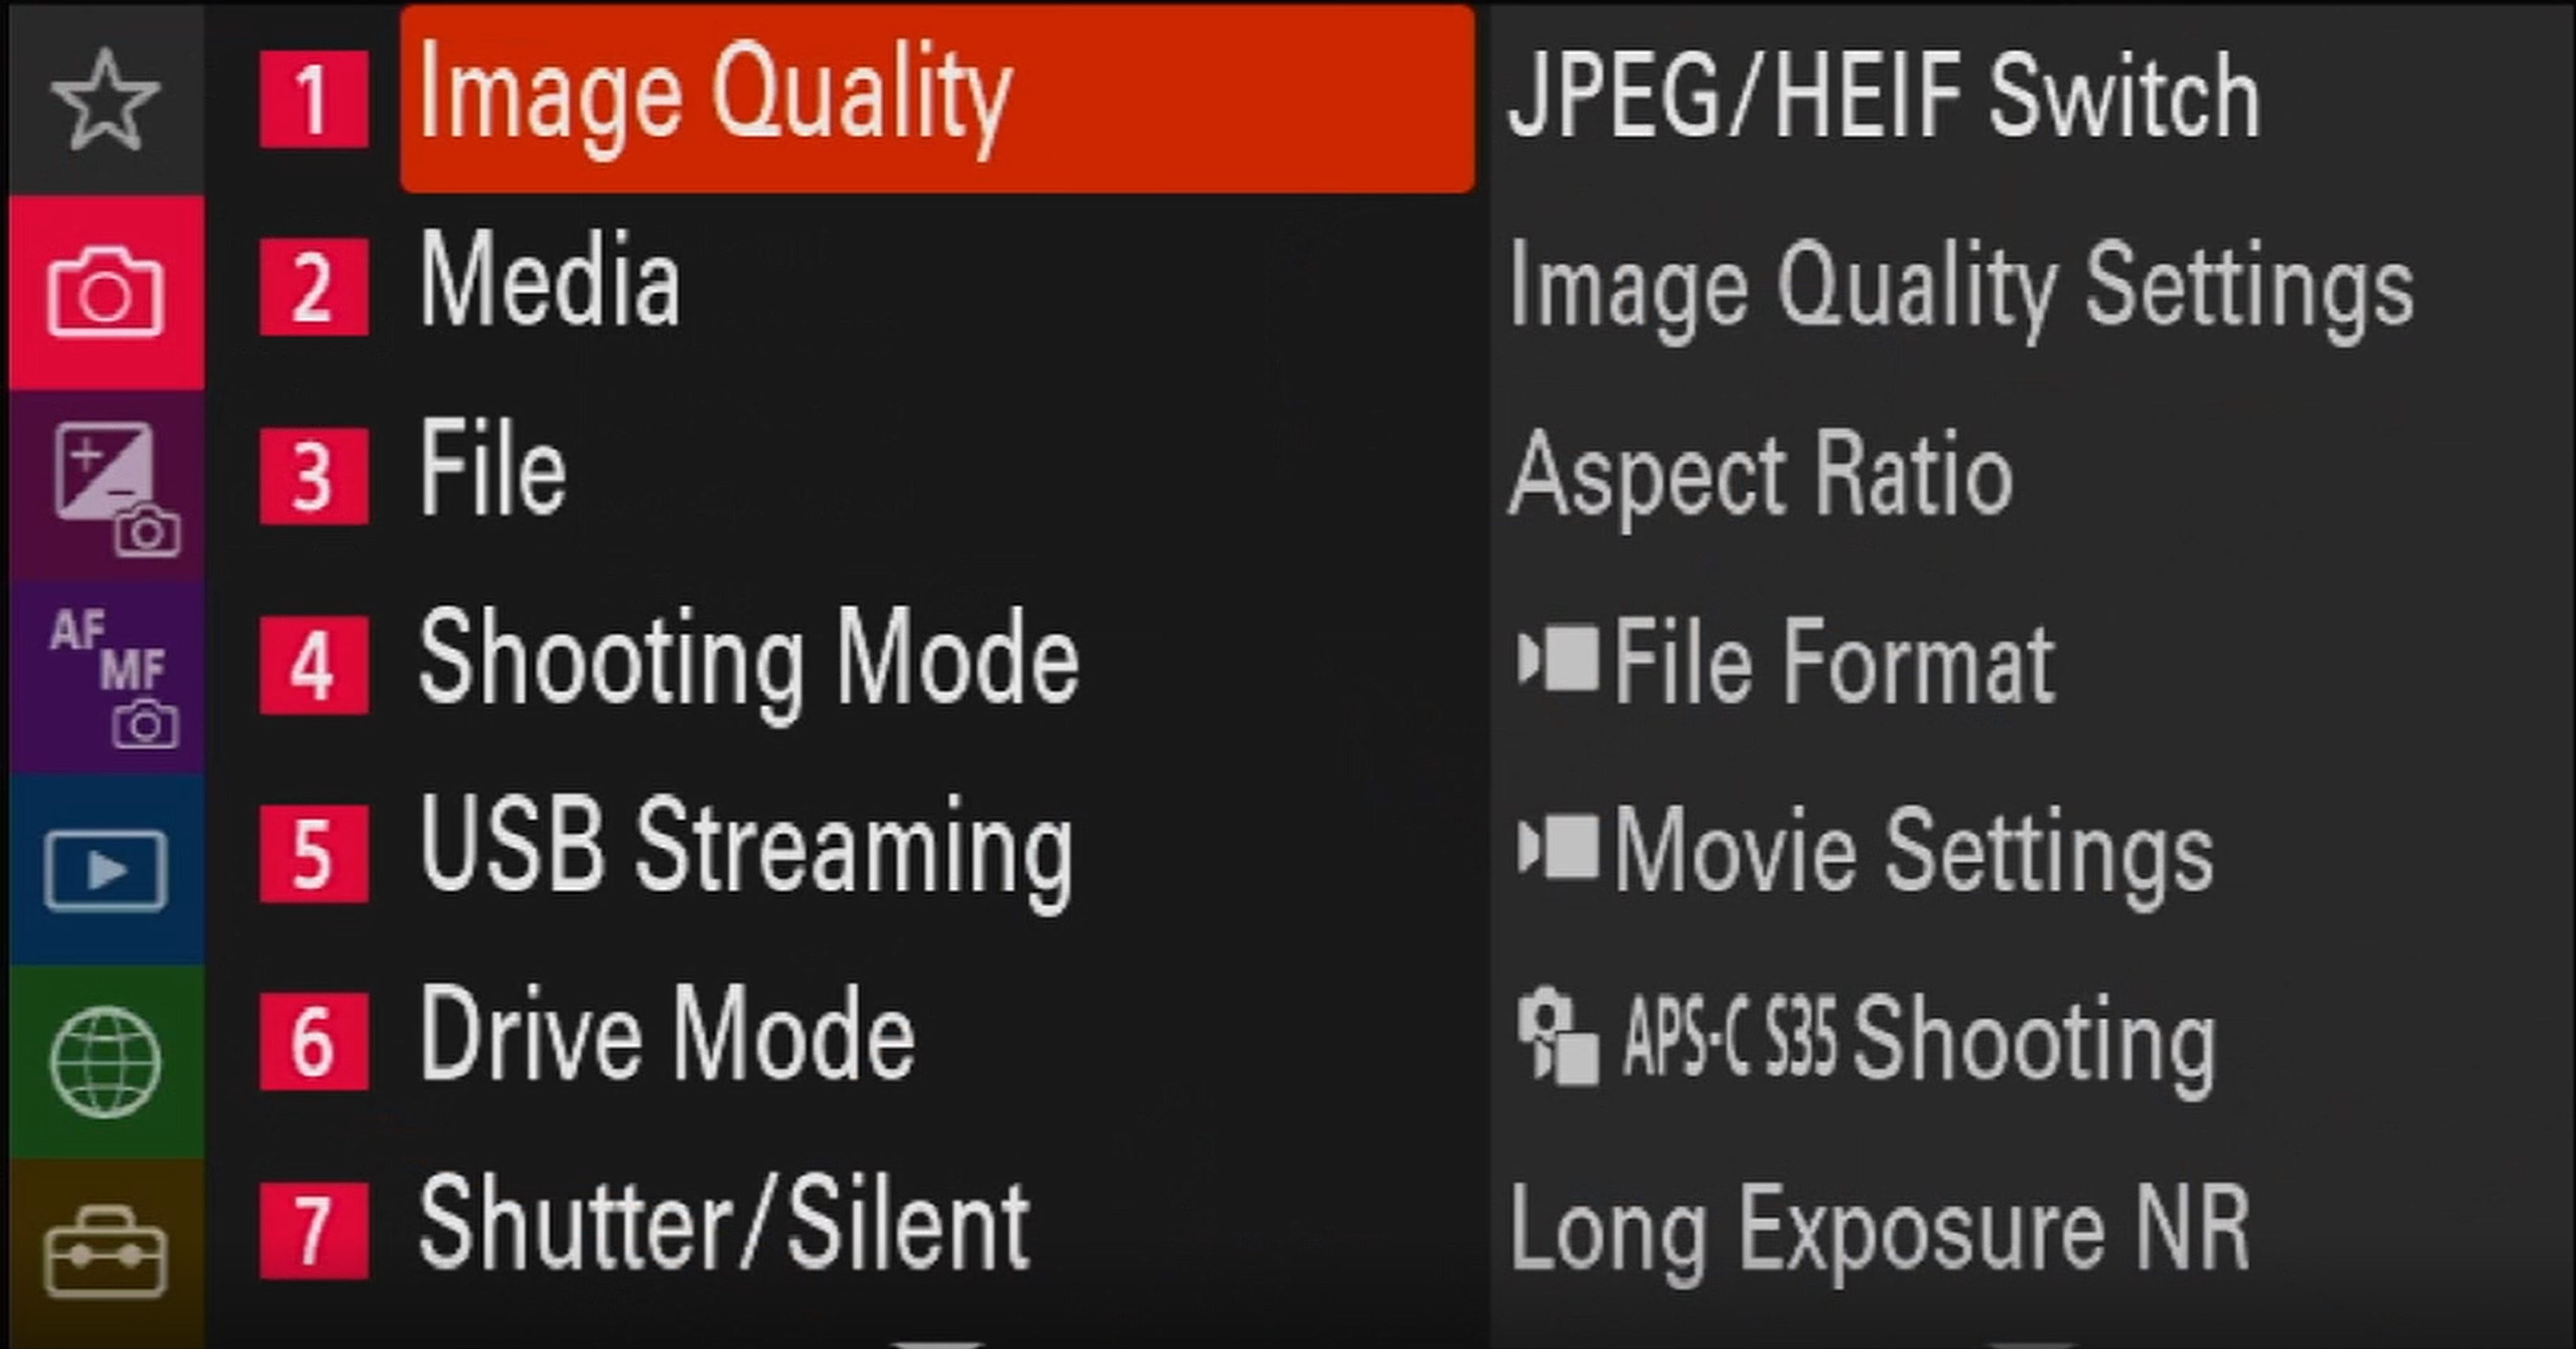
File Formats
Whether for stills or video, it’s important to set your desired file format and sizes before using your camera. Many photographers prefer to shoot exclusively in raw format, while photographers who deal with photos in bulk often prefer to shoot them in JPEG. In any case, you can select whether to shoot in either or both formats, as well as set the JPEG file size.
File formats for video also matter. It’s important to know what resolution you are recording in, what frame rate you capture your footage with, as well as the bit rate and color settings. Not only does this affect your output, it also matters for compatibility with your editing software and footage from other cameras.

File Handling
Most cameras nowadays have dual SD card slots. The Sony a7 IV has two slots with one that doubles as a hybrid CF Express type-A slot. While the initial configuration doesn’t make or break your workflow, this can be used as a great way to pre-sort your files. You can either designate one slot for stills and the other for video clips, or you can have one storing the raw files while the other keeps the JPEGs. This does wonder in backing up your files as well as easily sorting through them especially in fast-paced work.
Assistive Features
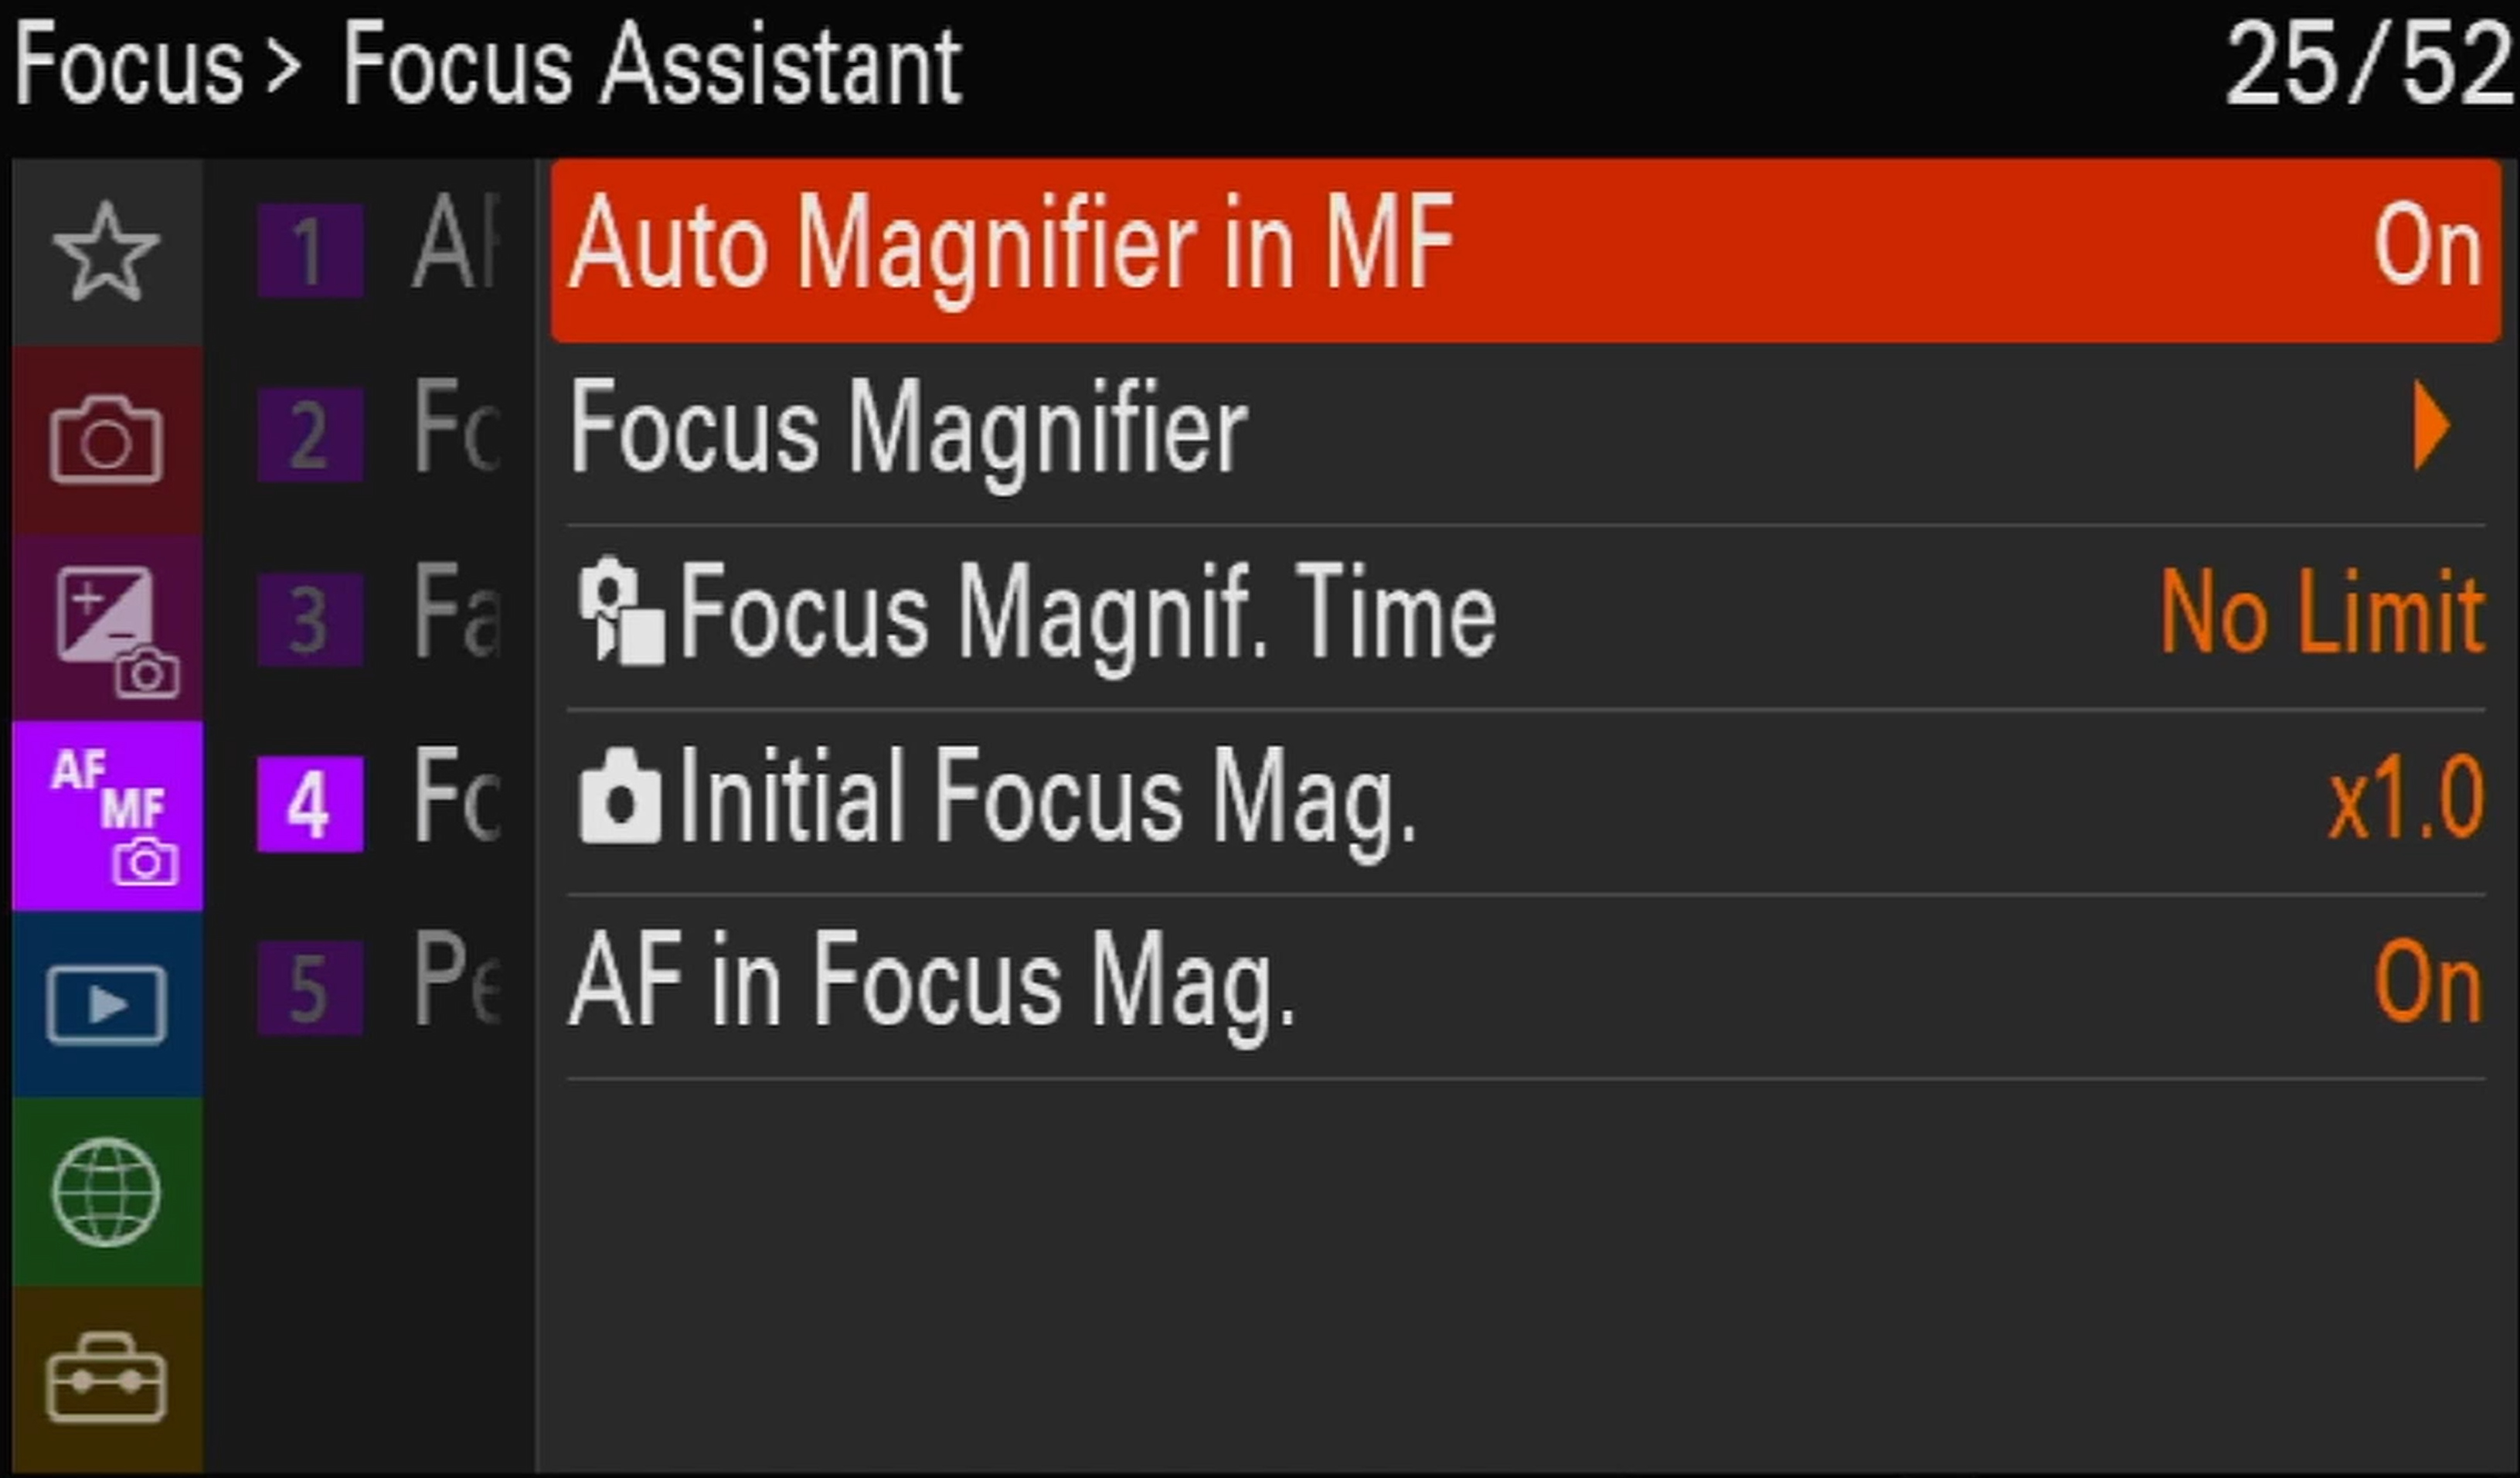
Most cameras now offer various ways to ensure focusing. The Sony a7 IV offers both face and eye autofocus tracking to the extent that you can select which eye to track. You can also select subjects whose eyes are to be tracked between humans, animals (dogs and cats), and a specific setting for birds. More than that, the camera also offers functions to help you focus manually when necessary either when autofocus is switched off or when using manual lenses. Using the focus magnifier is a great way that you are focusing with near-perfect precision, and focus peaking helps you determine your accuracy. These are great options to activate so that they automatically work whenever you turn off the autofocus.
Smartphone Registration and Other Connectivity Options
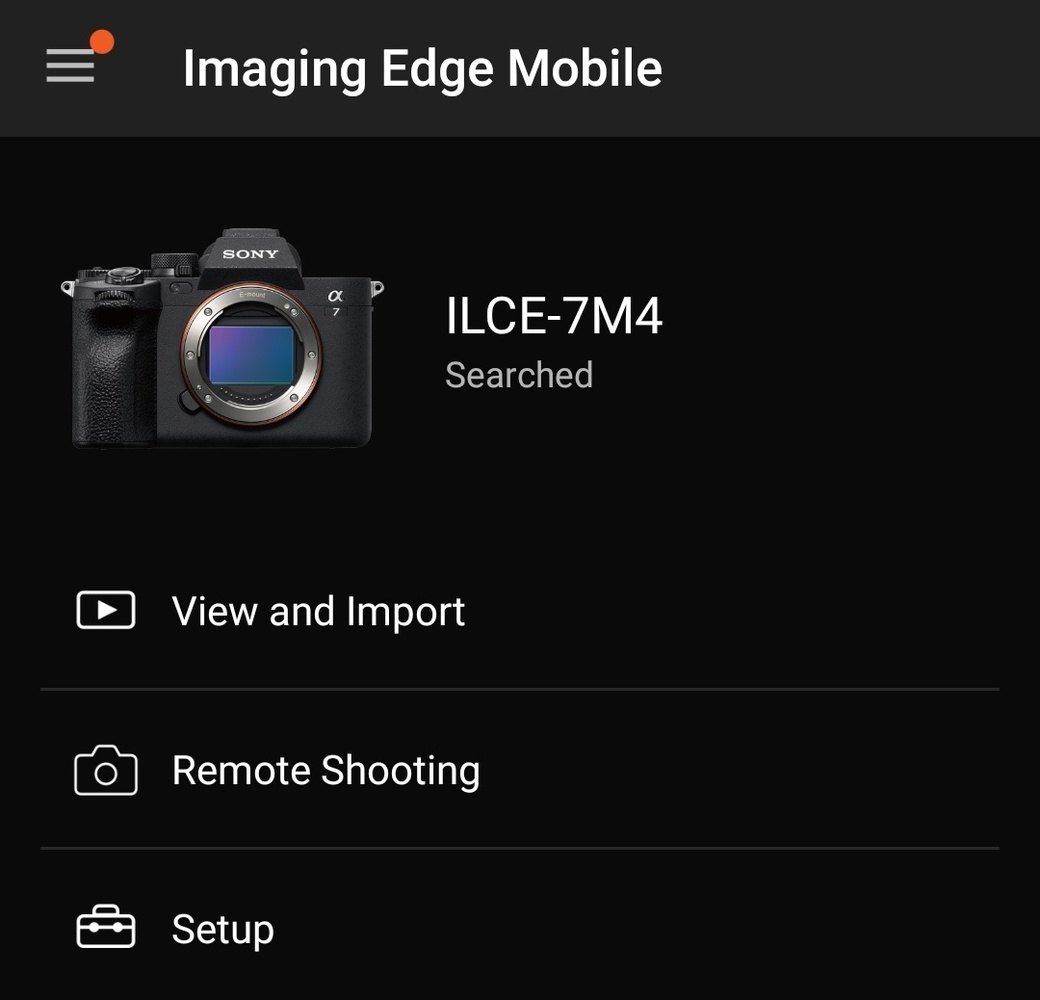
An underappreciated upgrade on the a7 IV is the more seamless compatibility with the Sony Imaging Edge app. Unlike older Sony models that would require pairing every single time you wish to connect the camera to your smartphone, the connection between the a7 IV and the updated app is an almost automatic process. Once the a7 IV is switched on, the phone can easily detect it and automatically connects to it once the Imaging Edge app is opened. The initial pairing can be quite tedious because of the password prompt; however, it is absolutely justified considering that this is done only once.
Customization
Other options in most menu systems are often changed on an as-needed basis. Settings such as focus modes, focus areas, color profiles, drive modes, and many others are best preselected. However, a more important initial task is to assign them shortcuts for easier access since these are the settings that you might need from time to time. This can be done in various ways namely the function menu, the “My Menu” page, and the various customizable buttons and dials on the rear and top panel, as well as the focus-hold button on many Sony lenses.
The Function Menu
This menu that you access by pressing the Fn button on the rear panel is a great way to keep all the settings that you would want quick access to. Settings put here are those that often have multiple options, such as focus modes, creative look, drive modes, and similar functions, because they can easily be browsed through using the joystick/pad and any of the four dials. However, other functions with simple on-and-off options can be put here as well depending on what fits your workflow best.

As a personal recommendation, the options I keep here are the ones I would usually charge for each different shooting scenario. This includes drive modes and self-timer, focus modes and areas, white balance modes, file format, creative look, picture profiles, and stabilization options. Storage and media options can also be placed on the function menu especially if you find the need to change these configurations often.
The My Menu Page

This page is the first page of the menu system that is intentionally placed to be a quick access customizable page for shortcuts to almost any menu item one would want to put there. There are six customizable pages, but filling all those up might be missing the point. Instead, it is best to put secondary importance functions that you occasionally use instead of ones you would change multiple times in one shoot. This is best for functions, such as formatting your SD card, sensor cleaning, USB streaming, as well as for shortcuts going into interval shooting.
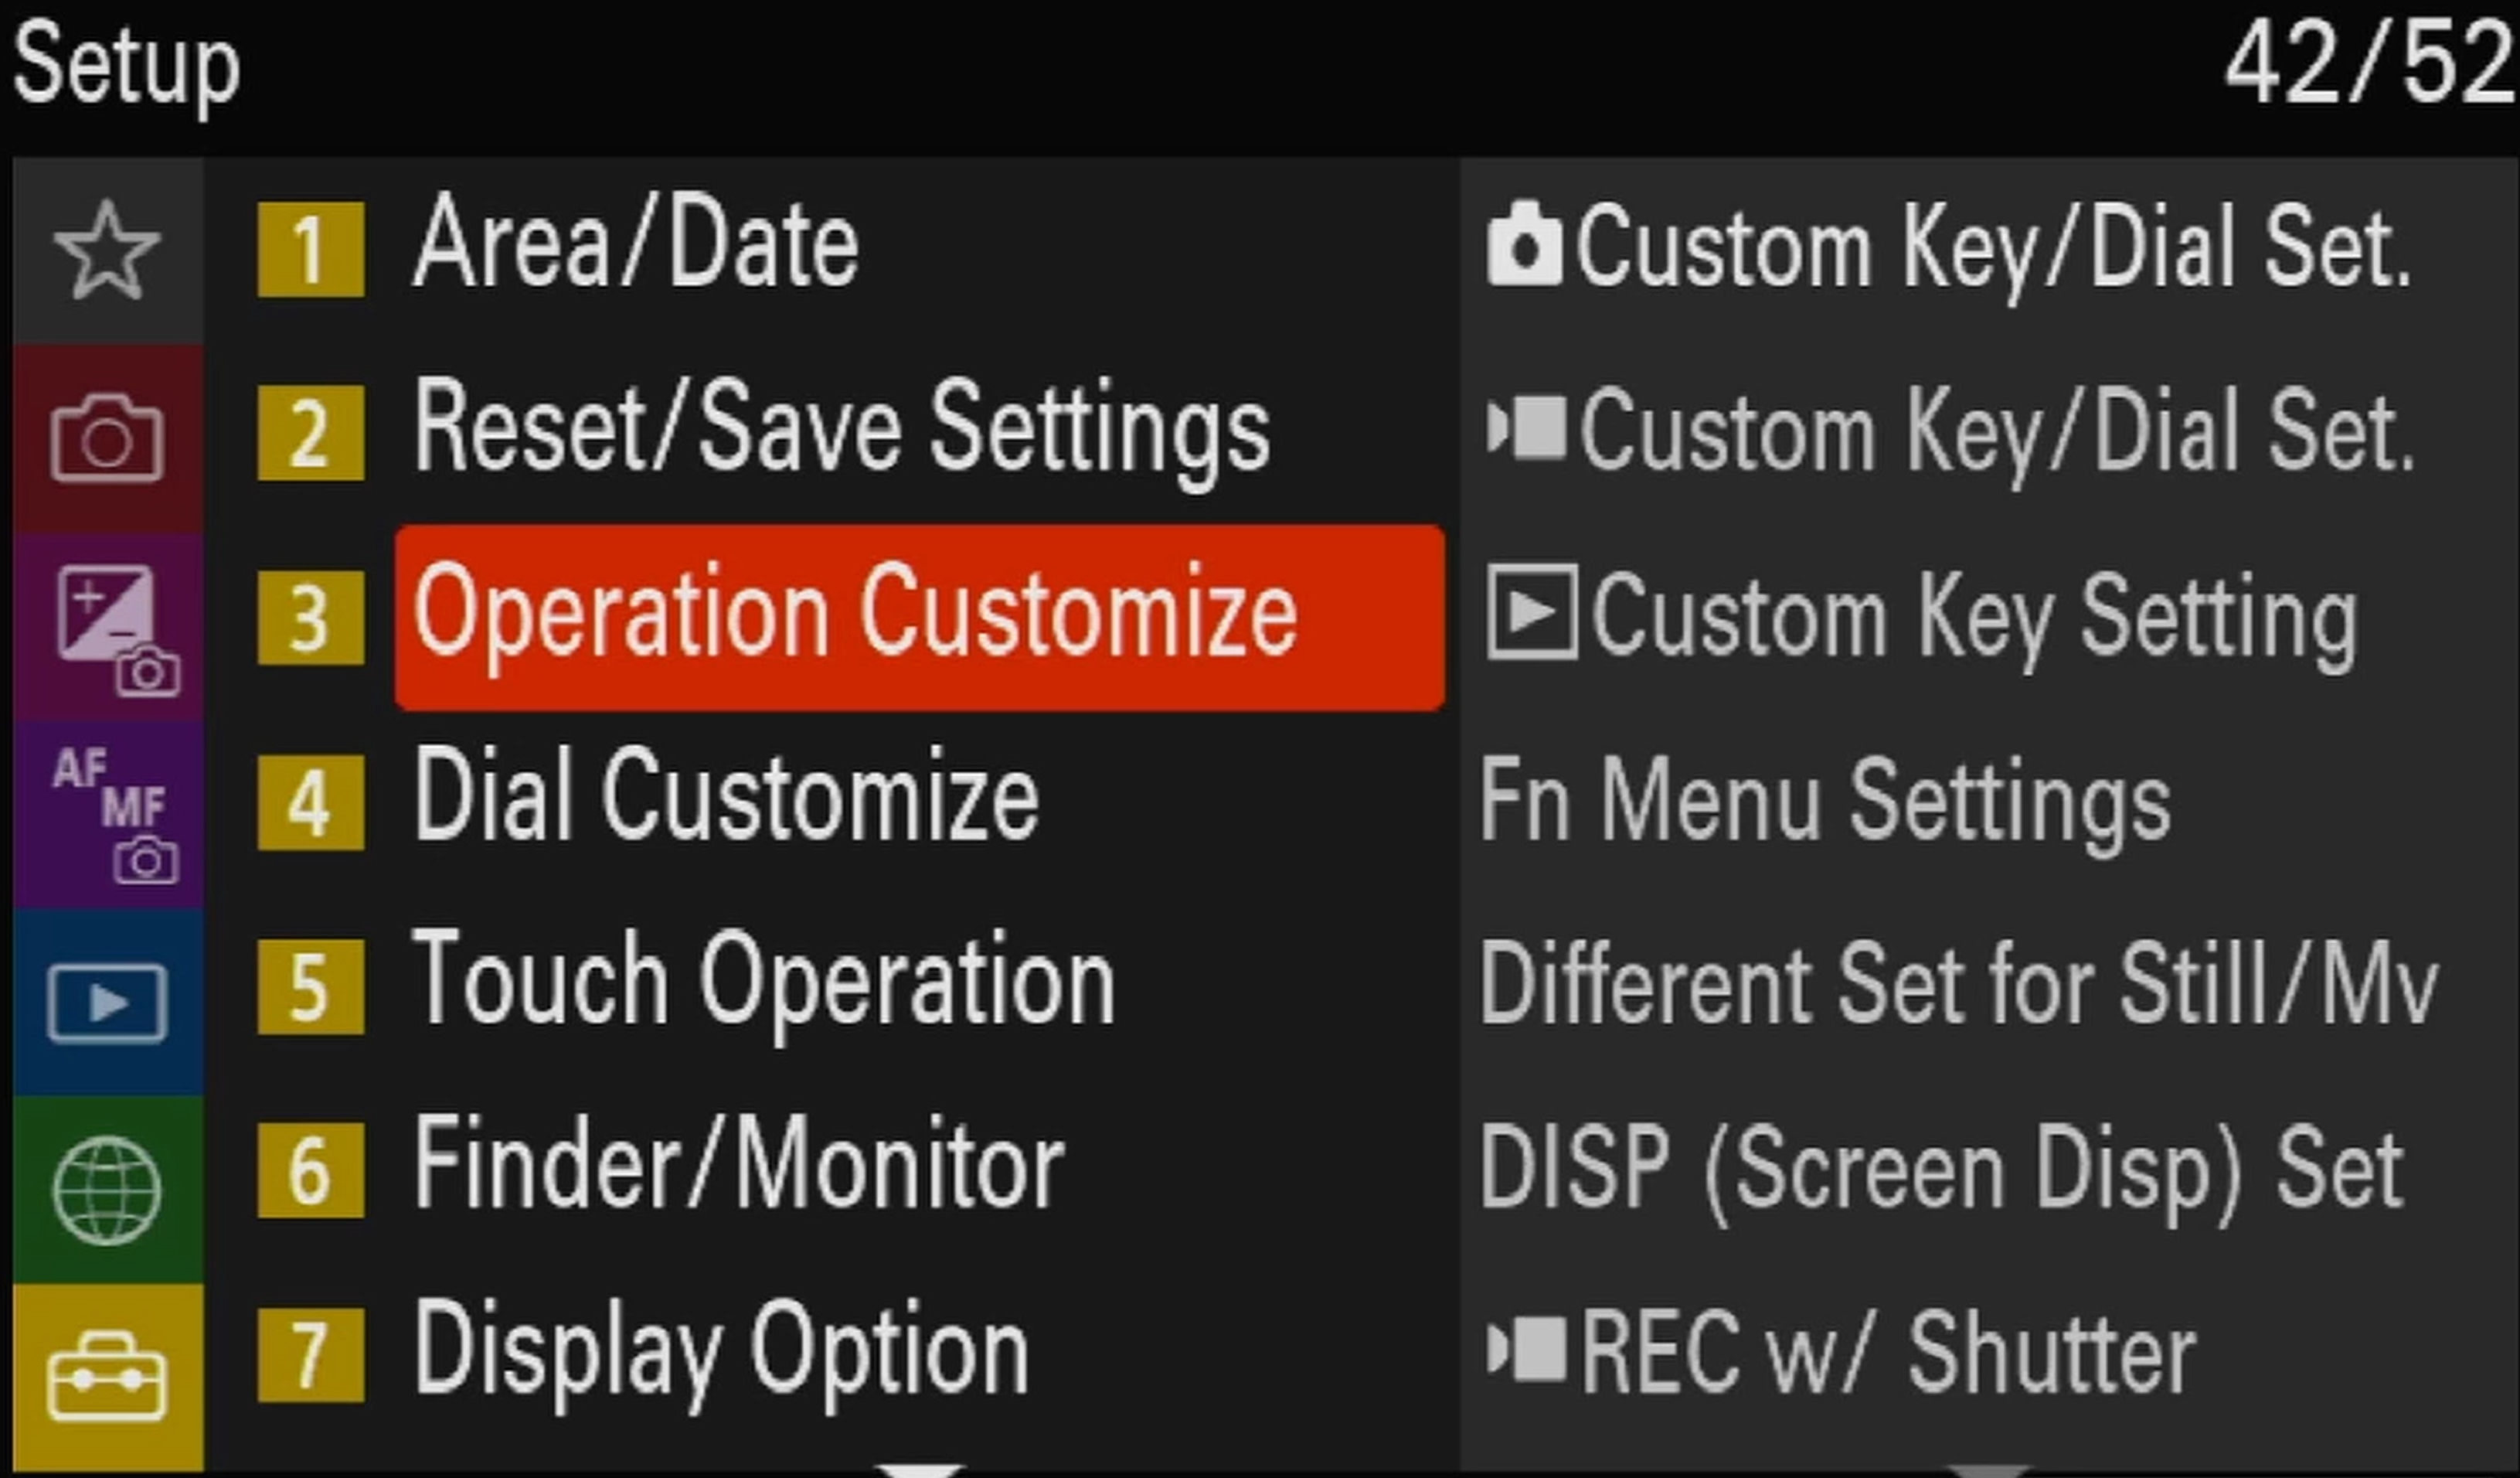
Dial Customization

The dials make such a huge impact on the ergonomic changes offered by the Sony a7I V. For one, there is a “main” mode dial that switches between photo, video, and S&Q modes underneath the camera mode dial. This isn’t a customizable dial, however, it made room to decongest the menu by segregating video and photo settings depending on which mode the camera is in.

The front dial and the top left dial are commonly set for shutter speed and aperture, though they can also be reassigned. The third dial on the top right area is a fully customizable unmarked dial. Since this was previously the EV compensation dial, it makes sense to assign it to that. However, a great new option is to have a separate function for this dial-in manual mode since previously the EV compensation dial just loses function altogether in that mode. This can be set to an ISO dial instead in that mode while retaining the EV compensation function in the program (P), shutter priority (S), or aperture priority (A) modes. You can do this by selecting the option that says, “Separate M mode and other modes.” Alternatively, I set this dial to Kelvin temperature, since I commonly use that white balance mode and set the ISO onto the thumb wheel, which can similarly be reassigned to the same selection of options.
Button Customization
The buttons are perhaps the most customizable options on the A7IV since almost any setting or set of options can be assigned to a specific button. The top panel features two custom buttons, C2 and the video record button that can be reassigned when in photo mode. The C2 button is a great shortcut for secondary on-the-fly settings that must be changed such as focus areas, metering modes, or stabilization options.

The upper row of the rear panel consists of four additional customizable buttons, the AEL, AF-ON, C1, and C3 buttons. These are ideal buttons for additional options you would like to activate on the fly. I assign these buttons as a crop mode switch, a shortcut to creative looks/picture profiles, white balance modes, and a focus magnifier shortcut. Many other functions can be assigned depending on your workflow.

Lastly, six out of the seven buttons on the lower half can also be reassigned. While three of the four quadrants of the thumbwheel have labeled functions for display info, ISO, and drive mode shortcuts, they can be changed entirely. In addition, the delete button on the lower right also doubles as a customizable C4 button.

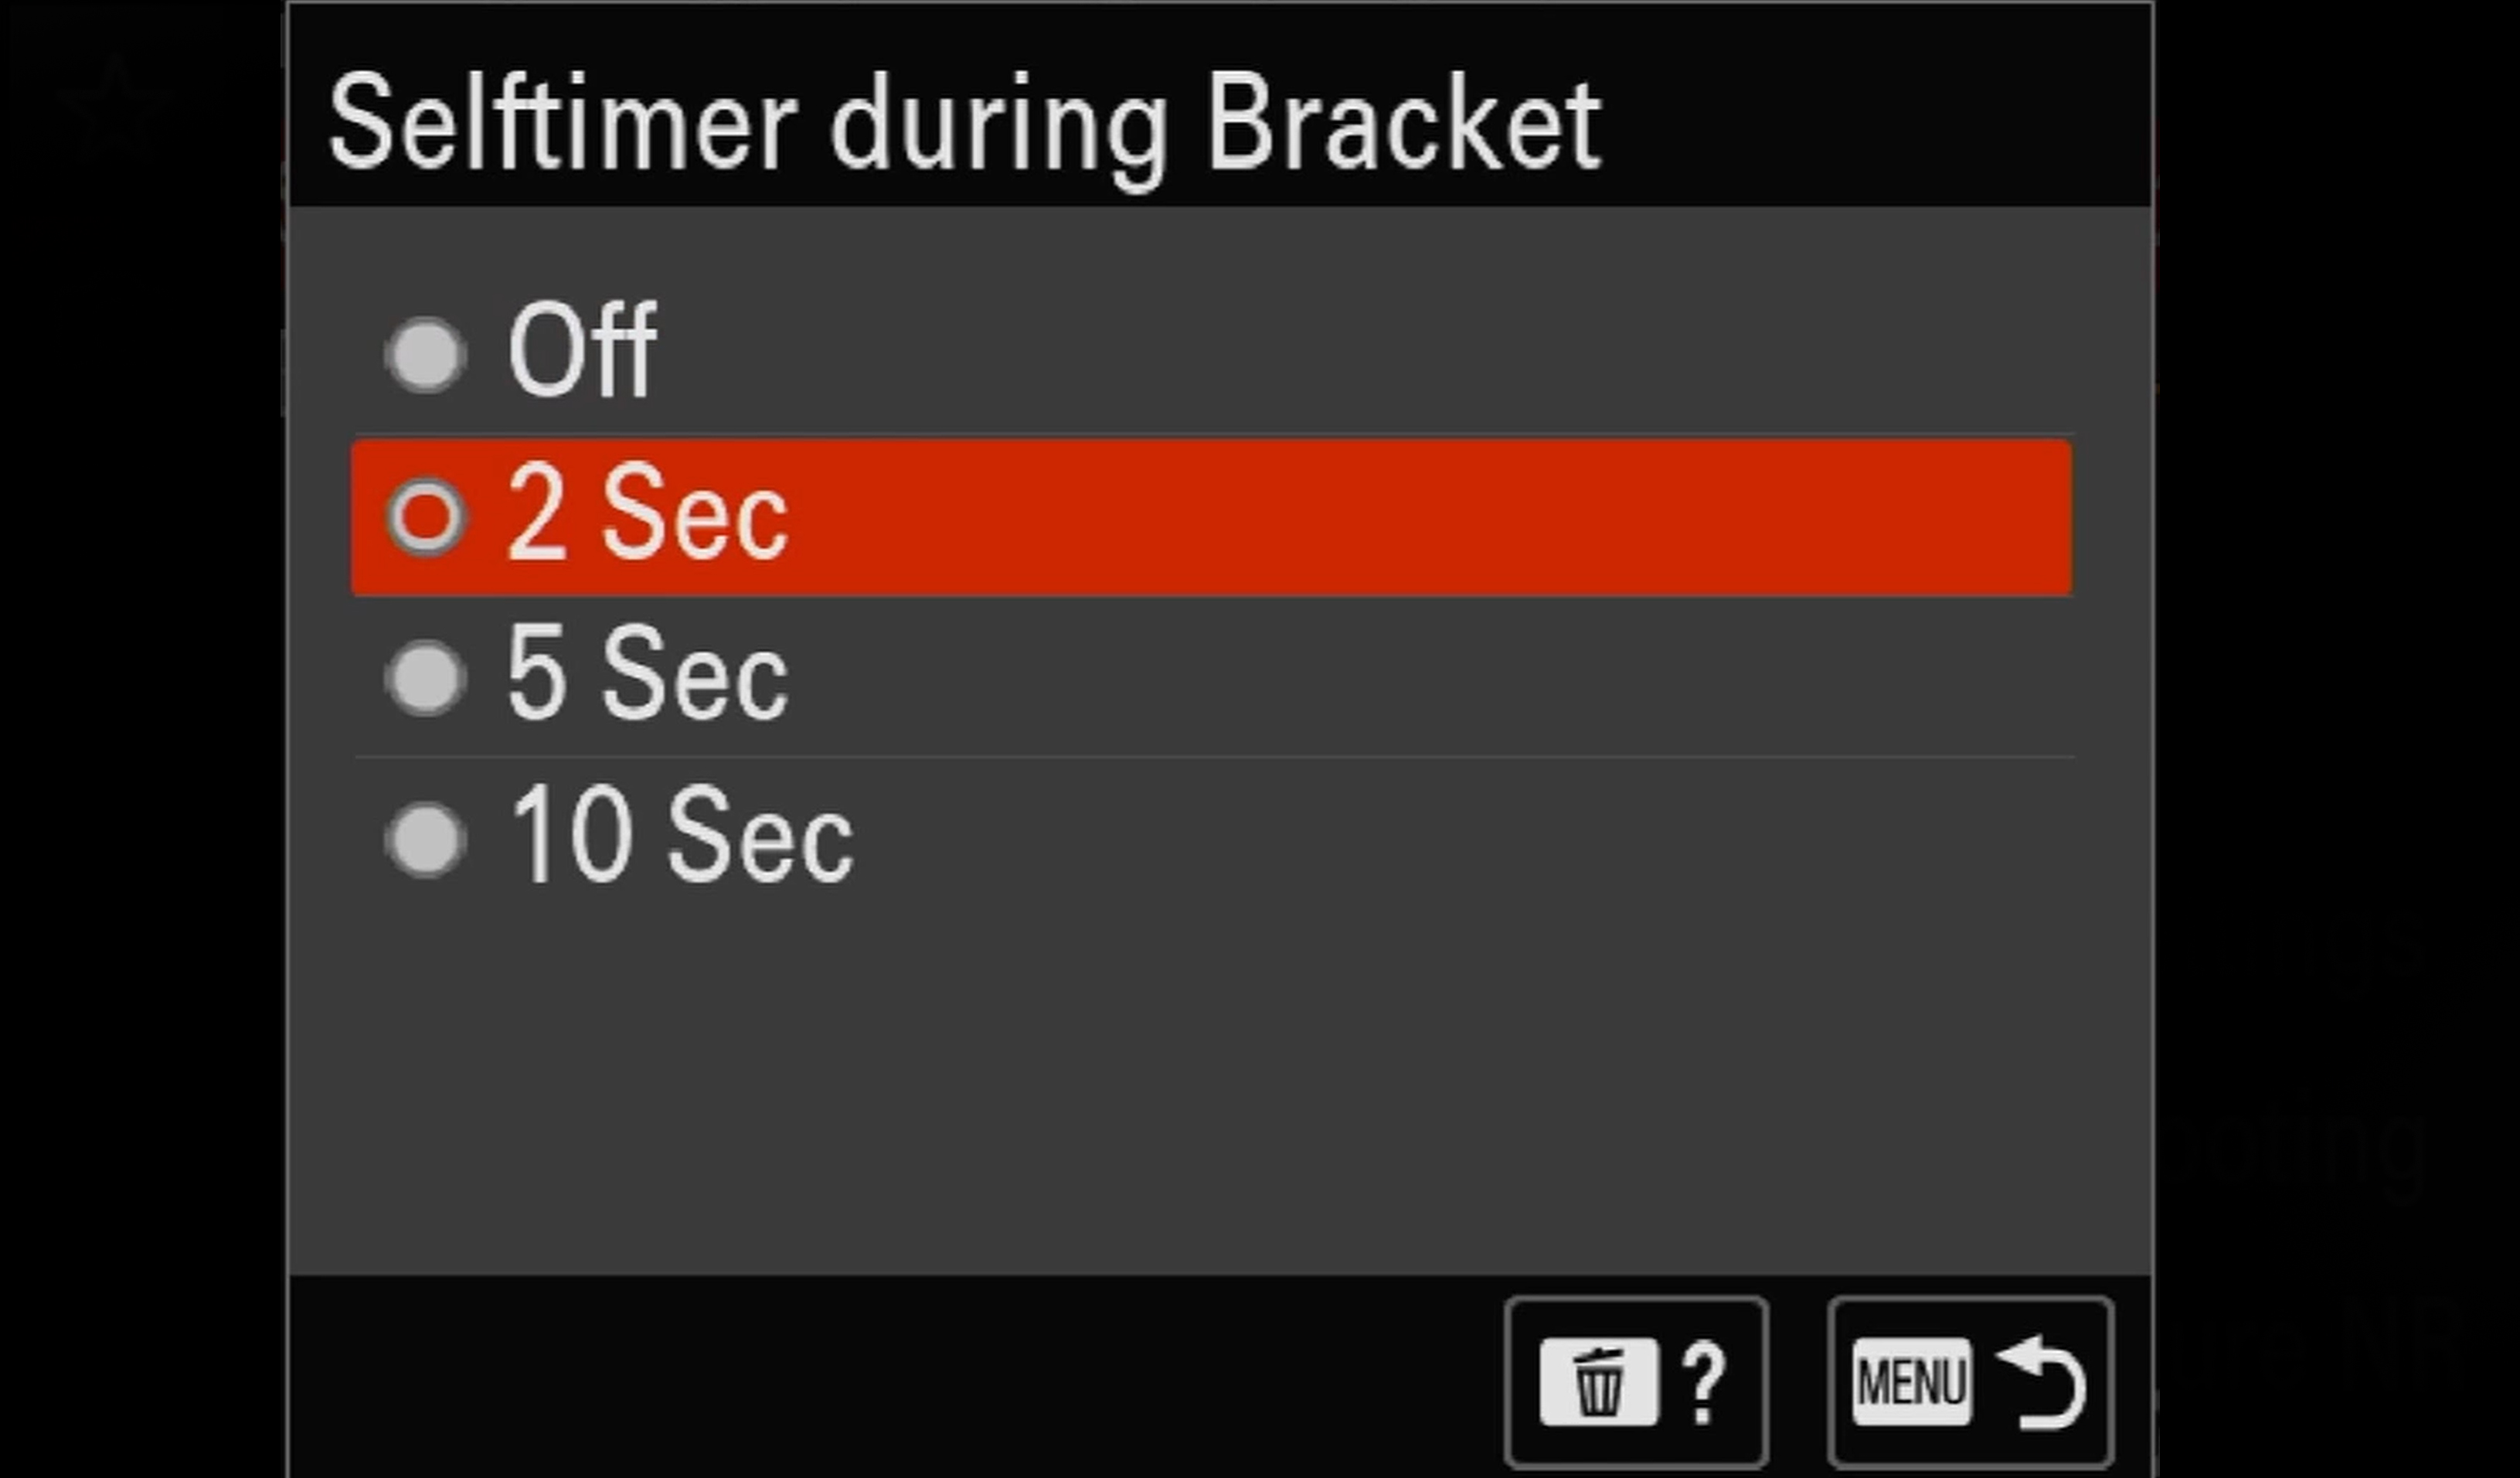
As a personal preference, I assigned the center button as a shortcut to the “my menu” page to make it more accessible and pretty much a shortcut to the menu as well since the menu button is on the other corner of the screen. I set the unassigned bottom quadrant of the wheel to a touch operation switch while maintaining the labeled functions of the other buttons. Lastly, I set the C4 or delete button into a shortcut to the “Self-timer during bracket” option which allows me to set a specifically timed delay for bracketing exposures, a function not included in the basic drive mode menu.
Customizing your Sony a7 IV is the key to turning it into a camera that entirely fits your workflow. The a7 IV was designed as a hybrid camera for creatives who produce both stills and videos with just one camera body. The option to customize the different buttons and dials separately within each mode gives you the capability to customize it into virtually two different cameras with the flick of one switch. The customization examples in this article reflect my workflow for shooting landscapes, architecture, and product photos and are mere suggestions that might also fit your style.


Just a note to advise that there is no need to use up a custom button to go to "My Menu". The camera can be set up so that the Menu button opens to "My Menu" by default. Use the center button for a more critical task.
Thats true. Although I personally prefer having a separate one for the my menu page and keep the menu button to retain the last item I had on it kinda like a recall shortcut. But yeah, totally up to the user. :)
Since the beginning Sony has giving the widest selection of menu items for any and all photographers. From the a7/s/r to now the many models. The camera folded instructions in the box are small and confusing, that is why Sony has web based Help Guide (exp. https://helpguide.sony.net/ilc/1720/v1/en/index.html) where you can look up most any option and find what it does and doesn't do, this also can be a little mind numbing and a little time consuming FOR ALL THE DIFFERENT OPTIONS for the many different photo genres. Many different Sony artisans' of the many different genres have Youtube and websites where you can download some basic settings for your needs of photography like https://www.markgaler.com/ and several books now ebooks from Gary Fong to Gary L. Friedman books some black and white to color and if you can keep up with the fast talking Gerald Undone. Others like Alyn Wallace (https://www.youtube.com/c/AlynWallace) and Milky Way Mike (https://www.youtube.com/c/Milkywaymike) and Nateinthewild (https://www.youtube.com/c/Nateinthewild) and Lonely Speck (https://www.youtube.com/c/LonelySpeck) will get you out in night under the stars with clear info. There are things day shooters and night shooters use, like the never talked about Bright Monitoring (button selection) night vision that when a Canon or Nikon or even a C1 $20K photographer sees their jaw drops or ISO Inverance, two level with the A7sm3 just a few hidden items no other camera make has. Yes Sony is the biggest Swiss Army Knife Camera that lets you do whatever your heart's desires and now with saved settings in camera and video so you do not need to dig a lot. Next you need to learn all the different Software!!!!
Thanks for the review and examples of personal choices.
I've never had much of a problem with Minolta/Sony menus ... except for expanding their abbreviations - quick, DMF means what? Oh, Direct Manual Focus adjustable AFTER Auto Focus lock, now I can focus THROUGH a dirty window instead of ON a dirty window, I've "rediscovered" this setting many times by now.
And some settings, I just have to try each option to see if I can tell what they are trying to control, it's not obvious, even with explanations in the instruction PDF.
So, I've learned to read the camera instruction PDF for each of my cameras at least once a year, and I always learn something new with each review.
And I keep notes, and have written my own "beyond the owner's manual" reference as I collect undocumented tips and tricks that each of us discovers and writes about.
My challenge is their ambiguous multifunction user controls where I miss the first shot because I handle the camera intuitively but instead of zooming in, I zoom out, or instead of turning the camera on, I turn it off - I'm not sure how to resolve those inbuilt mechanical issues.
And I have never successfully tethered my camera to my phone, in spite of Sony's promise, oh well.
I will say, PC-direct-USB-to-the-camera is a faster card reader than any PC's inbuilt SD card reader I've seen, so there's that.
Thanks for exploring this and sharing.
.
I don't know if you still check older posts, but I am in desperate need of help.
I've looked in the entire menu, Google searches, and YouTube- still no luck😞.
Can you tell me how/if I can set the middle push function on display dial to zoom in and out in playback?
Nikon has a similar function and I loved it. Was my last camera and I can't get muscle memory to have to push 2 buttons not on the dial to do that task. Tia.