Each camera calibrates color differently. So, why not take control of your own colors using Lightroom's Calibration tool?
It sounds simple enough, and some of you may already do it. Do you do it first or leave it until last? More than likely, you will and should do it first before any editing. For those of you that don't do it or have only dabbled in it, I'll briefly explain why you should do it first and what a massive difference this can make to the overall image outcome.
Red, Green, and Blue
Every display pixel is made up of red, green, and blue, and to put it simply, your camera's sensor captures red, green, and blue color components. Yes, it requires help in various forms to do this — filter array masks, moving filters, three different sensors, whatever sensor the manufacturer has put into your camera. How do we translate these to our creative advantage in our final images? You could simply use the color slider and affect that color. Or, you could use the calibration panel and affect the entire RGB colors throughout your image before you start your editing.
The Calibration Panel
To be totally honest, I've only recently moved the calibration panel to the top of my develop panel, and that's simply because I was getting fed up scrolling down to it to use it first when I am using it. Not that this required any effort on my part, but as I use it first, it seemed the most logical thing to do. So, here's the process of customizing the panel.
Right-click on the panel and select Customize Develop Panel.
Next, click on the Calibration and drag it to the top. Then,, click Save. You'll have the option here to restart Lightroom to allow the change to take place. Alternatively, just continue working and the next time you start Lightroom, Calibration will be at the top.
In my example, I have Solo Mode checked. This selection just allows for one panel to be open at a time. When I move onto a new panel, the last one collapses and the new one opens. For me, it's just a tidier, more streamlined way of working.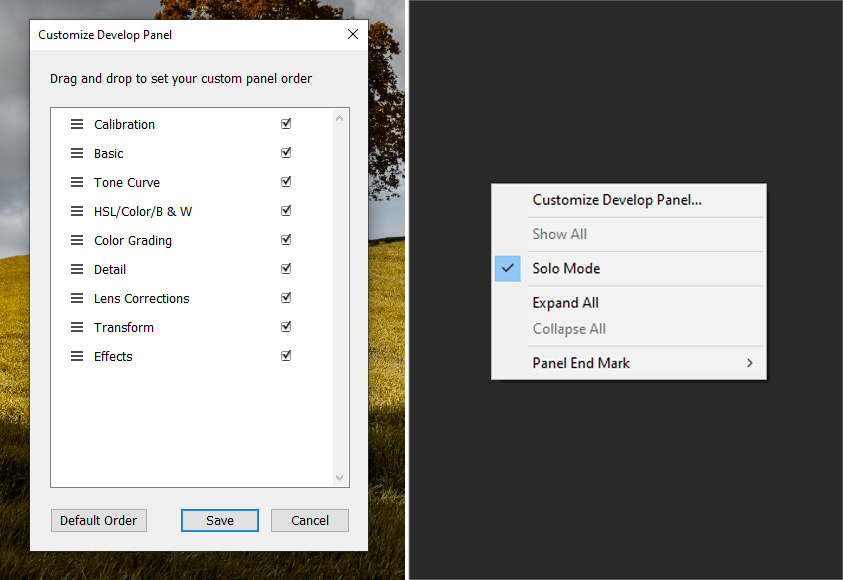
The panel itself contains the sliders that will ultimately affect your overall image: red, Green, and Blue primaries plus their saturation and a shadow's tint slider.
I figured the best way to show how they affected the overall colors in your image was to create an RGB video reel with the sliders being adjusted so that you could see the effects taking place. As you are watching this one-minute video, also pay attention to the histogram and watch how the hue change moves around in the histogram.
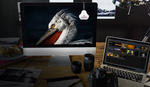
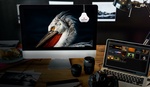
Look at the images below for example. The first image's starting point includes calibration. The second, no calibration, but both are edited exactly the same way. Now you may not like the before and after, but this example at least lets you see the difference that can be made using the calibration tool. With autumnal colors slowly approaching, think of the difference you can make to enhance them using this.
Why Calibration Instead of Color?
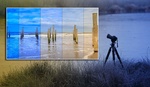
Calibration affects every pixel made up of RGB of the entire image, whereas adjusting the color slider only affects the visible color that you have selected in terms of hue, saturation, or luminance of that corresponding color. In the example below, I've only adjusted the hue of the blue to -100 for both, the first image using calibration and the second using the color slider.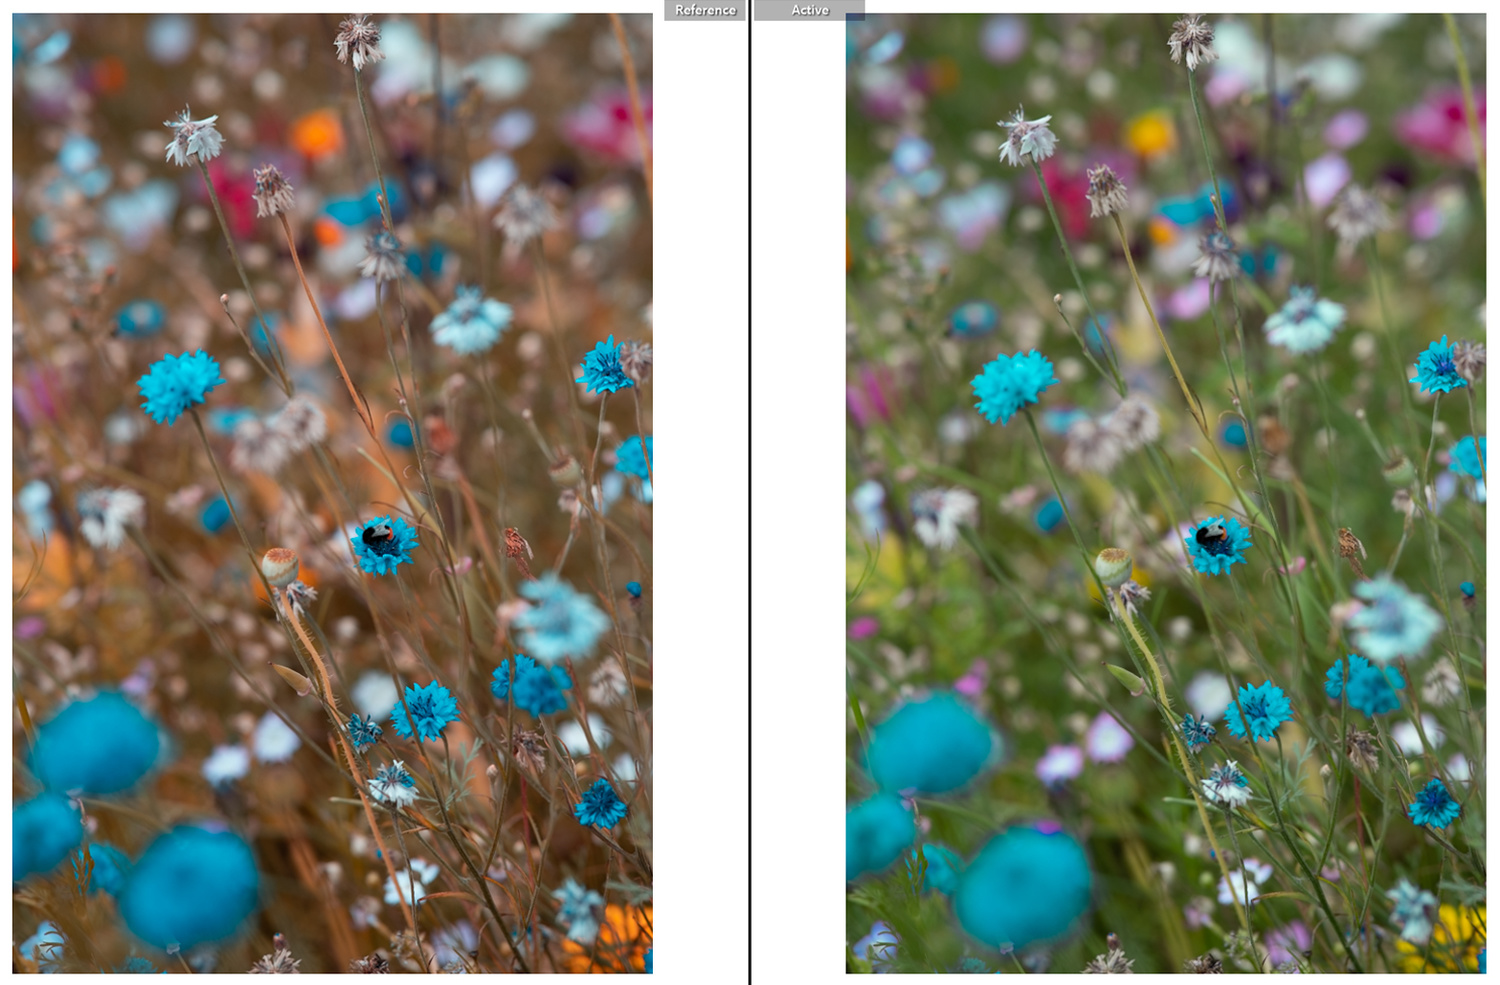
As you can see, adjusting the calibration slider affects every pixel throughout your image. The targeted blue color slider only affects blue. Could calibration be the starting point of the presets you often see for sale?
Worth a Thought?
Although a brief explanation, hopefully, it's made you think about your next edit and how you might tackle it. Should you use calibration all the time? Well, no. It's entirely up to you how you create your final outcome, but perhaps your images will pop that little bit more if you do. With autumn on the way, just think about what you could do with those colors.