

Using items you probably already have at home, you can make your own light table that’s perfect for close-up photographs, because, let's face it, not all of us have the room or budget for full-size professional light tables.
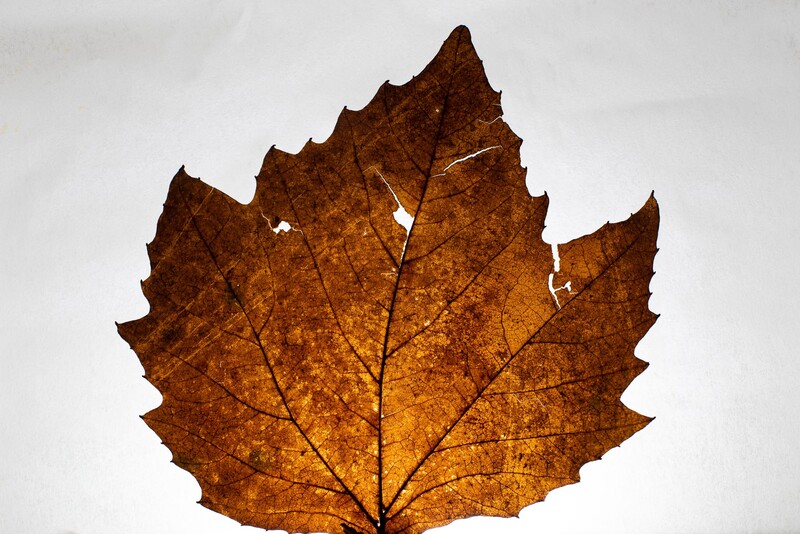
Light tables are so niche that they’re usually reserved for commercial studios with plenty of products to shoot. However, if you want to dabble in this area at home and without shelling out the cash, why not grab an empty cereal box, a torch, and a knife to make your own back-lit light table. Smaller subjects, such as petals, leaves, and lace fabric make perfect close-up subjects. You don’t even need a macro lens for this; a standard 50mm or similar will be fine, as we’ll be using the minimum focusing distance on the lens to capture detail in the shot.
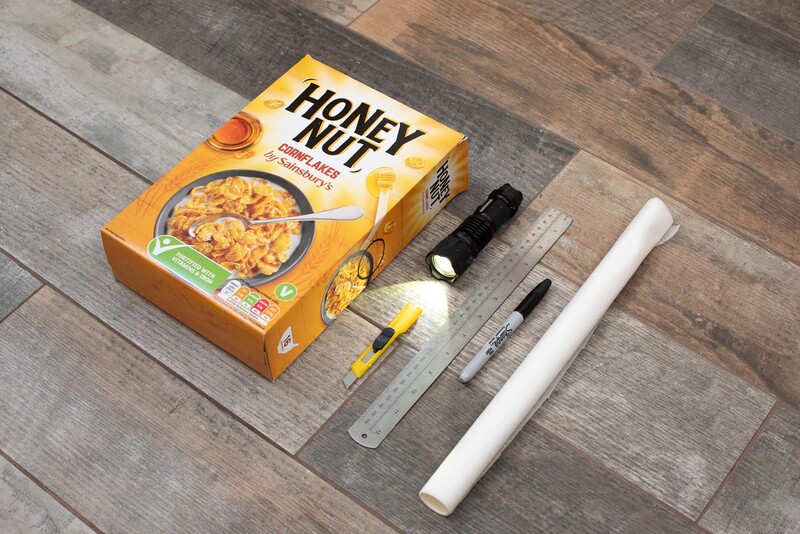
Gather Your Materials
I used an old cereal box as the frame for the light table, some tracing paper as the translucent surface for my subject, a ruler, pen, and knife to cut the holes, and a torch to shine light inside.
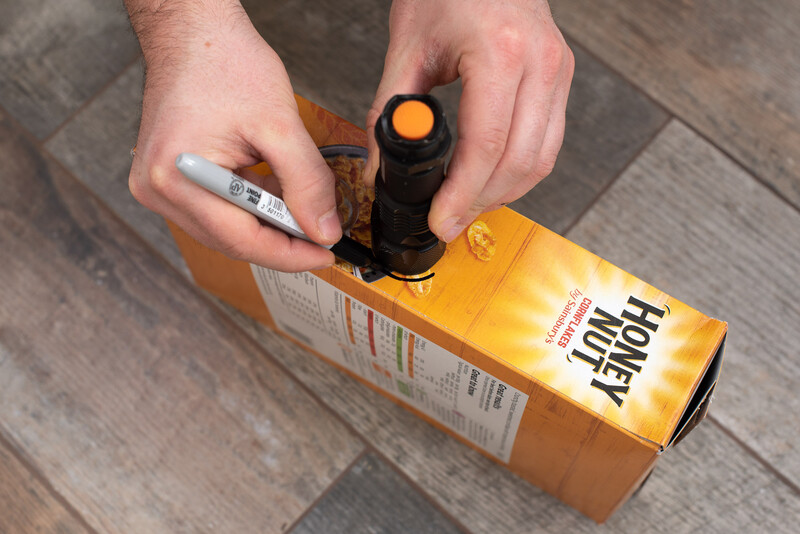
Mark Your Holes
Using a marker pen, I drew around the torch on the side of the box and used my ruler to mark out a rectangle on the wider side. I made sure I left gaps around the edge to hide the torch when it was placed inside and give something for the paper to rest on.
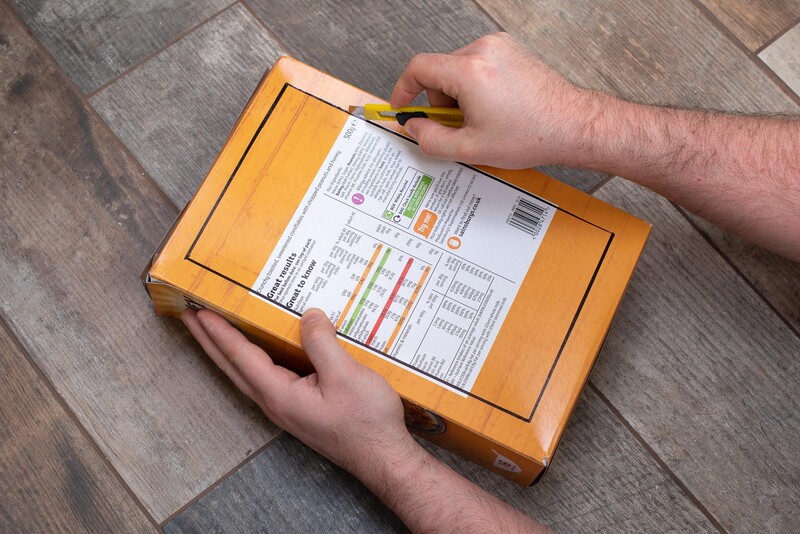
Cut Your Sections
With a sharp knife, I cut around the marked-out sections. Be careful to not cut yourself here; a sharp knife is always better than a dull knife, as you don’t have to apply as much pressure. Never place your fingers in line with the blade, and remember not to cut on a surface you don’t want marked in case you slip.
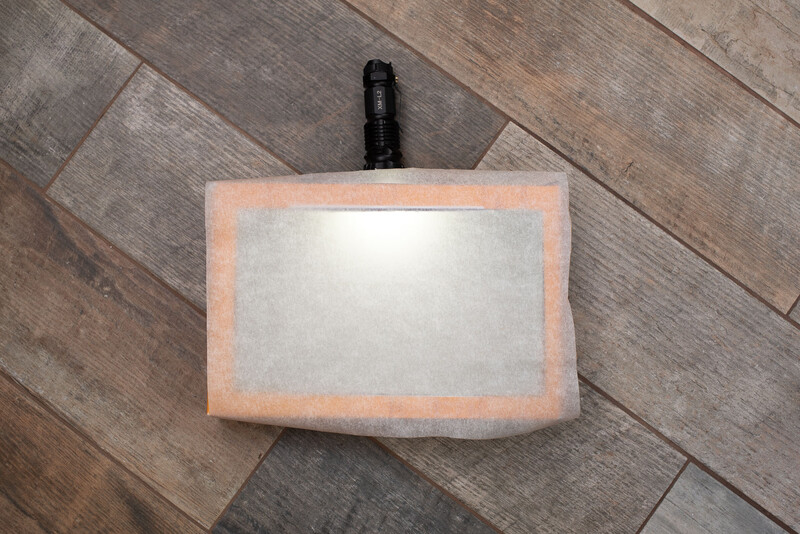
Place the Paper Down
Lay your box down with the big hole facing up, and put your torch in the hole. Cut your tracing paper to size and lay it down over the box. Now, turn on your torch and reposition until you’re happy with the spread of light. Take this into a darkened room for the full backlit effect.
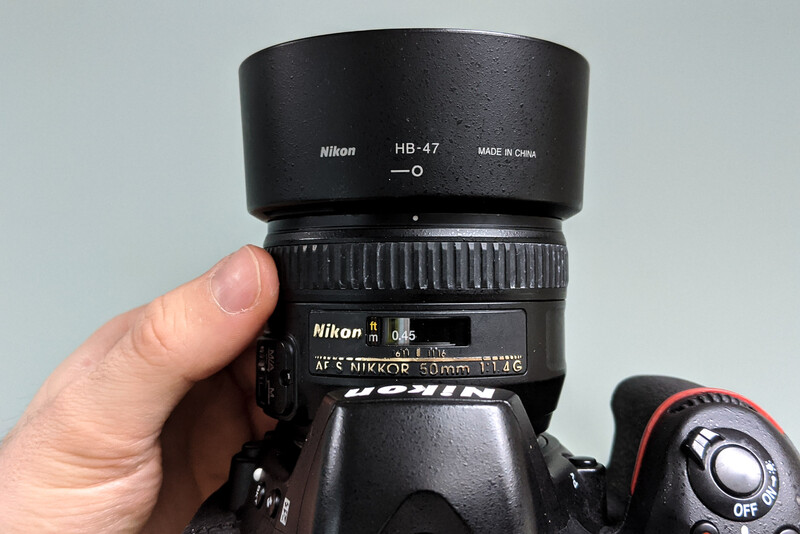
Manually Focus
Manually adjust the focus ring on the lens until it’s at its minimum focusing distance. On my Nikkor 50mm f/1.4G, this is 0.45m or 1.5ft. If you have a selection of lenses, choose the one with the highest maximum magnification to fill the frame with your subject.
Dial in the Settings
If using a tripod, you can use a narrower aperture and slow your shutter speed down with a low ISO. In manual mode, I used f/8 to produce a long depth of field, retaining sharpness front to back on my leafy subject. Because my Nikon D750 was on a tripod, I didn’t have to worry about camera shake, so I set the shutter speed to 0.5 sec and set ISO 100 to minimize noise. If you’re shooting handheld, use a wider aperture of around f/3.5 and ISO 800 to keep the shutter speed fast enough to get a sharp shot.
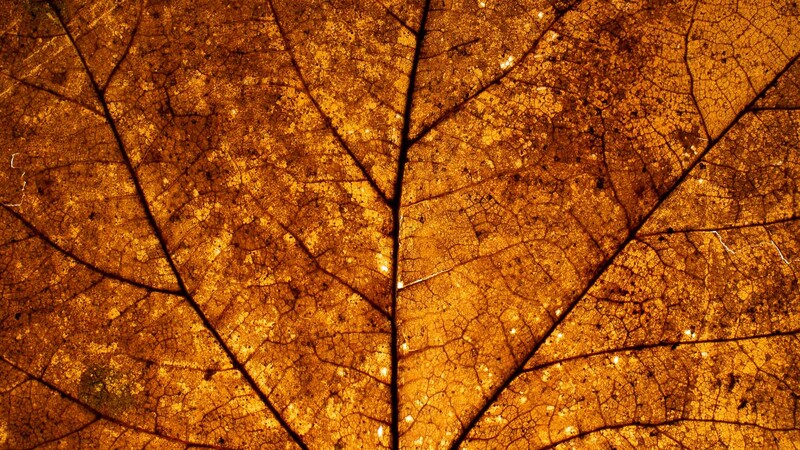
Bonus Tip: Crop In
Join the Fstoppers community for free
-
Post comments and join in the discussions
-
Browse the site ad-free
-
Share your work and get featured in the community
-
Compete in the photo contests for fun and prizes
4 Comments
On a larger scale, I built my own shooting table using PVC pipe, the necessary joints and various colored acrylic depending on what I would be shooting. 48"x48" (About 122cm X 122cm) and 48" X 84" (122cm X 213cm) if I needed a sweep.
I built my own because I didn't really like what was available for the cost and had limited space at the time so having it set up like that made it very much like working with the old Tinker Toys of my childhood.
Very easy to modify as well.
That's a great idea, Fred. I'm sure there could be some way to make it easy to dismantle and store away, too.
I followed the following https://www.instructables.com/id/DIY-Lightbox-build-with-Ikea-Lack-tabl… to create a light table from a $5 ikea table. It works pretty well, although there is a cost in terms of PVC panels, but when not in use makes pretty good furniture too
Awesome! Do you have any pictures of your build?