Macro photography has such a draw for beginner photographers because it opens up a world we can’t see with the naked eye. Most camera stores will tell you that you need a macro lens to do this kind of work, but don’t believe the hype. There are plenty of ways to do macro with the kit you already have.
Personally, I’ve never owned a macro lens, although I’ve shot on them for plenty of fashion brands and big-name magazines. I don’t find them useful enough to pay out the big bucks for something I’ll only use occasionally, although they can double as a good portrait lens if they focus to infinity. Don't get me wrong, macro lenses are truly useful and usually super sharp. I particularly like the Canon MP-E 65mm f/2.8 because it can magnify up to 5:1. A true macro lens has a reproduction ratio of 1:1, which means the physical space your subject takes up in real life is how much space it’ll take up on your image sensor, giving you lots of detail. I just can't justify the $600-$1,000+ for a macro lens. But we can achieve that 1:1 ratio and greater with some of the techniques below, likely with kit you already have.
Cropping in Works Pretty Well
Most lenses, such as a 50mm f/1.8 prime, will actually focus relatively closely, which means you can get quite a nice close-up photo of your macro subjects. Sure, it won’t be the true 1:1 magnification ratio that a genuine macro photograph should adhere to, but if it’s a nice image, who cares? If you still want to get a little closer to the subject, simply crop in in your favorite editing software. Modern DSLRs and mirrorless cameras have such high resolutions that you can still crop in close and retain extraordinary detail, something I first learned from speaking with Richard Peters when shooting wildlife on the Nikon D850.
Reverse the Lens You Already Have
Yes, that’s right, you can literally just turn the lens around. Now, to start with, you might want to simply hold the lens, reversed, in front of the lens mount, but you’ll soon realize your wobbly hand will encourage light leaks and out-of-focus areas. Reversing rings are a cheap (around ten dollars) and easy way to hold your lens onto the body securely via the front filter thread.
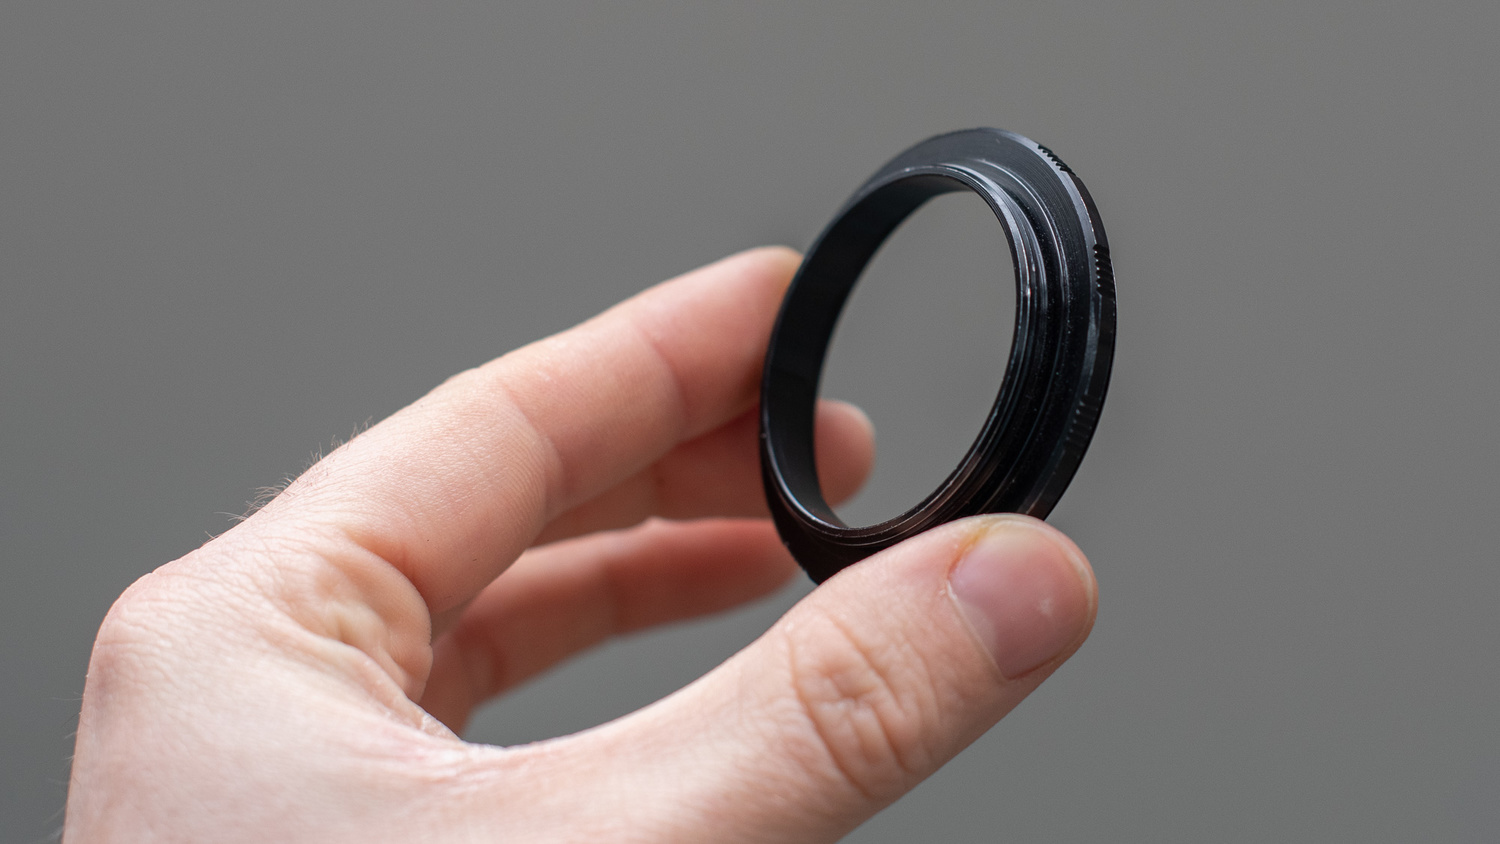
A reversing ring has one side designed to fit the lens mount on the camera body and another side that screws into the front filter thread on the lens.

Notice how the camera is only an inch or so away from the subject; this is the maximum focusing distance when the lens is reversed.
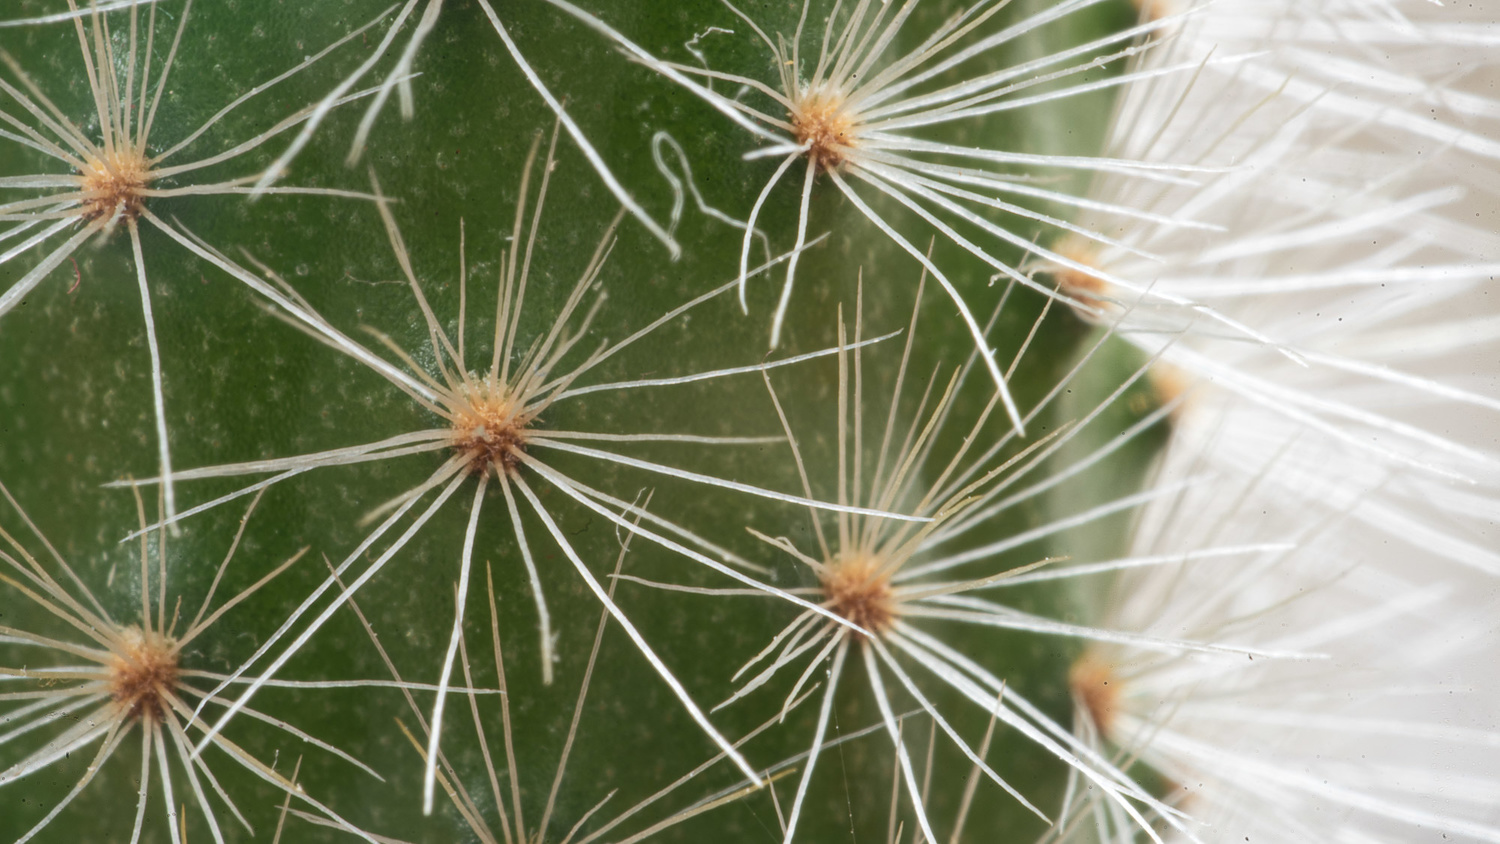
This cactus macro shot was taken with the above reversed lens technique, and it's extremely sharp.
Close-Up Filters Are Cheap and Easy
These close-up filters are not the clearest or sharpest glass in the world, but macro is forgiving, because we never normally see these tiny subjects so big, so our eyes aren’t trained to expect a certain look. As a beginner, it’s a brilliant way to get into macro photography.
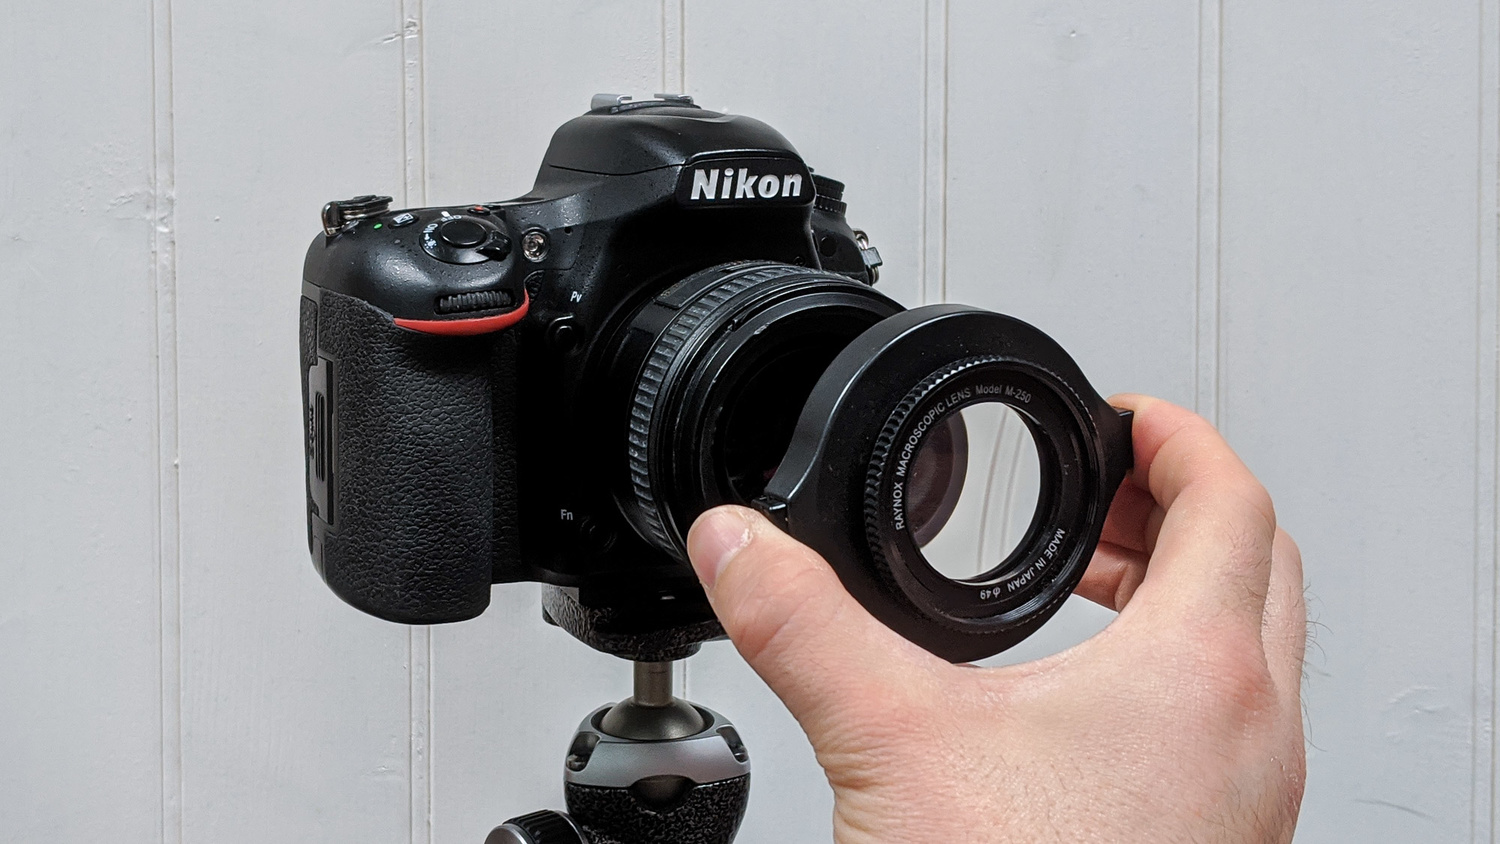
This is likely the easiest way to get into macro photography, as it keeps autofocus and aperture control as normal.
They work well on a longer, telephoto lenses such as a 70-300mm, because it retains a good working distance, perfect for live subjects like insects and spiders. That is, the subject will appear big in the frame, but you’ll be far enough away so as not to disturb them. I use the Raynox DCR-250, which has an expandable filter thread to fit a range of lens sizes.
Use Extension Tubes
Another option is to simply place the lens farther away from the camera body to force a close focus. Macro lenses do this anyway, but enhance the image with a series of specialized optical elements, but you can do this cheaply with extension tubes.
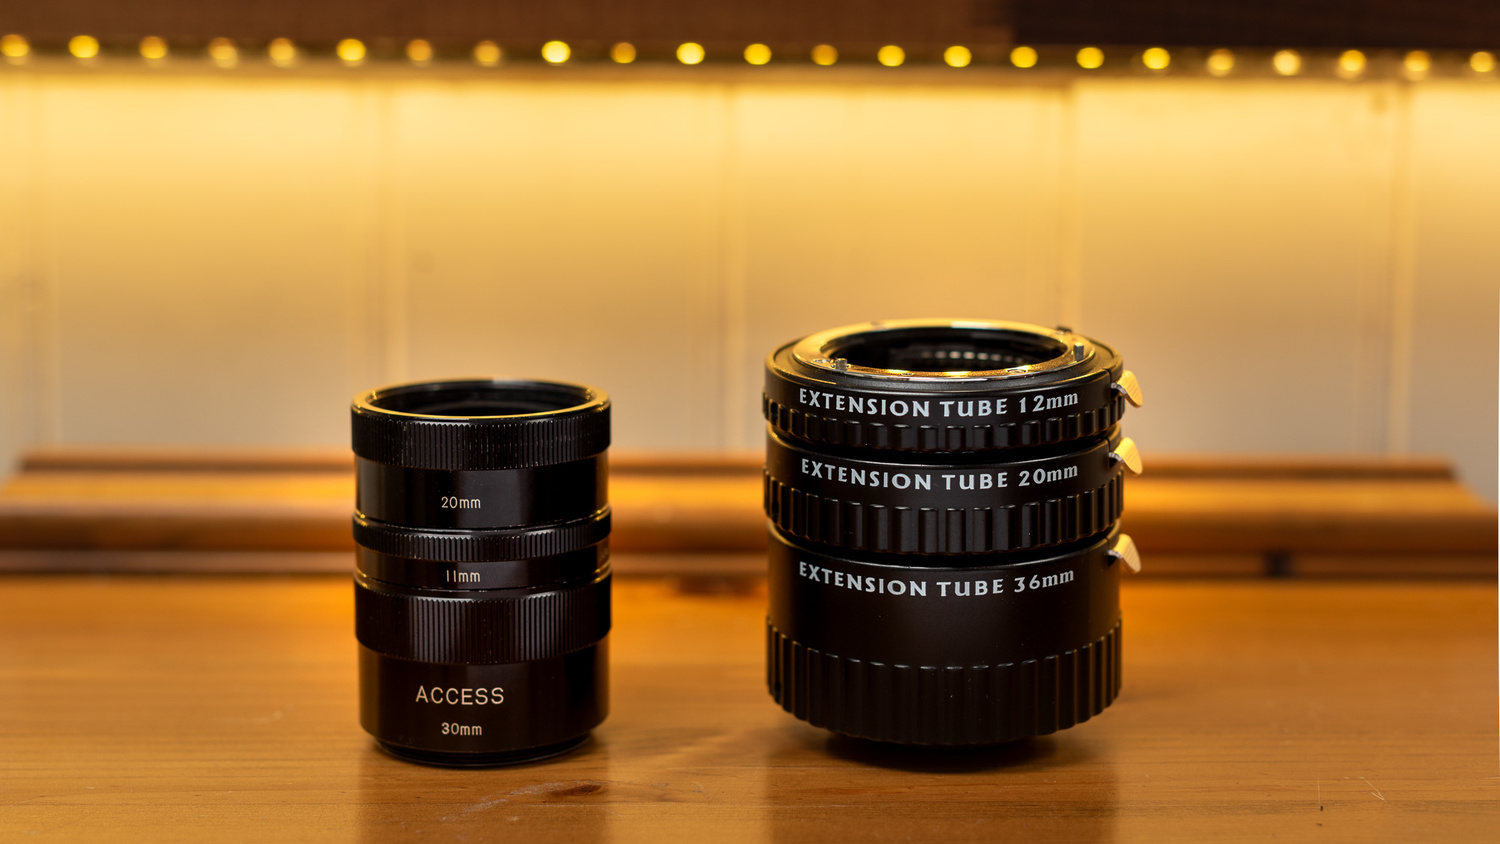
Here, two types of extension tubes demonstrate the use on multiple camera systems. On the left is an M42 screw-mount for older film cameras with no electronic controls, and on the right is a Nikon-fit mount with electronic controls.

The two extension tubes now lay flat, and it's easy to see that there's no glass in the middle.
As you can see, there are plenty of options to try before dipping into your savings for a specialized macro lens; in fact, I’ve won a couple of macro photography competitions with these very techniques. Have you tried any of these techniques yourself? Perhaps you have another way of taking macro shots I didn’t list here? Share your thoughts with me in the comments below.



I have a Tamron 35 f1.8 that will focus down to 7" as it is. If I put a 12mm Kenko extension tube, it does a very respectable job as a macro.
That's brilliant, David. Exactly what I'm talking about - cheap, efficient and no need to purchase expensive kit (unless you want to!). Have you got a shot of your setup?
Here it is. I don't do much macro stuff, so the Kenko extensions work well enough.
Here's some cat fur:
I mean, yeah, if you're a hobbyist macro photographer or just do it occasionally these are fine. Though I will note in a minute that having a macro lens does not limit you to macro work (unless it's a specialized lens like the canon MP-E or something).
Regular lenses are not designed to be put on tons of extension tubes. The more you do, the more you'll see image quality degrading. And the longer the focal length, the more extension required to reach equivalent magnification (but short focal length lenses have the problem of small working distance).
Look, I've shot macro photos on a Nikkor 85mm with extension tubes at a wedding because I *forgot* (yes yes) my actual macro. And they looked great! But I don't recommend it for any kind of serious work. It is, however, a good way to learn macro and how extension affects magnification and whatnot.
There are also tons of cheap (third party) manual focus macro lenses out there now. Pretty much every mount has one you can find for $200-250.
The other nice thing about macro lenses is that they tend to be VERY GOOD LENSES. Flat field, very sharp. The Sony 90/2.8 macro or Nikkor 105/2.8 Micro are also fantastic portrait lenses - same with many others.
But finally:
1) cropping in is not at all the same thing
2) I don't recommend learning macro with reversed lenses
3) I don't recommend learning macro with close-up filters
4) But I DO recommend starting out with either extension tubes or a cheap manual focus macro lens. I've bought numerous third-party extension tube sets on Amazon and they've all worked surprisingly well. Even the Nikon F mount ones - including autofocus. Not necessary to buy first-party tubes, usually.
I'm just a hobbyist, but macro is my favorite thing to shoot. I used tubes and a super zoom lens (Panasonic 14-140) for over a year before buying a macro lens. Image quality is a little better, but not that much. Mostly it just makes it easier. It's nice to be able to focus to infinity in case you want to take a shot of something bigger or farther away. Also nice to have a lens that doesn't extend when zooming or focusing, bugs don't stick around when you bump into them while trying to frame them up and or focusing. I think a set of tubes, a speed light and a diffuser will get you much farther than a macro lens alone and at a lower price. Also they can and will still be used with a macro lens if/when you do get one.
Hey, just went on your profile, your photos are great, really enjoyed the tour!! Thumbs up, great work
Thank you very much. I just checked out your profile. You do some amazing work!
I checked out your photos. Very nice. Did you use the extension tubes? If so what lens did you use with them and what combos did you use?
Thank you! The shots in my profile shot with the Panasonic 14-140 and 26mm of extension tubes are Marbled Orb Weaver, Love is in the air, black and yellow orb weaver with blowfly, bold jumper, cellar spider, and Chinese mantis. The Bullfrog was shot with same lens, but no tubes just closest focus and crop.
I have used all of the methods mentioned, however I do think a macro lens is better if it is in your budget, because other than the Close up diopters, the methods in the article require the lens to be removed, which can be risky, my 18-55 lens does have moderate macro capability.
I got some tubes too that I use on a Fujifilm 50mm f2 primarily, images are still sharp as hell.
I used an extension tube on the 50 f/2 when I had my X-E2 a few years back. Got some nice close-up/semi-macro shots of the wedding ring (not technically macro because they weren't 1:1). Also used extension tubes with my Nikkor 85/1.8 to get some shots at that wedding. Came out quite lovely.
But, now that I do a lot of dedicated macro work - often beyond 1:1 - I need macro lenses. I still use extension tubes though! They work great with macro lenses too :-)
I started with some Kenko extension tubes and they were cheap and work well, though I did see a lot of CA in the images that can sometimes be corrected. I haven't had this issue with an actual macro lens.
You're better off investing in a macro flash rather than a lens, but methods like reverse lens & extension tube will cut out a lot of light. This means that it would be hard to focus, and if you don't use flash, then you'll need a faster shutter and/or higher ISO.
Ah yes, good advice, I'll just reverse my RF 28-70 f2 and expose the rear element and perhaps even accidentally scratch it, it's not like it's $3200 or anything...
I'll buy a dedicated macro lens, thanks.