A location can make or break a photograph, so don't get caught in a bad spot. Fortunately, you don't need to go heading out for hours on end to learn how to do this. In this article, I've put together five of the most powerful techniques you can use to make the best of a bad location.
Finding a good location is one thing, but finding good framing is much more difficult. It takes time and experience to know how a scene would best be composed in the viewfinder in order to make the most of the shot. The inexperienced photographer might rush into the shoot and snap away before planning things out first. There are multiple things you can do to transform those dull spaces into incredible photographs, below are my top five.
Look for the Light
Photography is all about the capture of light, so it's no surprise that this is first up on the list. Great subjects can fall flat with poor lighting, whereas something drab and uninteresting can stand out with some incredible lighting. So, what makes good light? It all depends on what you're shooting and how you want to portray it. Let's say you want to capture the moon displaying all its craters: would you take your shot when it's a new moon? No, you'd wait until the moon is in a phase where it's either at least half-lit or fully lit. To do this, you might check online for a moon phase calculator or look up one night and see which phase it's currently in.

The amount of light, its direction, and color all dramatically impact how a scene looks. Pay attention to this and picture what kind of light you want in your head for a successful photograph.
You may also want to get a completely clear shot showing the moon against a jet-black sky, in which case you'll need to wait for clear skies. Or if you'd prefer to capture a small corona around the moon (a little rainbow look), then a thin layer of Stratus cloud might be better. Whether you want to shoot the moon or not, the important takeaway from this is that light changes when particles are placed in front of it. Light can bend (refract), reflect (bounce off), and absorb when it meets different media.
Think of the front cover of Pink Floyd's "Dark Side of the Moon" album, and you'll see a depiction of light refracting through a prism (big up to Isaac Newton, who discovered this). This behavior is important to bear in mind when shooting water, windows, or anything else that is semi- or fully transparent. For example, if you're shooting a tired old building and the light shining from the windows is too harsh or perhaps there's a lake teeming with life but looks drab because of this high reflectance, then pop on a polarizing filter to remove the glare and peer through the surface.
Angle
The positioning of light can play a big part in what your photo looks like. Side-light (lighting that passes the subject almost parallel to it) will highlight textures and cast long shadows. To picture this, simply turn on your smartphone torch and place it parallel with the ground. Take a look at how the shadows lengthen the closer the torch is to the ground, and how they shorten again when you raise it up (by the way, this is a brilliant technique for finding small dropped objects on the floor).
Light that hits your subject straight on from the perspective of the camera will cause no shadows at all and tends to create what's known as a "flat" look. This effect can be used stylistically, but for beginners, it's usually an unintentional side-effect of using the pop-up flash. Portraits might benefit from a 3/4 placement of light that sits just higher than a subject's head. This is known as Rembrandt lighting due to the consistent use by painter Rembrandt Harmenszoon van Rijn in his work. Look for a little triangle of light on the cheek closest to the light source or a small triangular shadow to the side and slightly down from the nose.
Focal Length
If your location is cluttered, you may want to think about throwing on a longer lens. That's because anything that isn't in your frame doesn't exist. One way to remove the clutter is to go longer with your focal length (upwards of 50mm is often a good bet). Not only will this more tightly cropped framing help to aid composition and limit the amount of clutter you see in the frame, but it has another benefit: reducing the depth of field.

Longer focal lengths can help isolate subjects within a scene by giving a shallower depth of field, pushing busy backdrops out of focus.
Longer focal lengths give perceived shallower depth of field. In a previous post, I compared wide angle and telephoto lenses for portraits, but essentially, the longer the focal length, the shallower that depth of field. That means backgrounds become more blurred while keeping your subject nice and sharp, which is useful for eliminating distracting environments.
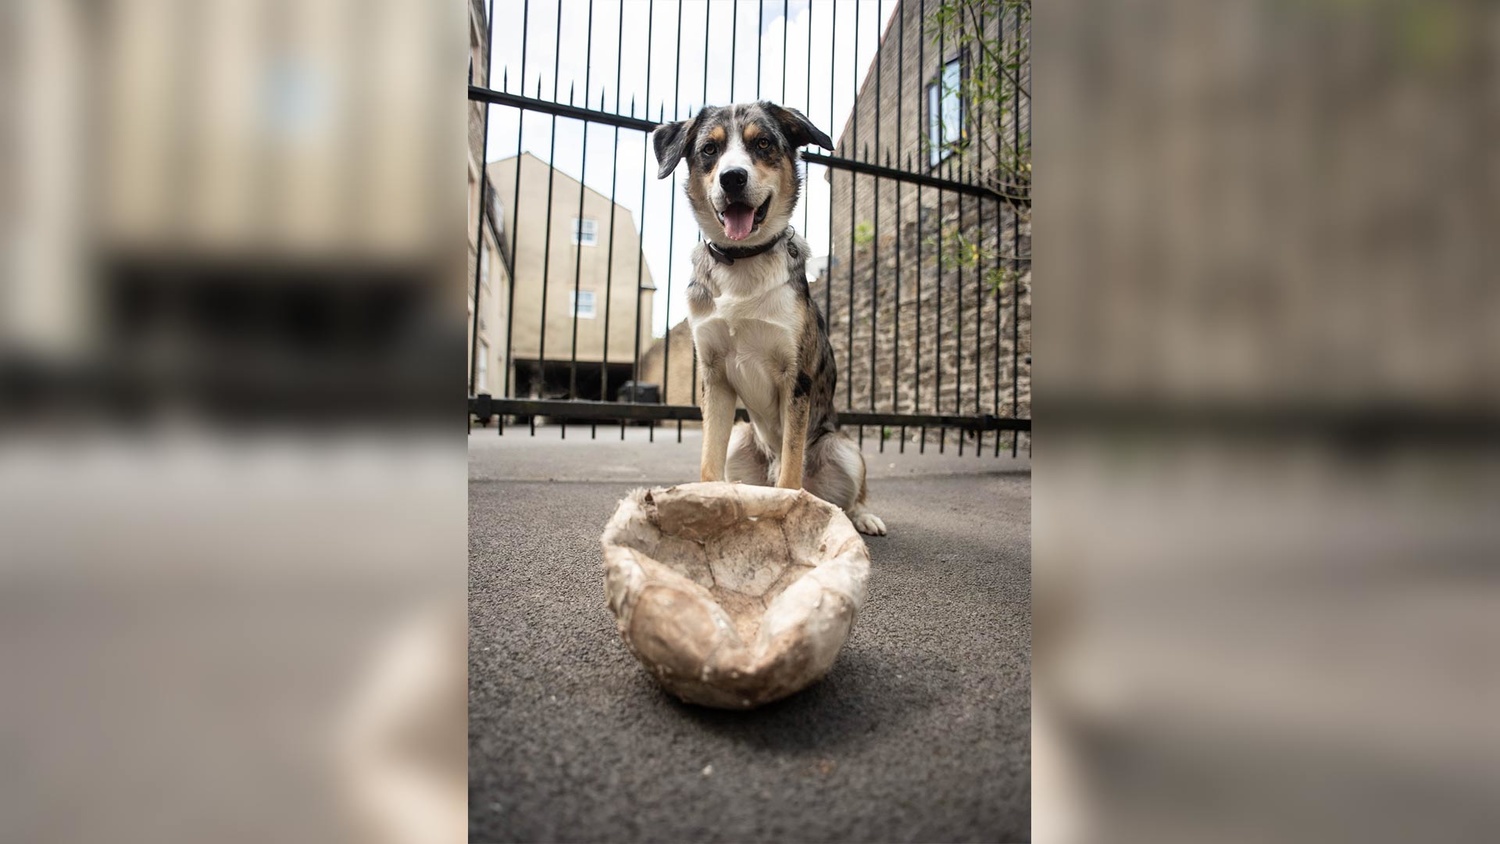
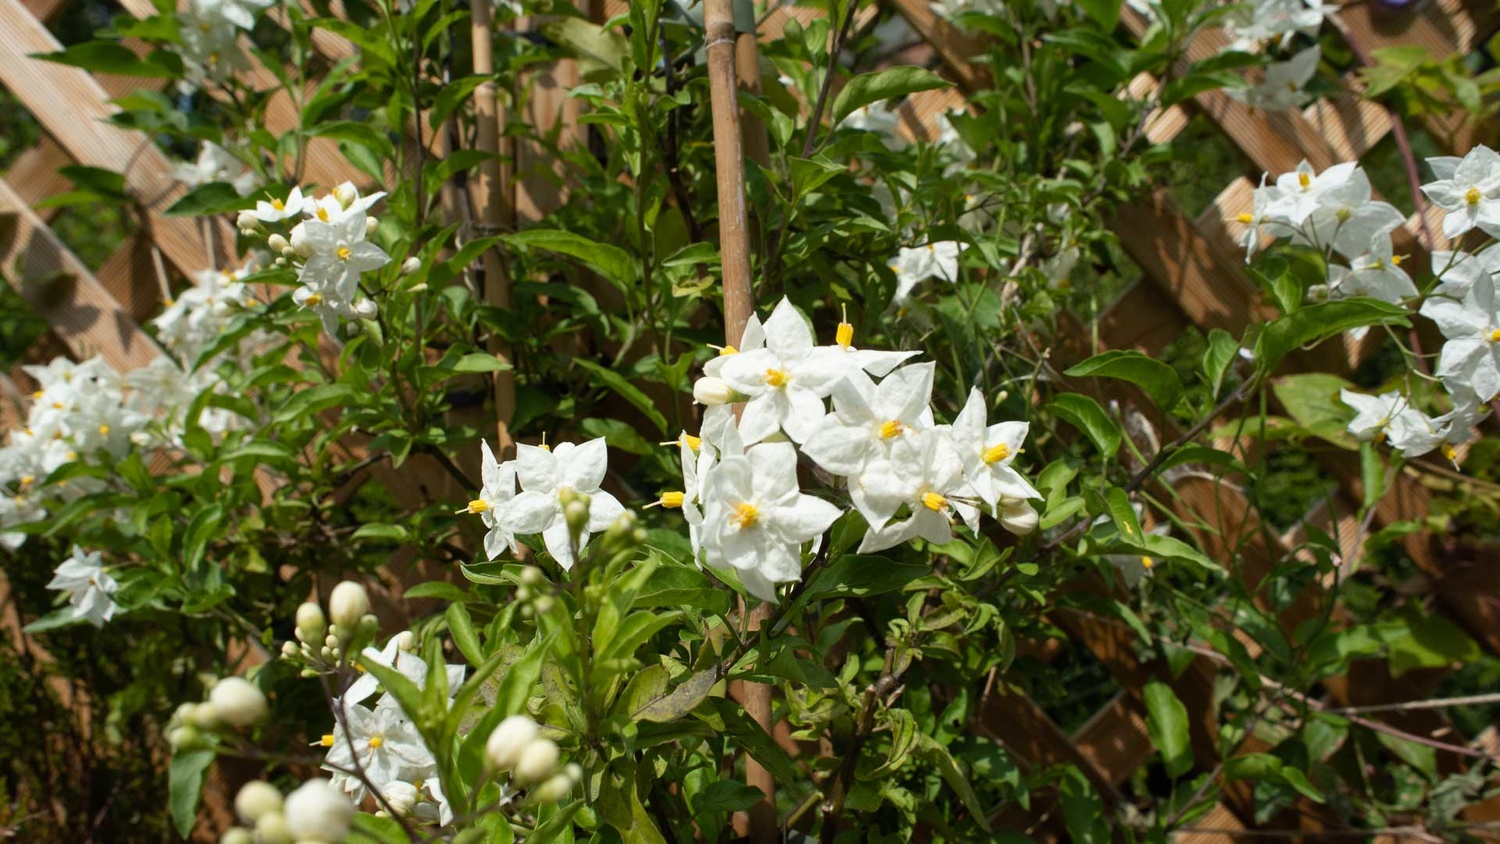
In the before and after above, you can see the different focal length really makes the subjects and scenes. The first image was taken at 24mm and the second at 122mm. Notice how the background, while still clear enough to make out plants and the wall, is now much more out of focus, lending isolation to the main subject. This technique can even lend itself to shooting through distracting elements. Just look at the chair on the right of the first picture. I decided to shoot through the chair with a wide aperture in order to create a diffused but interesting foreground texture to the shot.

Time of Day

The time of day you shoot changes how the scene is affected. Busy towns and cities are filled with people later in the day, but early morning shoots may give clearer views of popular locations.
Say you're heading around the center of town and want to get that wonderful building set out on its own, but there are far too many people milling around to capture it clearly. Now, you could do some long exposure photography to have the pedestrians blurred enough to get a perceptibly clear shot, or take multiple photos and remove the people in image-editing software. But it's probably just easier to head there at a different time of day. Early mornings are quite good because people haven't yet risen to go to work or to the store. Late evenings don't tend to work as well because people are already up and about, walking in the spots you want to shoot.
Zoom in on details

Practice spotting the best parts of a scene and make a point of zooming in or physically moving closer to isolate this in the frame.
When you first rock up on the location, you may see the scene as potentially viable for a shot, but the longer you look, there's a noticeable lack of something. That wow factor just isn't there. The lighting is good, your camera position is spot on, but you just can't seem to make the shot work. The reason for this might be that there is an element (or elements) within the scene that stand out to you but don't work as part of the bigger environment.
In order to capitalize on those elements that work, it might pay you to either zoom in with a telephoto lens and isolate these smaller sections of the subject or physically move closer to them if you don't have a longer zoom lens. By doing this, you're focusing only on the most interesting parts in the frame instead of diluting it with extraneous detail. Macro lenses are also a great way to honing in on smaller details in scenes, such as flowers and insects.


Start by holding your camera at arms length for the best stability😂