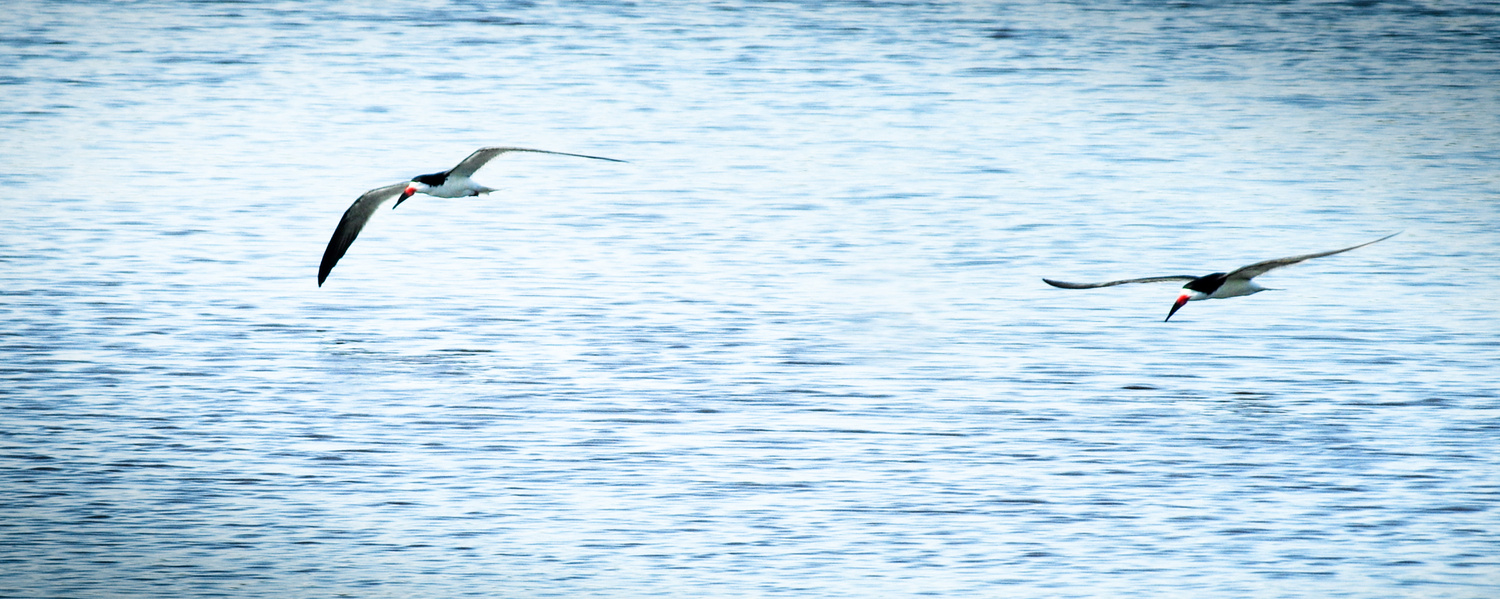
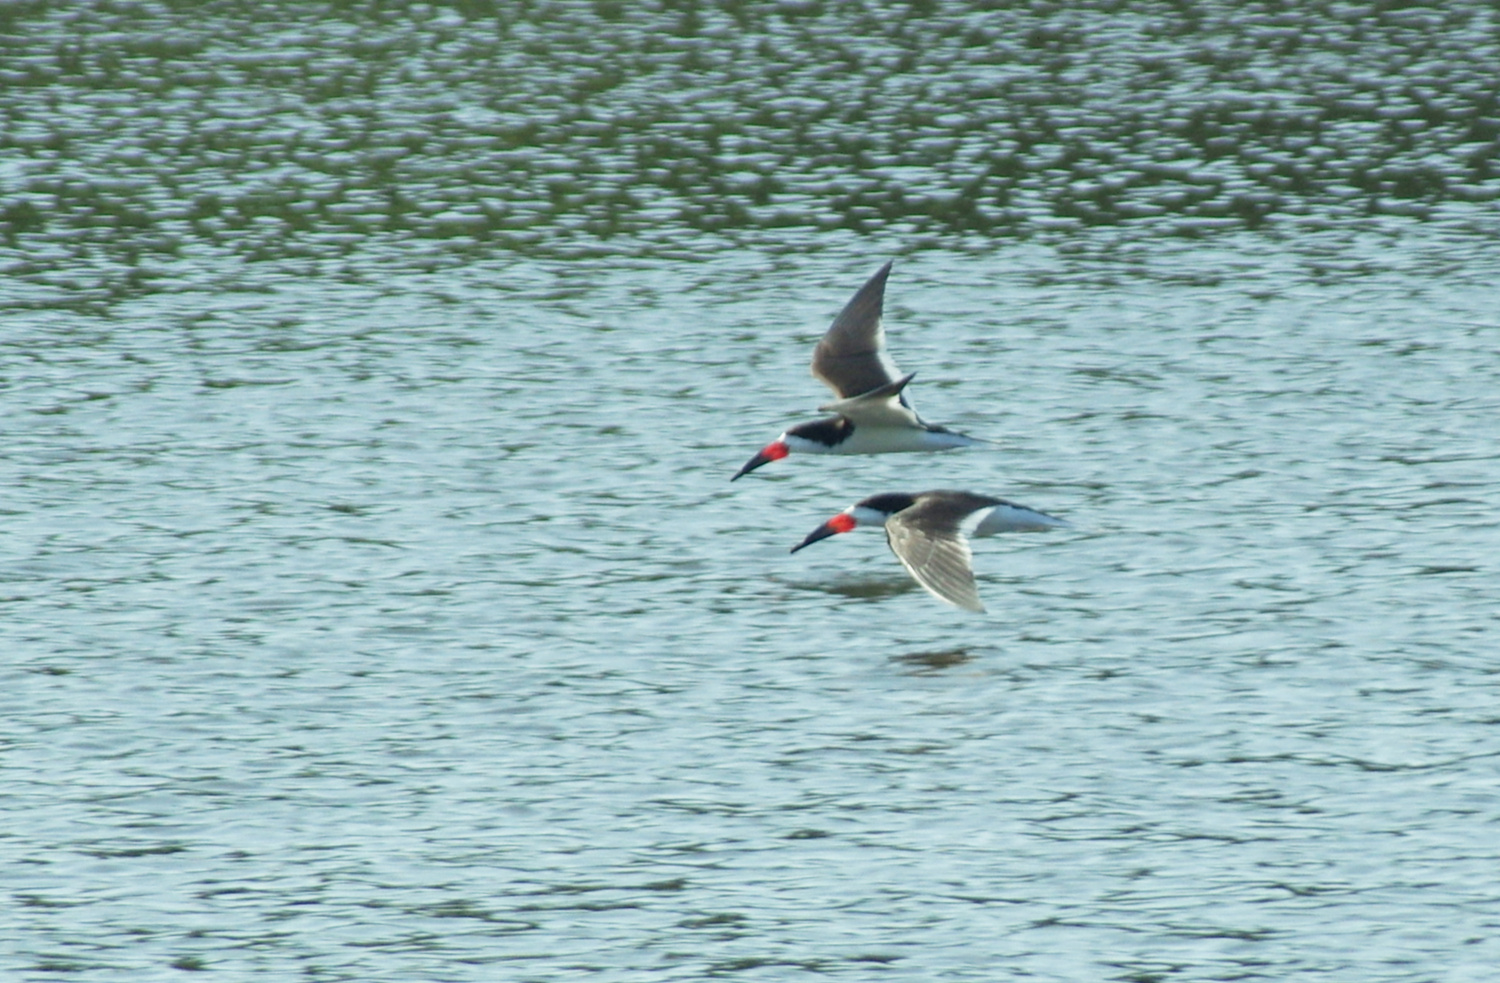
Minimal Skimmers
I posted a couple of these shots in landscape and nature and Shawn asked about how they are done. I am always a little shy about posting 'how to" stuff as I don't use any of the 'big' software and there are probably easier and better ways of doing this. Because of this, I am sincerely grateful for others to chime in about how they would do something like this. Alan and Chris - you do this type of processing so let's hear it!
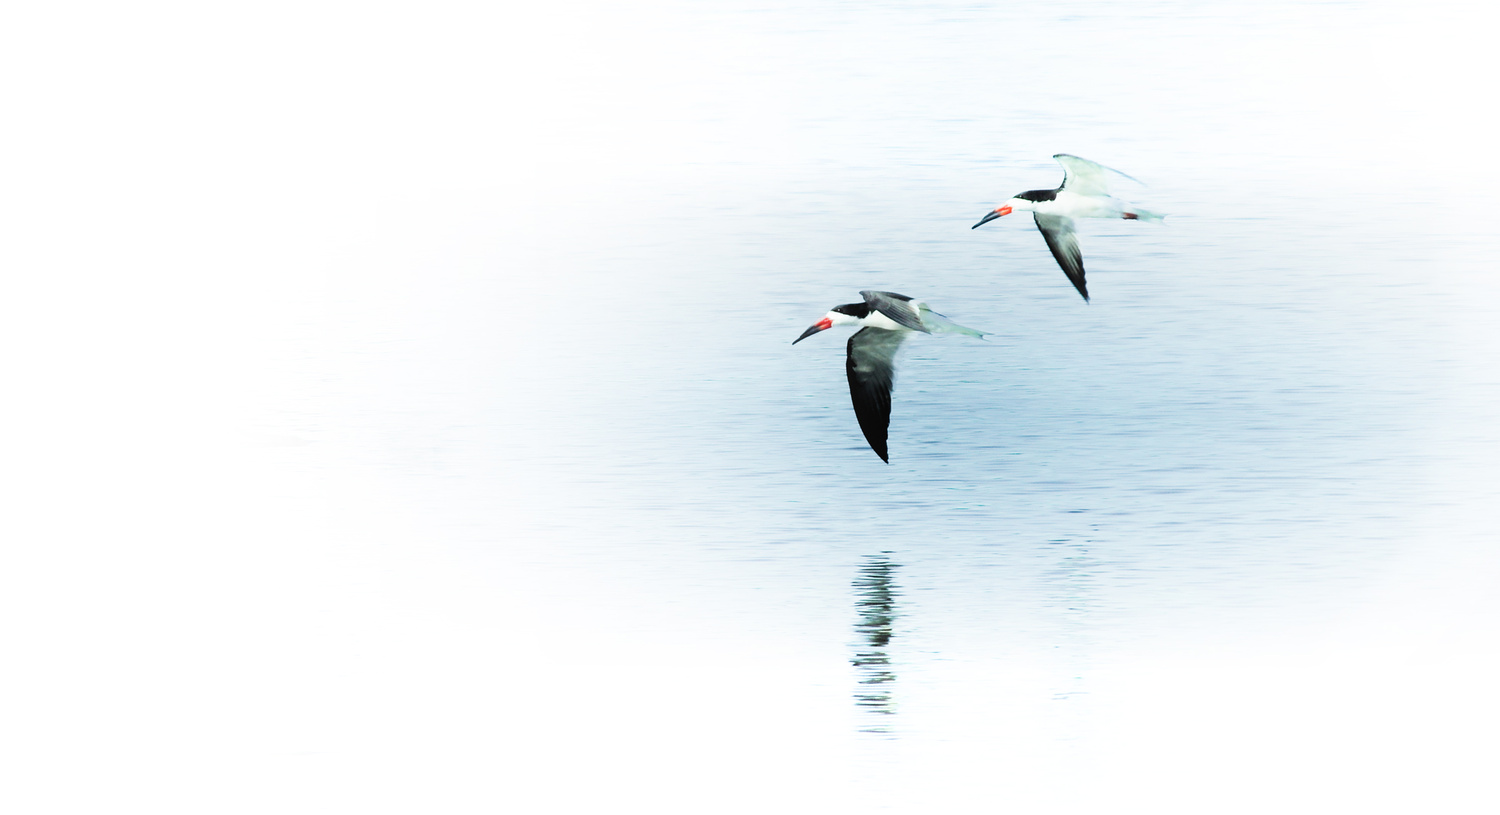
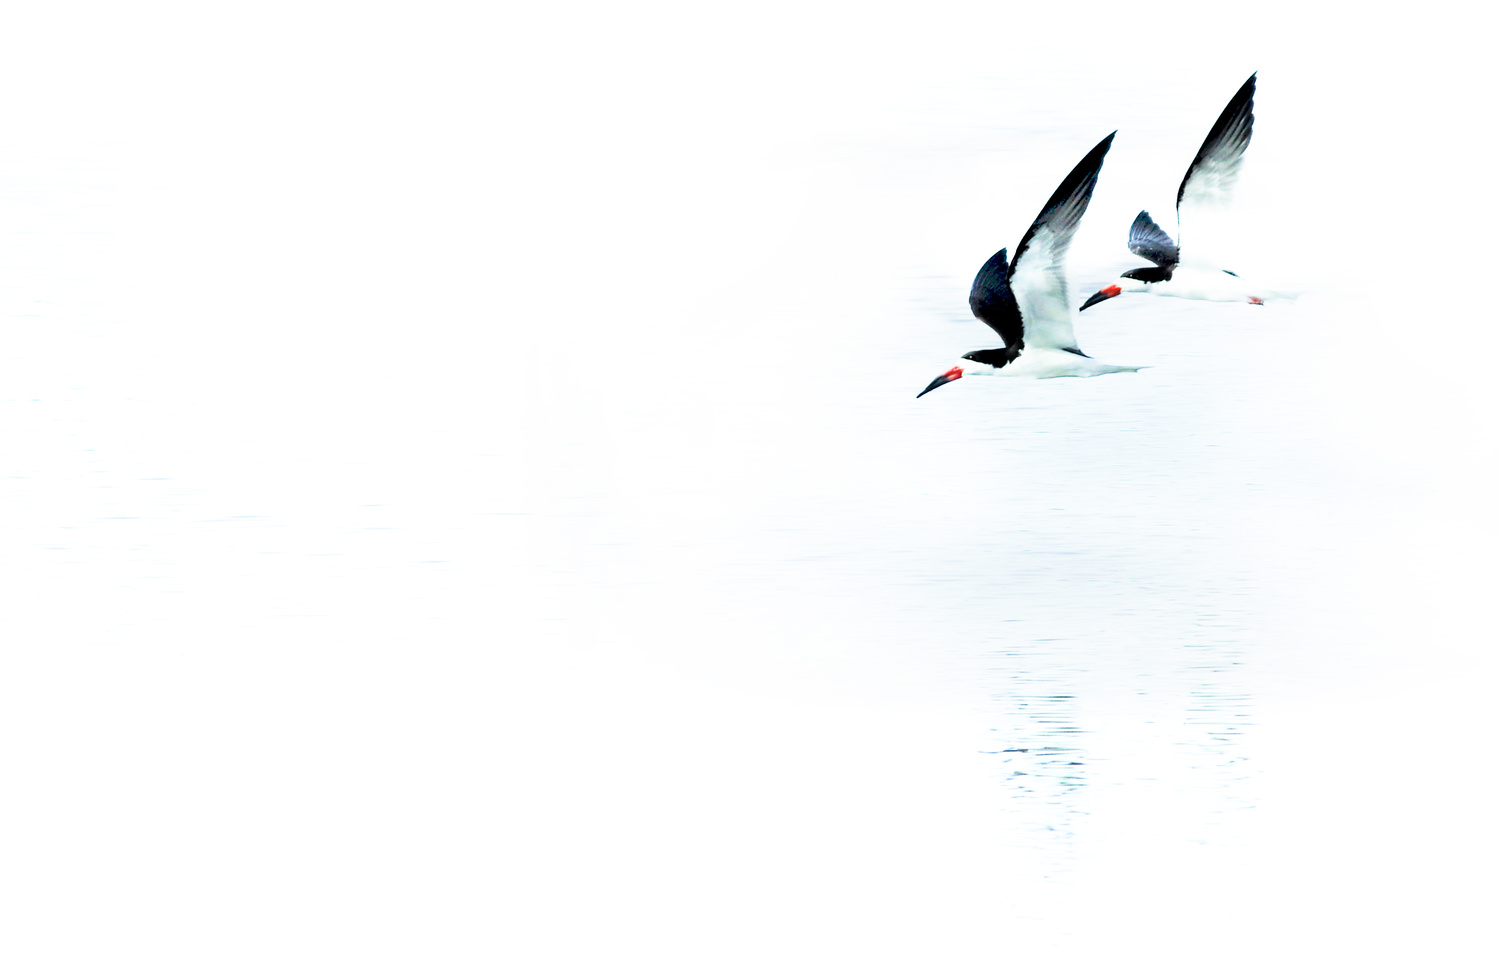
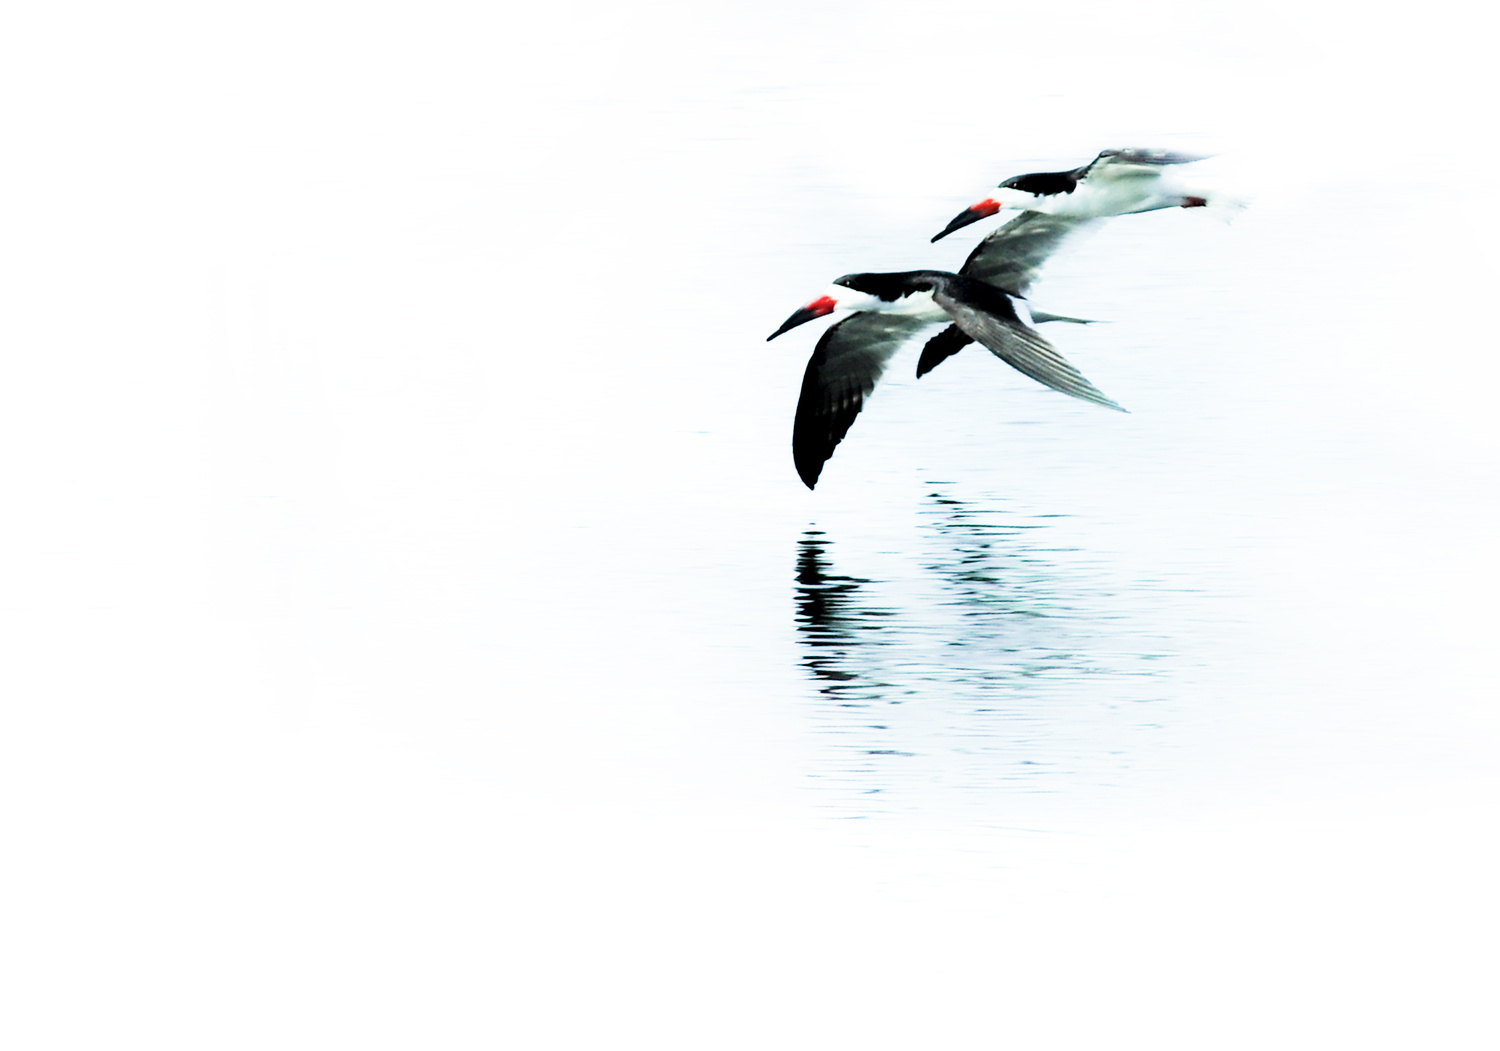
Here's what I've posted starting from the bottom: An unedited one, an intermediate, the final of the intermediate, and three finals of others from this series. I'm not sure why I can't put my finger on the same originals for all of these but they would have looked like the one posted. I was fast frame shooting as they flew by. All of the processing was done in Polarr as I have a Chromebook and it is compatible. The name of the game with these are tiny tweaks over and over. so first I up the contrast, then I usually use a radial mask high exposure to drop out most of the image away from the subject. Then I start the little tweaking which includes softening darks, bringing up color, lightening whites, tweak tweak tweak. Polarr has a brush tool that is edge aware so sometimes I just sweep over the subject with a high exposure brush and it will leave lines and content of the lines and get rid of anything outside the lines.
So Shawn - I really wish I could do better. The only advise I can give is that the sliders and layers are your friend when you do this sort of processing, I slide up and down the highlights, whites and shadows until I hit on the look I want. And working in layer will let you back out of some things while not have to back up through the things you like.
Explanation help wanted!


3 Comments
Thanks Ruth. I just use Lightroom. If I need to use layers then I need to learn Photoshop. I will have to give this a try, I really like the effect and I always have several pictures that I think this would work on.
I hate explaining as well Ruth but you can always do a black and white conversion and up the contrast and erase the bits you don’t want
Ruth, whatever works is the best way. I suspect that given the complex array of tools in most programs, that there are many different ways we arrive at broadly similar results. I've given a bit of a breakdown of how I did something very similar in the comments on Alan Brown's recent post "Solitary" of the tree.
One problem with gradients in my software, which Phillip Breske noted in Capture One, is that they are not gradual enough and introduce banding. This is not evident in a busy forest scene, but very much so on skies.
I'd certainly increase contrast, but most likely via curves, which can be fine-tuned once you're familiar with them to suit the image in question. For instance you can increase the contrast in a particular tonal band, not necessarily everything between max black and max white
If I wanted the straight sides to disappear, I'd first add a fairly narrow but dense (i.e. pure white at the outer edge) white vignette and then use dodging or a variety of brushes adding exposure, but doing it manually after the vignette to avoid that too-regular somewhat artificial appearance that I think you dislike too.
I've just done a quick one doing the above except the vignette, as the brushes alone seemed to make the edges dead white. I did an elliptical gradient around the birds, increasing exposure outside the ellipse before any brushing.
Curiously, the composition looks much better after the edit, which mainly involved the tonal changes, and didn't move anything. However, I decided to tweak it by adding a white border and recropping (so I could include more space above the birds) in the second image.