More Posts in: Product Photography
For iPhone users - a new version of Bluristic has dropped (v1.8) which offers new features and significant improvements in stability & useability.
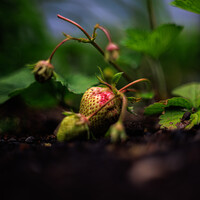
I am interested in learning Macro/Closeup photography and understanding that Focus Bracketing is a good part of the process, I thought I would give focus stacking a try.
Another visit to our garden using a vintage lens (Canon FD 50mm f/1.4) on my Canon R5.
NOTE: With this lens the minimum focusing distance is 18" at which point you have 1/4" depth of field.
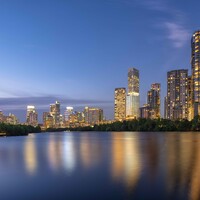
Was down in Austin for a bit on a work trip. I've always heard how beautiful the skyline is from the river.
Was a little let down by the clouds, but what can I do!
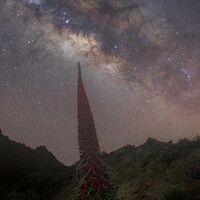
My two favourite images from my recent night time adventure in Tenerife. Foregrounds and skies were shot separately and blended in PS.


3 Comments
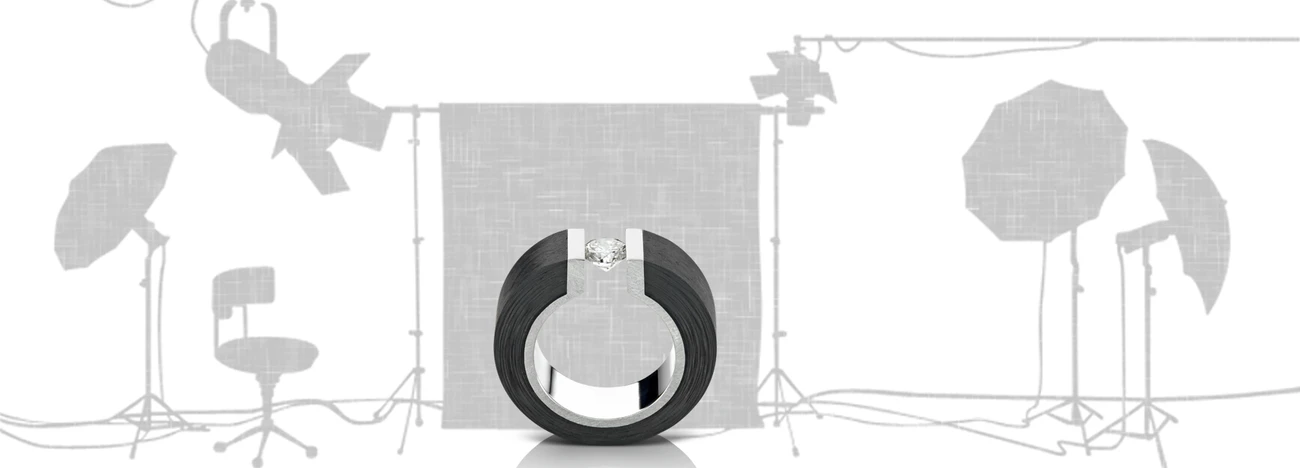
Curious to know why you needed that much retouching, for such a simple image. Was the packaging in bad shape?
They sent me two boxes. 1 was basically crushed. This one the corners were pretty beat up and then when you opened the box itself you got a lot of rough edges. The printing on the box also was not perfect. This is going to be used in several applications and they wanted it to be as perfect as possible. Also, we used lots of double-sided tape to help flaps lay as flat as possible. I am still not happy with the two from flaps on the fold out part.
I've done a lot of this work and luckily had access to the printer's layout file (mechanical).
Each face of the box would be saved as a separate file and imported into PS as linked smart objects, then skewed to match the photo's perspective. Adjust the lighting of the 3 visible panels with a gradient and add just a bit of noise.
Finish by rounding the edges of the box by painting a thin white line with a soft brush on it's own layer and adjust opacity to blend, otherwise the edges look too sharp.