
Have a Question ? Or Just Share your Best !
Let's share our experiences on retouching and let each other learn.
Also, share your best retouch if you like to show off!
I go first...
Let's share our experiences on retouching and let each other learn.
Also, share your best retouch if you like to show off!
I go first...

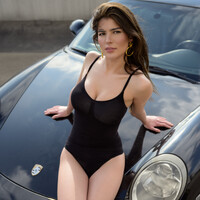
As we were planning our shoot, Iria said she needed a swimwear look. I wanted lifestyle with my car. We compromised. I think it turned out great. Hope you like it.
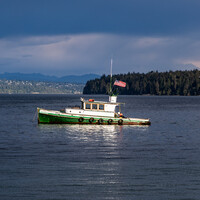
Sitting at anchor. The weather is starting to change, the sky is cloudy with big puffy clouds


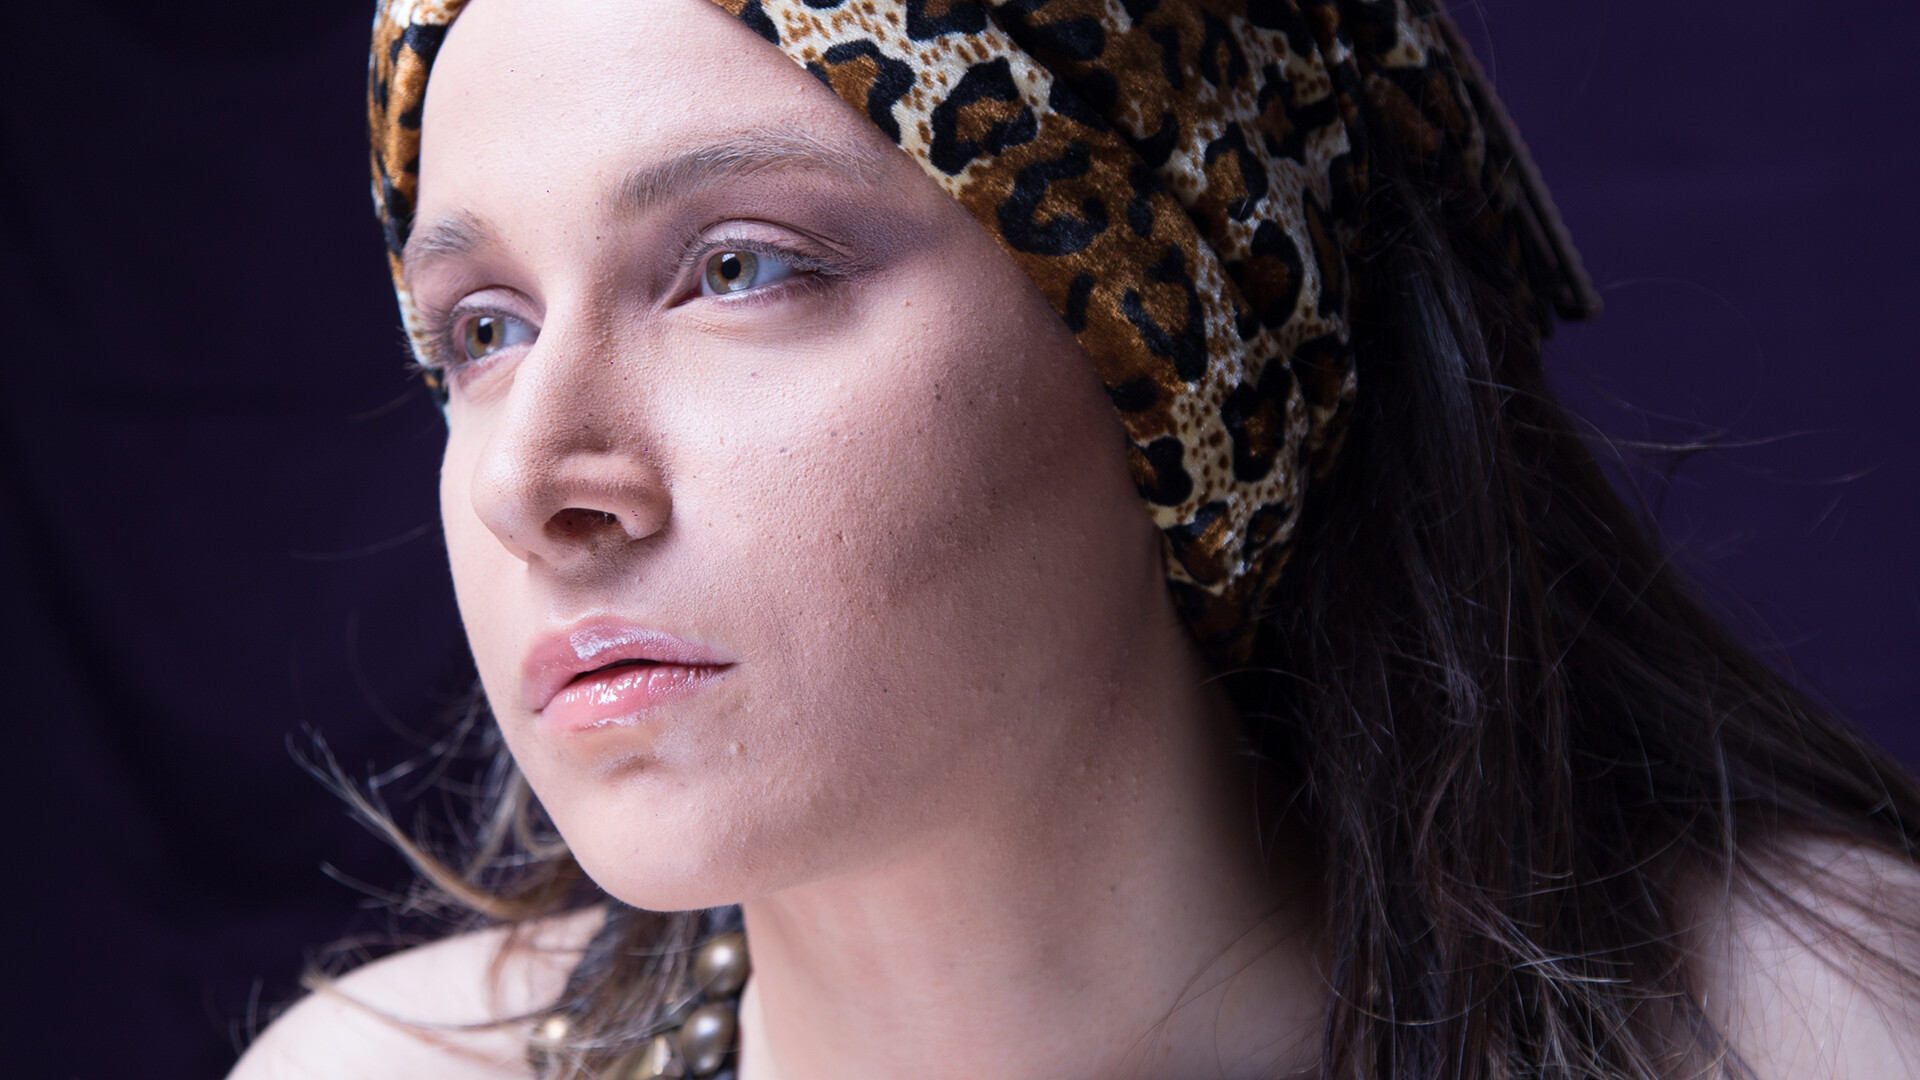
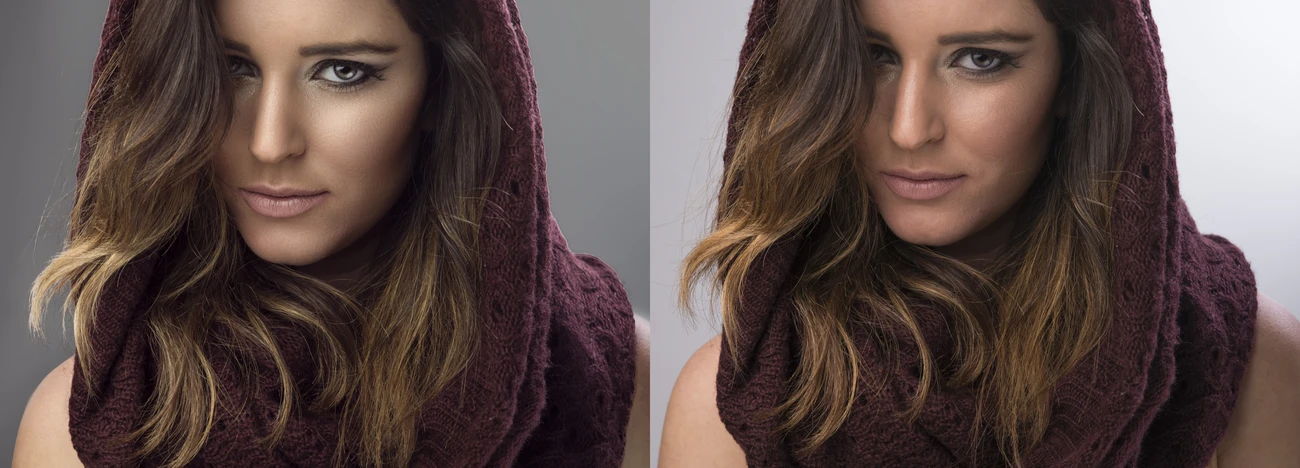
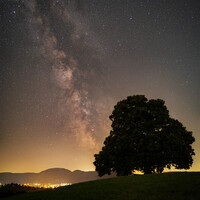
I have made sure to keep the original, but I've done this photograph the way you can see here. I've also done it in monochrome.
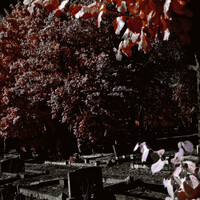
I passed this place on my way to an appointment yesterday, and I just knew I wanted to photograph it on my way home. That's precisely what I did.


6 Comments
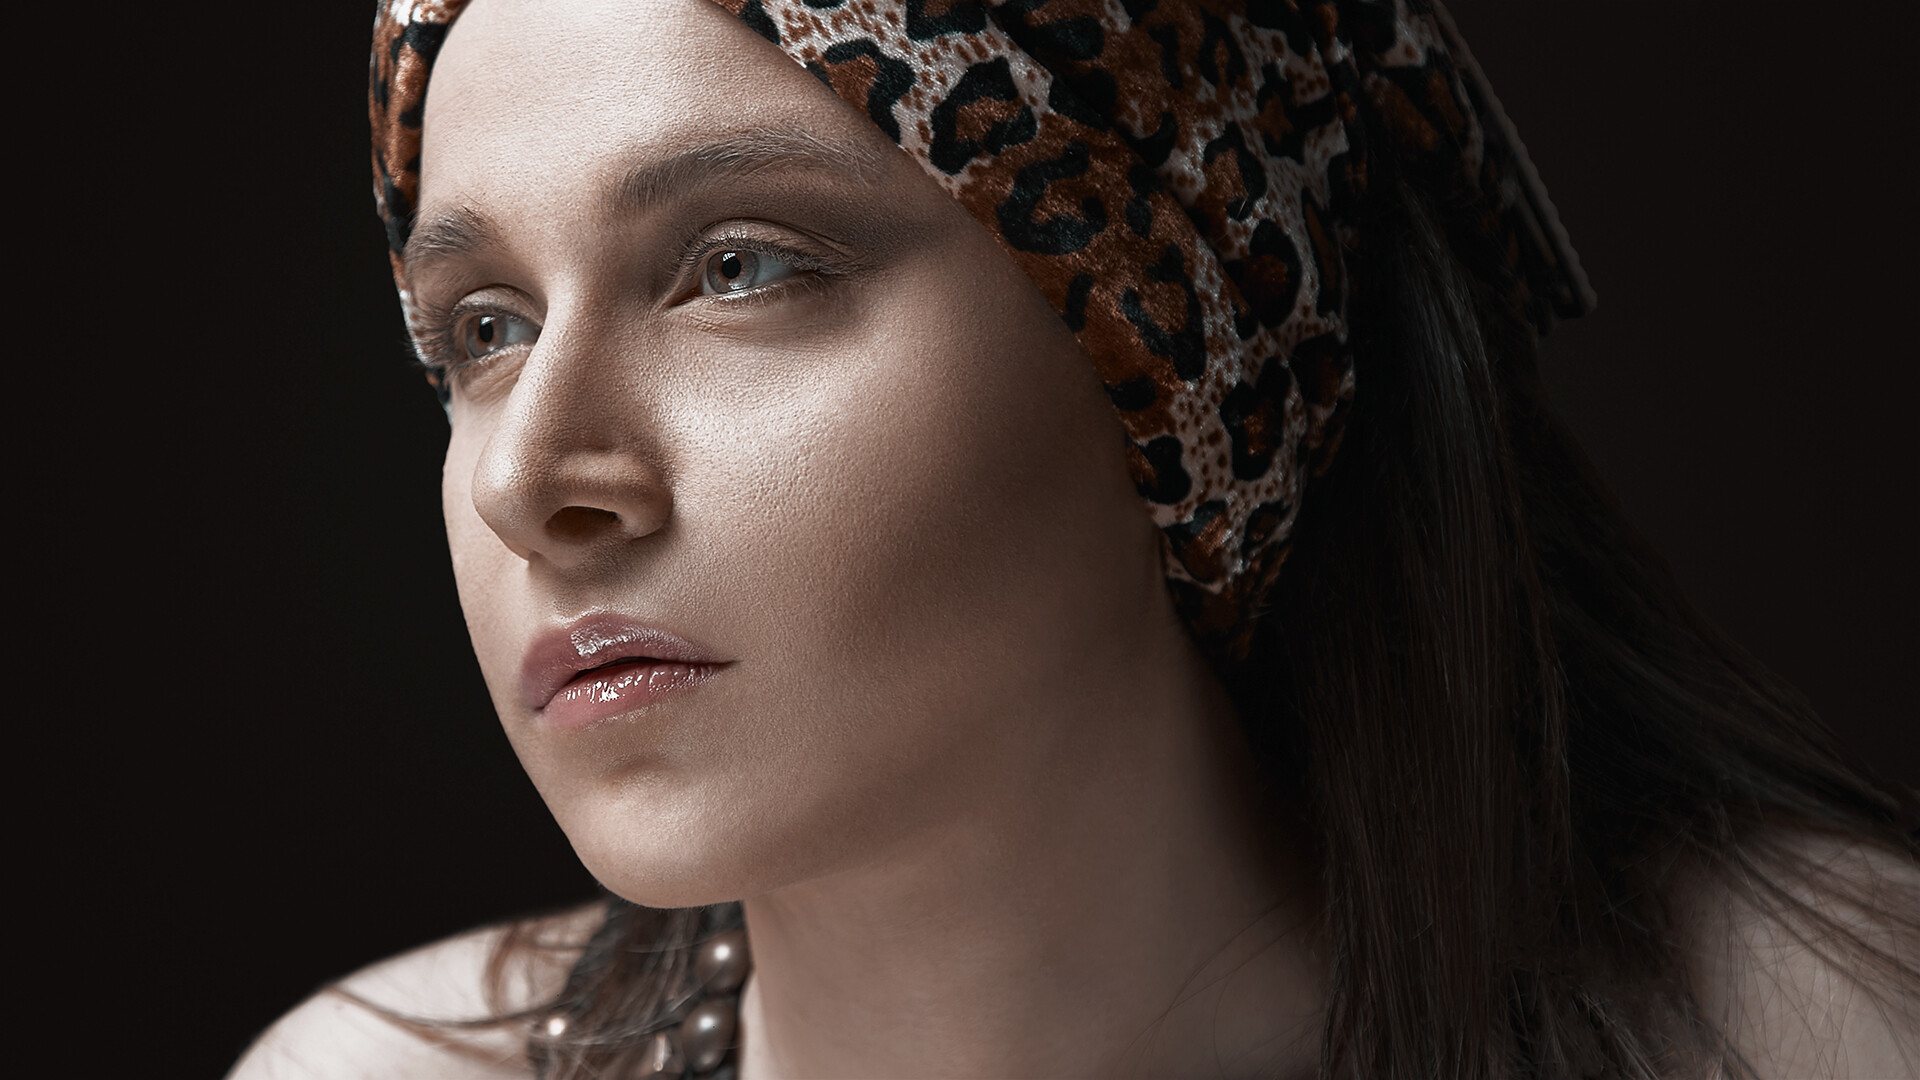
I like your work. The way you changed the skin color and enhanced the texture on the highlights is awesome. I wonder if you could share some of your color workflow process.
Hi Jorge, thank you so much.
for the primary color correction, I use Capture One because there is a very interesting tool for skin tone, and highlight recovery is amazing. I also do my dodge and burn inside Capture One and leave the healing and cloning spots for Photoshop. however, at the end, I also apply LUTs in order to give a more unified look/color-grade to the entire image.
You can create your own LUTs in Photoshop or use the amazing program called 3D LUT Creator.
let me know if you need more detailed information.
great skin tone & retouch
Thank you (merci) Hamidreza.
Hey, man!
More of a general question. That purrfect skin - how do you achieve than. Just clone tool mostly? Or you use skin textures from somewhere else as well?
There are several ways to keep skin texture natural and detailed.
Clone tool not only won't do anything well but also it will ruin the texture if you don't use it properly. hardness should be high and blend mode should be set correctly based on each part and its luminosity.
For this image, I did "dodge and burn" at first which is the best way to keep textures where they are because you do not move or replace any pixel. then I used a technique I discovered a few years ago to recreate close to natural looking skin texture which later I found out RA Beauty Retouch panel is using a similar technique. basically, its made by a noise or grain texture with the emboss filter applied to it.
Using a texture from other sources does not match all images due to differences in lighting and textures for different skin types.