
Feedback on this portrait please.
Hello, would like some feedback on this image, just getting back into photography, open to all constructive criticism.
Thank-you
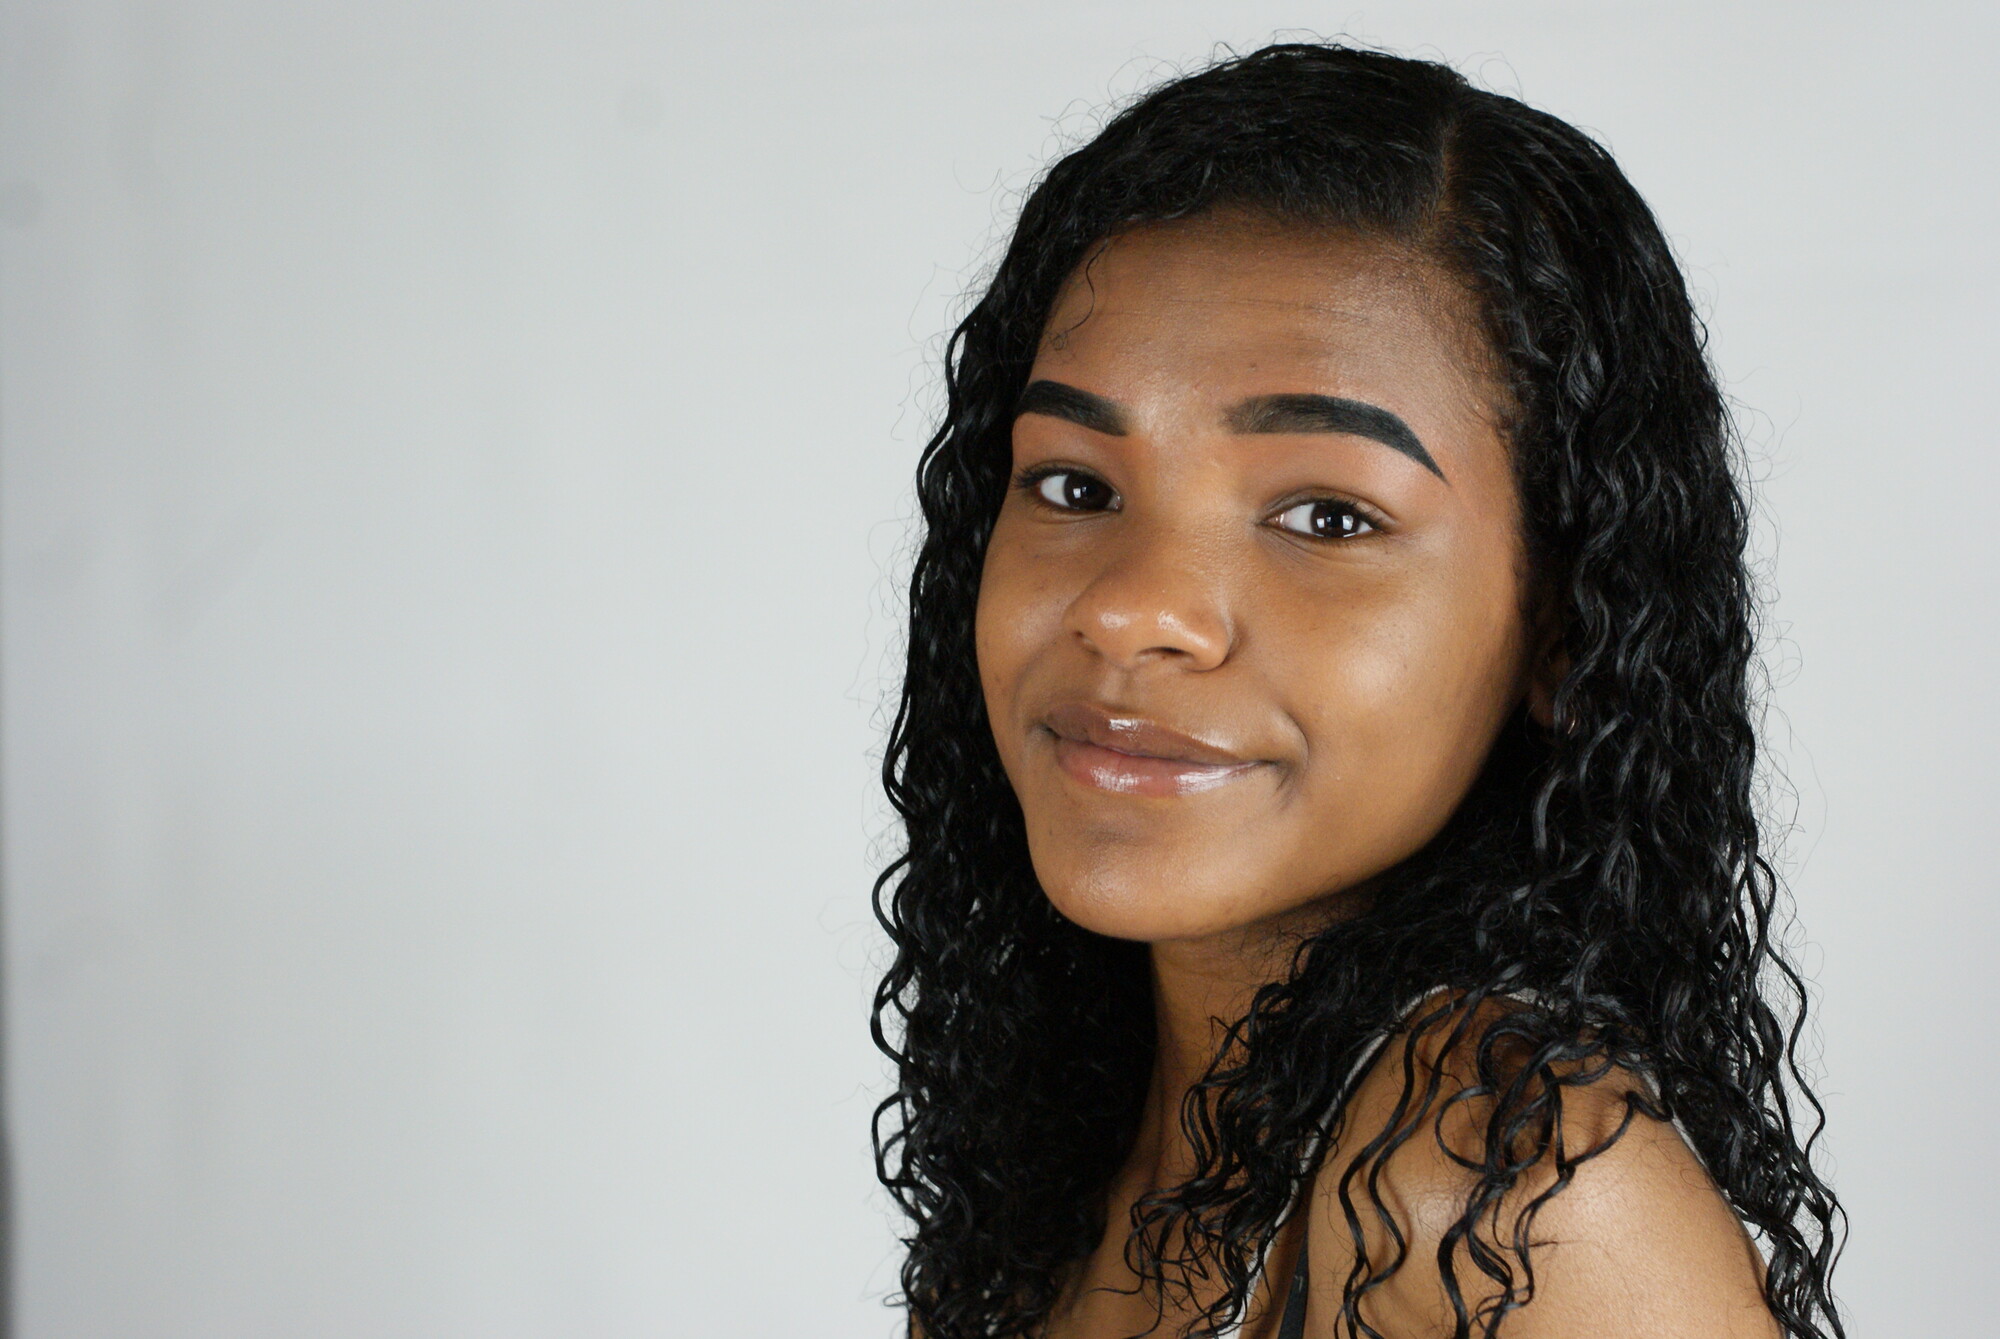
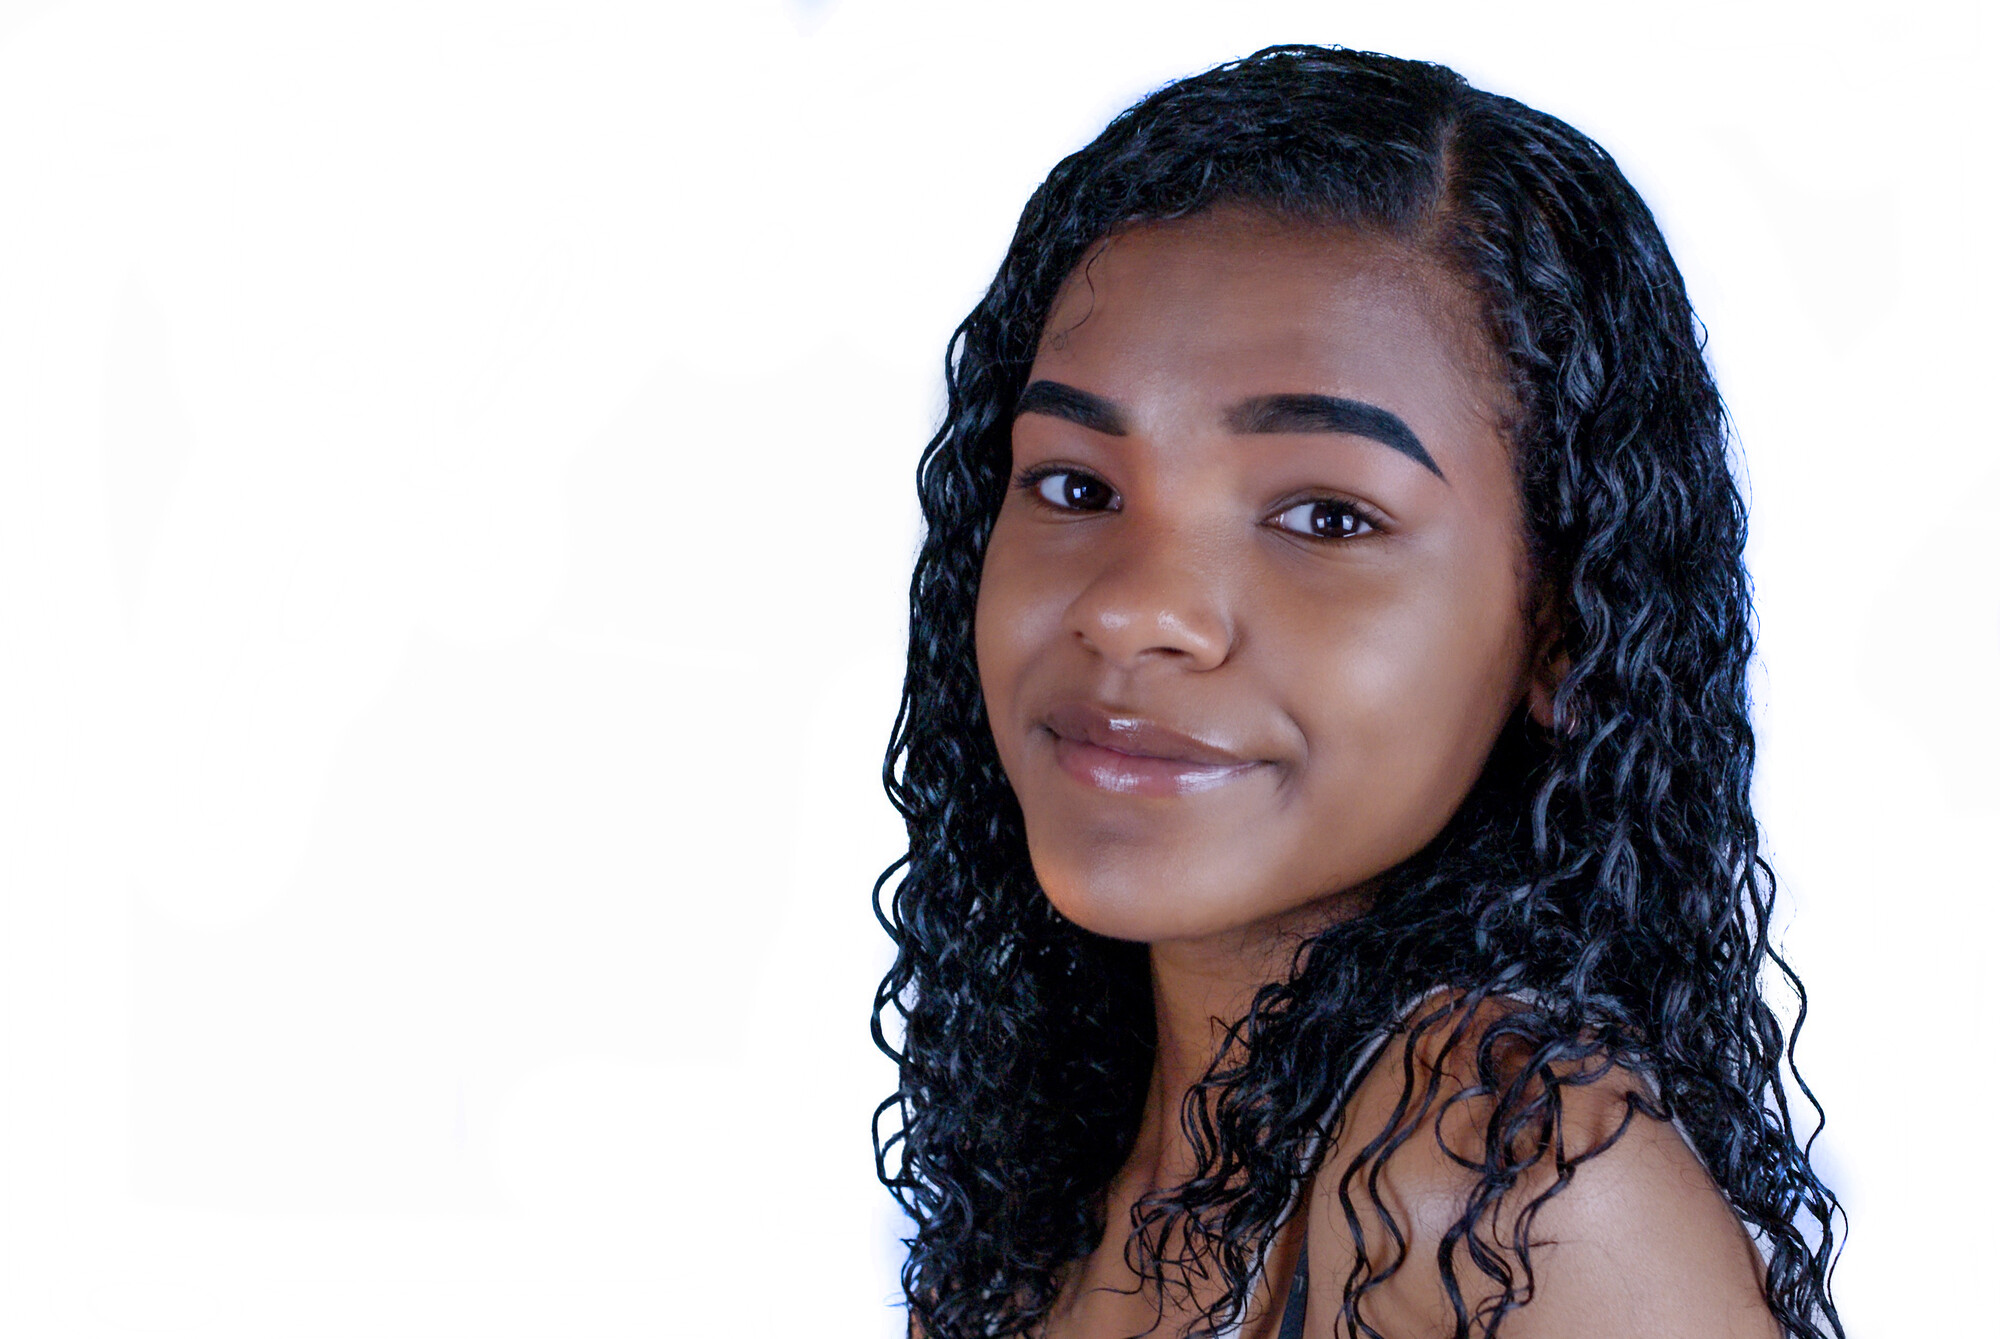
Hello, would like some feedback on this image, just getting back into photography, open to all constructive criticism.
Thank-you
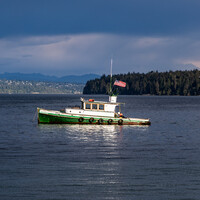
Sitting at anchor. The weather is starting to change, the sky is cloudy with big puffy clouds

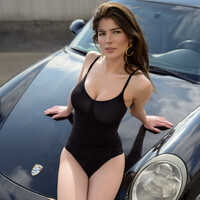
As we were planning our shoot, Iria said she needed a swimwear look. I wanted lifestyle with my car. We compromised. I think it turned out great. Hope you like it.
As we were planning our shoot, Iria said she needed a swimwear look. I wanted lifestyle with my car. We compromised. I think it turned out great. Hope you like it.
As we were planning our shoot, Iria said she needed a swimwear look. I wanted lifestyle with my car. We compromised. I think it turned out great. Hope you like it.


9 Comments
I would start with the coloring first. Your final image is too cool, even causing the whites of her eyes to be blue. Fixing that alone will help elevate this image.
Glad you mentioned that, thought it was just my eyes playing trick. thank you
In addition to the coloring:
--Lighting. Your lighting looks odd. Looks like you're using multiple sources but her face is still poorly lit. Start simple with one light.
--Retouching. There are uneven dark patches around her face. You could smooth the transitions using dodge and burn to smooth the skin without smoothing the skin.
For the retouching point - her chin is the most blatant example of uneven tones. It looks like he has already dodged her neck and it spilled onto her chin, making a much lighter spot on her right side.
When I mentioned dodge and burning, I was more referring to cleaning up the transitions, not so much colorizing. I actually wasn't even looking at the "after" photo since it's no way usable.
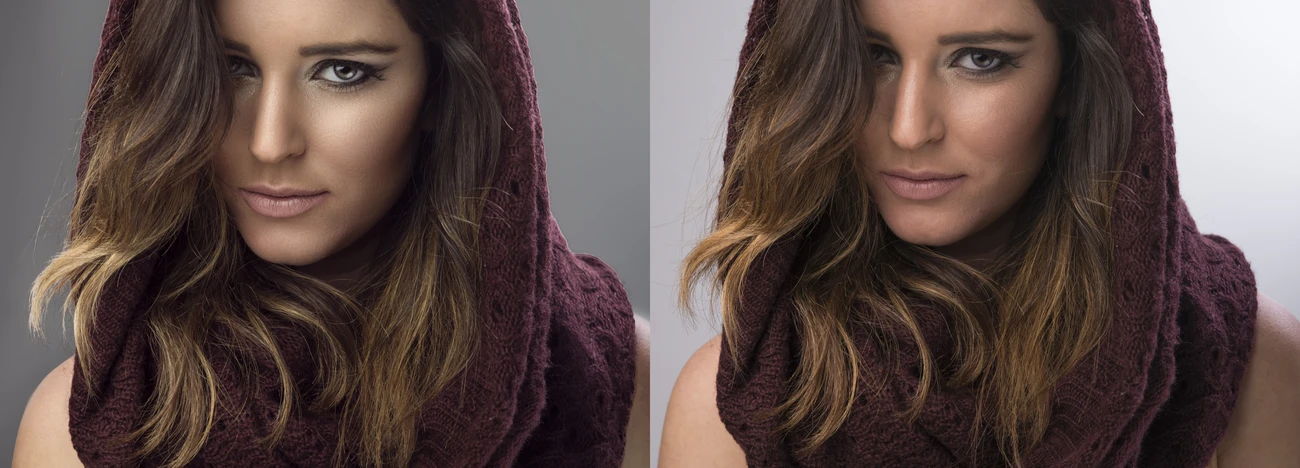
I did a quick 2 minute edit to demonstrate. Below are 2 images of the original. First has no changes, and, the second one with a simple d&b. Use the arrow keys to toggle back and forth between the two.
i see the the slight alterations, thank you really appreciate it.
One last tip, it's usually helpful to use a "helper" layer when retouching. It's basically a BW conversion and typically contrasty so it's easier to see the patches.
I usually go back and forth between editing with the helper layer on and off.
For demo purposes, same thing as before, below are two before and after images.
Wow thank you eddie, that's something i haven't played around with, so its pretty new to me, over the next few days I will test it out, Ive started following you also, love your work, something I aspire to be like in the future.
thankyou for the feedback, i used 2 softboxes, no flash, i cant seem to get my colors right, as for the chin i haven't dodged or burn anything, but i will definetly start with one light source and take it from there.