
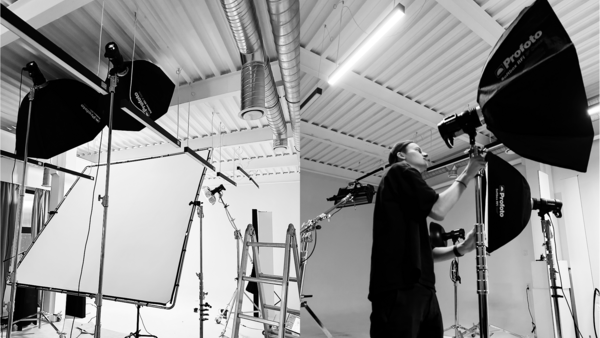
Working in a photo studio can be very scary at first, as you need to set up a lot of different equipment. Indeed, when you have flashes, modifiers, camera settings, and then some on top, you can get lost very easily. I was lost during my first shoot for these reasons. That experience would’ve been so much easier had I known these tips, though.
Having lived in my studio, I am very confident in saying that it is my natural habitat. With enough space, light, and modifiers, I can craft just about anything that my vivid imagination comes up with. All of this came, of course, through a lot of practice. Nowadays, when I don’t think actively about the light I want to use, and instead focus on the emotion and intention behind my image, I can just pick up light shaping tools and do it.
If you are starting out, you will need to actively think about very simple things such as your flash firing, the modifier you’re using, light power, spill, reflection, and so on. As a beginner, this can be a lot, and it really is. With these tips, you can be a lot more confident with your studio photography and focus on what’s in front of your camera as opposed to what’s going on behind the scenes.
Shutter Speed Doesn’t Matter
In the studio, the shutter speed you use is almost irrelevant. This does have a number of caveats, but I will try to create a scenario when it does not at all. Essentially, for this to work properly, you want to be in a room with as little natural light as possible. Then, if you set your flash power, aperture, and ISO accordingly, you will notice that no matter what shutter speed you use, the image will look the same. Here are the details. Set your ISO to 100, aperture to something around f/8-f/13, and flash power based on what you’re working with. So much so, there comes a point where you can just set your settings to the same values and just change flash power. It is what I do most of the time. Sure, for that you will need quite a lot of power and lights, but it is possible. My usual settings wobble around ISO 200-800, f/8-f/13, 1/160th of a second. The shutter speed is simply the safe sync speed that I found to work most reliably. Sure, the lights can technically sync at 1/250th of a second, but I would rather not go to extremes when I want reliable results.
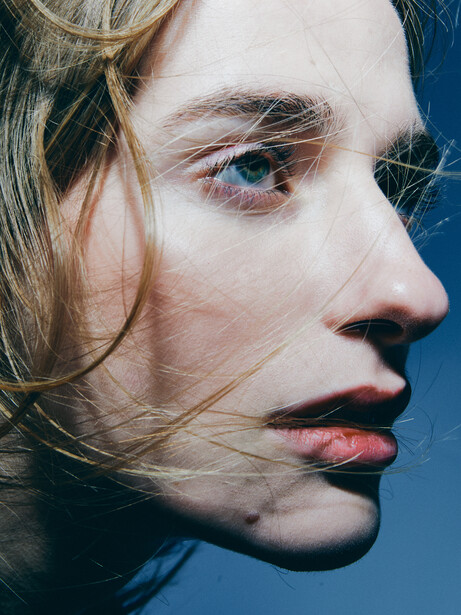
Your Light Is More Important Than Your Camera
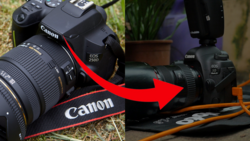
Building on what we’ve learned in the first point, your light is way more important. The way you position it, the modifier you use, and the power you use can all be deciding factors in how your image looks. So much so that there are photographers who are shooting with their iPhones but with professional lighting setups. Their images look stunning. The same applies to natural light. Sure, you can shoot on a Phase One XF, but if you don’t know the basics of lighting, your images will look the same no matter what you’ve shot them on. A better camera is not a silver bullet. Learning the basics of light and how various modifiers work will enable you to shoot on any camera and get consistent results. Take me as an example: I switched to a 50mm f/1.4 which is optically worse than any mirrorless body. Likewise, my camera, although it is a Canon 5Ds ultra high-resolution body, is still nine years old. When I shot with professional lights on an iPhone, I got worse, but still acceptable results.

One Light Can Do a Lot
Building on knowing light, I must add that one light can often be plenty for your work. This is something that I had to learn by force. You see, when I work in my studio, I have the luxury of having more modifiers than I need, and more lights than I need. I can always just throw on another light and solve the problem, or use a different modifier to get the exact result I want. This results in some great images, but also results in my work being tech-dependent. When I started to travel, I could not be as free with what I used. This taught me to learn to work with one single light, work around the sun, and find ways I can use a single light with a modifier creatively. Turns out, you can do a lot with a single B1X and a 3’ Octa with a grid. I’m more than confident that eventually, I will discover even more nuances about this setup and become even better at working with a single light.
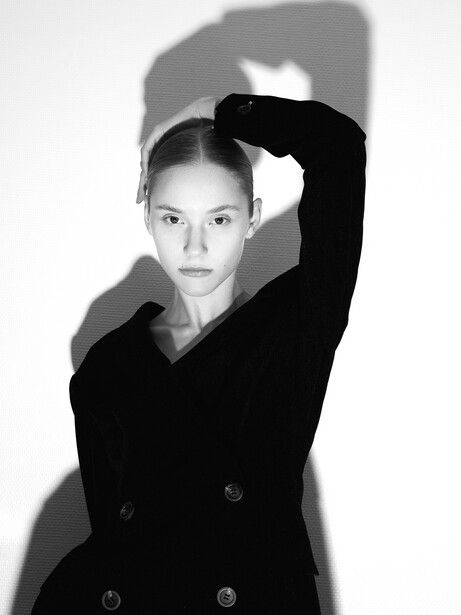
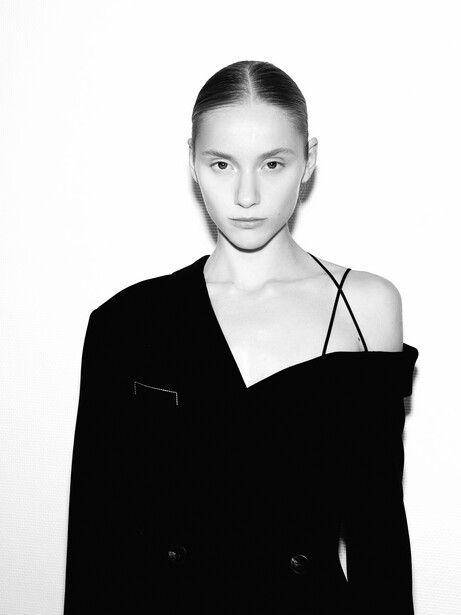

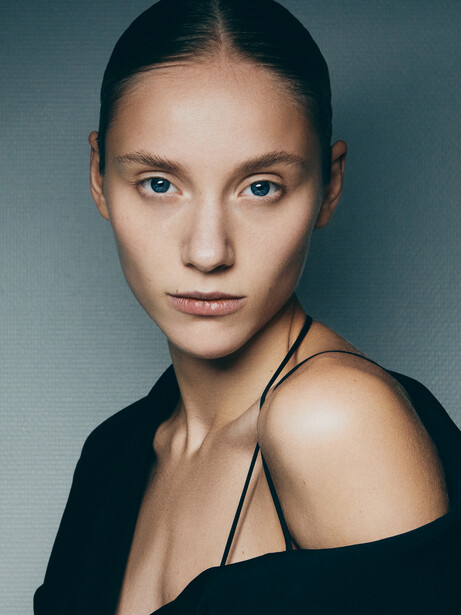
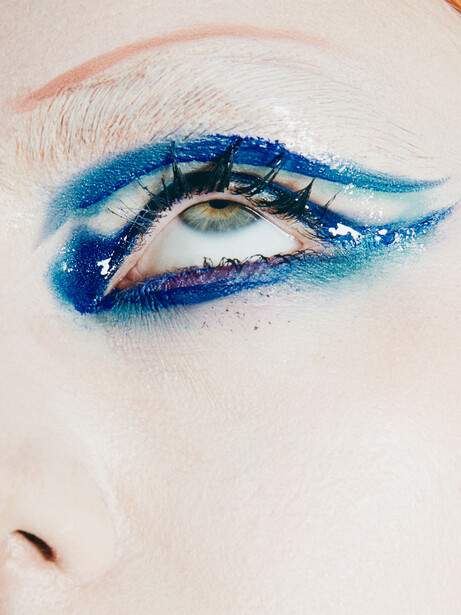
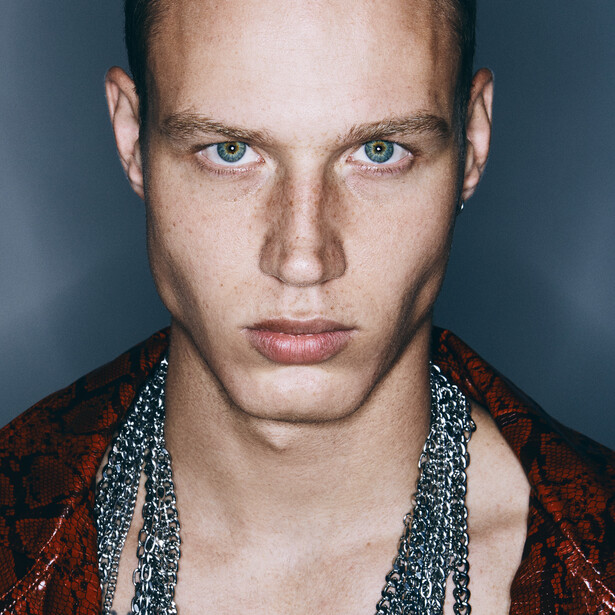
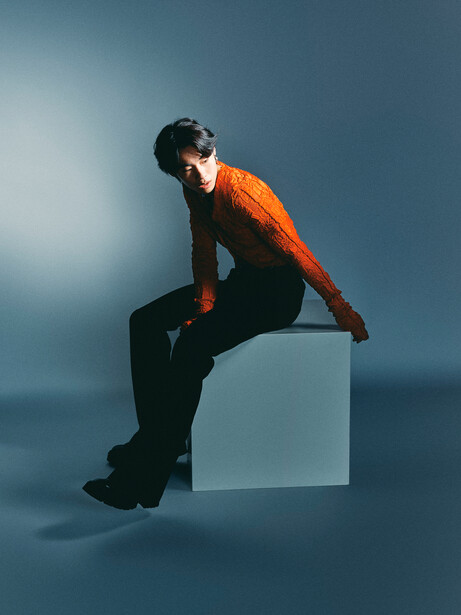
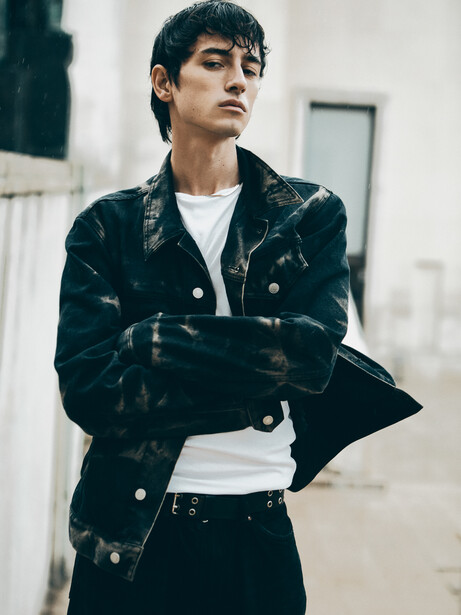
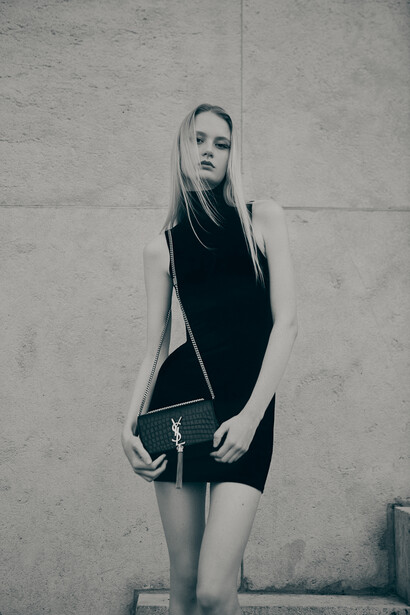
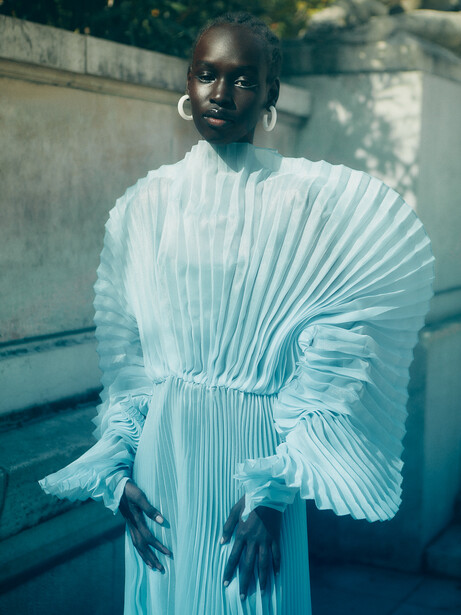
White Backgrounds Can Be Turned Into Grey and Black
I’ll be honest, no light trickery can replace a white, gray, and black background, but you can create shades of white (or black) using clever lighting. Essentially, if you don’t light up a surface, it will be black. If you light it slightly, it will be gray. If you light it fully, it will be white. As such, if you only have a white backdrop in your studio, you can get different shades of it by moving your light position. This is how I am able to get images you see below all while shooting on a pure white background.
Try Natural Light
I am a big advocate for learning flash photography, but it’s not for everyone. Natural light photographers, especially beginners, have a place too. Natural light is the polar opposite of flash, as here your shutter speed matters as well as aperture and ISO. Essentially, it comes down to using the usual exposure rules we all know. When starting out, it might be more comfortable to use natural light. But bear in mind that because natural light is not consistent, you will have to learn flash to get the same effects artificially. Another important point to mention is that with natural light you need to be mindful of where you place your model as you can’t change light position or light quality. Things such as diffusers and reflectors will be really handy in that case.


Join the Fstoppers community for free
-
Post comments and join in the discussions
-
Browse the site ad-free
-
Share your work and get featured in the community
-
Compete in the photo contests for fun and prizes
No comments yet