
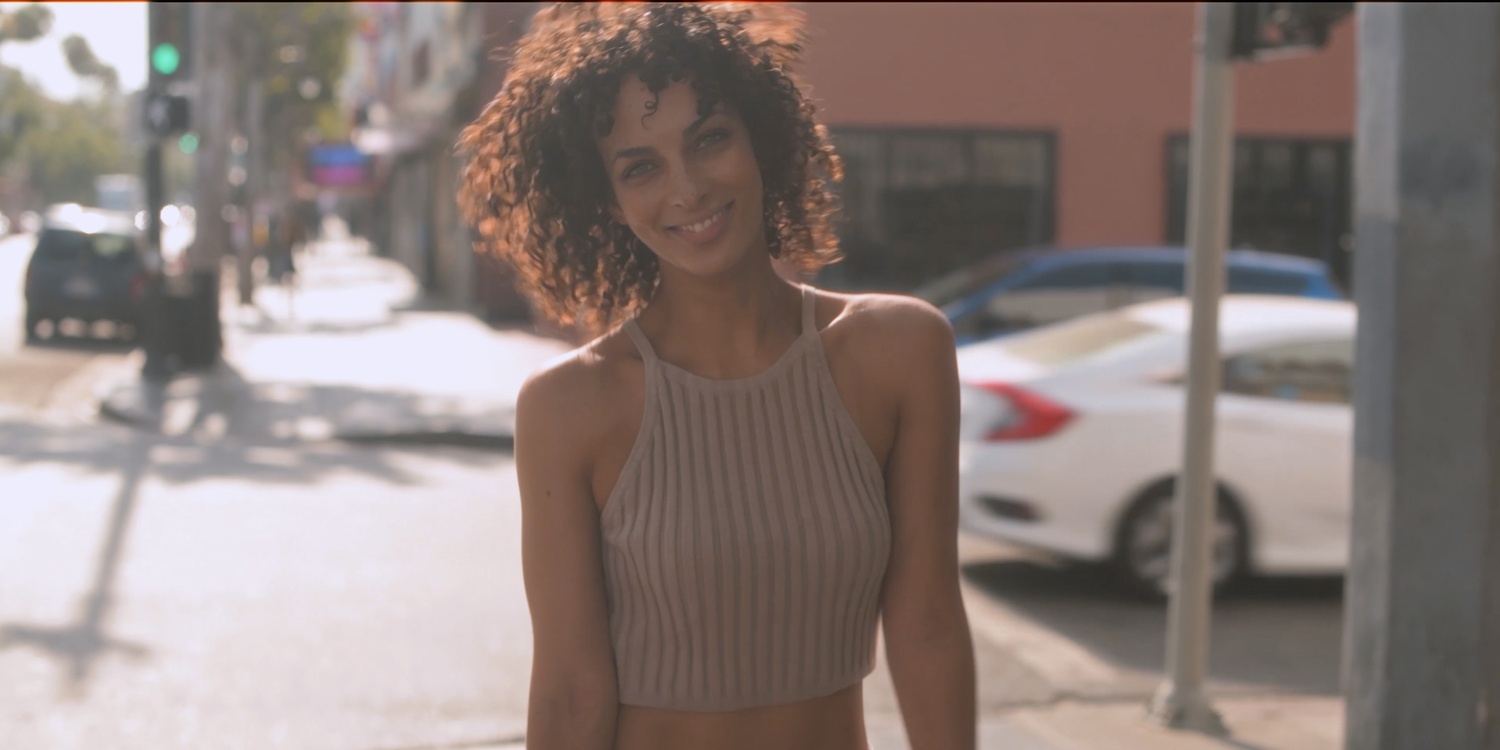
In today’s article, I’ll have a look at the latest version of the Dehancer plugin for DaVinci Resolve.
I should mention, right off the bat, that I was a bit late in writing my article this week. It wasn’t because I was being lazy or because I was dragging my heels. I’d started off the week with the best of intentions. I was trying out the latest version of the Dehancer plugin for DaVinci Resolve. My plan was to simply share a few quick thoughts on the process. I will still do that in the paragraphs that follow. But, in the process of testing out the product, I fell back into a gleeful cycle that has occurred many times in the past. I finally found a solution that addresses a chronic annoyance in my workflow, and suddenly I found myself not only wanting to use the product going forward, but also wanting to dig through my old archives and retroactively apply my new knowledge to projects of the past. Such is the case with Dehancer.
I should probably describe the problem I was seeking to address. I came of age as a filmmaker in the days before digital. I don’t mention this to disparage digital video or highlight my wisdom or old age. Rather, I just point that out as an explanation for why, despite movies being captured mainly on digital platforms for well over a decade now, my native default preference will always be for the celluloid look of the films that made me fall in love with the artform. So, even though I shoot almost all of my projects today on digital video, I am constantly looking for ways to make my footage look and feel more like the films of the past.
There are a multitude of ways to do this. Thanks to advancements in NLEs like DaVinci Resolve and other software systems, the opportunities to manipulate your footage in post are endless. A skilled colorist, or even an advanced hobbyist, can often get spectacular looks out of their footage if they know the right combination of buttons to press. While I have colored endless projects over the years that I have shot as a director and cinematographer, I by no means consider myself to be an expert colorist. So, I will generally outsource this work to the professionals. Yet, there are many times, due to either budget or logistics, when it is me behind the color wheels, so, I have spent years learning how to achieve the look I want independently to varying degrees of success.
One thing that I’ve always struggled with is how to best replicate a “film” look. Partially because defining a “film” look is just as difficult as creating one. The term means different things to different people. I talk with my colorist friends about how they define it in technical terms, but the actual definition still proves elusive. It’s more an emotional response to me than a mathematical formula. Does it “feel right?” If only there were a software plugin to come along that would take some of the guesswork out of that part of the process, it would solve a major issue in my workflow.
Well, as it turns out, this is the promise of the Dehancer plugin for DaVinci Resolve. I’m not generally a big fan of plugins or purchasing custom LUT packages. Not that there is anything wrong with either. I just have always felt there is a temptation with such premade templates for newer filmmakers to create average-looking images, slap someone else's preset on it, and rapidly delude themselves into thinking that this makes them into Roger Deakins. I speak from experience of having made that mistake myself in the early days of digital. But, as my career developed, I learned the basic lesson that your artistry comes from within. Tools are just tools. It is your unique way of seeing the world, and your acumen with manipulating your craft, that are going to set you apart. So, whenever possible, I actively make a point of manually crafting each step of the process as much as possible with the aim of creating an end product that is more my own.
What I like so much about the Dehancer plugin is that it strikes a nice middle ground for me. Sure, you could just randomly slap on a film emulation from the dropdown menu and endlessly move about sliders until things look “cool.” But great filmmaking is done in preproduction, not postproduction. And, what I like about this particular plugin is that, when integrated into your total workflow, both pre and post, you can easily generate a look closer to film than digital while still maintaining complete control over your creative vision.
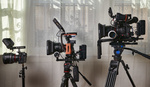
In the film days, one of the very first decisions I would make as a cinematographer would be to choose my film stock. All the adjustments that are now available in post were still in far more rudimentary stages. So, if you wanted a certain look, you needed to create it on set through lighting and camera techniques. This, by the way, should still be your approach in the digital age, but I’ll leave that for another day so as to not go off on a tangent. The film stock you chose would be one of the primary keys to getting the look you wanted. Some stocks were more contrasty. Others were super saturated. Some had more grain than others. Different film sizes would have different characteristics. There was the choice of negative versus reversal film. Every decision would help determine the look of your end result.
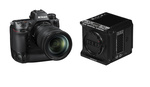
In the digital days, your film stock is essentially equivalent to your camera sensor. But, while each camera company has their own sensor technologies and color science, there’s not nearly the same variance in the base captured look between different sensors as there was between different film stocks. Digital capture feels very standardized. The companies have intentionally removed much of the unpredictability of film. The end result being a far more standardized output.
But what if I don’t want a standardized look? I can either shoot the generic digital look, then take it to a colorist to make it look cool after the fact. Or, I can plan ahead, build my look beforehand, and make all my decisions on set with the final result in mind. This is how I like to work. I want to know what look I’m going for prior to shooting. And, because I came of age during the film days, it is helpful for me to think of my look in terms of the various film stocks which I used to shoot rolls of back when film was king.
Dehancer essentially serves as a mathematical equation. That equation says that what I captured digitally on sensor A would look like this if it had been captured on film stock B. Or, it would look this other way if captured on film stock X. It takes the digital input and simulates what it would look like if it had been shot on a specific stock. It’s not so much making your creative decisions for you as it is giving you a baseline translation from digital to analog.
I like this because it removes the more tedious part of the color grading process for me, removing the “digital” look, while still allowing me to impose my own personal creativity. In my own workflow, what I would do is shoot some test footage for my upcoming project. I would then take that footage into Resolve and apply the Dehancer film emulation that best matches the film stock look I’m going for. I’ll make my own custom adjustments to the look to make it my own then export it as a LUT so that I can use it for monitoring on set while shooting. This doesn’t bake in the end result, but gives me a rough idea of how my digital footage will be translated by the plugin during post so that I can shoot to the end result on set and maximize the effect the look will have on the backend.
Once I have captured the necessary footage on set, I will bring it into Resolve to begin my grading. The very first step, and the most important step, is to make sure that I have properly set up my color profiles. Personally, I use a DaVinci YRGB Color Managed workflow and set my color processing mode to HDR DaVinci Wide Gamut Intermediate and my output gamma set to Rec.709 Gamma 2.4 to match my grading monitor. This works well for my grading setup to get me the most consistent results. But this means that when I add the Dehancer plugin to my node tree, the very first thing I am going to want to do is to make sure my color input (within the plugin node) is set to DVR WG/Intermediate to match what is being inputted. If you miss this step, you will likely get some funky results as the plugin tries to guess what it’s looking at. The above modifications apply to my own grading setup. Yours may vary, so pay attention to the color space in which you are working to get the best output.
There are multiple workflows for Dehancer once you’ve correctly established your input color. Personally, I get confused easily. So, my next step after setting up my color profile, is to turn off all of the possible adjustments in Dehancer (by deselecting “enable” under each section). You don’t have to do this, but, to me, it helps to look at each adjustment one at a time so I know what each is doing and whether or not it is needed for my particular shot.
The adjustments are plentiful. I don’t have enough ink to go into detail about them all here. But here are the broad strokes.

Film
This section is where you choose your film stock from a dropdown menu of options. Maybe you want to shoot on Fuji Reala or one of the Kodak Vision stocks or something else. This is where you would choose that option. This is the equivalent to you choosing to have shot your project on that stock instead of digital. Within that section, you can also decide to push or pull your exposure as you would in the film days to achieve a certain look for your chosen stock. For some projects, this might be the only adjustment module you will need.

Film Developer
This section allows you to make further adjustments to your chosen stock in terms of color and contrast. My personal favorites in this section are the color separation slider and the color boost sliders.

Film Compression
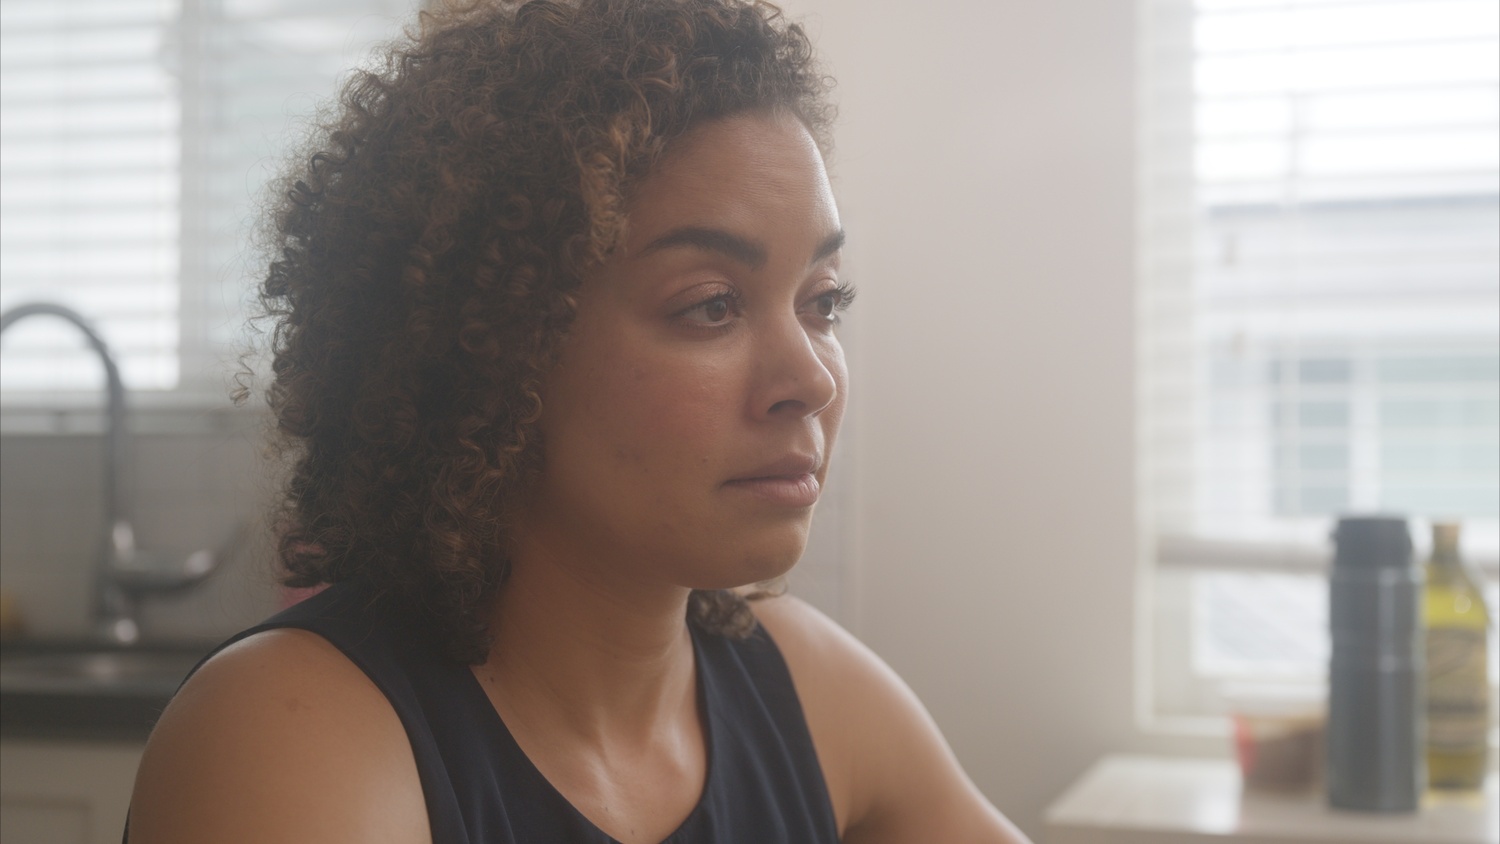
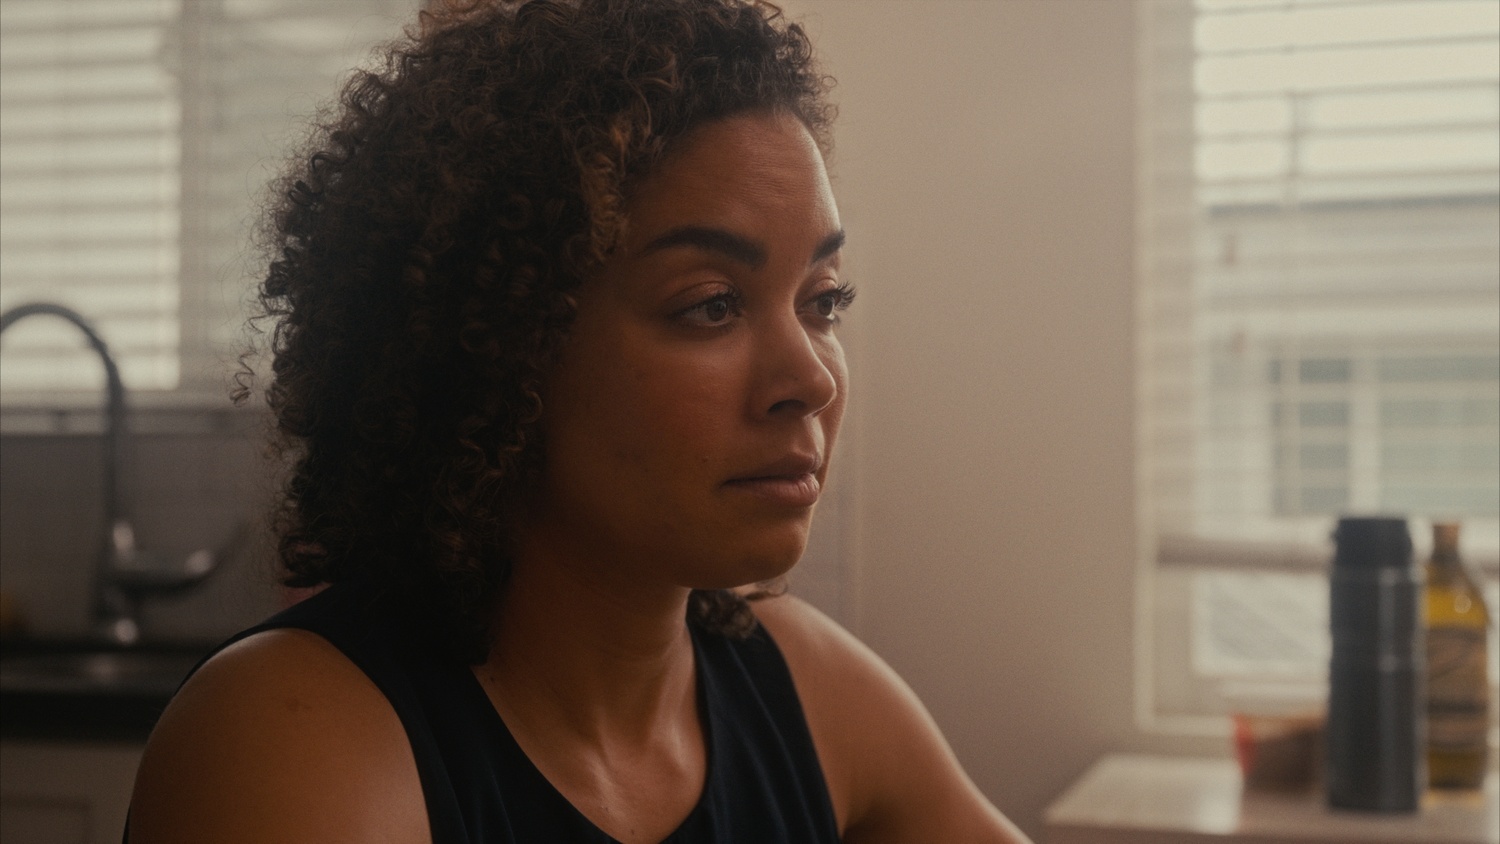
This is automatically on for me in most situations. I couldn’t tell you the exact technical wizardry that is happening under the hood. But the end result is that this section helps me control dynamic range in tougher lighting conditions. For example, if I’m shooting a dark subject sitting in a room in front of a bright window, sliding the “impact” slider in this section will allow me to recover more information in the highlights outside the window while retaining more information in the subject. Obviously, this is dependent on having exposed correctly on set and protecting that information in live time. The software isn’t a miracle worker. But, it can compress the range of brightest to darkest which helps to better emulate a more filmic look in the footage.
Expand
Control your black point and white point.

It’s easy to forget that shooting a movie on film and releasing it was a two-stage process. You didn’t just expose your negative then roll that through a projector. You had to shoot on a negative stock, develop it, then print it out to another film stock that would ultimately be what played in theaters. So the look of your film was not only determined by the capture stock, but was also subject to the intricacies of your chosen print stock. Just like the Film Developer module will allow you to make the kind of changes to your Film negative you might have made during the development process, your Print module allows you to make the kind of adjustments that might have been made during the printing phase.
Better yet, because this is the digital world, you actually have the choice to use both Film and Print to combine to make something special, or you can opt to only use one without the other, or neither if you are so inclined. It’s up to you.

Color Head
This section is meant to simulate the control you would have had in a traditional color timing suite in the film days. Basic RGB and CMY adjustments. I tend to make my intricate color adjustments separately from my Dehancer node as I personally prefer to use hotkeys to alter my look. But, Dehancer gives you the option to use a similar method within the plugin should you so choose.

Film Grain, Halation, and Bloom
These three sections all allow you to further modify the characteristic of your final image. I tend to use either no film stock choice then use Film Grain or use a particular stock for its grain characteristics and turn off the secondary Film Grain adjustments module (so that I’m not doubling up on grain). Halation and Bloom are both season to taste based on the needs of your particular shot.
Film Damage, Film Breath, Gate Weave, Overscan, and Vignette
The next five sections are for further exaggerating the film look. I tend to leave all five of these off in most cases unless I am going for a very specific look that really announces in bold letters that “this was shot on film.” Essentially these are all based on certain inherent imperfections in the analog film process. So, they are often evident in older footage. However, in my opinion, it’s very easy to go overboard adding film artifacts. So while I have used each of these at separate times. I do proceed with caution.

Monitor, Output, LUT Generator, and Options
The final four modules are collapsed by default as they more or less supplement the other tools. One of the hidden gems is under the Monitor module which allows you to toggle on a False Color overlay over your footage. This can be helpful if you want to make sure your exposure is where you want it for a particular shot. So, I’ll toggle this on, make adjustments if necessary, then toggle it back off to continue grading. Output is similar to an opacity slider that allows you to reduce the overall effect of your adjustments in case you may want to pull back on them just a bit. LUT generator, as mentioned earlier, will allow you to export a preview LUT for uses elsewhere or reuse the same adjustments at a later date. Options allows you to choose between faster speed and better performance.
It is important to keep in mind that the plugin does put some serious strain on your system. For 2K projects I seem to be able to playback smoothly with the plugin applied to footage. But when working in 4K with the film look applied, my own system can be a bit sluggish. So, I usually don’t apply the look until the very end. Or, I will create the look, then turn off the Dehancer node if I need to make further timing adjustments to my edit. Then, obviously, turn it back on at the end of the process when I’m ready to output.
Overall, I was very impressed with the plugin. I had used Dehancer quite a bit years ago, then haven’t used it as much recently. The product has improved clearly in that time span and I can now see it being a fairly regular part of my coloring process going forward. Not only for when I’m going for a retro look in my footage, but also when just making certain basic adjustments. I ended up spending the last week going back over almost every video project in my archives that never quite lived up to expectations and running it through Dehancer to see if I could improve the look. In every case, from footage shot with an Arri Alexa in ARRIRAW all the way down to footage captured in 1080p in Rec.709 on an old DSLR, I was able to maneuver the footage in a meaningful way. There’s even a new iPhone app for mobile shooters.
As always, good films are made in pre-production. They aren’t just manufactured after the fact no matter how many times we hope to “fix it in post.” But integrating a plugin like Dehancer all the way through the process, from building a custom LUT in pre-production to making final adjustments in post-production, can help you give your video footage a taste of the analog without foregoing the benefits of the modern world. It is a middle ground for translating a video look into a base film look that still leaves you with the latitude to refine your vision. It’s not there to replace your vision, but to enhance it.


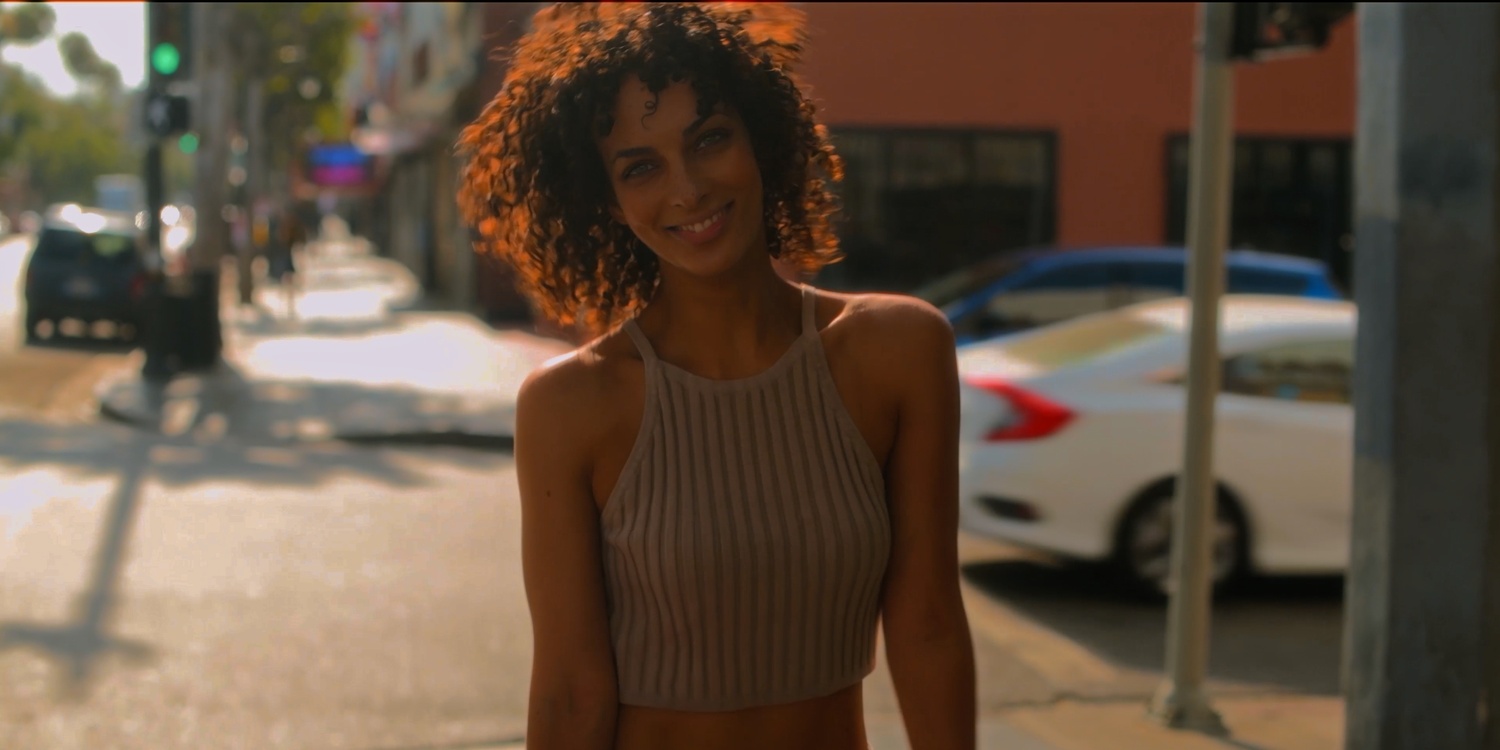
It can't just be me: all of your post-processed samples are _way_ too dark and _way_ too orange. This doesn't put Dehancer in a good light (so to speak) - and I know the product, even in unexperienced hands, can do much better than this.
It's not just you.
My first thoughts. But then I cranked up my phone screen brightness and it is just too warm.
But both are aesthetic choices.