Recently Fstoppers reviewed ACDSee Photo Studio Ultimate 2018, the newest version of their all-in-one editing flagship. If you are not familiar with ACDSee’s platform, it is an editing suite similar to Capture One Pro or Photoshop, but also includes photo managing tools and quick editing capabilities similar to Lightroom. This gives ACDSee a unique combined platform that simplifies the average user’s workflow and eliminates the costly need for multiple programs.
Most tutorials of ACDSee Photo Studio Ultimate 2018 I have come across focus on the Develop mode within the software, which is where most of the raw file editing takes place. Develop mode is a non-destructive, parametric editing environment that records your edits as a set of instructions, rather than being applied directly to the image pixels, similar to how Lightroom works. Fstoppers Writer Quentin Decaillet did a great article showing how to retouch a portrait from start to finish, all within this Develop mode, which is worth checking out. However, I use adjustment layers constantly in my workflow, and although you do have the ability to mask your edits in Develop mode, Edit mode offers much more powerful and detail-oriented tools.

The layout within Develop Mode
Within Edit mode, you will find toolsets similar to what can be found in Photoshop. Specifically, you have the ability to work with layers. This is important because the need to mask multiple images or adjustments within a single image can only be done with layers. For example, creating composite images or doing more complex retouches, like frequency separation, are the type of editing that can only be done in Edit mode of ACDSee.
Why Use Adjustment Layers
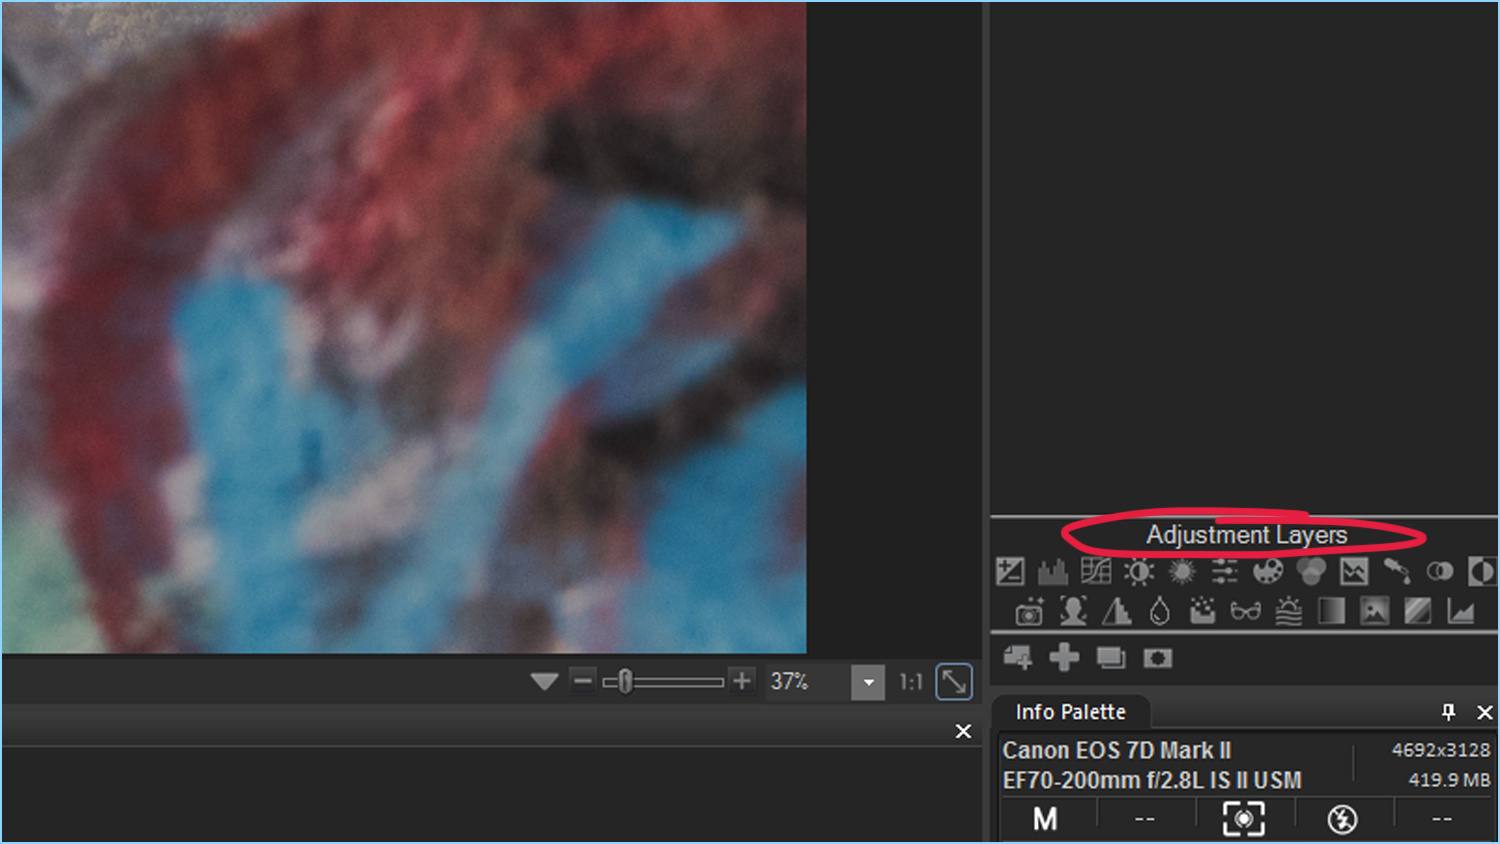
The Adjustment Layers panel highlighted
Similar to the edits that are done in Develop mode, layer adjustments can affect the image globally and are non-destructive. Each adjustment can be masked independently and even stacked for creative effects, allowing you to affect detailed areas of the image locally. Think of a layer as a sheet of glass placed over the image that has your edit on it, except that these layers also come with the ability to use blend modes and opacity adjustments. Since adjustment layers are non-destructive, if you make a mistake creating the mask or decide to increase or change the effect later, you can simply make those changes at any time, just like within Develop mode.
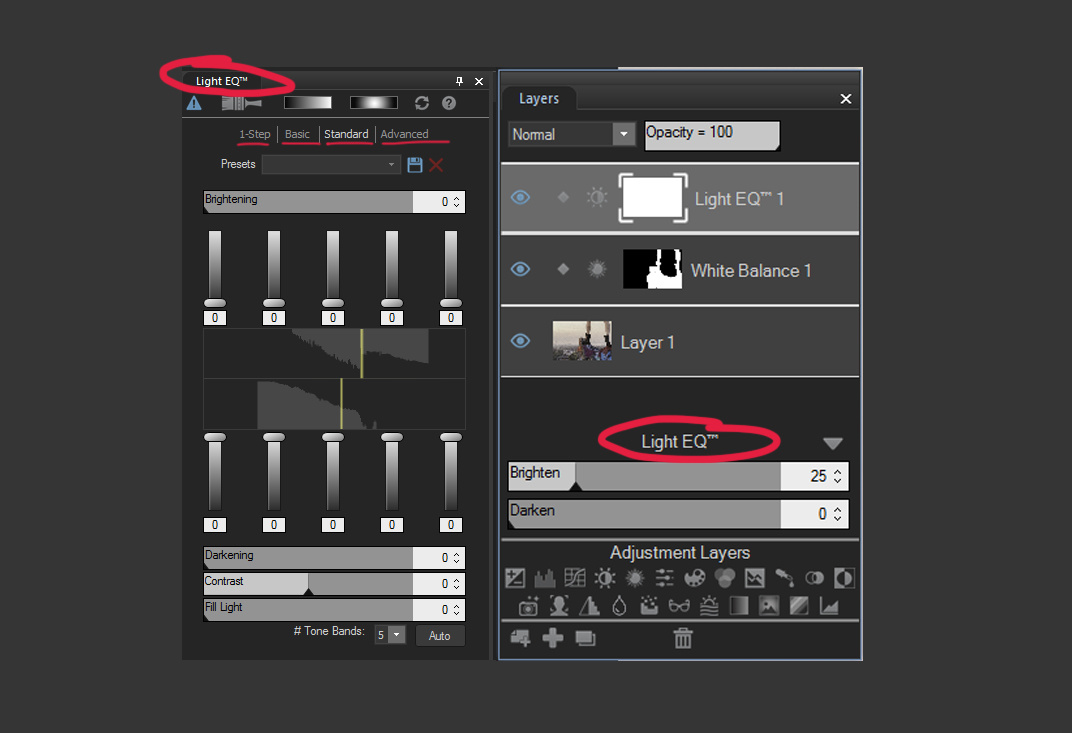
Left: Light EQ controls found in the Adjustment Edit menu. Right: Light EQ controls found in the Adjustment Layers panel.
The Adjustment Layers panel, which is located at the bottom of the Layers panel, was created to be similar to the image adjustments that can be applied to your image from the left side panel’s Exposure/Lighting, Color, and Detail groups. They function almost in the same way and, with a few exceptions, have the same control dialog boxes. As an example, the Light EQ adjustment, which allows you to adjust the brightness of the image, has much finer tuned control in the Exposure/Lighting group than it does as an adjustment layer.
Example Edit
Whenever I start editing an image, I always start by trying to edit the raw file in a way that represents the original scene as I saw it. This gives me a good base if I want to return to the image in the future with new intentions and a more creative edit. For instance, I often re-edit old images for Instagram in a different way than I might have originally intended.
Once I am happy with the raw edit, I will start working on the image to apply any creative vision I or the client might have. In this example, I was shooting an assignment right before sunset when I noticed some fog rolling into Boston off the waterfront. As I continued shooting, I kept one eye on the skyline behind me, hoping that the fog would remain long enough for the sun to light it up at sunset. Since I was there on assignment and not prepared to shoot any landscapes, I only had a second to turn around and snap a couple of quick shots. As a result, the raw image did not capture the depth of colors that were being reflected off the fog.
Using this image as an example, let's walk through my creative process in ACDSee Photo Studio Ultimate 2018’s Edit mode and try to make the image represent the scene I was in.
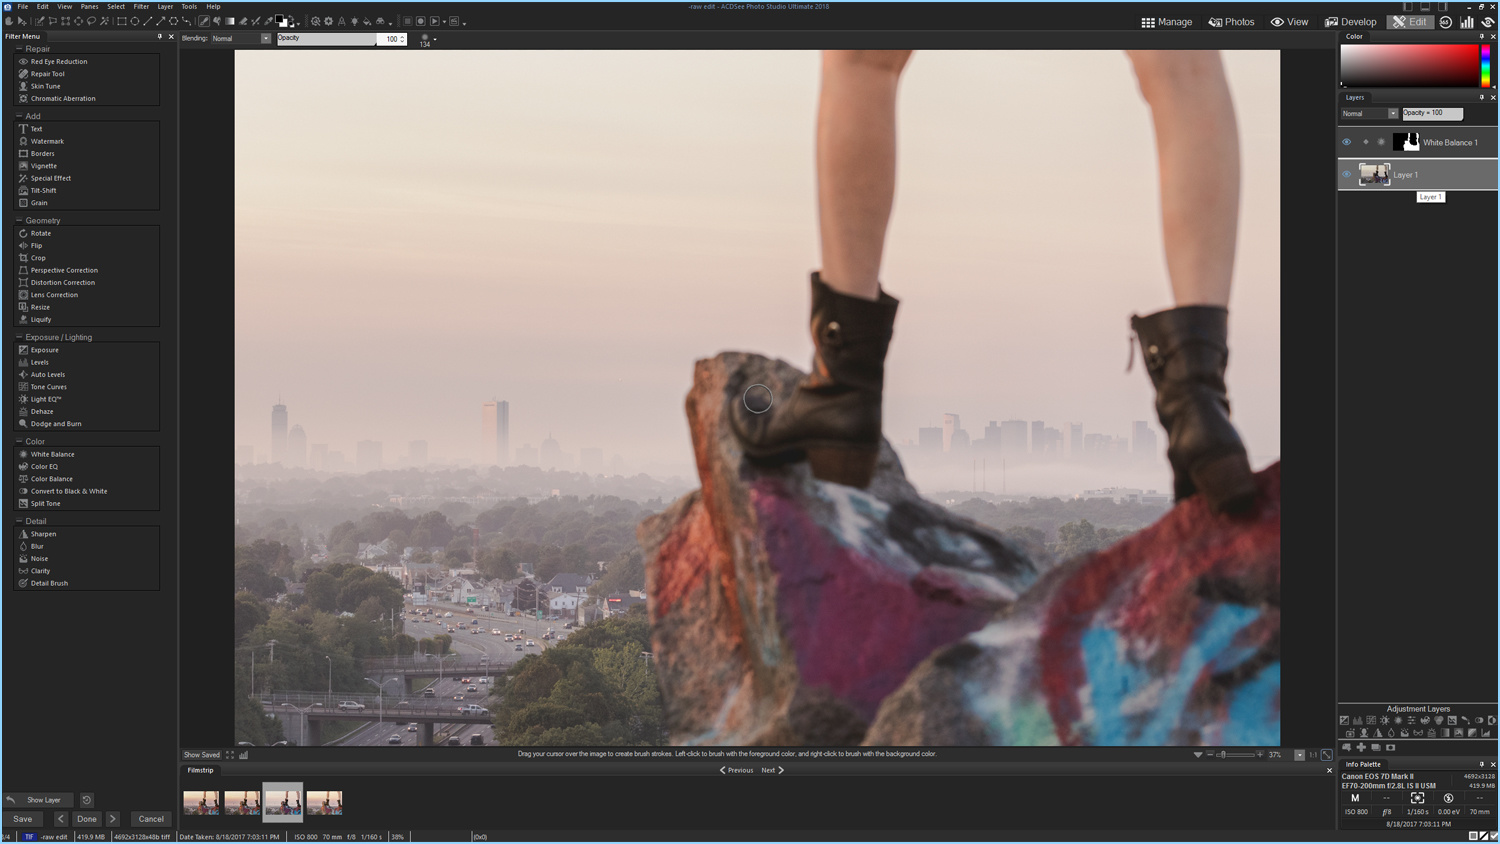
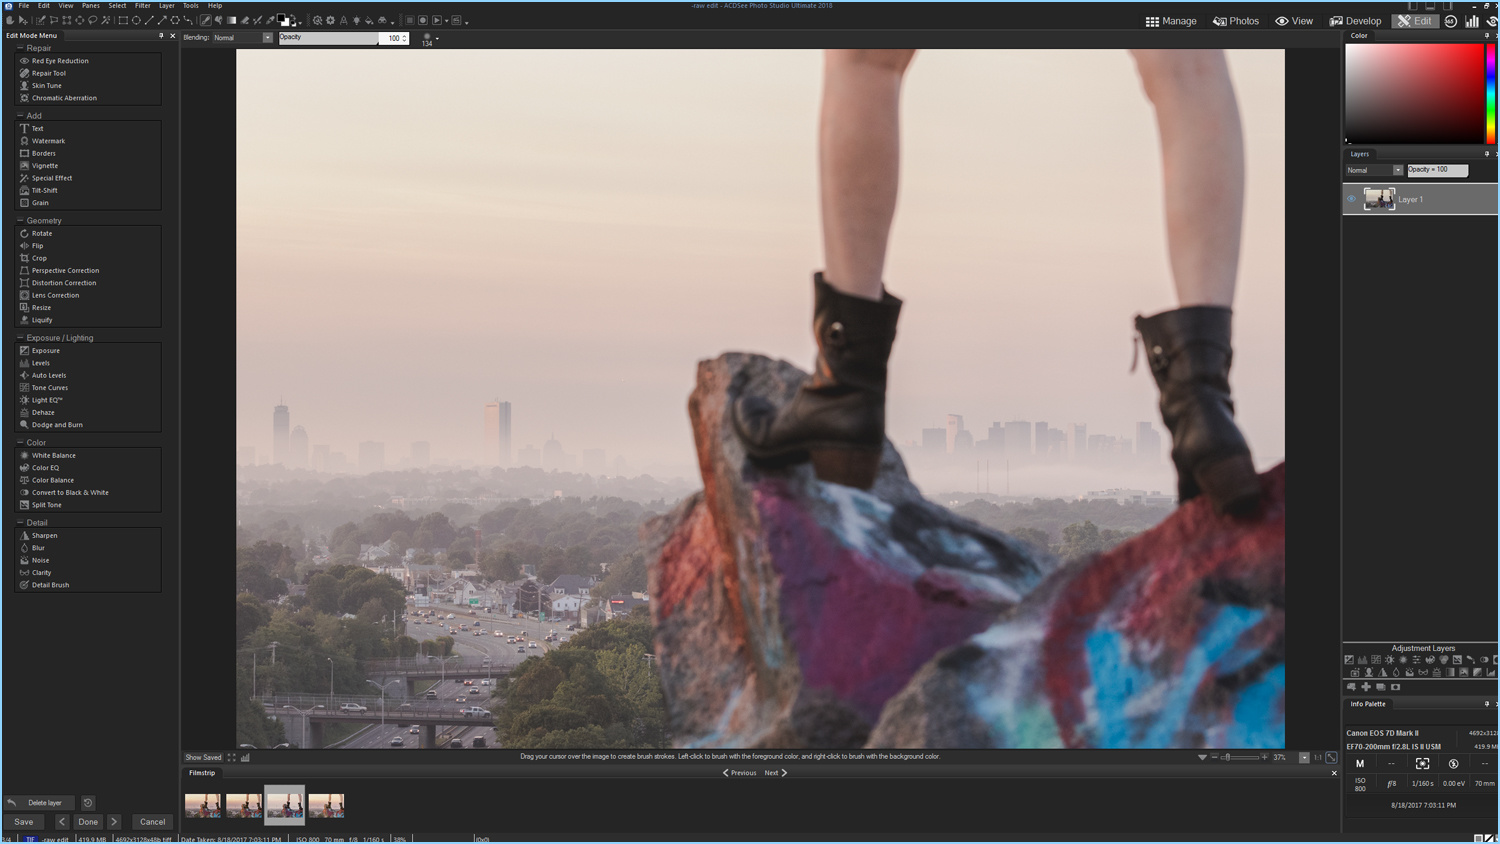
The image was already corrected for white balance in camera. But since it was a warm summer day right before sunset, high on a granite quarry, I want to start by warming up the foreground portion of the image. I do this by creating a White Balance adjustment layer, and increasing the temperature by 15 and the tint by 2. Using the Brush tool, I mask out everything but the granite rock and my assistant's legs.

Here you can see the mask selection or 'marching ants' before adding it to a new adjustment layer.
Next, I want to bring the exposure down just slightly in the sky to about -10 to bring out a little more of the texture and to darken the colors. I don't want the exposure adjustment to affect the foreground, or even the trees, so I will mask out everything up to about an inch before the skyline. You can do this easily with the gradient tool, and then just brush out the foreground. The next two adjustments are going to brighten the colors in the sky, so I want to apply this same mask to them. To do this, you want to right-click the layer mask and select Add Mask to Selection. This will select the mask on the image. You can now click on any new adjustment layer and it will apply the mask to it.

With the mask selected, I’m going to add another color balance adjustment. This time, instead of a white balance adjustment, I’ll use a Color EQ adjustment layer. The Color EQ adjustment gives you a Vibrance slider and eight individual color sliders that can be set to Saturation, Hue, and Brightness. For the sky, I want to increase the saturation of the Red, Orange, and Yellow sliders while decreasing the Green to help darken any trees still in the masked area. To help bring out the city from the fog a little, I’m also going to decrease the brightness of those same colors. This will help the colors start to show. But the sky is still a little flat, so again we want to Add Mask to Selection and create a Dehaze adjustment.

The Dehaze adjustment will give the sky and the top of the buildings a little less haze, making the sky look a little more contrasty. It also boosts the colors a bit so I'm careful not to overdo it. There is a balance I want to maintain between keeping the really interesting fog covering the lower part of the city, but still seeing just enough of the rooftops to make the city identifiable. I also don't want to lose any of the fog in the tree line, so the mask needs to be adjusted with the Brush tool.

Now that I have the sky and foreground edited to how I want them, I need to bring them a little bit closer to each other. The only part that I mask out this time is the legs, as I don't want to mess with the skin tones too much. A Vibrance adjustment layer will boost the colors globally so the foreground and trees match the sky better. Finally, I will add a Curves adjustment layer with the copied mask from the previous layer and tweak the shadows and highlights just a little.


This is just a basic edit and is one that, if you wanted to take the extra time, you could easily achieve in Develop mode, though I think it is more work and doesn't give you as much control. Hopefully, this gives you an insight into the toolset that adjustment layers offer. With much more complex projects incorporating multiple exposures, composite images, or even high-end portrait retouching, these same tools will give you a ton of flexibility while retaining your non-destructive edits. Adjustment layers also help to save on file sizes since, unlike duplicating a layer, an adjustment layer doesn't create much more data.
The only thing of note I've found to editing like this in ACDSee versus something like Photoshop is that if you want to retain the layers for future editing (which you always should) you can only save the file in their own .acdc file format. Although you can open and save .tiff files, it doesn't seem like ACDSee will read the layer structure. This means any existing layered files you may have saved as .tiff won't be editable in ACDSee.