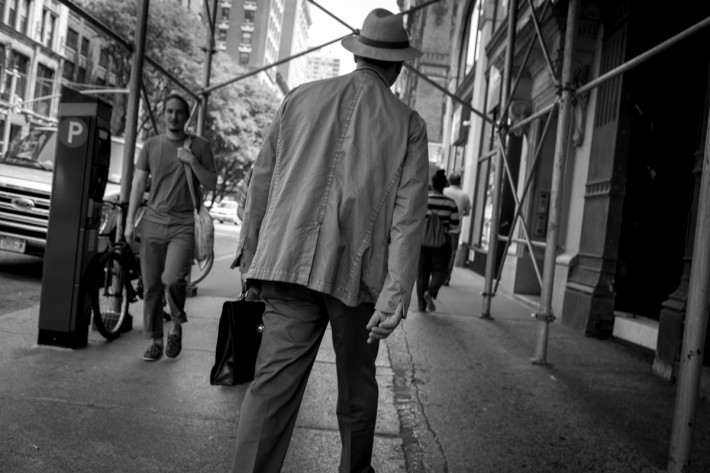
It’s very easy to get used to the option of being able to “spray and pray” – shoot a nearly obscene amount of photographs and hope for a few that meander over the line to above average. I know I can be guilty of this sometimes – modern shutters are both a benefit and a crutch. So I issued myself a challenge: go out and shoot without looking.
The assignment came after watching a documentary where Don McCullin tries digital for the first time. He notes that, despite his skepticism and the digital world being ‘phenomenal,’ there is a method of deliberateness from film that he still respects. Film, of course, forces the photographer to slow down and be more discerning with both the amount of shots and the variety. With digital this is obviously not the case. But just because one can, it doesn’t mean one always should.

So ‘rule one’ was to shoot without looking. ‘Rule two’ was to shoot fewer frames. Now, I had to break down my plan for this logistically. I wanted to move fluidly and try to be as inconspicuous as possible. Luckily, living in New York, cameras are EVERYWHERE. There is a camera around the neck of one out of every five pedestrians, easily. I needed to blend in. I wanted to look like a tourist. People ignore tourists – except when they walk really slow and congest the sidewalks, in which case tourists are vehemently berated with a barrage of unimaginative swear words and rightly so.
There are a lot of unique characters found in New York, however, I find it’s also important to try to not let my images be exploitative. Think about why you are taking the picture. For example, am I taking a picture of the homeless person because they look interesting or because I am interested in the person? In some situations, it’s not beyond the realm of reason to talk to the person you are taking a picture of first. But for me, I wanted the oblivious portraits, and I tried my best to catch people naturally and off-guard (although some people weren’t fooled). This is a very fine (and I’m sure debatable) line, and I don’t want this to be the focus of the assignment, but it’s an ethical question to keep in the back of one’s head. Am I documenting, observing or creating a portrait? I decided that I wanted to document, but if I missed the opportunity, I would not double-back unless I could do so without being obvious. This added an addendum to the rules: always be observant.
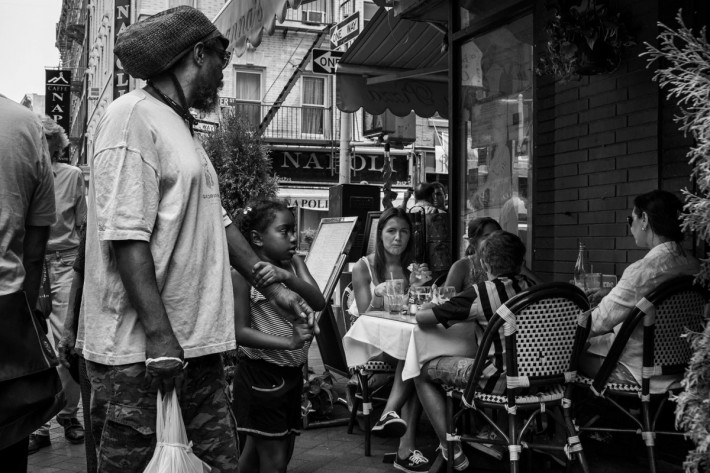
In terms of gear, I opted for no battery grip and a strap around the neck. This also allowed for a lower perspective – one reminiscent of shooting a medium format camera. Resting my arms on top, I tried my best to look casual while my finger always remained on the shutter button. If I wanted to turn the camera, I turned my body. I wanted a perspective that would be a little forgiving, so I opted for a 35mm lens on a full frame sensor – the 24mm equivalent on a crop sensor.
I knew there would be a reasonable amount of leniency in terms of exposure, especially if following the Sunny 16 Rule. As a rule of thumb, if it is sunny outside, and one is shooting in direct sunlight, set the aperture to f/16, ISO to 100 and shutter speed to 1/100. If you are shooting ISO 200, the shutter speed goes to 1/200 (ISO 400, shutter speed of 1/400, etc.). Using this same relationship of settings for the shutter and ISO, overcast is f8 - f/11 and shade is f/4 – f/5.6.
I tried several approaches.

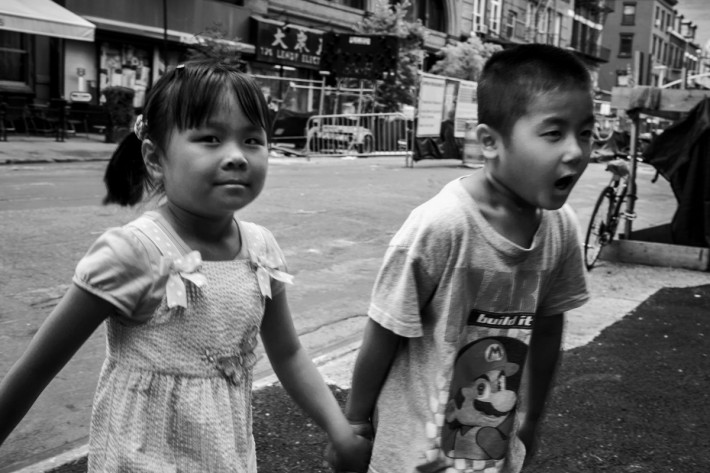
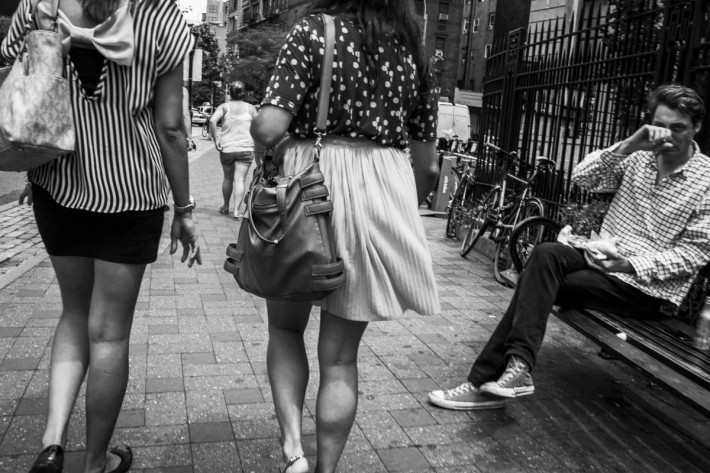
I tried trusting the autofocus. This happened when I was shooting while walking – it worked better than average for speed shooting and allowed me to get several shots (mostly in focus) that I would have otherwise not been unable to. These images were more about a spontaneous moment or passing person.

I tried this same style of shooting while working in manual focus. There were fewer shots as I had to wait for the subjects to be the right distance away, but it also made for a fun exercise in timing. These images were still spontaneous, but I found that the blurriness sometimes lent itself to a complimentary effect.
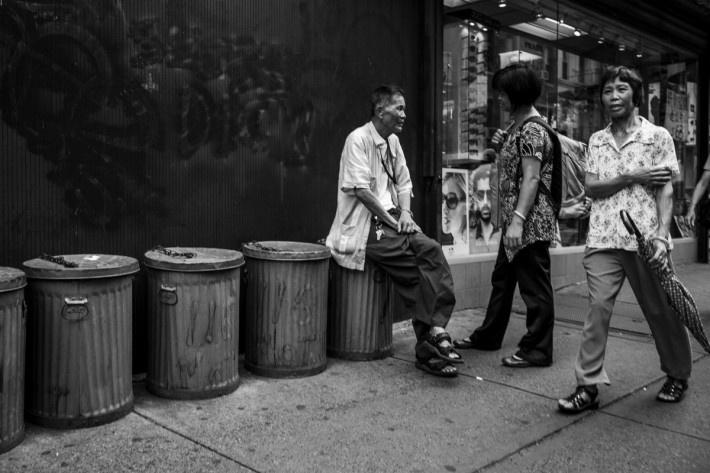
The final approach I used was to find my shot, focus and wait for the moment to happen. This was the lesser used of the methods, but yielded more thoughtfully composed images.
I have shot this assignment twice and am so far happy with the results. Some of the obstacles were shutter speed and camera shake - but it didn't always detract from the image. Also it took a little play to get the aiming and tilting consistently accurate. The focus is also tricky to get used to. Each time I shot, it was for one to two hours, and I shot no more than 50 or so frames. I was most satisfied not specifically by the images, but the exercise in both patience and timing. At the very least, it was fun, and I suppose a fun assignment every once in a while is just what we need, anyway.
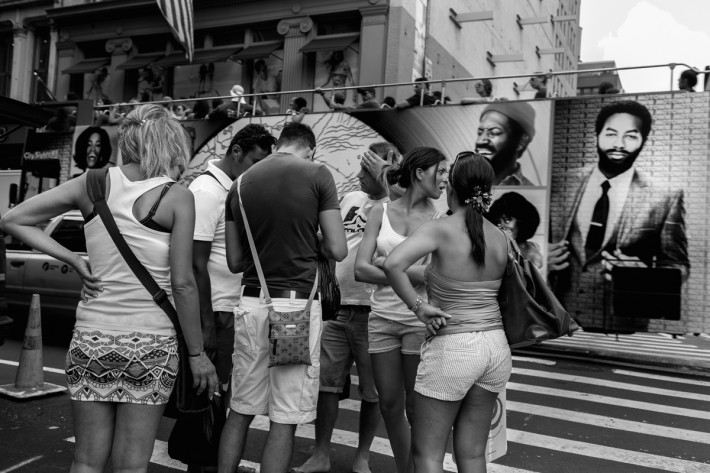

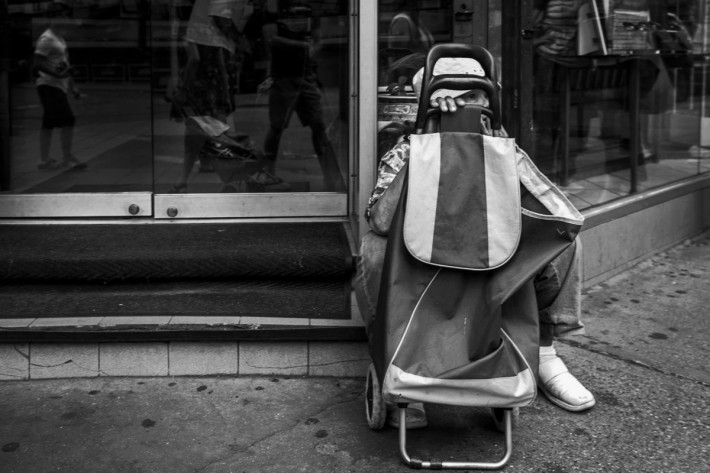

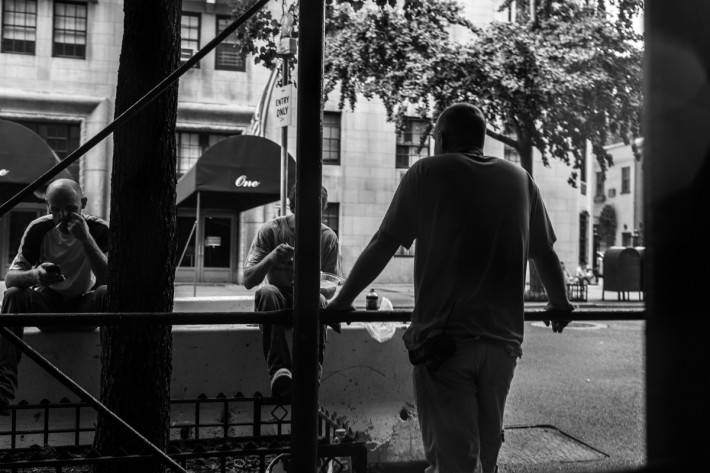


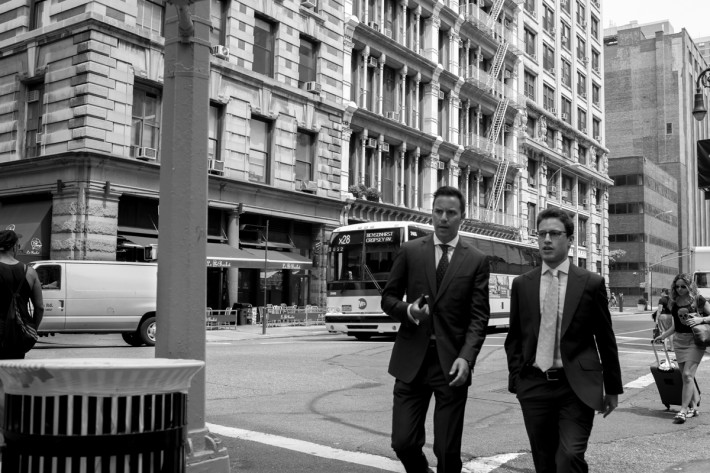


i've tried that on my last trip... it's quite fun
blogged about it here http://litebender.blogspot.com/2013/06/street-vendors.html
Put the same pictures but in color version not just B/W, i don't think it will be same effect !
Interesting yet common way to shoot. Why the B/W is so dark? A.Adams is crying in his grave...
I'm a dark person :) I honestly don't think Ansel Adams would care anything about me.
Ansel didn't do a whole lot of street photography.
These are fantastic man!! Haha, I do this on shoots sometimes. Just to get a lower angle or an odd spot where I can't quite look through the viewfinder and I just guess where the subject is. Gotten decent at it but it takes a little practice knowing where your crop is and whether the camera is square with the subject. Usually stick with center auto focus. As for the street photography side of things being inconspicuous is hard in a small city like Indianapolis but still doable. When walking to make sure I get the shot I usually do a long "hang step" where I just kinda slow myself down mid step. May look ridiculous but hell, if it gets me the shot people just think I have missed a step or something. Haha
Thanks Andrew! Great advice!
I really wonder why black & white looks better with these types of photos
I've been shooting from the hip for a while for street photography in China. It works great on the shorter population there...
http://hofmanphotos.com/?p=4606
Hi Jim, that link seems broken, but I had a look and I love your photos. Some really sweet work there imho.
i shoot alot of my concerts like this, friends of mine are like how the heck do you do it ...i just tell them to learn their camera and you get to see so much more of the show and i think it helps you to anticipate moments alot better you dont get tunnel vison
There are some great tips there. Thanks Chris, this is just the inspiration I need for something different this weekend!
I love this kind of projects, but some images would apsolutely have no value to some viewers who don't know the story behind author's concept.
Example:
Take a well exposed studio shot with strobe lighting and all, with kiev 4 and some non-grainy film, in bulb mode in darkroom, juggling with triggers and holding shutter manually... Put it on the web/paper to show it to the people. Everyone will think it was shot with dslr, because it is crisp, DOFy and all. Unless you don't tell them the story behind that image and what you have gone through to get it, it won't have adequate recognition (sorry for my english).
Bottom line is:
If you want to visually present your work to people, only end result is what counts.
But if you do whole project completely for yourself - end result is not as important, as it is to have good time while making it.
Had been thinking about this for a while, had to spit it out :)
Cheers, and do what makes you feel happy :)
I think color works as well as b/w (if slightly adusted). Shot this series in NYC a few years back: http://punkfurt.de/home/travel-photography/new-york-city-people/
my series are in color
http://litebender.blogspot.com/2013/06/fajr.html
http://litebender.blogspot.com/2013/06/40-degrees.html
Great post thank you for sharing these tips