
While photography definitely isn’t the cheapest business you could get into, you can definitely get started on a budget. Here are my tips for being prudent with your money as you start out.
Buy Secondhand Equipment
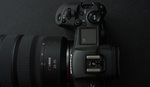
Try not to get swept away with feeling like you need to own the best camera on the market in order to be a professional. Start with what you can afford, and buy it secondhand. I bought the majority of my equipment from trusted sellers on eBay and on MPB and still today will look to see if I can purchase secondhand first.
As photographers, we all laugh when someone looks at our work and says: “wow, you have such a good camera!” We eye-roll hard because we know there’s so much more to it than the camera you are using. Sure, eye-tracking focus is nice to have, but a lot of the tricks that newer cameras offer are exactly that: “nice to haves” rather than essential for creating beautiful work.
Loan Before Buying
Get really clued up on why you need to add something to your arsenal before you buy it. A common trap to fall into is to waste money on equipment that you don’t actually need because you’re buying from a “should” perspective or because you saw some hype online. If you’re not sure about an expensive investment, lease the item a few times first to check out whether it would be really beneficial for you. I use the app Fat Llama to rent lights or lenses that I need for a specific job, but wouldn’t usually need in my day-to-day workflow. This is a great option for testing bits of kit out in an inexpensive way.
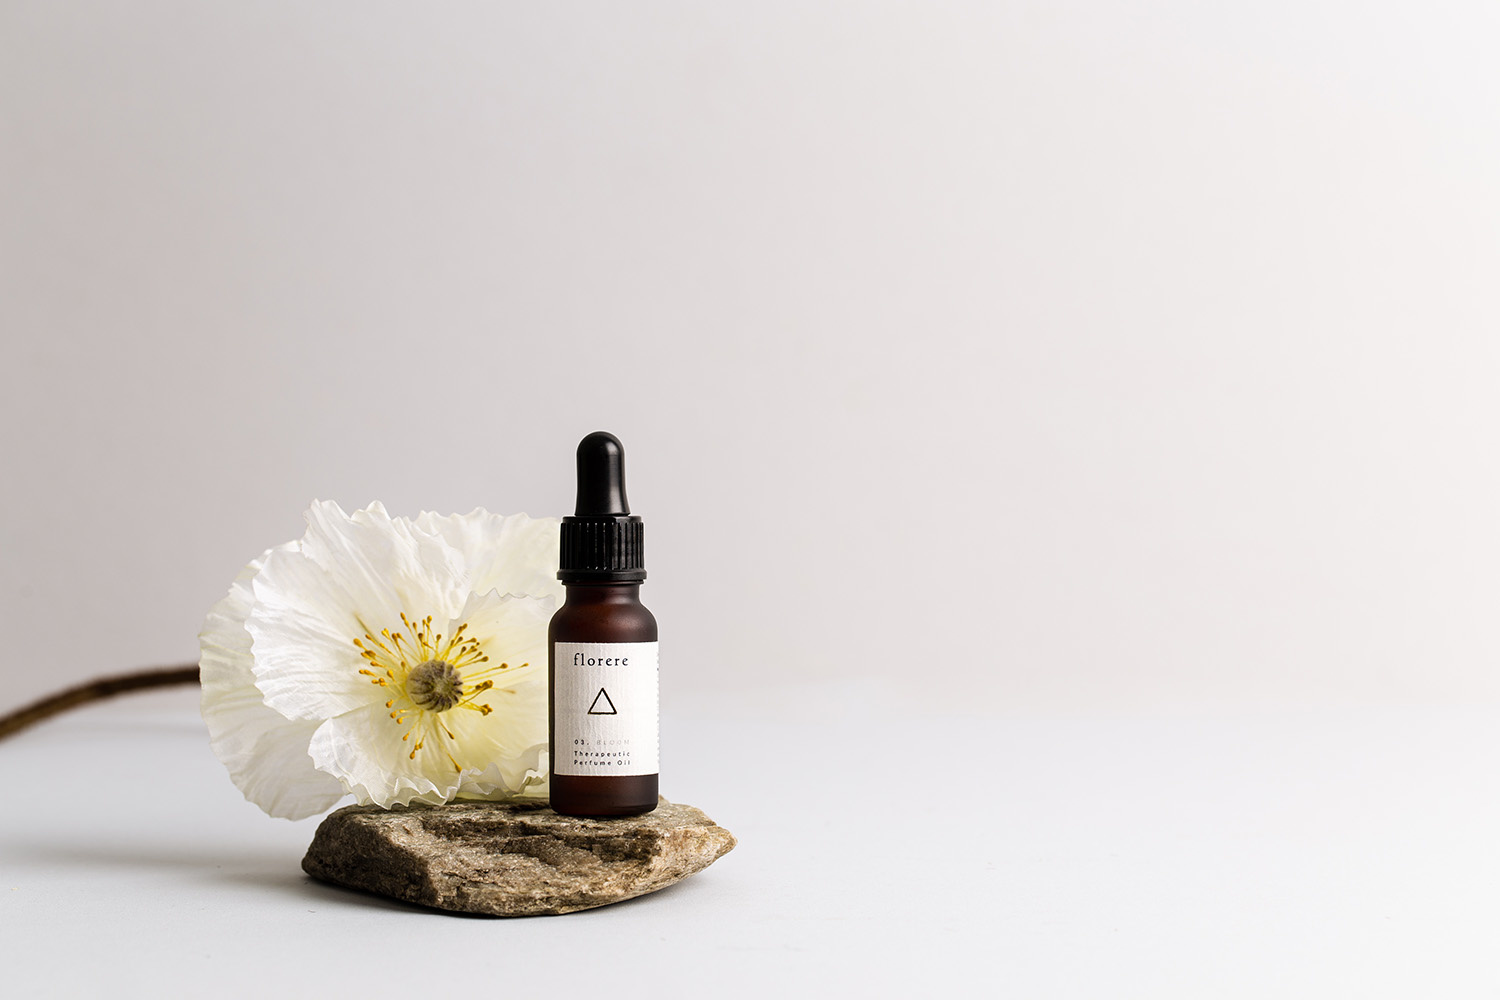
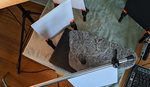
Create Your Own Backdrops
Textured surfaces to photograph product or food on are beautiful, but in the region of $100-200, depending on where you source them from. It’s obvious why they are expensive, because a lot of time and care goes into making them, but it quickly adds up when you’re looking to invest in five or six different colors and you’re on a budget. I recently made six of my own textured surfaces on MDF cut to a size of 2 x 4ft, for a total of $60. It’s a great way to create custom colors and textures suited to your specific needs. I created a reel to show exactly each step in the process so you can make your own too.
Make Your Props Go Further
Think about the mood and tone of the work you like to create or are being commissioned for and source props that stick within that mood. Buying neutrals that can be used in lots of different contexts and for different purposes is a great way to go.
Make a list of all the props you have, as well as what’s missing. This way, when you’re out and about in thrift stores, flea markets, or shops, you can easily see what you’re missing from your collection and what you have enough of. A lot of us are drawn to specific things, but you might accidentally end up with hundreds of side plates and no bowls if you’re not consciously aware of what you need to add to your collection.
Invest in Education Wisely
It’s amazing to learn and push the needle forward with free educational resources such as blogs, YouTube, or podcasts, but there comes a point where investing in a specific course to further your education in a certain area is really beneficial and can help take your work to the next level.
Start off with free resources, but as you begin to grow and save money to invest, be selective when choosing which teachers to purchase courses from and make sure you complete each one and put it into practice before eying up the next course. There’s no point having lots of courses downloaded but you don’t have the time to do them all or you find there's a lot of overlap between the courses you’ve purchased. Be selective, take your time to do them, and implement the strategies and learn the lessons before moving on to the next.
Conclusion
While photography can be an expensive business, it's also totally possible to do it on a tighter budget. More important than what lenses, camera, or lighting you have is your enthusiasm, your dedication to showing up again and again to keep getting better at your craft with each shoot. The most important part of photography is your own unique vision. As long as you have that, you have everything you need!


I'll add one: shoot adapted film lenses! You can get some really nice glass for really little money that way.
Good tip! Thanks for sharing Jan
Helena,
Thank you for writing this! I am glad to read another real article, and not just an intro to a video on somebody else's YouTube channel.
In my experience, the cost of photography gear is a very small part of starting up as a photographer. I think that travel expenses cost far more than the gear.
Gasoline at $5 a gallon, hotel rooms, restaurant meals, tolls, airfare, the upkeep of a vehicle ... these are ongoing and hit hard month after month, year after year. Conversely, once one spends a few thousand dollars on cameras, lenses, lights, and computer hardware / software, it doesn't take very much after that to stay current.
All of your tips are good, solid advice, and will save the smart photographer a good deal of money. But I would also like to see a similar article about how to save on travel expenses, model fees, etc.
Here's our answer to lodging expenses:
https://www.flickr.com/photos/195389426@N03/52323985614/in/album-72177720301725627/
Hey, Jan
I'm glad that van is working for you!
But I don't think it'd be an affordable solution for my photography trips. The car I drive on photography trips gets 32 miles per gallon. And gas is roughly $5 per gallon nowadays. The vehicle you show in that link probably gets 16 to 18 miles per gallon. Driving 30,000 miles per year, that van would cost me $4,000 U.S.dollars MORE per year than what I am currently driving. This is more than I spend on motels and other forms of lodging. The van would be a far more expensive option than what I currently do. This article is supposed to be about finding cost-saving measures, not more costly options for our photography expenditures.
You've got a point.
We got 14-19 from WA to MI.
I'm putting a TDI engine in it, which should get it closer to 30.
But you have to admit, it's a pretty cool camera bag!
Thanks Tom! I hadn’t thought re travel because I’m a product photographer shooting mostly in a studio and on location nearby, but you raise a really valid point for those who travel. It’s been interesting to see what others do to help with those costs.
How dare you not mention fstoppers tutorials? lol
Hehe and of course those! 🫣
One tip that I have to offer concerns lodging on photo trips:
I have found that one can use Craigslist to save a LOT of money. On several occasions I have used Craigslist to find people who are willing to rent a room in their home on a weekly or monthly basis. In fact, when I put a wanted ad up for short-term lodging, I get dozens of offers from people in the town that I am looking to lodge in.
I recently got a room in a nice home in Phoenix for $200 per week, for two weeks. There were no silly extras like utility or cleaning charges or a security deposit. I also recently got a nice mother-in-law suite in the Denver, Colorado area for $1,100 for a full month. Each of these places were much, much cheaper than even the cheapest of Air B&Bs, which aren't really very cheap anymore.
So, if your photography trips to a particular destination are typically two weeks or longer, then I highly recommend Craigslist as a way to save hundreds, if not thousands, of dollars, compared to staying on motels or at Air B&Bs.
That’s a great tip, thanks Tom!
I assume you mean "Lease" or "Rent" Before Buying instead of "Loan Before Buying", no?
I'm in the UK, so maybe there's a slight difference here, but we would say to "loan" something, but "lease" or "rent" also works!