Over the years of using my personal set of studio lights, I've found I've become increasingly frustrated with the growing cost of equipment such as softboxes and scrims. While these are necessary when shooting in a studio, I couldn't justify spending all that money for a massive softbox when it's actually quite easy to build one yourself. All it takes is a bit of time and effort, but once you're done, you're left with a solid sense of achievement and a light modifier that has a lot to offer.
Now as I mentioned in my previous article, I discovered a guide called "Tinker Tubes" by Dean Collins and decided to base the build of my softbox off the instructions he gives in his handbook. This, along with the dream of always having my own home studio (which is set up in the garage for now), urged me to get in the car one day and drive to the hardware store to buy the materials necessary.

The first issue I encountered was having to convert everything from imperial to metric (which is what we use in South Africa) and try and find the right parts to do the job. The hardware shop didn't have the same size tubing as the one Collins suggests so I opted for a thicker 1.5-inch PVC pipe, but the height had to be shortened from 94 inches to 74 inches to fit in my garage. Once the structure was glued together and rigid enough to stand by itself, it was time to add the materials.
After a bit of reading on the Internet as well as sampling a few different materials, I found parachute material to be the most ideal for diffusion purposes, especially if you have two layers. The next was to line the inside of the softbox with reflective material to maximum light efficiency. Due to the material being reflective on the one side but also quite thick and matted on the back, it eliminated light spilling everywhere.
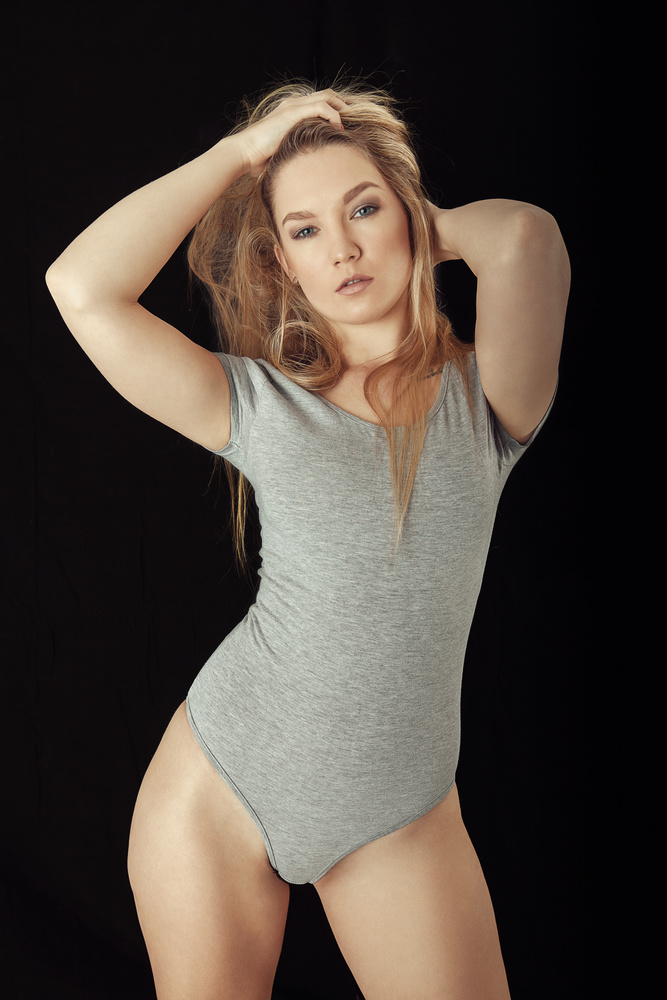
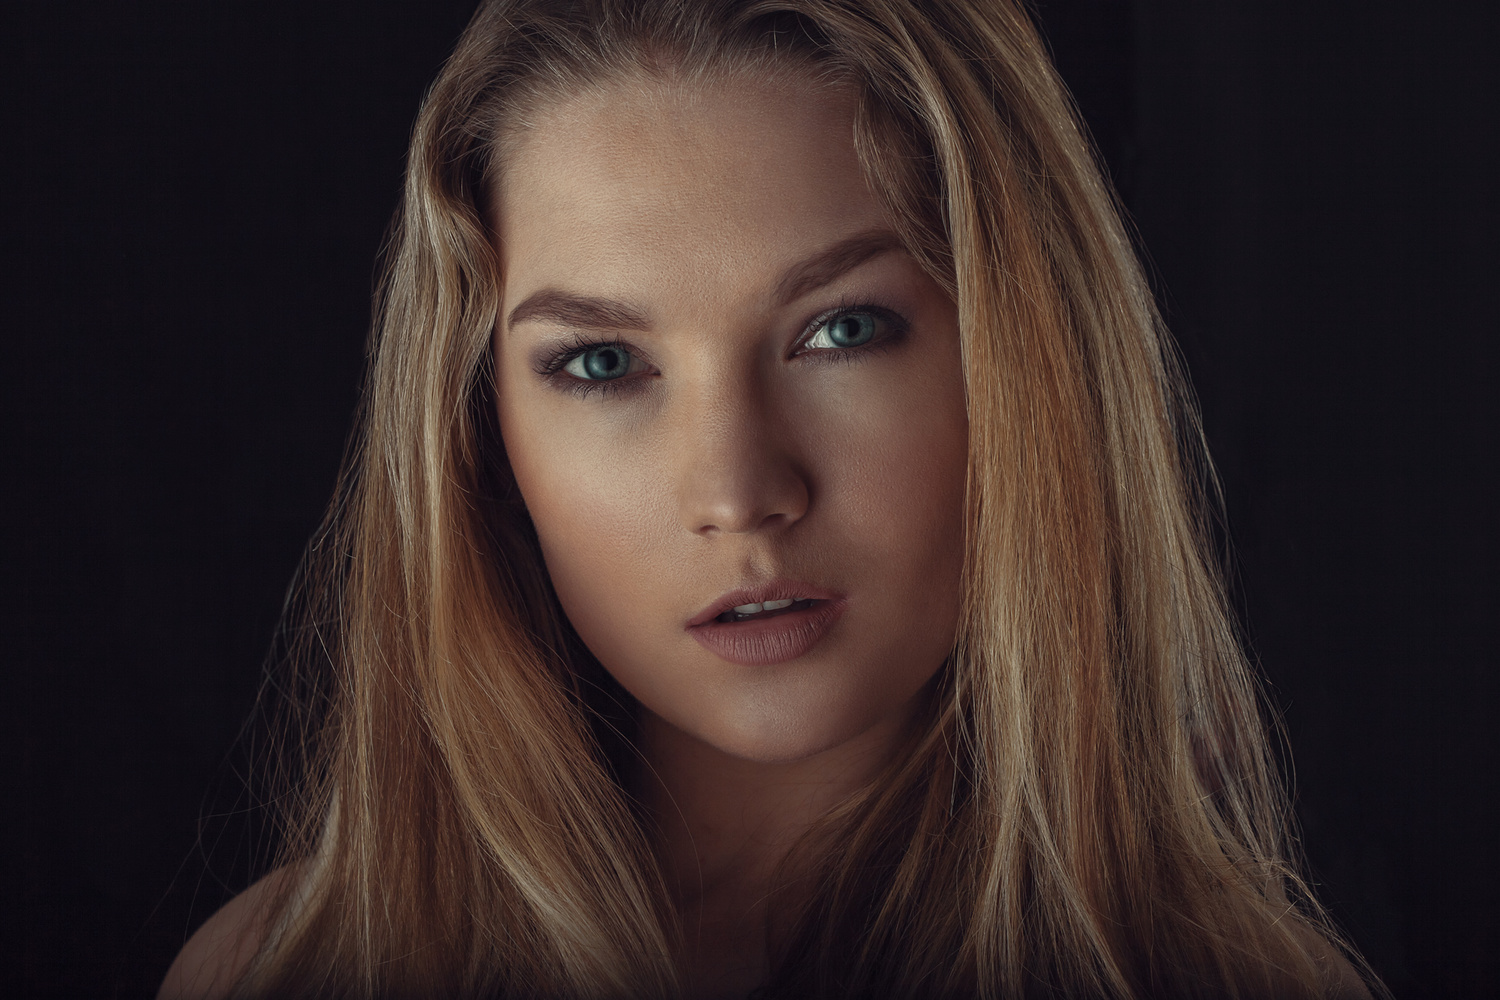
In the end, the 74 x 62-inch softbox was standing strong in all its PVC glory. It was time to do some test shots. The next day Natasha arrived at the studio for a test shoot. From the first shot until the last, I struggled to find fault in the lighting. It was perfectly soft. I couldn't tell the difference between that of the huge store-bought softboxes I've shot on before and the homemade softbox.
One thing I would change though was to add an array of LED lights instead of using my studio lights so I'm able to use it for both stills and video. This would come in handy seeing as I've just launched my own vlog and plan on doing quite a bit of video work in studio as well.

The next project is to add some nicely printed backdrops, some hooks, and a pulley system to raise and lower the softbox which would be suspended from the ceiling.
The whole idea behind being able to build your own equipment has caught my attention completely. I'm completely hooked. Suddenly I find my brain going into overdrive as I'm constantly on the search for new projects to pursue. Just from a basic build with PVC pipes and some materials, I managed to build a softbox that gives off similar diffused light to that of an expensive store-bought softbox. With modern technology such as 3D printers available to consumers, the possibilities suddenly become endless. Perhaps a stabilization rig, rivaling a MoVi, could be next?


I love this idea. I actually built my own scrim using similar materials, for around $30. What I love about it is that I made detachable legs so it can stand on it own or have someone hold it, but I am able to change the material to alter the amount of light that is diffused. From parachute material to shower curtains and even able to use varying colors of fabric to add some creative lighting or even some foam core to turn it into a reflector.
That's fantastic! What a great idea!
Love (some) DIY solutions. I often use a large piece of plexiglas with 70% light throughput and rig it up with a SuperClamp on a sturdy light stand. Then I can place two strobes behind it with same or different power output. Nifty!
I'm definitely going to play with Plexiglass next, this sounds awesome!
I have done something similar by just using a large white beadboard held up by PVC. I simply bounce the light off the white surface. Creates gorgeous light. I can get it extra soft by actually bouncing a beauty dish off it - zero hot spot and beautiful soft wrap around. Total size is 4x8.
Love this shot! The light is absolutely beautiful!
Nice DIY, you can cut the tubing on its axis just enough to snap over the tube any length needed. Thx for the post.
Thanks! That will definitely help!