

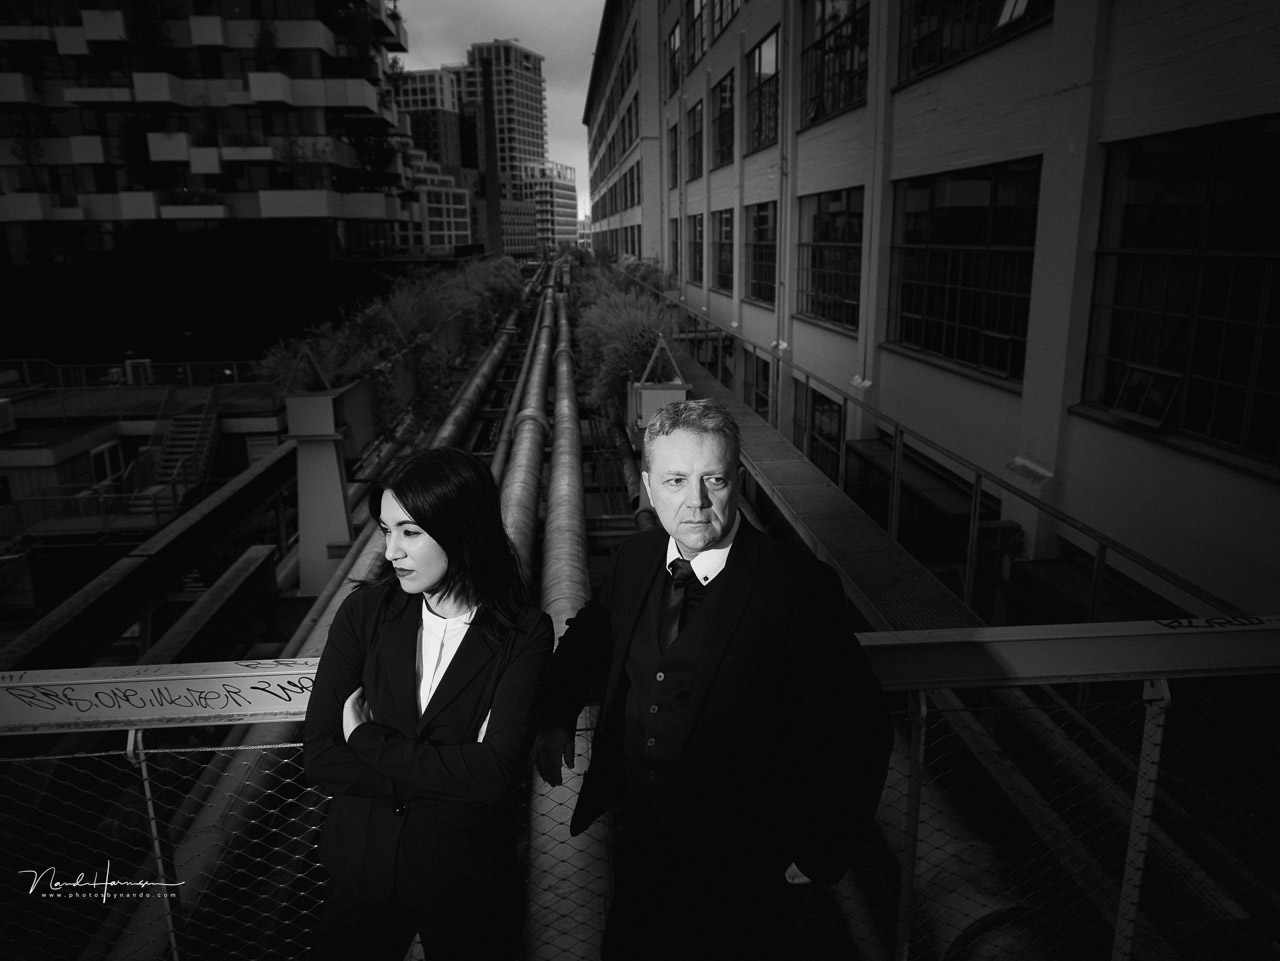
Some beginning photographers keep on shooting in JPEG because of one reason. They’re a bit of afraid of the raw file format. But shooting in raw is easier than you think. If you want to start photographing in raw but you don’t know how, I’ll show you how it’s done.
If you are already photographing in the raw file format, this article is not intended for you. It’s intended as a simple guide for the beginning photographer that still uses in-camera JPEG because of one reason: the idea that the raw file format is difficult to use.
The idea is understandable. After all, a raw file is the raw sensor data that has to be edited before it can be used. This implies a difficult workflow and a lot of knowledge that’s beyond the beginning photographer.
This is not true, of course. Everyone can photograph in raw without any issues. Raw editing software is doing the difficult part for you. In this article, I want to show in five simple steps how to start with the raw file format. If you’re already experienced with the raw workflow, feel free to add any advice in the comments below, to make it easy for everyone to shoot in raw.
JPEG Is not Wrong
Before we start, you should know photographing in jpeg is not wrong. The software that camera manufacturers have installed in the camera is very sophisticated. This means the jpeg out of the camera can be just as good compared to a manually edited raw file.
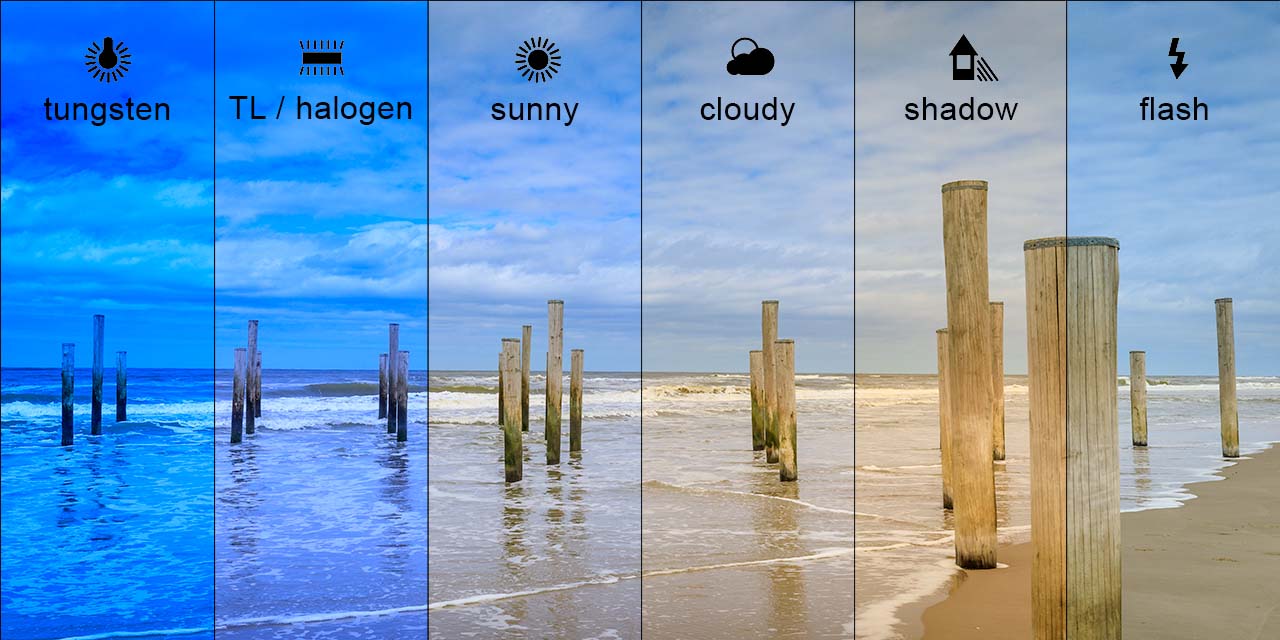
The most important difference is the ability to take advantage of the maximum dynamic range of the camera. It means you can correct the image in post by correcting exposure or lifting shadows. There is also the benefit of changing the color balance if needed.
If you correct a JPEG image the same way as a raw, the quality will deteriorate very quickly. That doesn’t mean you can’t do any post-processing on a JPEG image; you just can’t go as far.
Shooting JPEG can be a choice. If you’re happy with JPEGs from the camera, there is perhaps less reason to change to the raw file format. But if you’re running into some issues concerning exposure and dynamic range, it might be a good choice to step into the world of raw.
Things to Consider
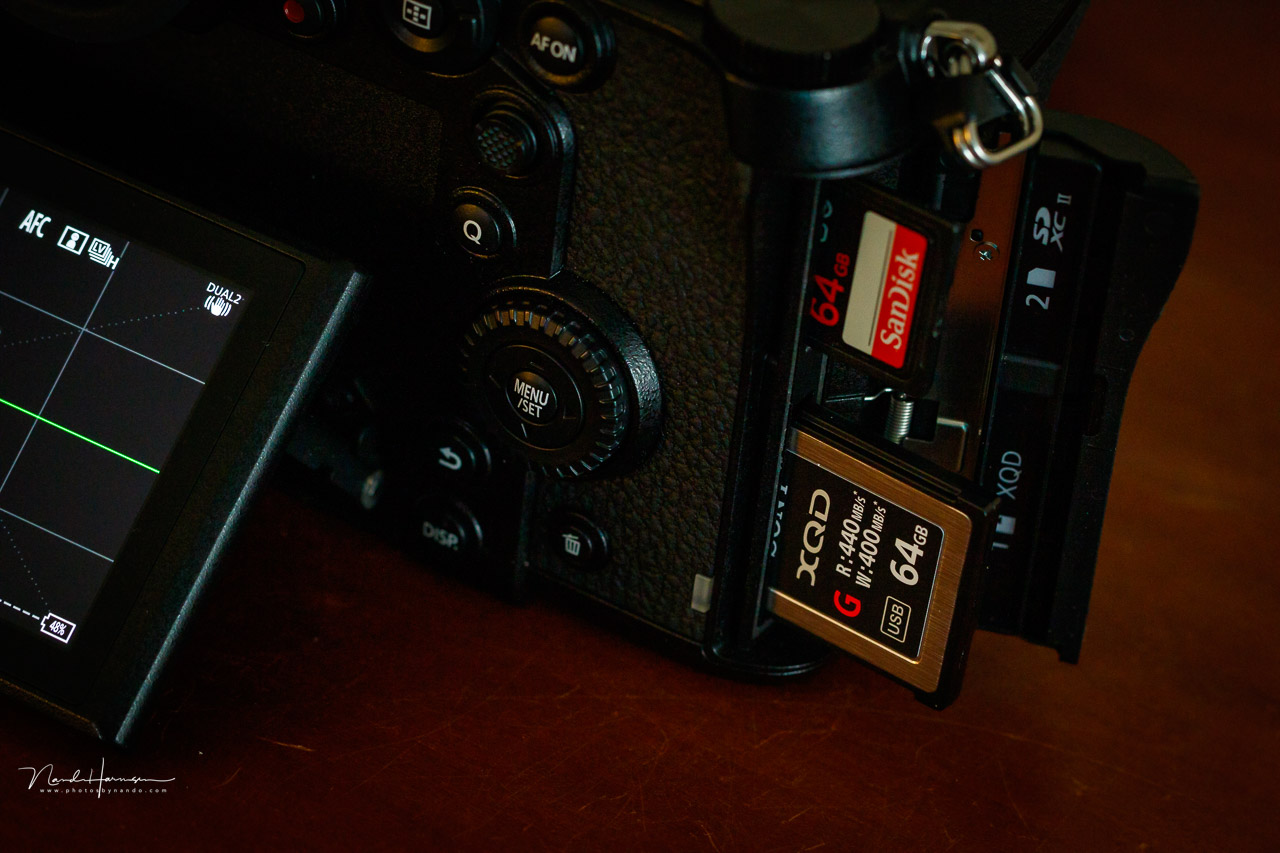
There are a few important things to keep in mind. Raw files are larger files. This means you need more memory to store the images, especially if you decide to shoot both raw and JPEG.
You also have to realize that you need to use a raw file editor before you can use the photo. It allows you to edit or correct the image if needed. You have to export the raw file as a JPEG in order to use it on social media, for sending it to a print shop, or to share it with others.
You can use Lightroom, Lightroom Classic, Capture One, ON1, Affinity Photo, Luminar, or one of the many others that are available. Camera manufacturers also have dedicated raw editing software that you can use.
Step 1: Set Your Camera to the Raw File Format
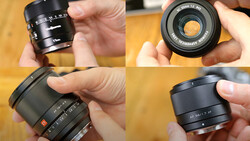
The first step is to set your camera to the raw file format. Every camera brand has its own file extension. Nikon raw files are called NEF, Sony ARW, Canon CR2 or CR3, Olympus ORF, Panasonic RW2, and sometimes, it can be a DNG file. No matter what extension these files have, they're all raw files.
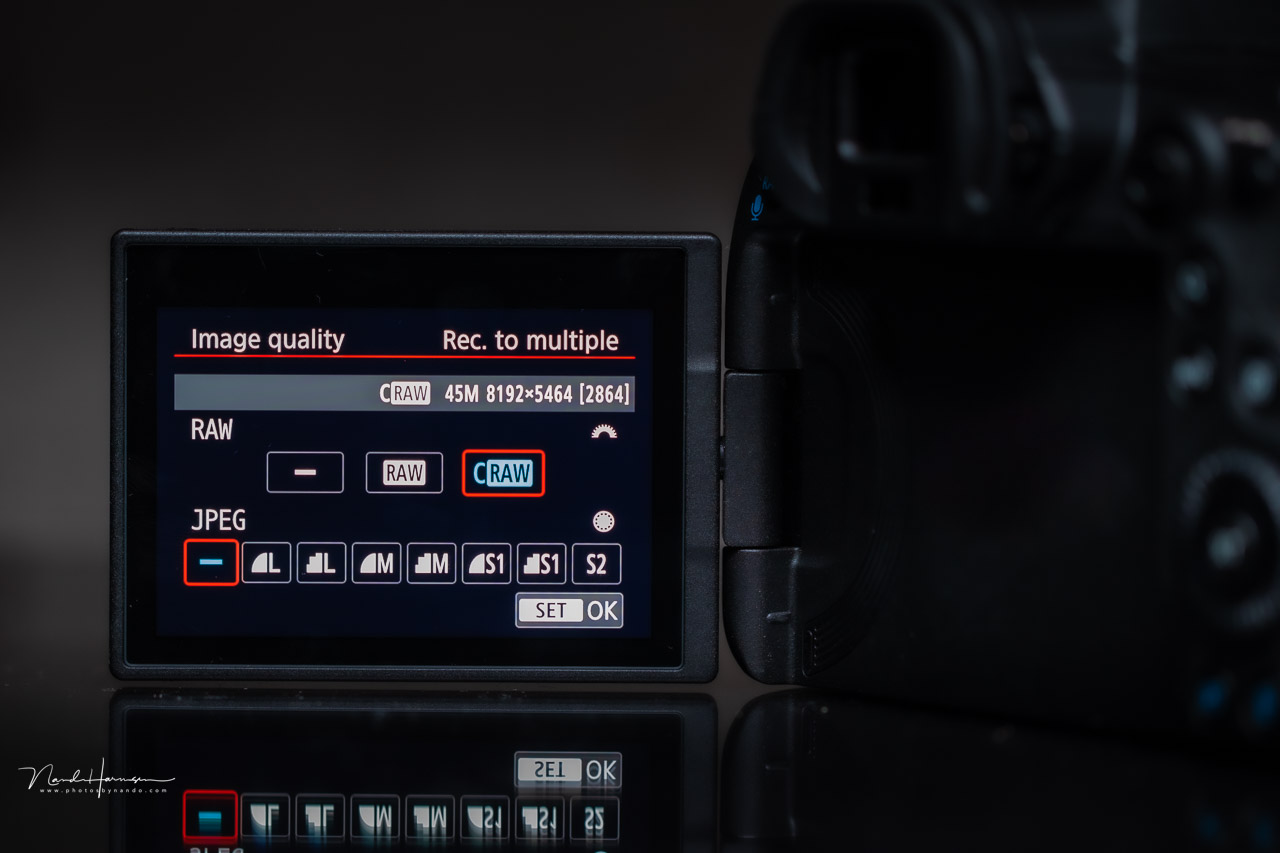
Sometimes, a camera offers different kinds of raw files, like compressed or uncompressed. Most of the time, compressed raw files are perfect to start with. If necessary, you can always change the setting later.
If you’re not certain about the raw file workflow, it is always possible to record both raw and JPEG. But eventually, only a raw file should be enough, unless there's for a special purpose for the extra JPEG.
Step 2: Photograph Everything as Usual
This is an important step. A lot of starting photographers think they need to do something totally different when photographing in the raw file format. This is not the case. There is almost no difference between photographing in raw or JPEG.
If you’re fond of shooting in manual, keep shooting in manual. If you shoot in aperture priority or shutter priority, keep on doing so. Just keep in mind the loss of some in-camera setting that are only for the JPEG file format.
A good example is the HDR setting, which is often available when shooting in JPEG. Most cameras don’t offer that setting with raw. But that’s when the benefit of the raw file format comes in. You can use the ability to lift shadows in post-processing. Or you can make your own HDR by shooting bracketed exposures.
Step 3: Open Your Images in Editing Software
Raw files often can be viewed from within Windows Explorer or Apple Finder. But some editing is needed in order to use the image for regular purposes. That’s why you have to import your images into editing software first. As said, there are many different brands of software available, but these will all allow the basic editing needed for a raw file.
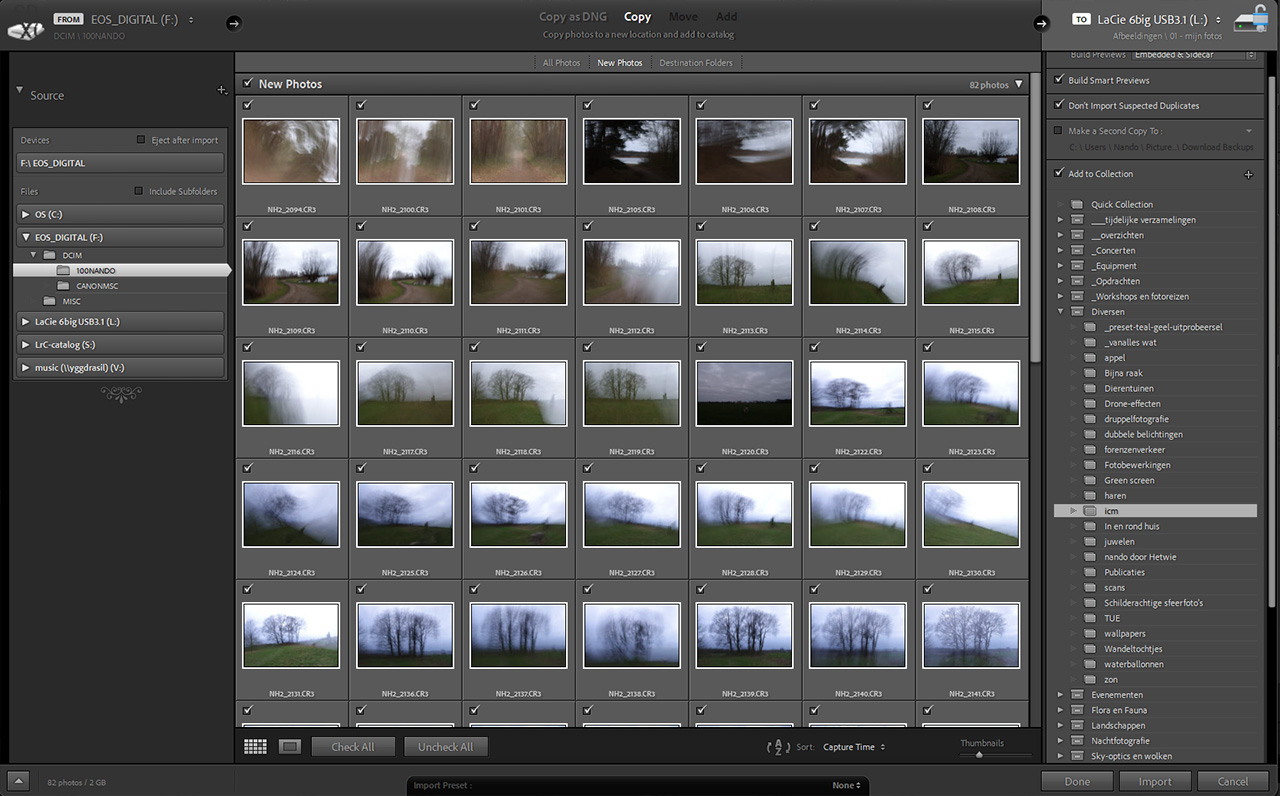
If you’re not sure which software you will like the most, just download a trial and use it during the trial period. In case you’re not familiar with it, for this article, I used software made by Adobe called Lightroom Classic. It has its benefits and its downsides, just like all the other ones available.
Step 4: A Simple Edit if Needed
This is where the strength of raw editing comes in. You can adjust the exposure, contrast, color, and much more. But you’re not obligated to do so. All raw editing software will read the settings of the camera in the information stored within the raw file. This way, the image you see on screen will look almost the same as it did on your camera LCD screen.
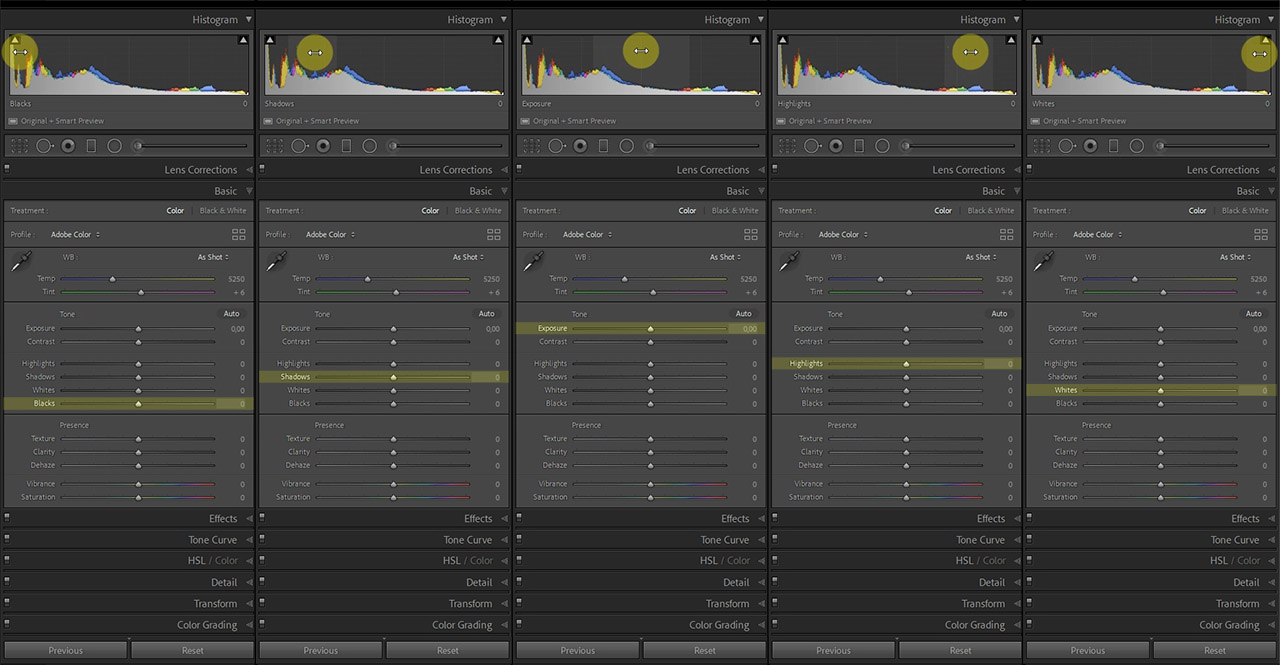
If the appearance of the image is the way you like it, just go to step five. If you see something you want to change, change it with the tools that are available. Make it lighter or darker. Add color saturation or reduce the saturation. If you become familiar with the possibilities, you can perform both global and local adjustments. But don’t worry about that if you’re just starting. Only the basic tweaks can be enough to make a difference.
The beauty of raw editing software is the ability to change everything without changing the raw file itself. This is called non-destructive editing. As long as you don’t delete the raw file, you can always return to the original image, even when you’ve totally screwed up the editing. Just reset the editing and start over.
Step 5: Export to a JPEG
This is the final step to do. You need to make a JPEG image from the raw file in order to use it online, on social media, or if you want to send it to friends and family.
Since the raw file won’t be affected, you can export as many JPEG files as needed, each with a different edit or in a different size. You can save these JPEG images next to the raw file. If you decide to change the edit at a later stage, just open the raw file again and make the changes.
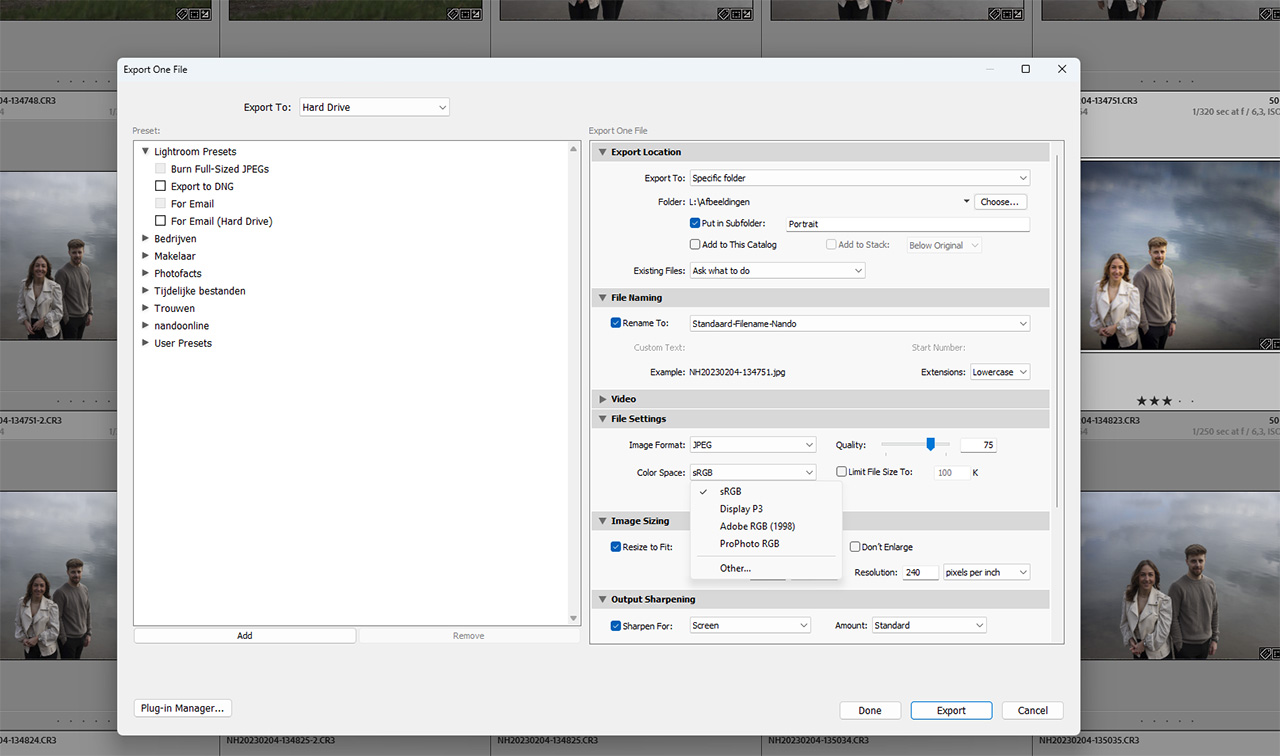
Just remember, use the sRGB color space when exporting a JPEG image. Often, this is done automatically when exporting a JPEG, but it might be wise to check it. If it’s not a sRGB color space, the image can have strange colors after the export.
Keep the Raw File Safe
After you’ve exported the raw files as JPEG images, don’t throw the raw files away. These are the original files, which can be used over and over again. If something happens to the exported JPEG images, you have the originals.
There is absolutely no need to be afraid of the raw file format. You won’t have to do some difficult editing. But don't be afraid to try things out. Nothing can go wrong with the image, since a simple reset is enough to go back to the original.
If it turns out you don’t like shooting in raw and you don’t feel the need for editing the image yourself, just go back to shooting in JPEG. As said, it’s not wrong. It’s a choice. I want to ask to all the experienced raw shooters if you have any addition for the beginning raw photographer. Feel free to add the advice in the comments below.


Join the Fstoppers community for free
-
Post comments and join in the discussions
-
Browse the site ad-free
-
Share your work and get featured in the community
-
Compete in the photo contests for fun and prizes
15 Comments
If I still shoot Raw+Jpeg to this day, does that mean I'm still kind of intimidated by Raw?
Of course not.
But personally I don't see any benefit from shooting both jpeg and raw.
I don't shoot in jpeg but each to their own and all that.
I have a D7000 with two card slots, so I set one to raw and one to jpeg. That way when I"m traveling, I have the raw files to process at my leisure when I get home, but I have the jpegs in case I want to fire off a quick email or social post from the road. this is an amateur approach, not a pro one, to be sure.
when you are culling images, like blown focus-flash didn't fire-etc, do you go to both folders and remove the images? that alone seems like more work than an all raw workflow.
The off-putting thing about RAW is initially your photos may look worse than a JPEG. Not all software applies the in-camera processing. When I import from my Lumix I apply a preset which gives me a first pass with more contrast and pop, otherwise I am starting from scratch. It can be a little disheartening to apply your edits and end up with what looked like the jpeg! I was quite surprised when my lowly Pixel 6a camera displayed RAW photos that looked like the jpeg, Google Photos didn't do it for other RAW formats when I experimented with uploading them.
However, with experience, I normally always make a better picture, with my own style, starting with my preferred boost in contrast, sharpening and vibrance.
So, the big leap is that RAW will give a better result every time but you have to spend time to get it. The big wins are discovering that the apparently unusable shot from your tour of a lifetime that you didn't check often contains enough to be good enough, and that impossible pictures aren't - ones that have bright light and detail in shadow. Where your camera can't contain the dynamic range that the eye can, RAW you can change the effective exposure for different areas of a picture, that jpeg simply can't because the act of producing a jpeg is a declaration that you aren't interested in what can't be seen so you throw it away.
It seems like a lot of attention is place on whether or how the final output from processed raw file format is better than an in-camera processed image, but two additional qualities of raw workflow, either of which are compelling enough for me to choose to only shoot raw.
First is non-desctructive editing. I use Capture One which displays processing commands in real time, but does not change the raw file. Secondly is the ability to output into different formats and different colorspace profile. That might not mean much to some photographers, but I have one client who requires images delivered in ColorMatch colorspace when all of my other clients need AdobeRGB or SRGB. Switching colorspace of a JPG is always going to lose data.
Add to that the ability to expand dynamic range and accurate color balancing, especially when tethering, makes raw workflow my choice by a long shot.
Changing the color space won't always alter the quality, neither will you loose data. Changing from sRGB to AdobeRGB, for instance, will keep the same colors. The larger color space of the AdobeRGB just isn't used. Changing from AdobeRBG to sRGB does have an effect, but only if the larger colorspace is in use. If that's the case extended color information is rewritten into the smaller color space. in that case you loose color information but it won't necessarily make the colors look bad.
It helps to think of the raw file not as a "version of the picture," but as analogous to a film negative--the unfinished capture that serves as a step in, not the end of, the process. Neither "looks" as good as the finished product you're aiming for--or is meant to.
I've never really liked the JPEG output of my Canons and Nikons for some reason, and so I always shoot raw to make sure I get the best quality file (to my eye) processed just how I like it. The only camera I really liked the SOOC JPG files from were my Fujifilms X-series.
That's the big benefit for raw photography. You can change the appearance to your own liking.
Although JPEG from a Fujifilm look nice, I think processing the raws can make it even better. The film simulation presets in the editing software can be a great starting point
I normally shoot in tiff, keep an original copy and edit on a copy version to then save as jpeg. I've messed around with raw, but found it really only makes sense if I'm doing something with the same lighting, etc..so I can bulk correct the whole shoot. I found editing single images more 'clumbsy' in raw editors than editing tiff in a regular photo editing software.... maybe I'm missing something
I know of only a few cameras that give you the ability save the image in TIFF. Most can't.
In a way, TIFF is just another file format, and perhaps not that different compared to raw.
If you shoot raw, worst case (or good case), you can use the camera manufacturer's raw conversion to export to jpg as if you shot in jpg. And, still have the ability to edit before export.
I used the Canon raw editor for many years, and was quite happy about it. But for bulk editing it wasn't that great. The benefit is the ability to use the 'real' camera presets, as you mention. If you like the looks, that can be a great option indeed