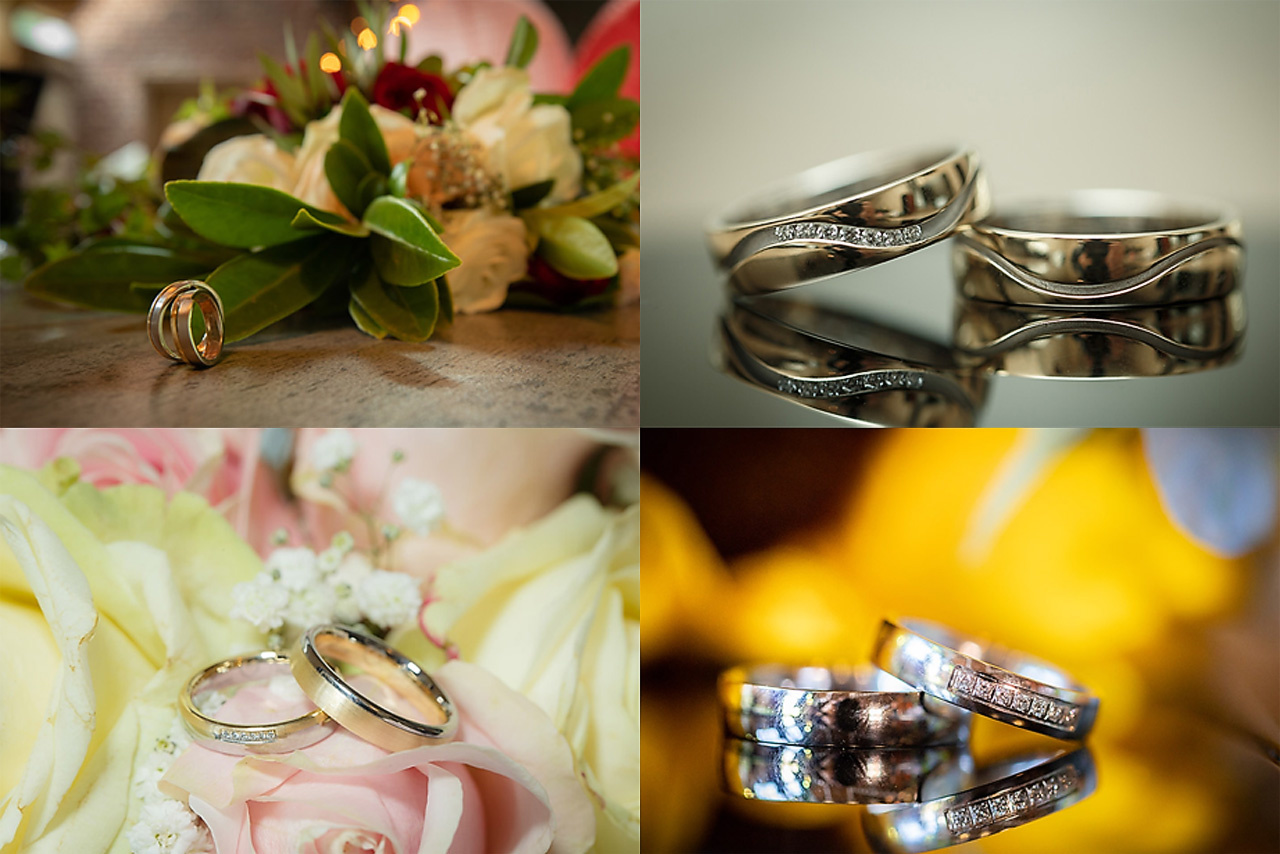
Have you ever needed to shoot jewelry on location, like wedding rings during a wedding? Then you may know about the difficulties of acquiring a good image.
Unwanted reflection of the surroundings can ruin your shot. Sometimes you can even recognize a reflection of yourself in the rings. There is a solution for that. Alex Koloskov of Photigy is offering a course for shooting jewelry using a simple flash gun and cheap DIY modifiers, targeting amateur and beginners.
Since I am a wedding photographer I know about the difficulties of shooting wedding rings during the hectic wedding day. There is only little time available, and often you have to work in a situation that is far from ideal. A good effective and preferably cheap way of shooting the wedding rings is very welcome. Alex Koloskov promises a good method of retrieving studio like images with just one or two flash guns.

A couple of wedding ring shots I have made previously. I always disliked the reflections in the rings. They show the surroundings, and often even the camera and myself. There is a better way of shootings these images, and Alex Koloskov of Photigy will show how it is done.
In this course, Alex Koloskov will show you how to start in jewelry photography with minimal equipment, and still take beautiful photos of various jewelry using inexpensive cameras and lighting. It takes about 5 hours and 30 minutes and is targeting amateurs and beginners, but you need the basics of using a camera and speedlite. It includes post-processing and bonuses, and you will receive a Photigy Certificate.
This quote from the Photigy website summarizes the course perfectly.
The course is divided in four parts in which Koloskov shows the method that will achieve good results, with a lot of demonstrations of that method. He also gives advice on the use of props, that can lift your image into a higher level. The course also covers methods on post processing techniques in Lightroom as well as Photoshop. The course ends with an assignment and a certificate.

Part of the video course is dedicated to the equipment. Alex Koloskov emphasizes it is not about expensive equipments, but lightning techniques. Just a few very cheap speedlites is enough to get amazing results.
The length of the videos differs from 5 minutes up to 30 minutes, addressing different aspects of shooting rings with his flash and modifiers. Koloskov takes a lot of time to explain everything. A lot of information is told again and again, which is very welcome for the amateur and beginners. If you are more experienced it may take too long, which makes it a bit wearisome at times.

It is fun looking at the sketches Alex Koloskov makes during the videos. It can become quite difficult following this part if you are unknown to reflections on surfaces. A more simple stetch, or perhaps a few sketches would be more easy to follow.
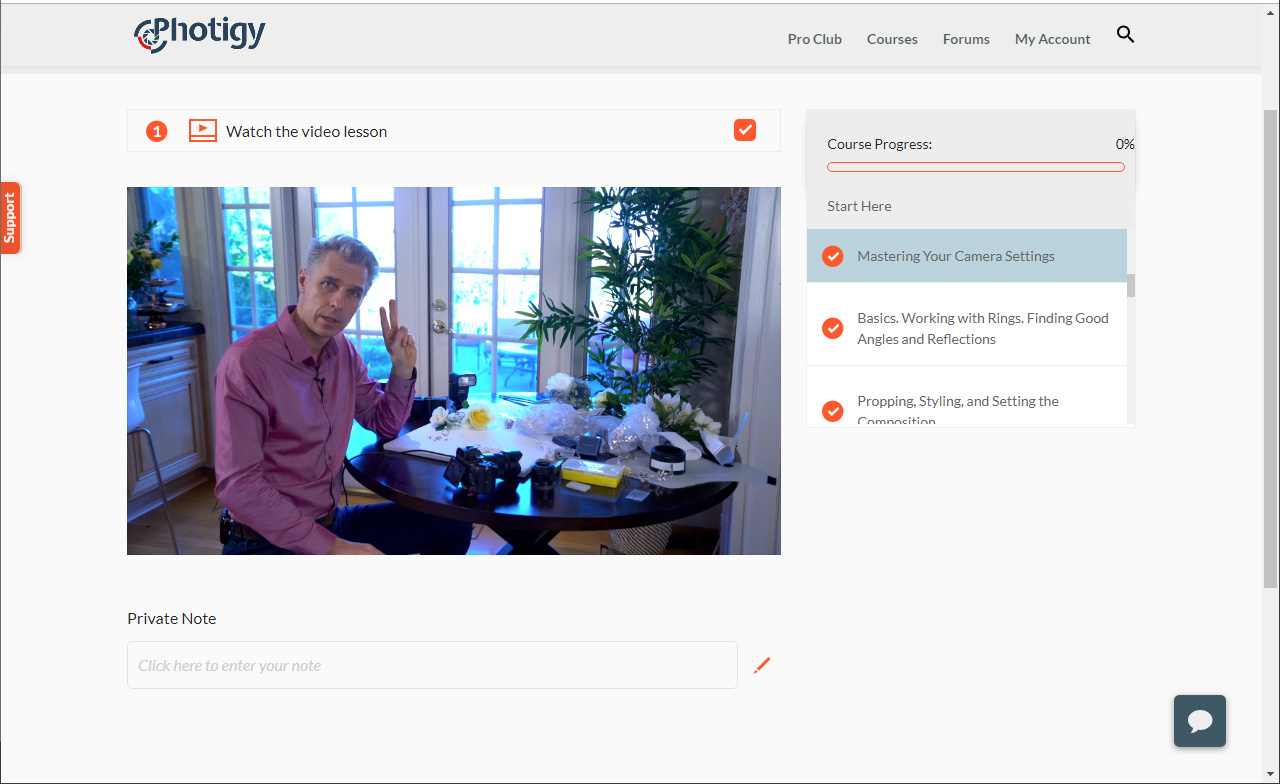
Koloskov is working in his studio and in his dining room, with an offset white balance imitating the less ideal light situation you may encounter on location. The table he works on, and were he shoots the rings, is one big mess with props and stuff. But as you can see it does not really matter for the result. In a way it demonstrates you don’t need a lot of room for good images.

Shooting wedding rings on a small table, cluttered with props. It is possible, as Alex Koloskov is showing us; you don´t need much room to work on. Nevertheless I would prefer a more tidy workspace. I still don't understand why the white balance is set in this manner.
His Russian dialect can be difficult to follow at times, but after a while you get used to it. Although he follows a reasonable logic flow, it sometimes feels a bit ad hoc. The does not use difficult terms so it is ideal for the amateur and beginner.
The videos do feel amateurish at times. Sound is not consistent in the dining room area, and the editing is not always of a professional level. The thing that bothers me more is the quality of the example photos he is taking. Some of them are not sharp and depth of field is not covered. Of course this does not change anything for the lightning technique. Nevertheless it would have a better appeal if the images were sharp enough and an advice about the depth of field would be a great addition to this course.
The last part of the course we are shown how the photos from the course are treated in Lightroom and Photoshop. The two videos take about one hour each. We see different techniques of post processing. I think it would be better if a selection of shorter videos, covering different techniques would make it more accessible.

The course includes post processing in Lightroom and Photoshop. The videos are long and the way the post processing is done could be more structured. Some techniques are really helpful for cleaning up the image with a nice end result.
Conclusion
There is a way to shoot jewelry with a professional look in any environment, with just a few simple tools and technique. Koloskov demonstrates this technique extensively in this videos. We also get the opportunity to follow different post-production techniques in Lightroom and Photoshop, but I think there could be a more structured way to do this. For me as a more experienced photographer, the videos are too long for the things that are covered. But I also realize that less experienced photographer may have benefit from repeating the technique and showing it more than once.
What I Liked
- The course is simple and no difficult terms are used
- There is no need for expensive equipment
- The videos are friendly and not too serious
- You receive very good results without not much difficulties
What I Did Not Like
- When the course progresses no more information is provided
- The course is too long for the information that is given
- Information about the use of depth of field is not covered
- Sometimes videos are too long – dividing into smaller parts would be better
- The post production is missing a good structured workflow
I would like to end this review with a couple of examples I made with the techniques used and learned from this course. And I must admit, although it took Alex Koloskov of Photigy a long time to explain, his technique surely works like a charm. The pictures I will shoot of wedding rings in future wedding will be much better. I can recommend this course.
You can find the course with this link.


I used to be a Photigy subscriber, but I moved to Karl Taylor Education pretty quickly. While I learned a lot from Alex, I much prefer KTE for the cons you stated. Oh, and the price is an incredible value.
I am sure Karl has great content and price. At Photigy, we are concentrated on product photography really deep, like nobody else, and as any niche product, our experience cost more. Thank you, John!
Alex - My intent here isn't to cast any aspersions. I respect your work, both as a photographer and an educator. As I said, I learned a lot from you, and for that I'm very grateful.
I try to couple criticism with suggestions, so I would strongly encourage you to continue to work on your production quality. I often receive emails with improper English grammar, and the videos seem somewhat ad-hoc and/or unpolished.
A great simple first step would be to run all of your text content (site, email, etc.) through Grammarly. A second would be to edit your videos like you would a photo being delivered to a client.
I hope that this is much more helpful than hurtful. You do good work.
John
Thanks for the review! However, I am surprised you did not include images from the course. Let me add a few - this is what you'll be able to do yourself after watching course videos
Few more
Thanks for adding these photos, Alex. But let me remind you, it is a review of the course. That is why I choose the show the benefit I got from the course.
On the second one, the word "negative" is really not a good choice……………
I must say, Alex Koloskov has the best content on youtube if you are looking to become a commercial photographer. I haven't ever purchased any of his workshops, but if they are anything like his youtube videos then they are certainly worth the money. Keep up the good work.
Thank you, Scott!
Yes, we have some courses dedicated to business Alexander ;)
Oh the irony. An online blog founded on original, behind-the-scenes videos and video tutorials writing reviews of other online tutorials.
It is a bit odd.
Can't see an issue with it. People visit Fstoppers because they want gear reviews, to learn, to discuss and to keep up-to-date with the industry. Basically a one-stop-shop for all things photography (and some video), no? Reviews of courses fit in there as well.
I'll never get used to that spelling above of 'Jewellery' haha...
Thanks for the review. I want to show a photo taken for one2threejewelry.com