
In my previous article, I wrote about the basics of aperture. Once you have got to grips with that, there is more information that's really useful to know.
Like my first article, I have been simplistic when explaining the different aspects below. Yes, I could delve much deeper by providing the formula for calculating the depth of field, or include what little I know about quantum mechanics, but that is unnecessary. This is a brief outline aimed at novice photographers. Each subheading will almost certainly have a full article here about it. So, if you want to learn more about hyperfocal distance or bokeh, then please search Fstoppers for that information.
Explaining Hyperfocal Distance
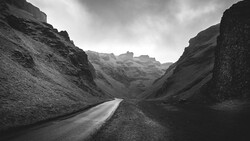
Hyperfocal distance is the closest distance at which a lens can be focused while keeping objects at infinity acceptably sharp. Focusing at this distance maximizes the depth of field, making it a valuable technique for landscape photography where both foreground and background must be sharp.
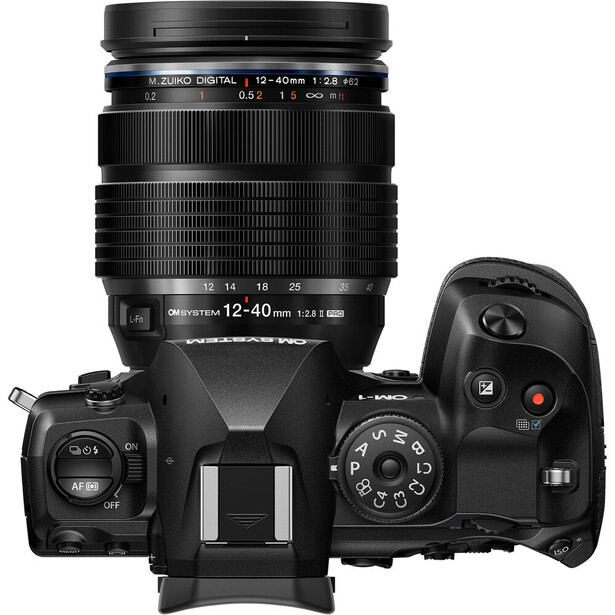
The hyperfocal distance varies depending on the camera and lens combination. Many photographers use an app called PhotoPills to calculate it. For example, on my OM System OM-1 Mark II, when paired with a 12mm lens at f/2.8, the hyperfocal distance is 3.39 meters away. So, if I focus at that distance, as I did in the following photo, I know everything from 1.79 meters to infinity will be in focus.

Explaining Diffraction
Diffraction is the bending of light waves around obstacles. Light, therefore, bends around the edges of the aperture blades, so at small apertures this effect is exaggerated. Consequently, it causes a loss of sharpness in images.
Becoming more pronounced at smaller apertures (higher f-numbers) and leading to softer images, it's caused by the diffracted light waves interfering with each other as they bend around the edges of the blades. With my camera system, I rarely go to a smaller aperture than f/11 for this reason.

The Size of an Image Affects the Apparent Depth of Field
The perceived depth of field can change depending on the size at which an image is viewed. Larger prints or screen displays reveal more details and make the depth of field appear shallower. Meanwhile, smaller prints or screens can make the depth of field appear deeper. That's due to the reduced visibility of those fine details. Consequently, you can sometimes get away with posting a soft image on Instagram because a phone screen is tiny.
Enlarging an image and pixel-peeping beyond 100% reduces the apparent depth of field to zero.

Bokeh
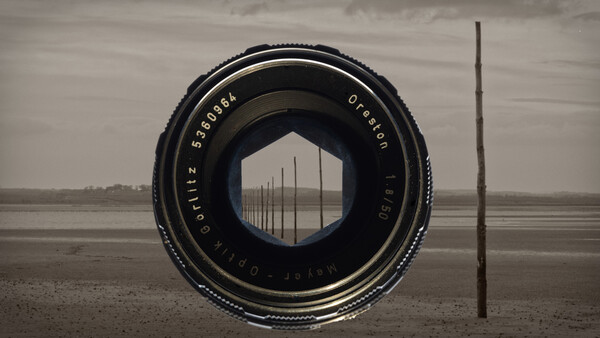
Bokeh (pronounced boh-keh) refers to the aesthetic quality of the out-of-focus areas. The shape and design of the aperture blades influence it, with lenses with more rounded blades tending to produce smoother, more pleasing bokeh. However, that is subjective; I really like the bokeh produced by one of my vintage lenses with six straight blades.
Aperture and Lens Aberrations
Lens aberrations are optical imperfections that can affect image quality. Typically, we see this as softness in the image and/or colored borders (chromatic aberration) around high-contrast edges, e.g., darker subjects against a bright sky.
The aperture setting can influence the severity of aberrations. Making the aperture smaller (i.e., using a higher f-number) can help reduce chromatic aberration and improve overall sharpness. Many lenses work best a few stops smaller than their wide-open setting. This difference is more noticeable with cheap lenses than with high-end professional models.

Aperture and Vignetting
Vignetting is the darkening of image corners compared to the center. It is more pronounced at wider apertures. Consequently, it can be reduced by stopping down the lens.

Aperture and Starburst Effects
Starburst effects occur when a point of light (like the sun at sunrise) appears as star-shaped bursts in a photograph. This effect is pronounced more at smaller apertures due to the diffraction of light around the aperture blades.

Aperture and Exposure Triangle
While I’ve written about the aperture’s effect on shutter speed, most photographers talk about the exposure triangle, which also includes the ISO. This concept is fundamental in photography. Understanding how these three elements interact can help you achieve the desired exposure and creative effects. But I will save ISO for a later article.
Aperture Priority Mode
Aperture Priority Mode is usually shown as A on most camera mode dials, although Canon uses Av. It allows photographers to set the aperture. The camera then automatically adjusts the shutter speed to achieve the correct exposure. This mode is particularly useful for controlling depth of field, and it’s also useful for those who shoot when the light can quickly change, as it does the heavy lifting and sets the exposure immediately. In manual mode, for example, you might miss the action if you had to wind the command dial a long way to achieve the right shutter speed.
Furthermore, in Aperture Priority Mode, the range of exposures is restricted between the widest and narrowest aperture. Whatever you set the aperture to, you are likely to achieve close to your desired exposure, as the shutter speed will be restricted by those limits of maybe six or seven stops of the lens. However, in Shutter Priority or Manual Mode, and depending on the camera, you can set the shutter from 60 to 1/8,000 seconds—a far wider set of limits (20 stops) than is possible with the lens. Consequently, it’s possible to accidentally get a hugely over- or underexposed image.
Creative Uses of Aperture
Using a wide aperture for dreamy, soft-focus portraits or a small aperture for starburst effects can completely change the feel of a photo. Furthermore, as the aperture also affects the shutter speed, it can be used for controlling motion blur or stopping action; a small aperture will result in a slower shutter.
So, here are some creative applications for different genres of photography:
-
Still Life and Close-up Photography: Smaller apertures (high f-numbers) ensure that the entire subject is in focus.
-
Landscape Photography: Smaller apertures maximize depth of field, thus keeping both foreground and background sharp.
-
Portraiture: Large apertures result in a shallow depth of field, making the subject stand out against a blurred background. However, a common mistake is using too shallow a depth of field, resulting in not enough of the face in focus.
-
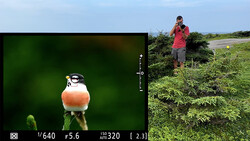
Wildlife Photography: Large apertures help isolate animals from their backgrounds and allow for faster shutter speeds that may be needed to freeze motion. However, sometimes more depth of field is required to add context to a photo. As with portraiture, too shallow a depth of field can result in too little of the subject being sharp.
-
Street Photography: Medium apertures balance depth of field and shutter speed, capturing scenes with sufficient context and detail.

The Times They Are AI Changing
Modern AI technology in cameras and post-processing software can simulate shallow depth of field by blurring backgrounds. Furthermore, AI algorithms can also sharpen images by reducing motion blur and improving detail where the photographer has got it wrong. However, they are not perfect and can leave odd artifacts in the photo. But over time, these are likely to improve, and depth of field control using the camera’s settings will become a thing of the past. Even if that happens, there's a lot to be said for controlling the aperture to achieve the look you want.
Like my shutter speed article, there's too much information here and my previous aperture article to take it in all at once, and it is probably worth bookmarking these pages and revisiting them.
Thank you for reading. If you have any questions, please leave them in the comments, and I am sure some of your kind and helpful readers will beat me in rushing to answer them.


Join the Fstoppers community for free
-
Post comments and join in the discussions
-
Browse the site ad-free
-
Share your work and get featured in the community
-
Compete in the photo contests for fun and prizes
11 Comments
Also useful to mention,I think, is that diffraction also depends on the size of the pixel, , the smaller the photosite the earlier diffraction will effect the results. In a good camera test/specs they often state the diffraction limit.
Thank you Ruud. That indeed affects the visible signs of diffraction of a photo, as does the print size, or how far you zoom in on a screen, and other factors, such as Dennis's comment below.
Indeed, and there’s always the question what is acceptable sharp, and how important is that in a particular photo.
Very good explanation of lens aperture except for 1 comment. I know that technically that diffraction increases the smaller the aperture but I've never in 45 years of professional photographer ever had any one say my images were not sharp because of the f/stop I used. 90% of my work is with a 4x5" camera. If you need to stop down to get more depth of field, do it. What you might loose in sharpness due to diffraction you'll more than make up in increase DOF.
Yes, you are right. With medium and large format cameras, you can get away with larger f-numbers than those that use smaller sensors, hence Andell Adams being in the f/64 group. Thanks for the useful addition to the conversation.
I have been reading and rereading this article since 1961 and I always learn something. That’s why I always enjoy them. I especially gained from your archival examples. As Philippe Halsman said “the old equipment’s always the best (his wife)🕶️
Thank you, Tim. Philippe Halsman was an amazing photographer, and his work still influences many photographers today, even if they don't realise it. Thanks for taking the time to comment and prompting me to spend a while browsing some of his work again.
nice again. very interesting and useful for beginners with dslr and mirrorless.
Thank you for the comment, Tessa. This is an article very much aimed at helping beginners get to grips with some of the concepts of exposure. Likewise, my previous articles on shutter speed and aperture. It's nice to read they are well-received.
Great article Ivor! Something I do not hear talked about enough with lenses is how focal length has a greater effect on DOF vs aperture. For instance how you can get the entire scene in focus with a 15mm 2.8 but focused at the same distance with a 200mm you get a DOF of one inch. Photo pills has defiantly been a worth while tool for me in so many ways.
Thanks Bryan. I love PhotoPills!
I find that when I am teaching beginners using bridge cameras with tiny sensors, changing the aperture within the usually limited range has only a small effect on DoF, but it is far more apparent when changing the focal length and/or proximity to the subject.
Thank you again for the positive comment.