
Chi Lau is a London-based photographer who has been experimenting with digital infrared photography since 2011. I was able to chat with him to learn more about the infrared process and learn what tips he has for others wanting to try it for themselves.
The Beginning
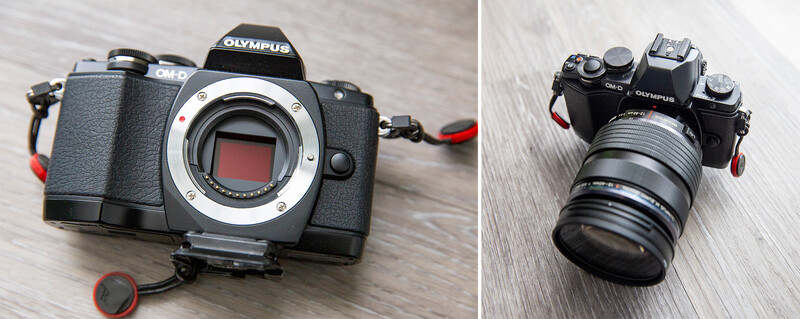
Chi more or less randomly picked up photography as a hobby back in 2008, and he immediately joined photography societies and various photography groups to learn as much as possible. After getting the basics of photography down, he became interested in more experimental processes and styles, which led him to infrared. In 2011, Chi decided to jump in and sent off his Olympus OM-D E-M10 camera to be converted into a dedicated infrared camera by Life Pixel. They put in a Super Color Infrared Filter, which is the equivalent of a 590nm filter, and shipped the camera back to him. Chi opted for the camera conversion option instead of a filter on his lens because it would allow him to compose and focus more easily and allow him to handhold the camera.
Photographing Infrared
As someone who has never photographed with infrared film or filters, I had no insight into how the shooting process would be different with infrared. Chi explained that finding a good subject that will produce an interesting image is much more difficult than with normal photography. He has taken thousands of infrared images but has only loved 10-15 enough to publish. Experimentation and being okay with playing around is extra essential with this style of photography.
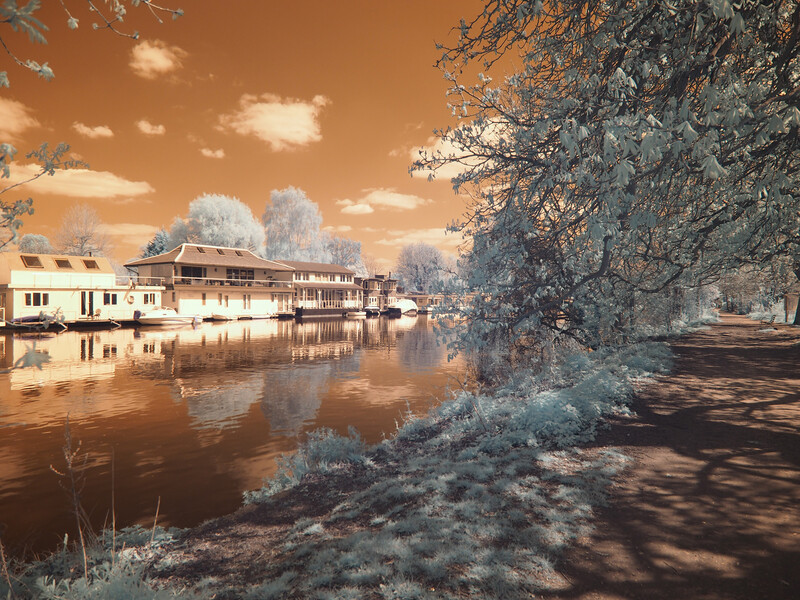
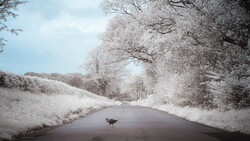
There are a few subjects that he suggested focusing on (no pun intended) when shooting infrared: trees and foliage, in general, and water. Lush foliage is probably the most common infrared subject; the leaves turn rather ethereal in color, tone, and texture, making them beautiful and interesting. Water is another favorite subject for Chi, and many of his infrared images are scenes with bodies of water.
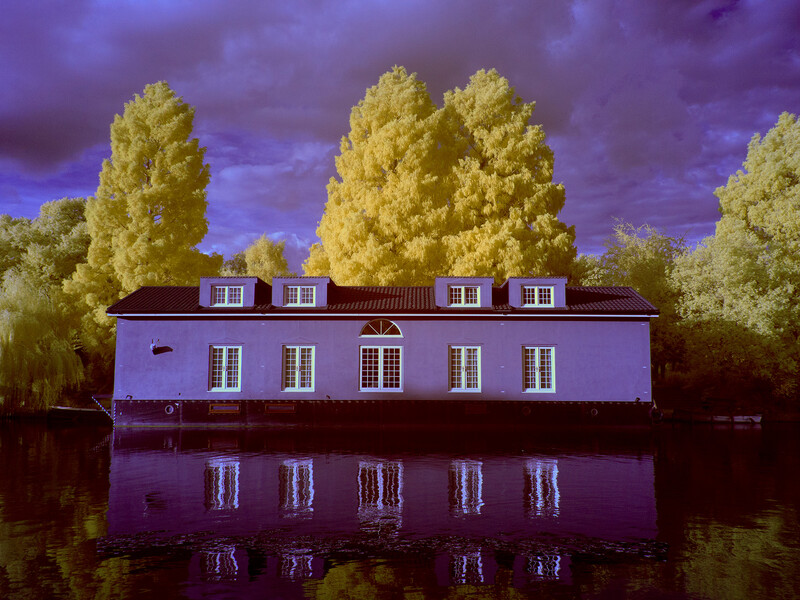
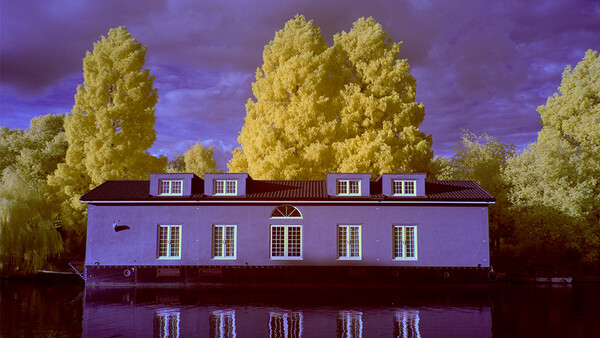
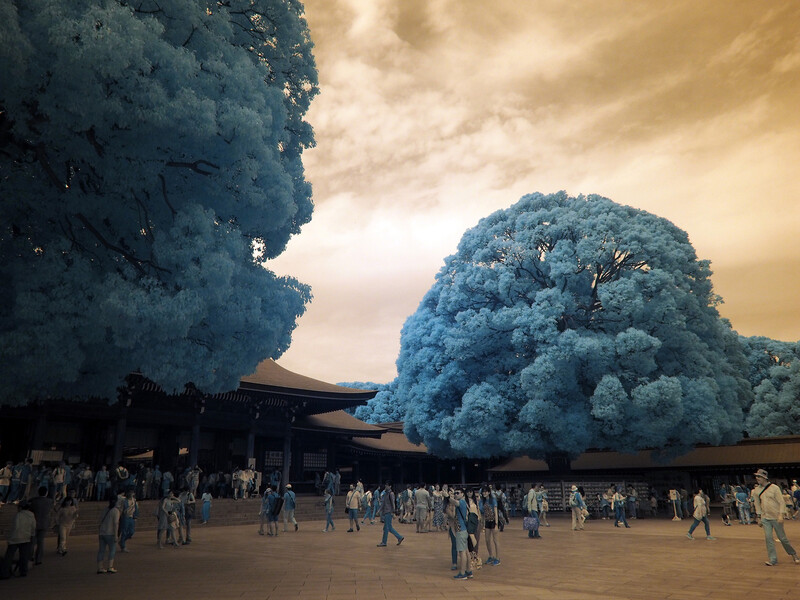
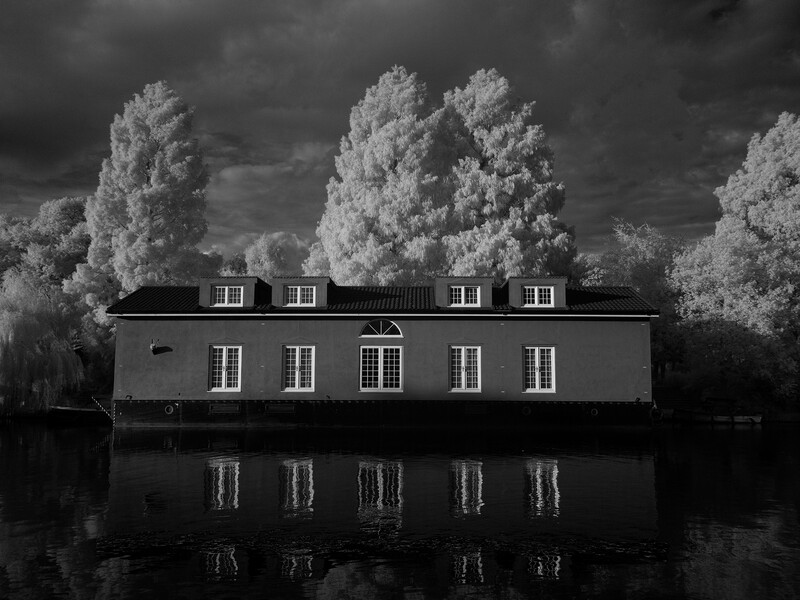
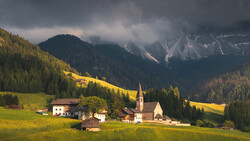
While he has tried photographing architectural images, he said that those are much more difficult to get interesting photos from and don't work as well as landscape shots. When shooting buildings, he tries to make sure that there are plenty of trees around, as well as clouds in the sky to still add interest. Bare trees also do not work well, so he generally won't even take out his infrared camera during the winter and early spring months. Photographing people (specifically crowds of people) is an interesting challenge as well, as there are no shadows, resulting in a really strange feeling. This can be used purposefully, of course, but he doesn't enjoy those subjects as much as landscapes. At the end of the day, he explained, embracing the otherworldly feel of infrared and finding subjects that emphasize that is essential.
The other challenging part of photographing with infrared filters is getting the exposure correct. While foliage is the preferred subject, leaves also pick up intense highlights, making it easy to have blown-out areas in images. Certain scenes could also result in surprisingly dark conditions for infrared, so finding a happy medium can be a challenge. White balance is also important, as the infrared filter will essentially make everything red. Adjusting white balance to a custom value in the camera and then adjusting it further on the raw file in editing is necessary.

The Editing Process
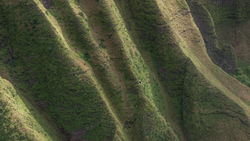
The editing process is the easy part according to Chi. Since the colors are supposed to be wild, you can essentially just do whatever you like and not worry about if it is accurate or looks too fake. For some images, Chi likes to go very dramatic with color and will use the channel mixer to fully replace colors, such as the reds and greens in the example below. That said, he doesn't want to take things too far, generally, as he doesn't want people to not realize the image is infrared and be confused. In most of his images, he tries to keep things somewhat familiar-looking, while still embracing the special aspects of the style.
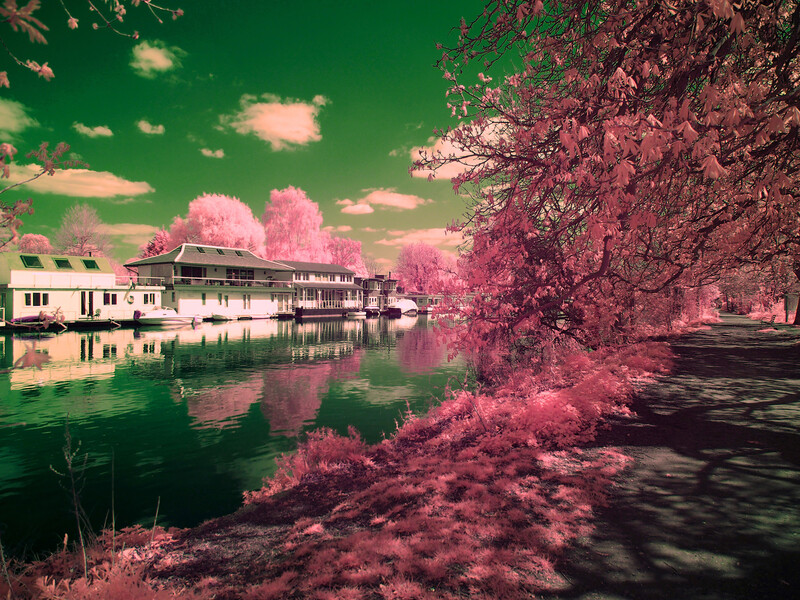
He did explain that infrared images will almost always come out really flat to begin with, so increasing contrast and adjusting levels is something he does to every single image. The most common, basic way of editing infrared images is to do a blue/red swap. This will return the sky to some shade of blue, and the leaves will become oranges and yellows. He also really enjoys infrared images converted to black and white, so that is something he frequently does as well.
Tips on Getting Started
I always want to provide at least a little bit of a useful takeaway when conducting interviews, so I asked Chi what advice he would give someone wanting to get into infrared photography.:
Do a lot of research prior to purchasing any gear about what you want in your camera (or lens). There are lots of options out there, so educating yourself and figuring out what will be best for you is important. When you have your setup, experiment a lot. Remember that it's not a normal camera and just get out there and shoot. The more you do that the more you will understand the quirks and be able to predict what will and won't work.
Have you tried infrared photography? If so, share your images in the comments!
Images used with permission of Chi Lau.


Join the Fstoppers community for free
-
Post comments and join in the discussions
-
Browse the site ad-free
-
Share your work and get featured in the community
-
Compete in the photo contests for fun and prizes
2 Comments
YAY, thank you - finally found a tutorial which guided me to the Blue/Red swap as well as how to handle the 'flat' look - I LOVE this type of photography; so much to explore still :)
So glad you found it helpful! I debated going into more detail but wanted to keep things a bit short and sweet. I absolutely love these examples you shared, especially the second and third!