
You can learn how to light paint subjects in a matter of minutes. You'll learn how to do it well. And you'll learn how to do it inexpensively (if you want). Let's go!
First, What is Light Painting?
Many photographers use "light painting" to describe any addition of light to a night photograph. It's often used as an umbrella term that includes light drawing, light writing, and kinetic light painting/camera rotation (moving the camera instead of the light).
Specifically, though, light painting uses a handheld light source to illuminate a scene during a long exposure. You are quite literally painting light on a subject. Your light is your brush. And just like with painting, you often use smooth strokes to try and achieve a nice, even "coat" of light. Night photographers have used this technique for many decades.

Why Should I Use a Handheld Light?
Light painting with a handheld light enables you to walk around with your light and illuminate your subject and scene from many different angles. This method allows you to be endlessly creative, opening up many possibilities that would be time-consuming, difficult, or impossible to do with stationary lights.
Don't get me wrong, there's nothing wrong with stationary lights. Stationary lights are outstanding for situations such as the following:
-
Using low levels of light to illuminate subjects during high-ISO photos.
-
Requiring light that is consistently on, such as if you are photographing time-lapse or doing videos.
-
Placing lights inside harder-to-reach places so you don't have to keep running back and forth to that area.
-
Never needing the light to be placed at another angle.
Is It Easy to Light Paint Subjects?
Yes, if you understand that you will require multiple tries and take joy in experimenting. After all, you are simply shining a light on a subject to illuminate it while the camera shutter is open.
Let's walk you through some of the steps for light painting subjects.
How to Set Up Your Camera

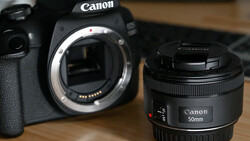
You don't need a fancy camera. However, ideally, you should be able to control it manually. Almost any DSLR or mirrorless camera offers manual control.
Set the camera on a tripod, preferably away from other lights such as streetlights. Then set your controls so you are exposing for the ambient light around you, just as you would for any sort of night photo.
It is easier to learn how to light paint when it is near a full moon. There are several reasons for this:
-
It is much easier to see where you are going!
-
You can set your camera for a low ISO and a smaller aperture (f/8 and ISO 200–400 is great) since it is considerably brighter.
-
You also have more time to light paint since you can use a shutter speed of as much as two or three minutes of exposure. Many of my photos in these examples are photographed at 2 minutes, f/8, ISO 200.
-
You don't necessarily need a fast lens (a lens with a super wide aperture of f/2.8 or even larger). Fast lenses often cost more. Most of these photos are photographed with f/8, after all.
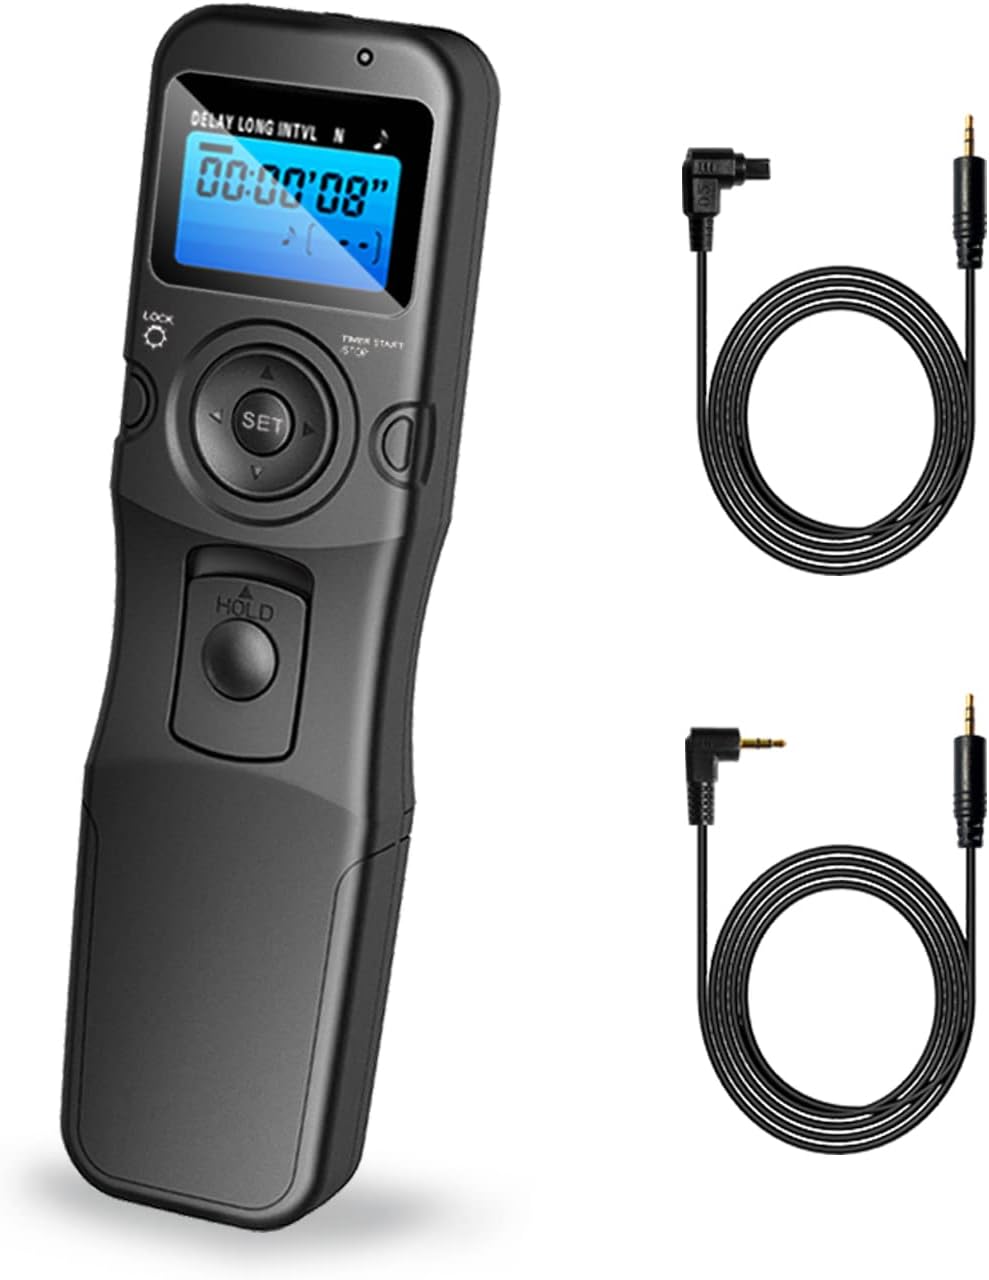
For some cameras, you may need to use an intervalometer for any exposure over 30 seconds.
How to Illuminate the Subject
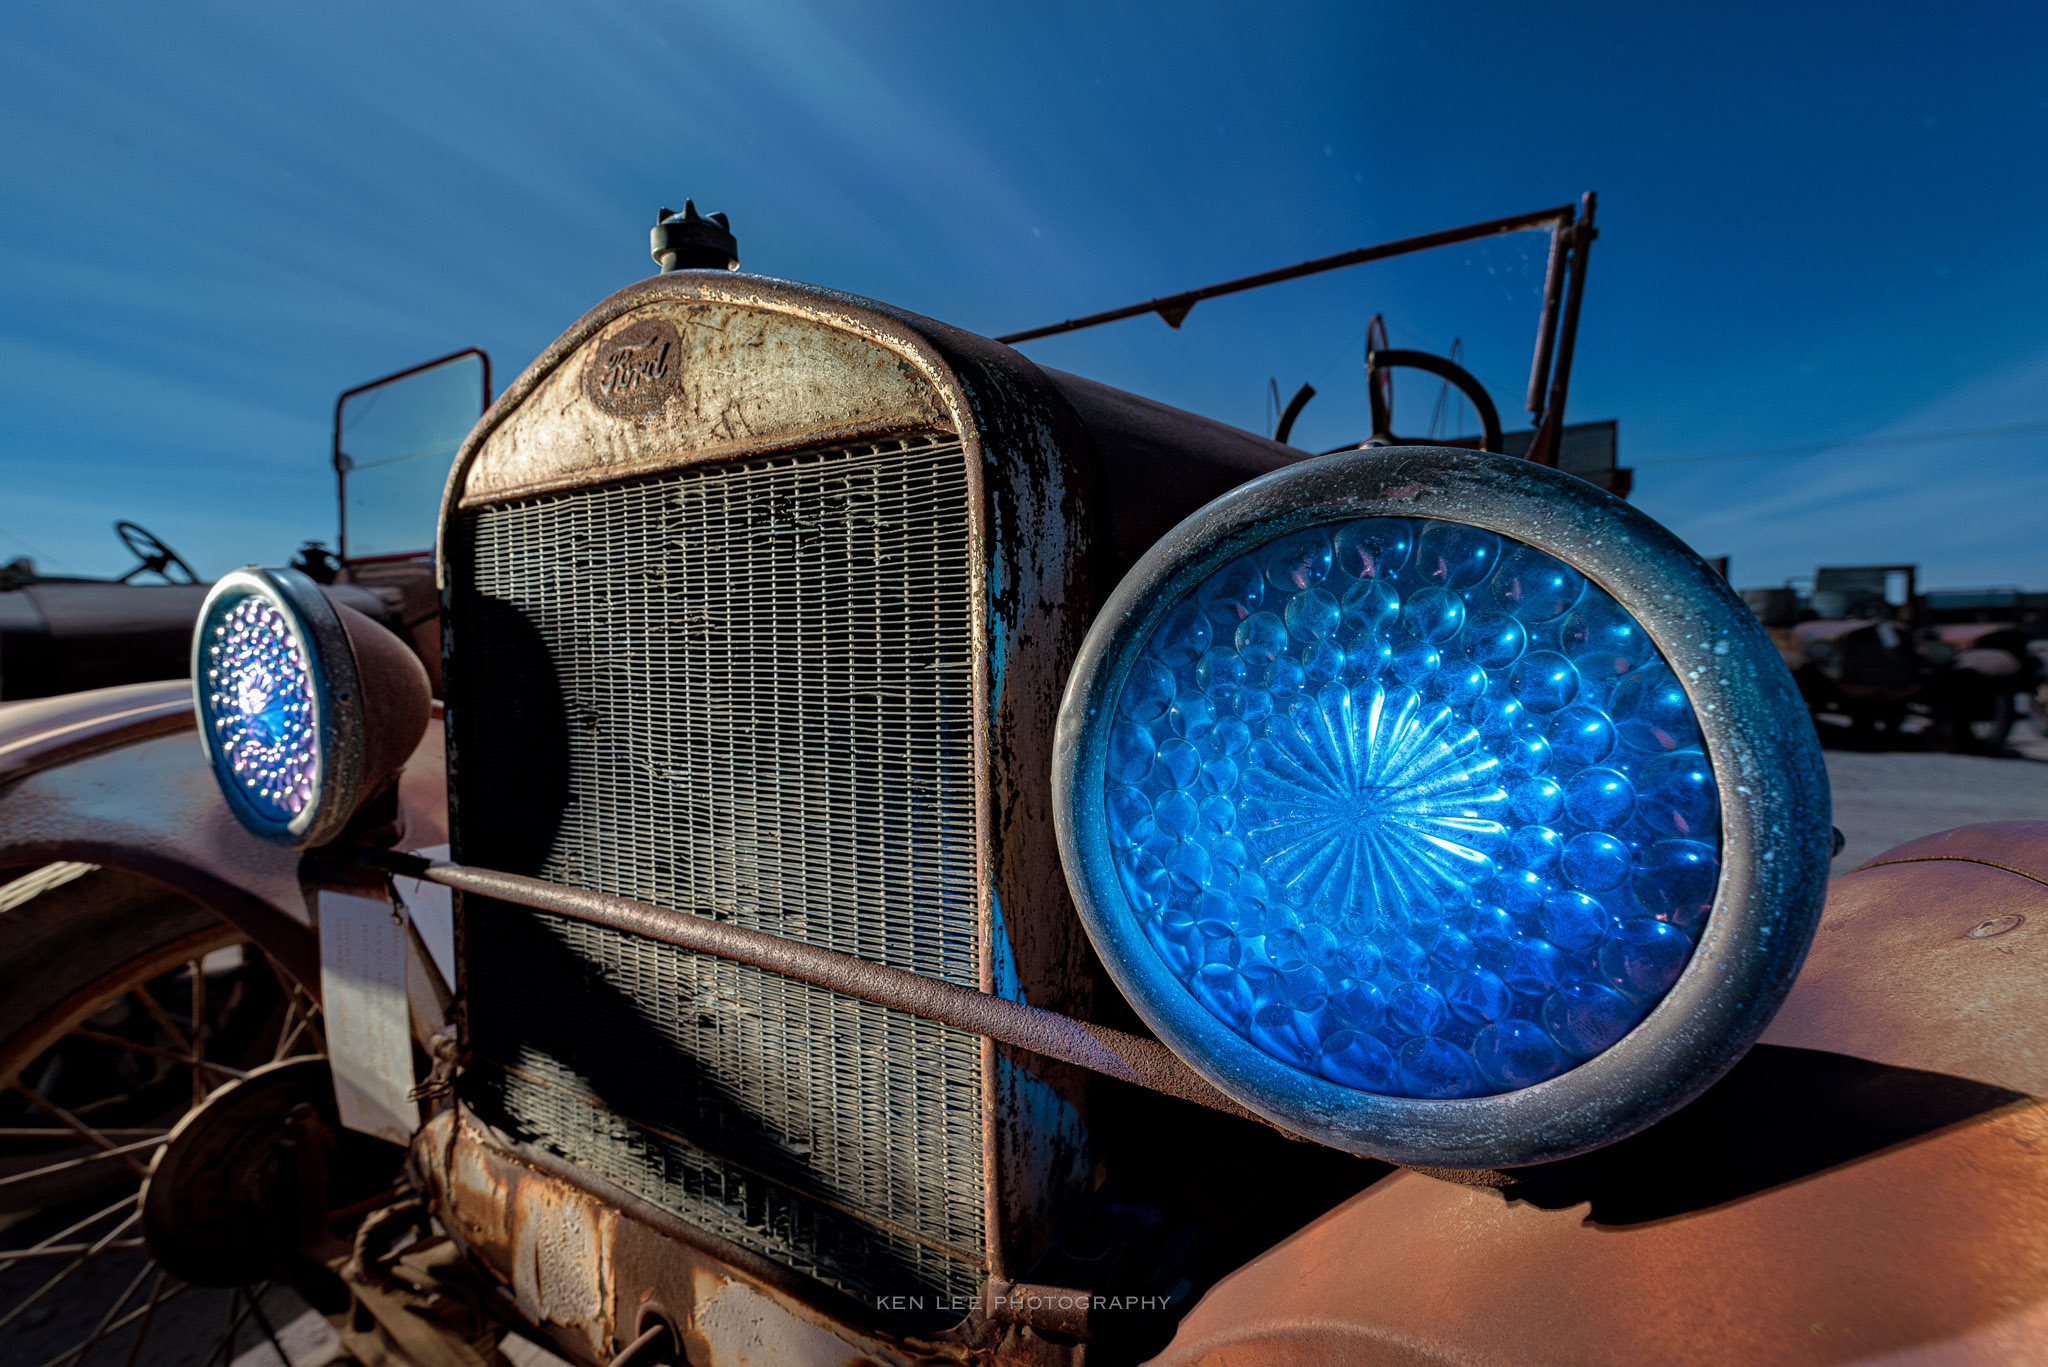
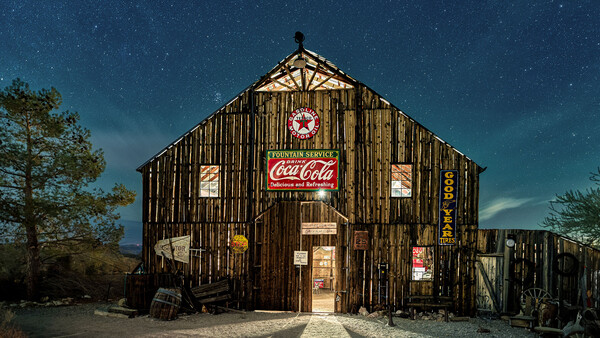
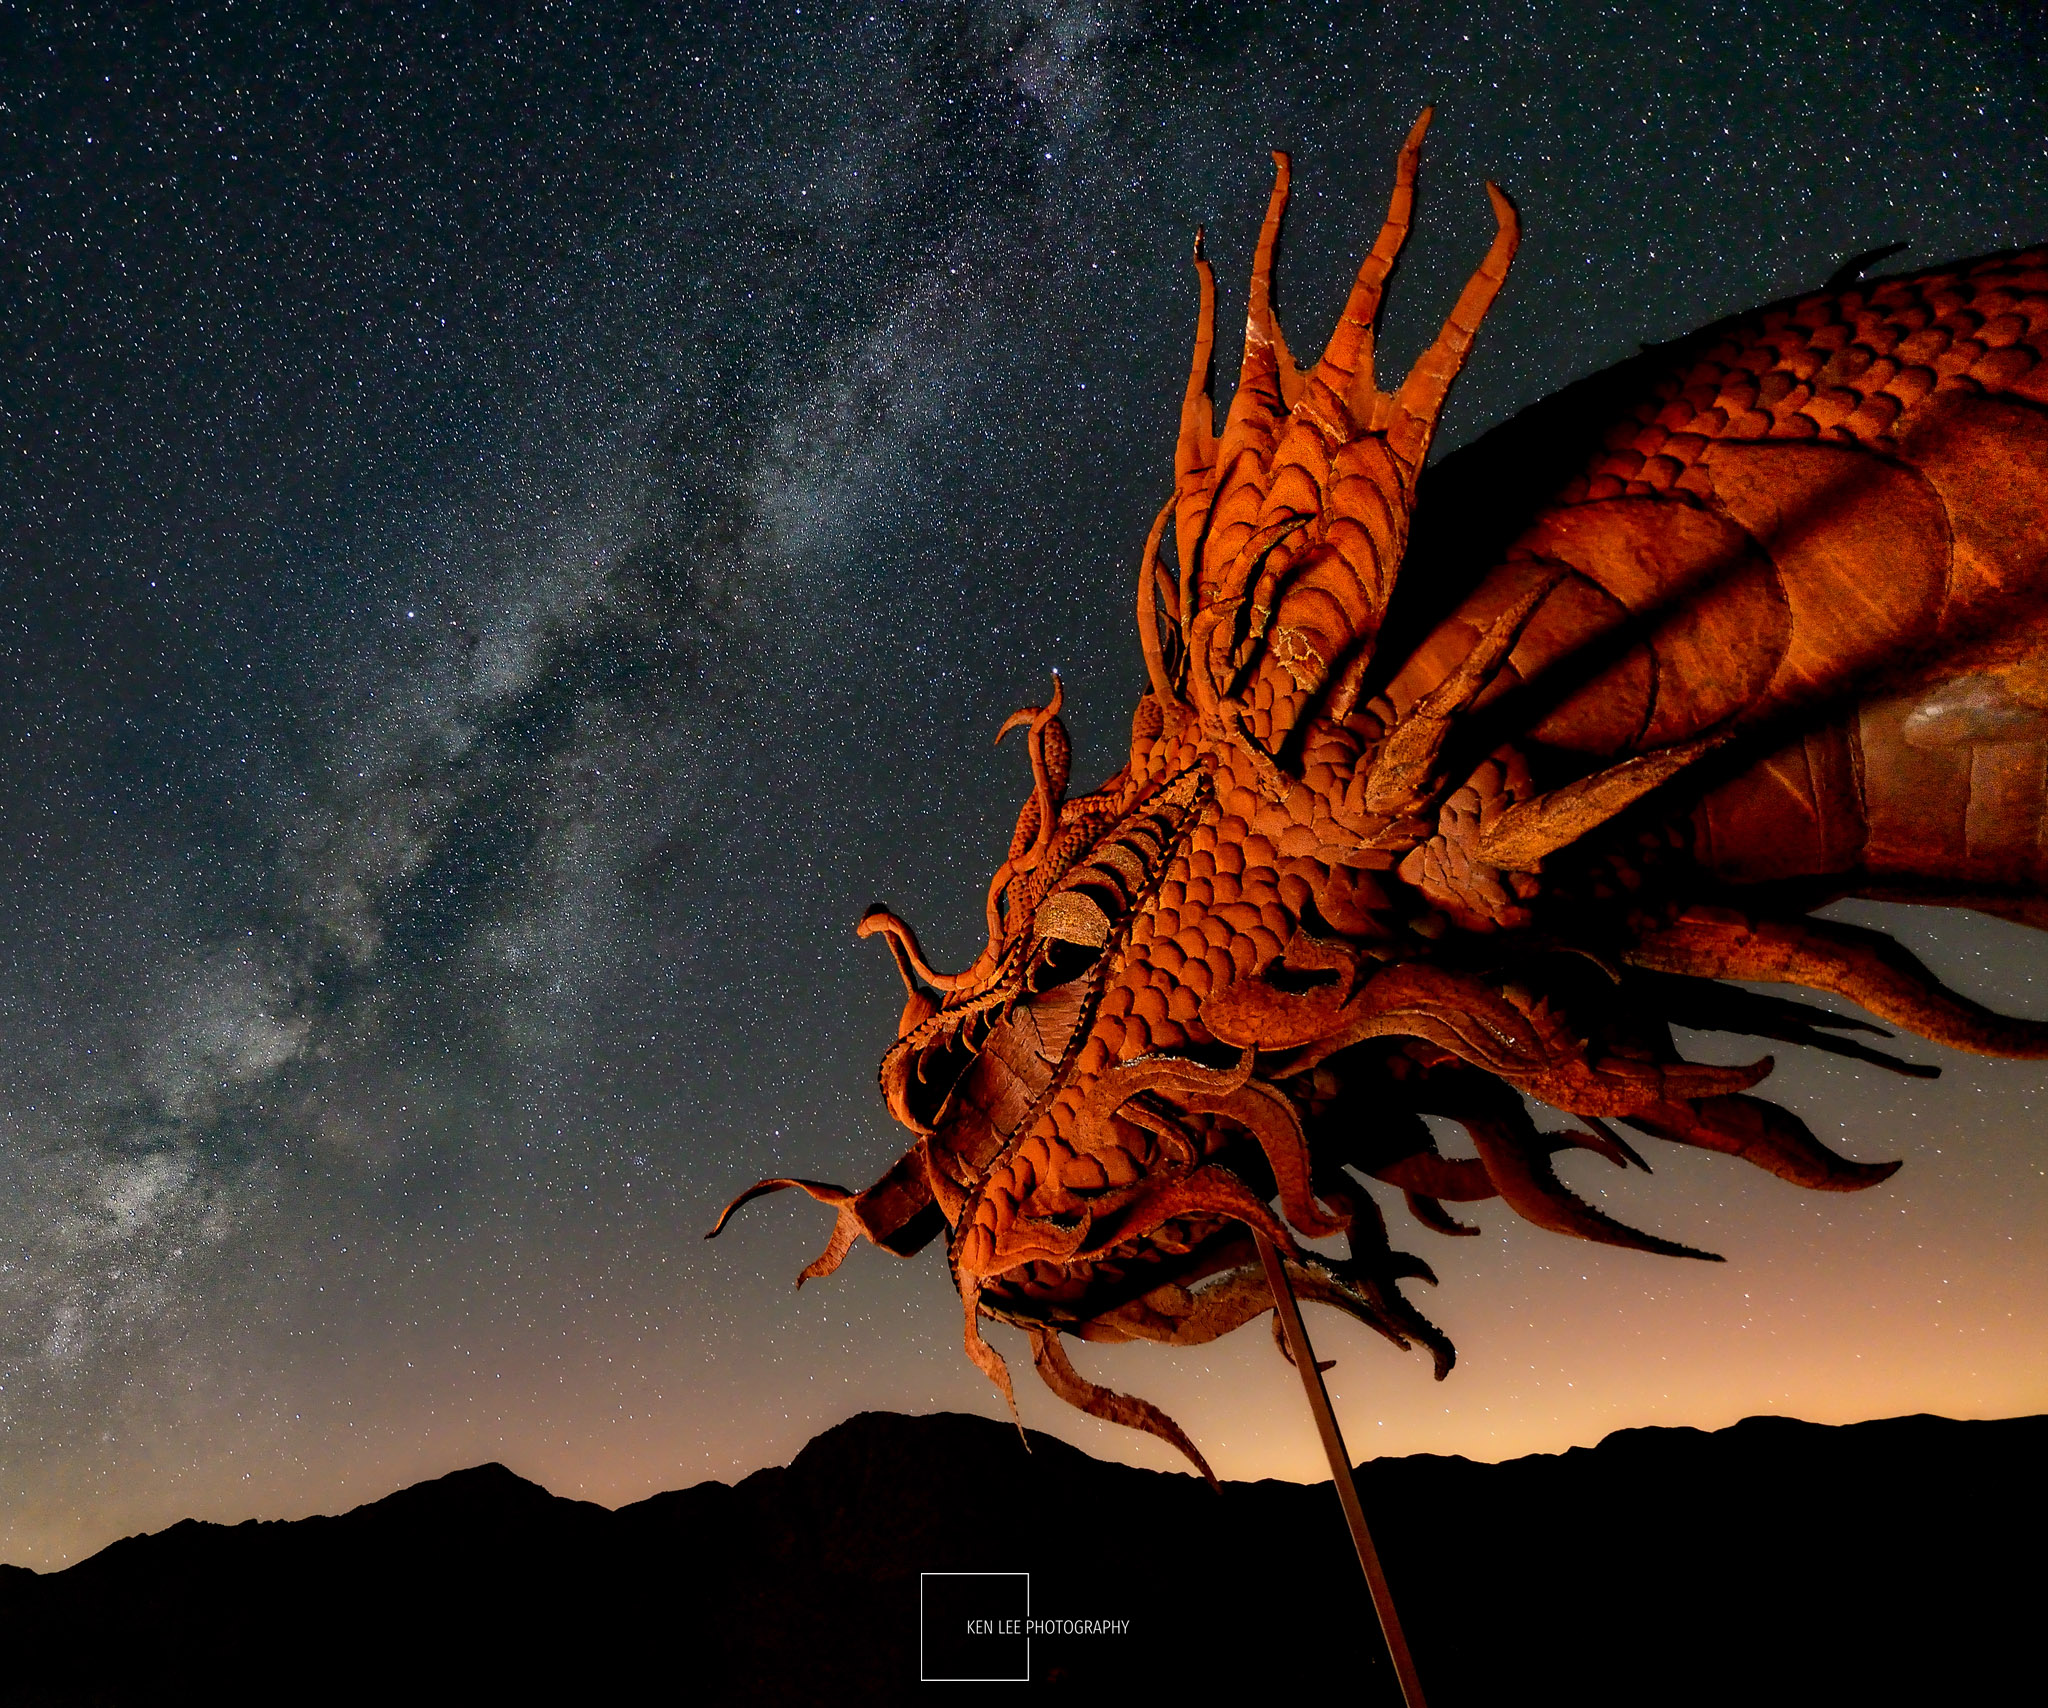
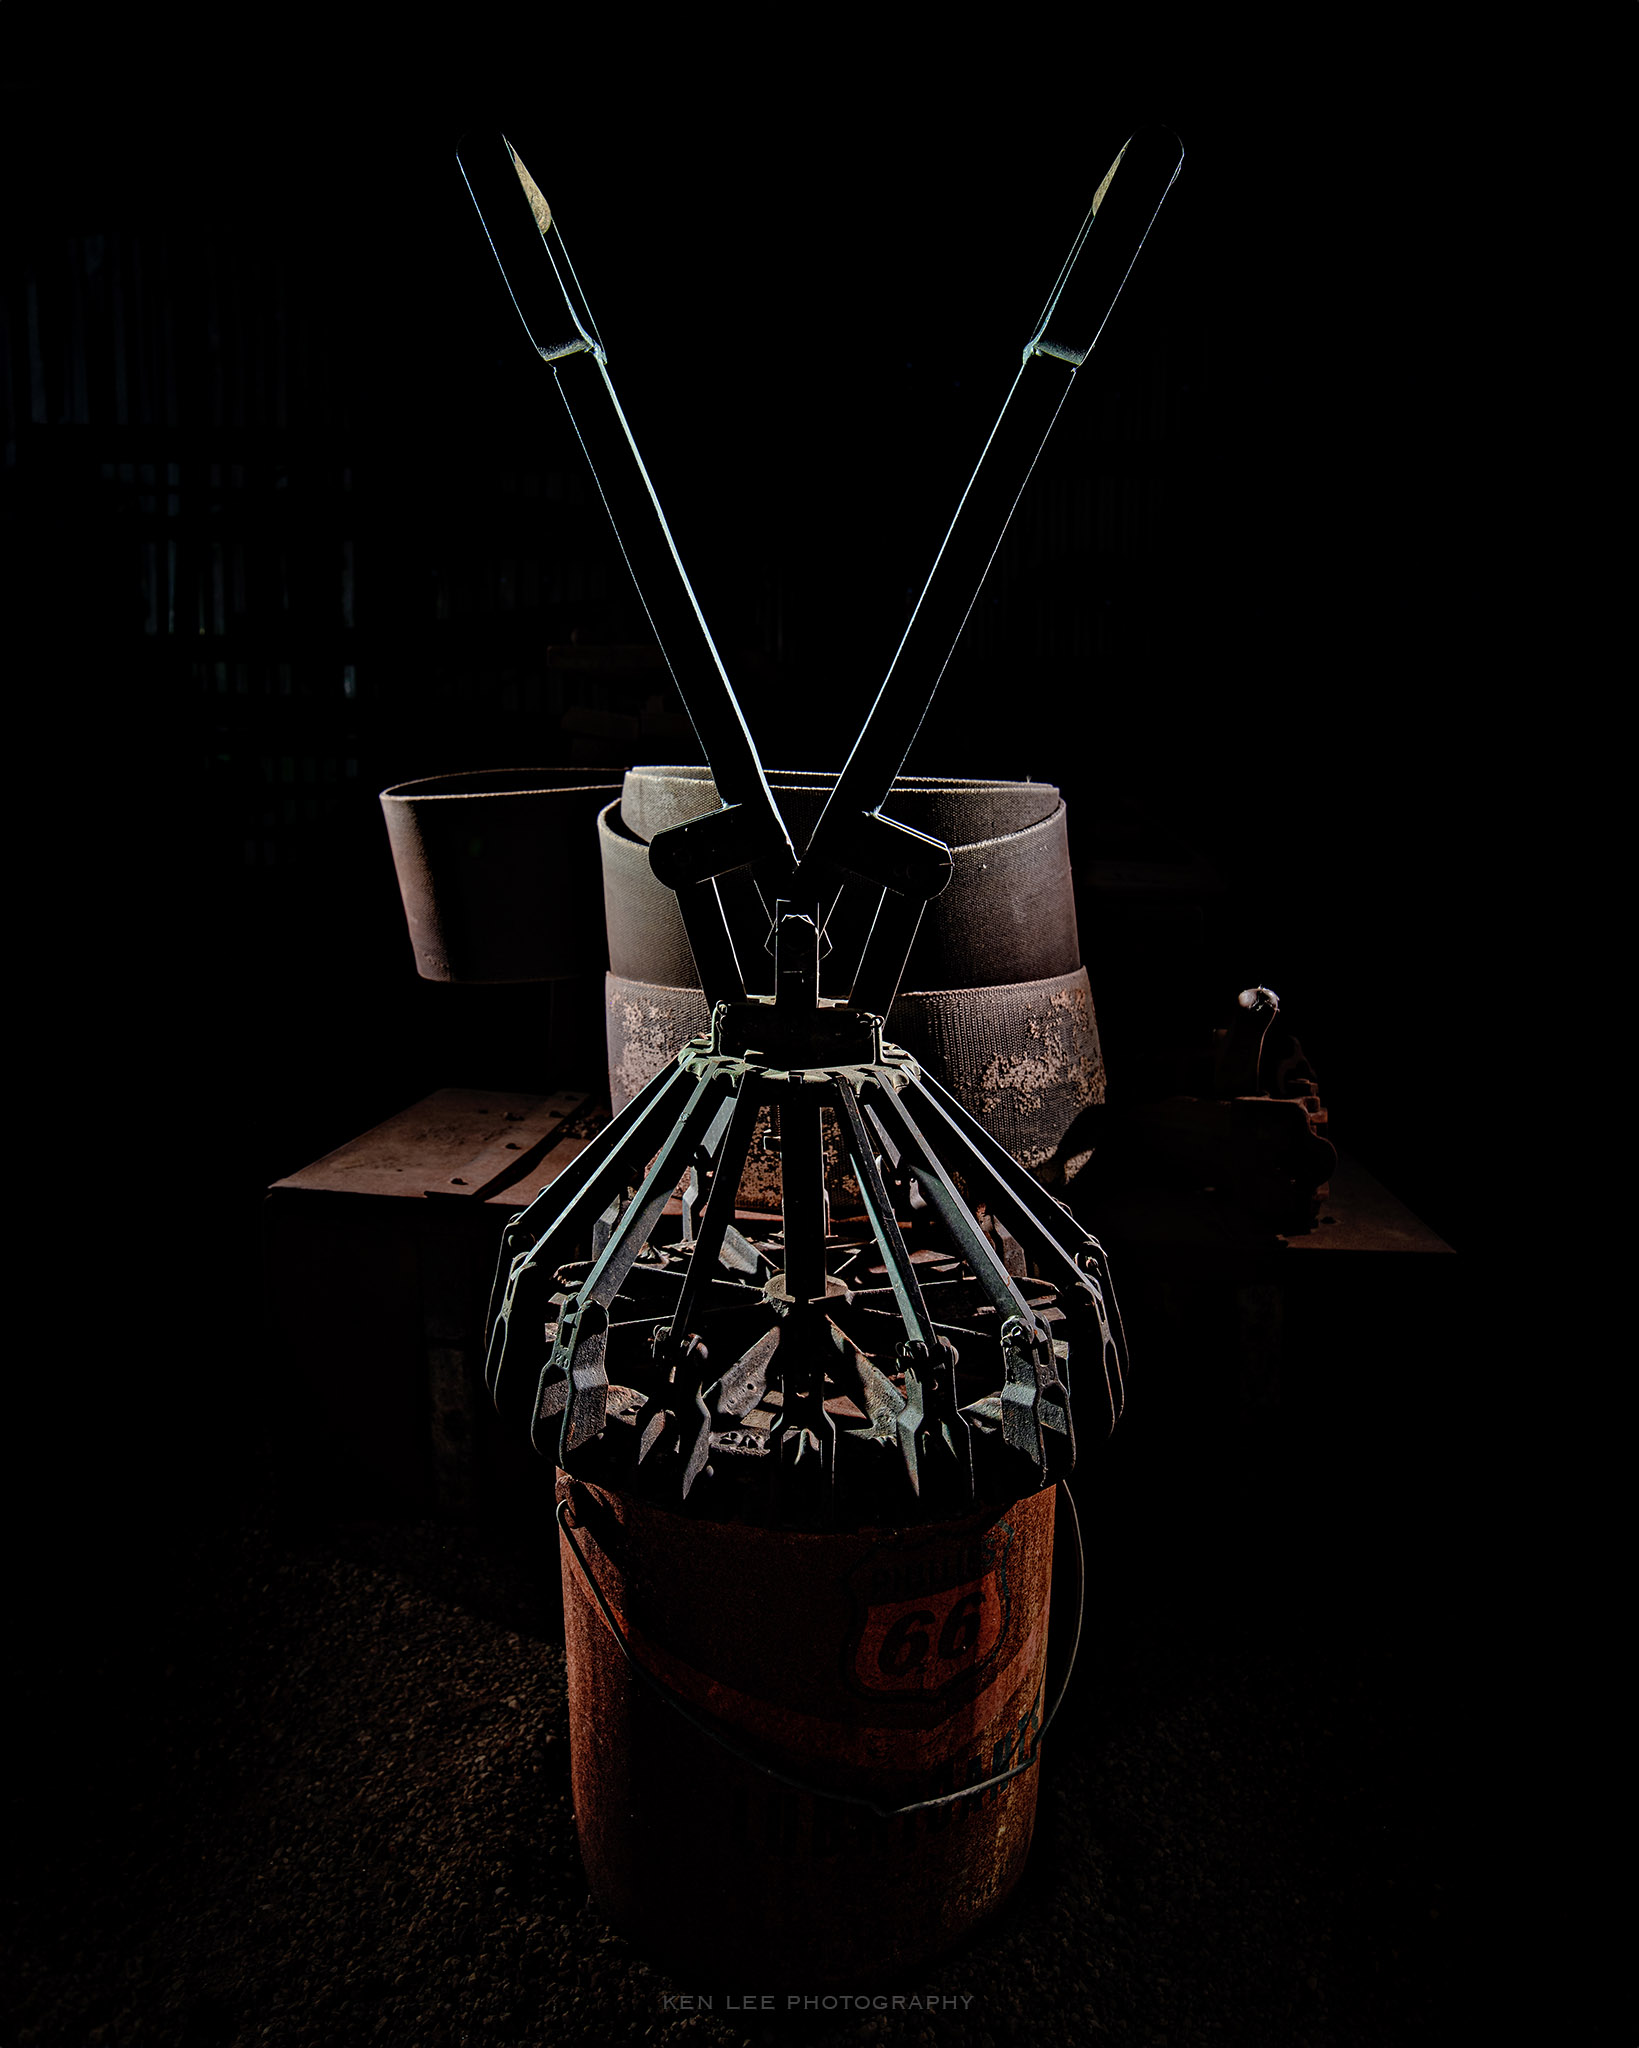
There are many ways to illuminate the subject. It is as if you are the director of a film. You decide what to illuminate and what to keep in shadow. And you also get to decide how bright you want to illuminate it, and even what color!
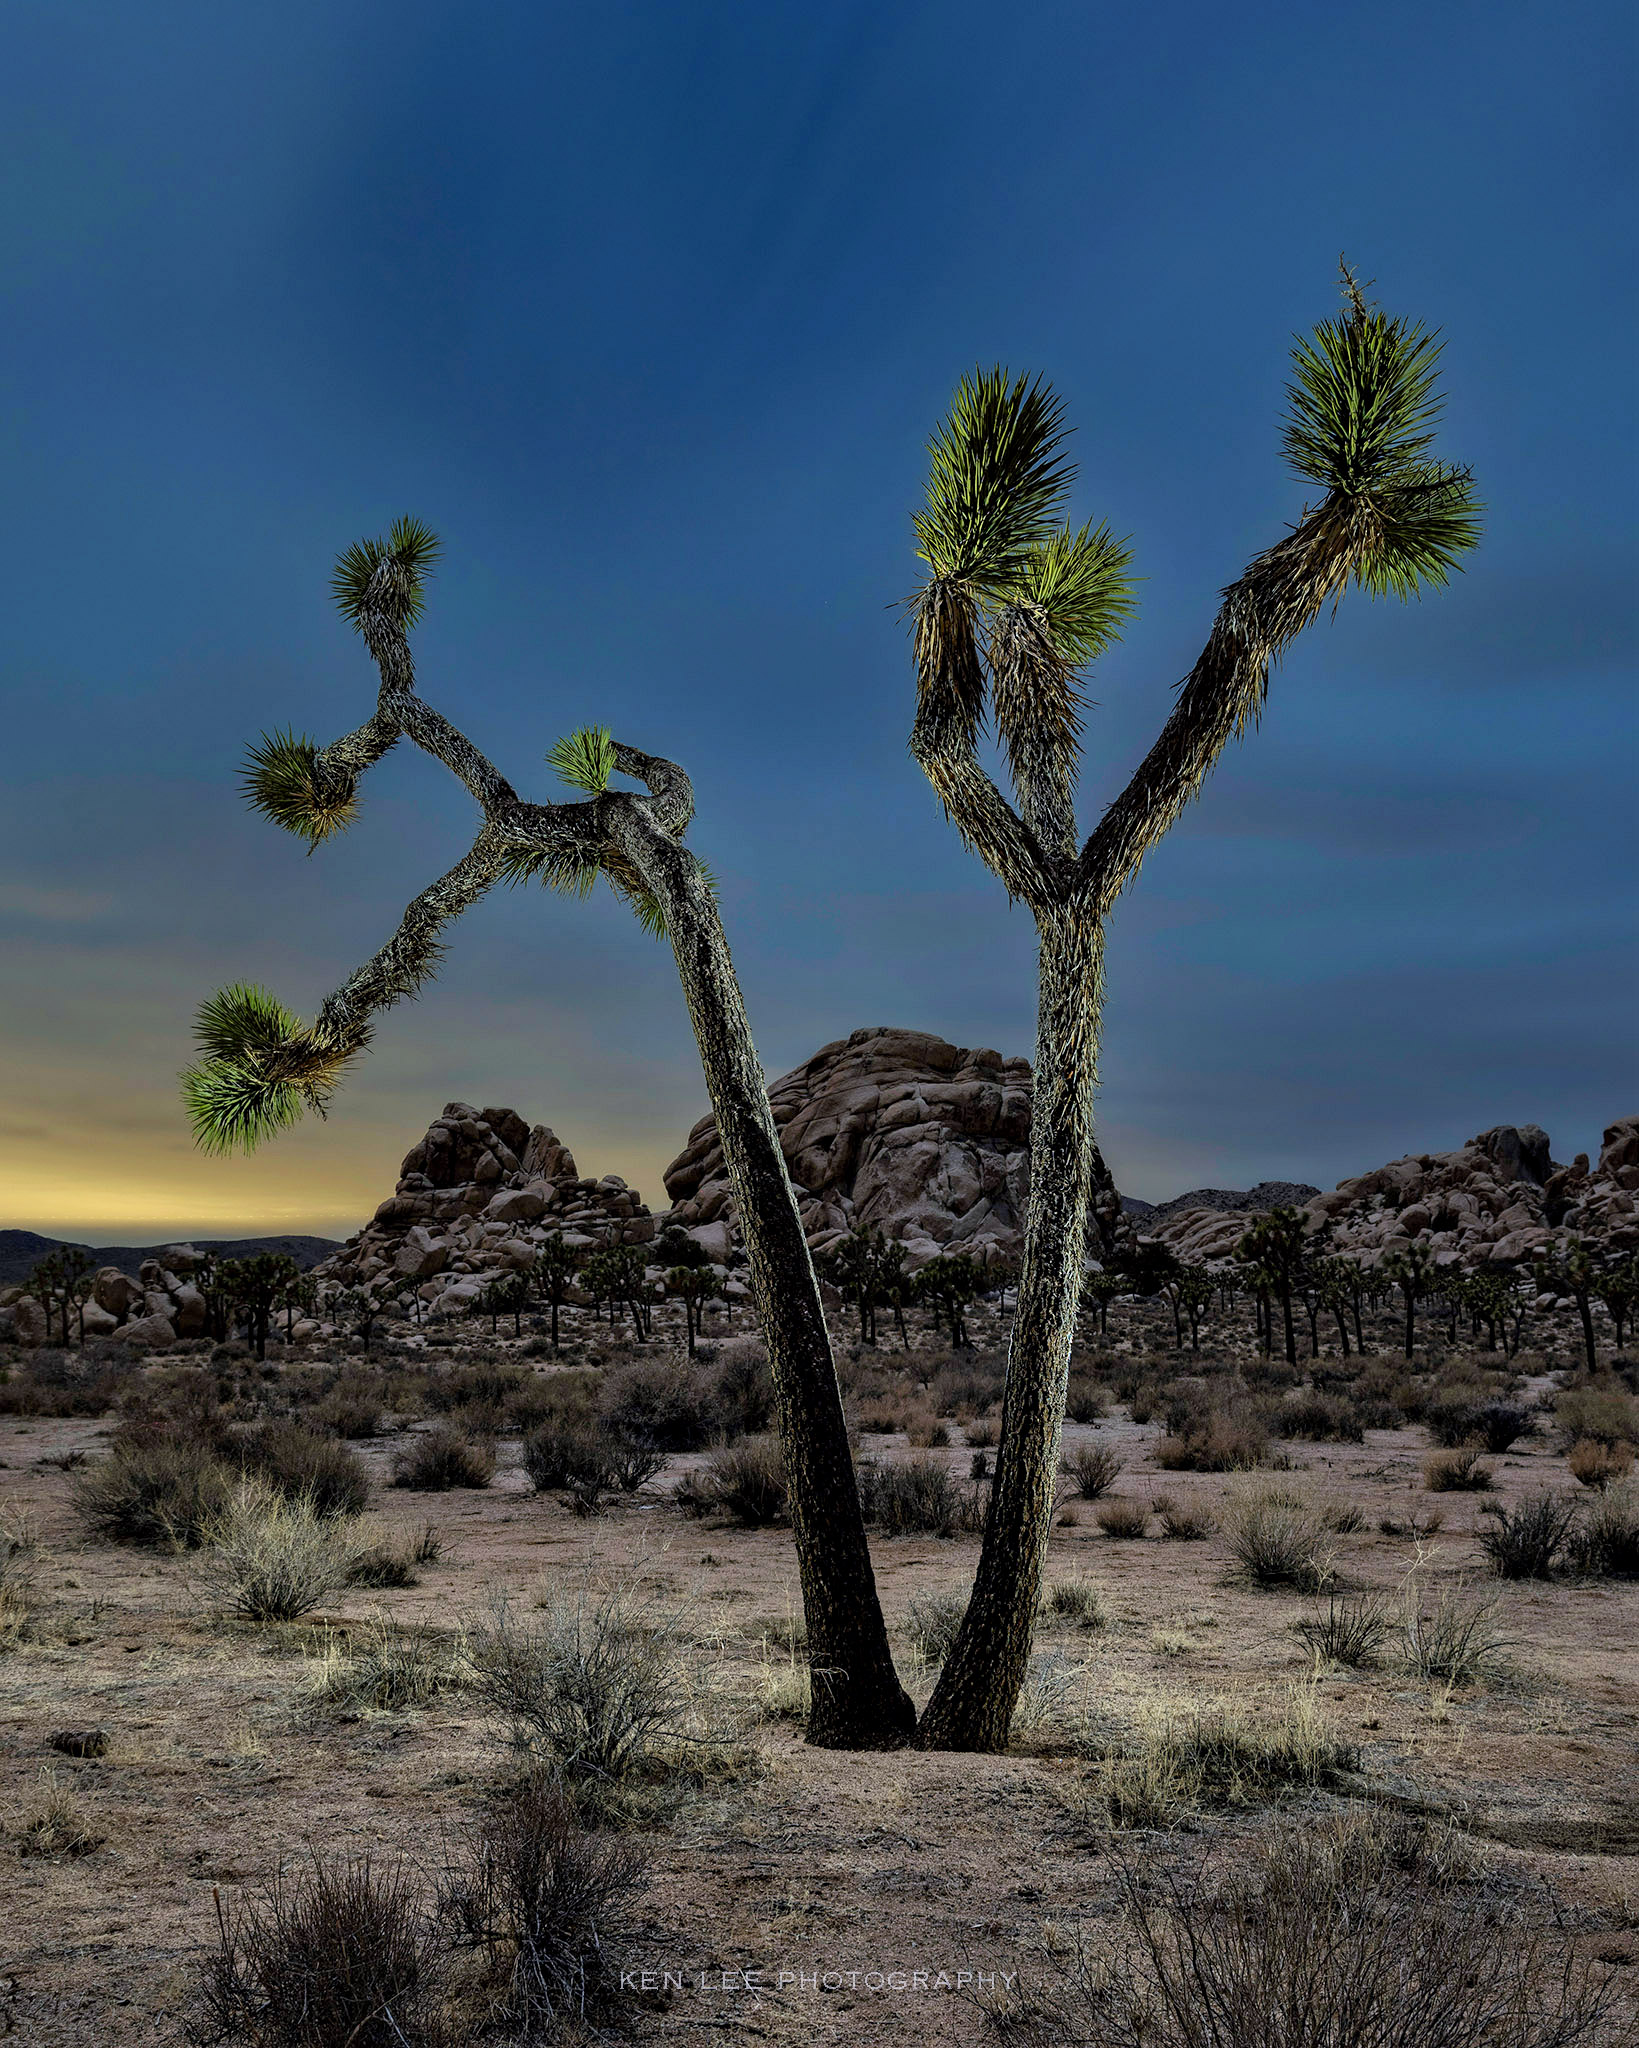
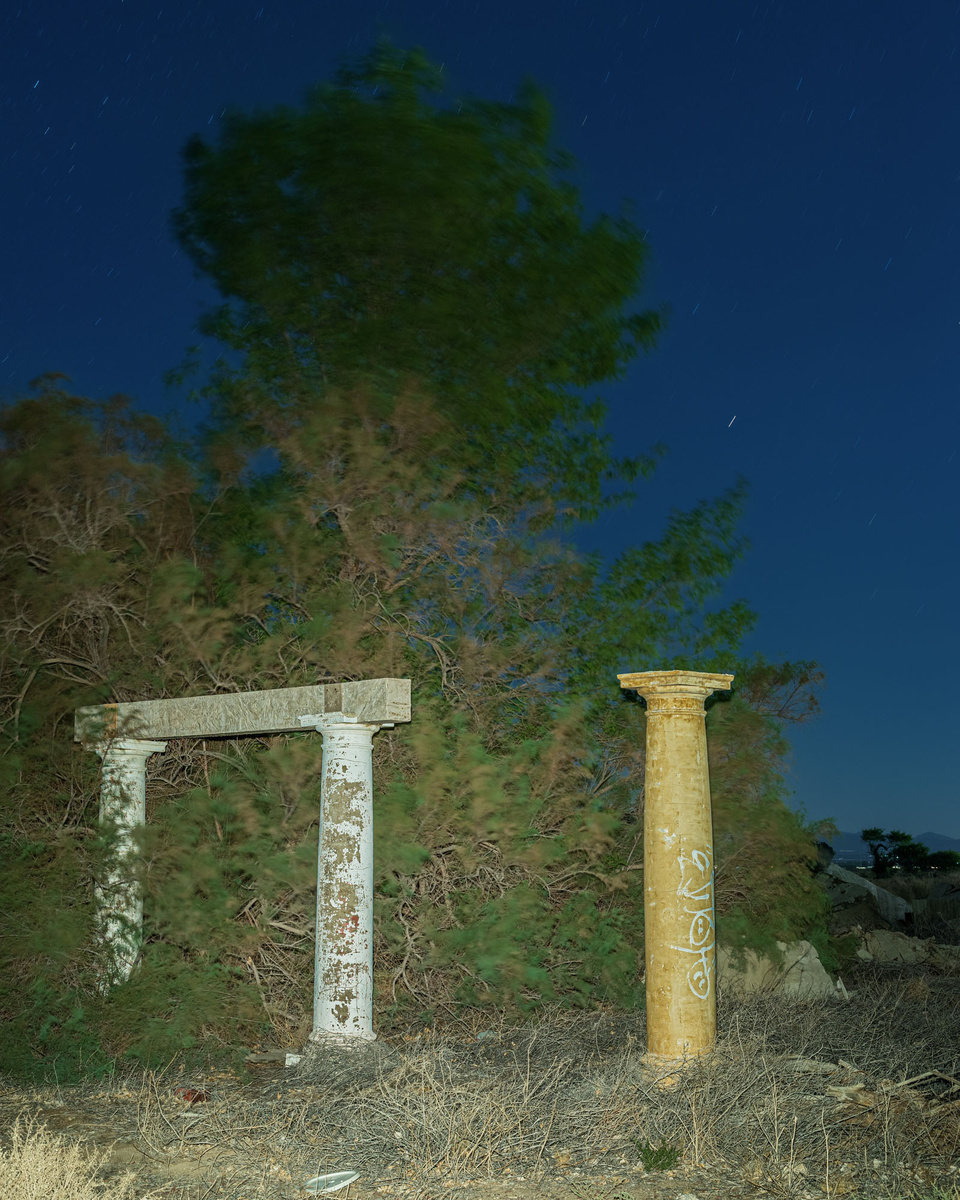
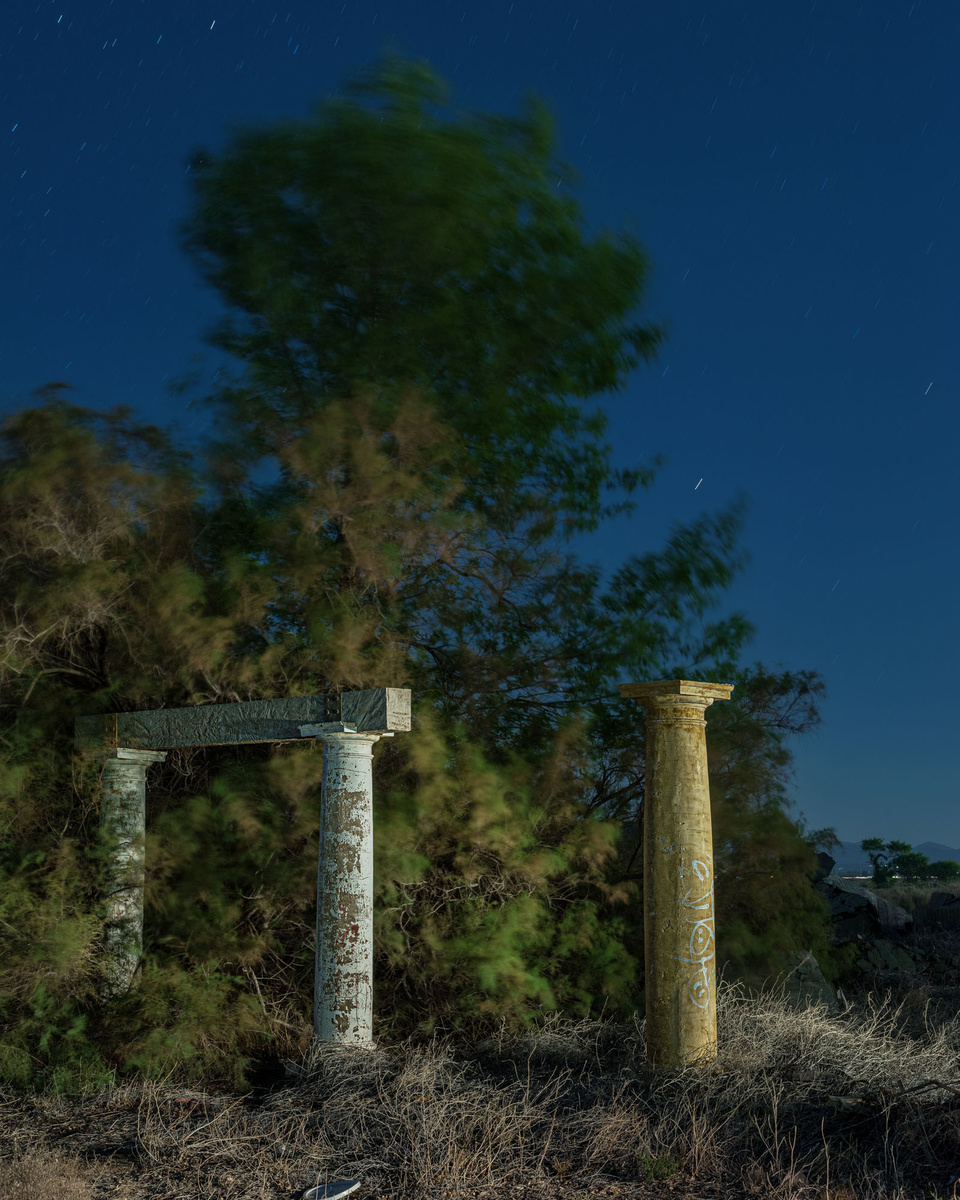
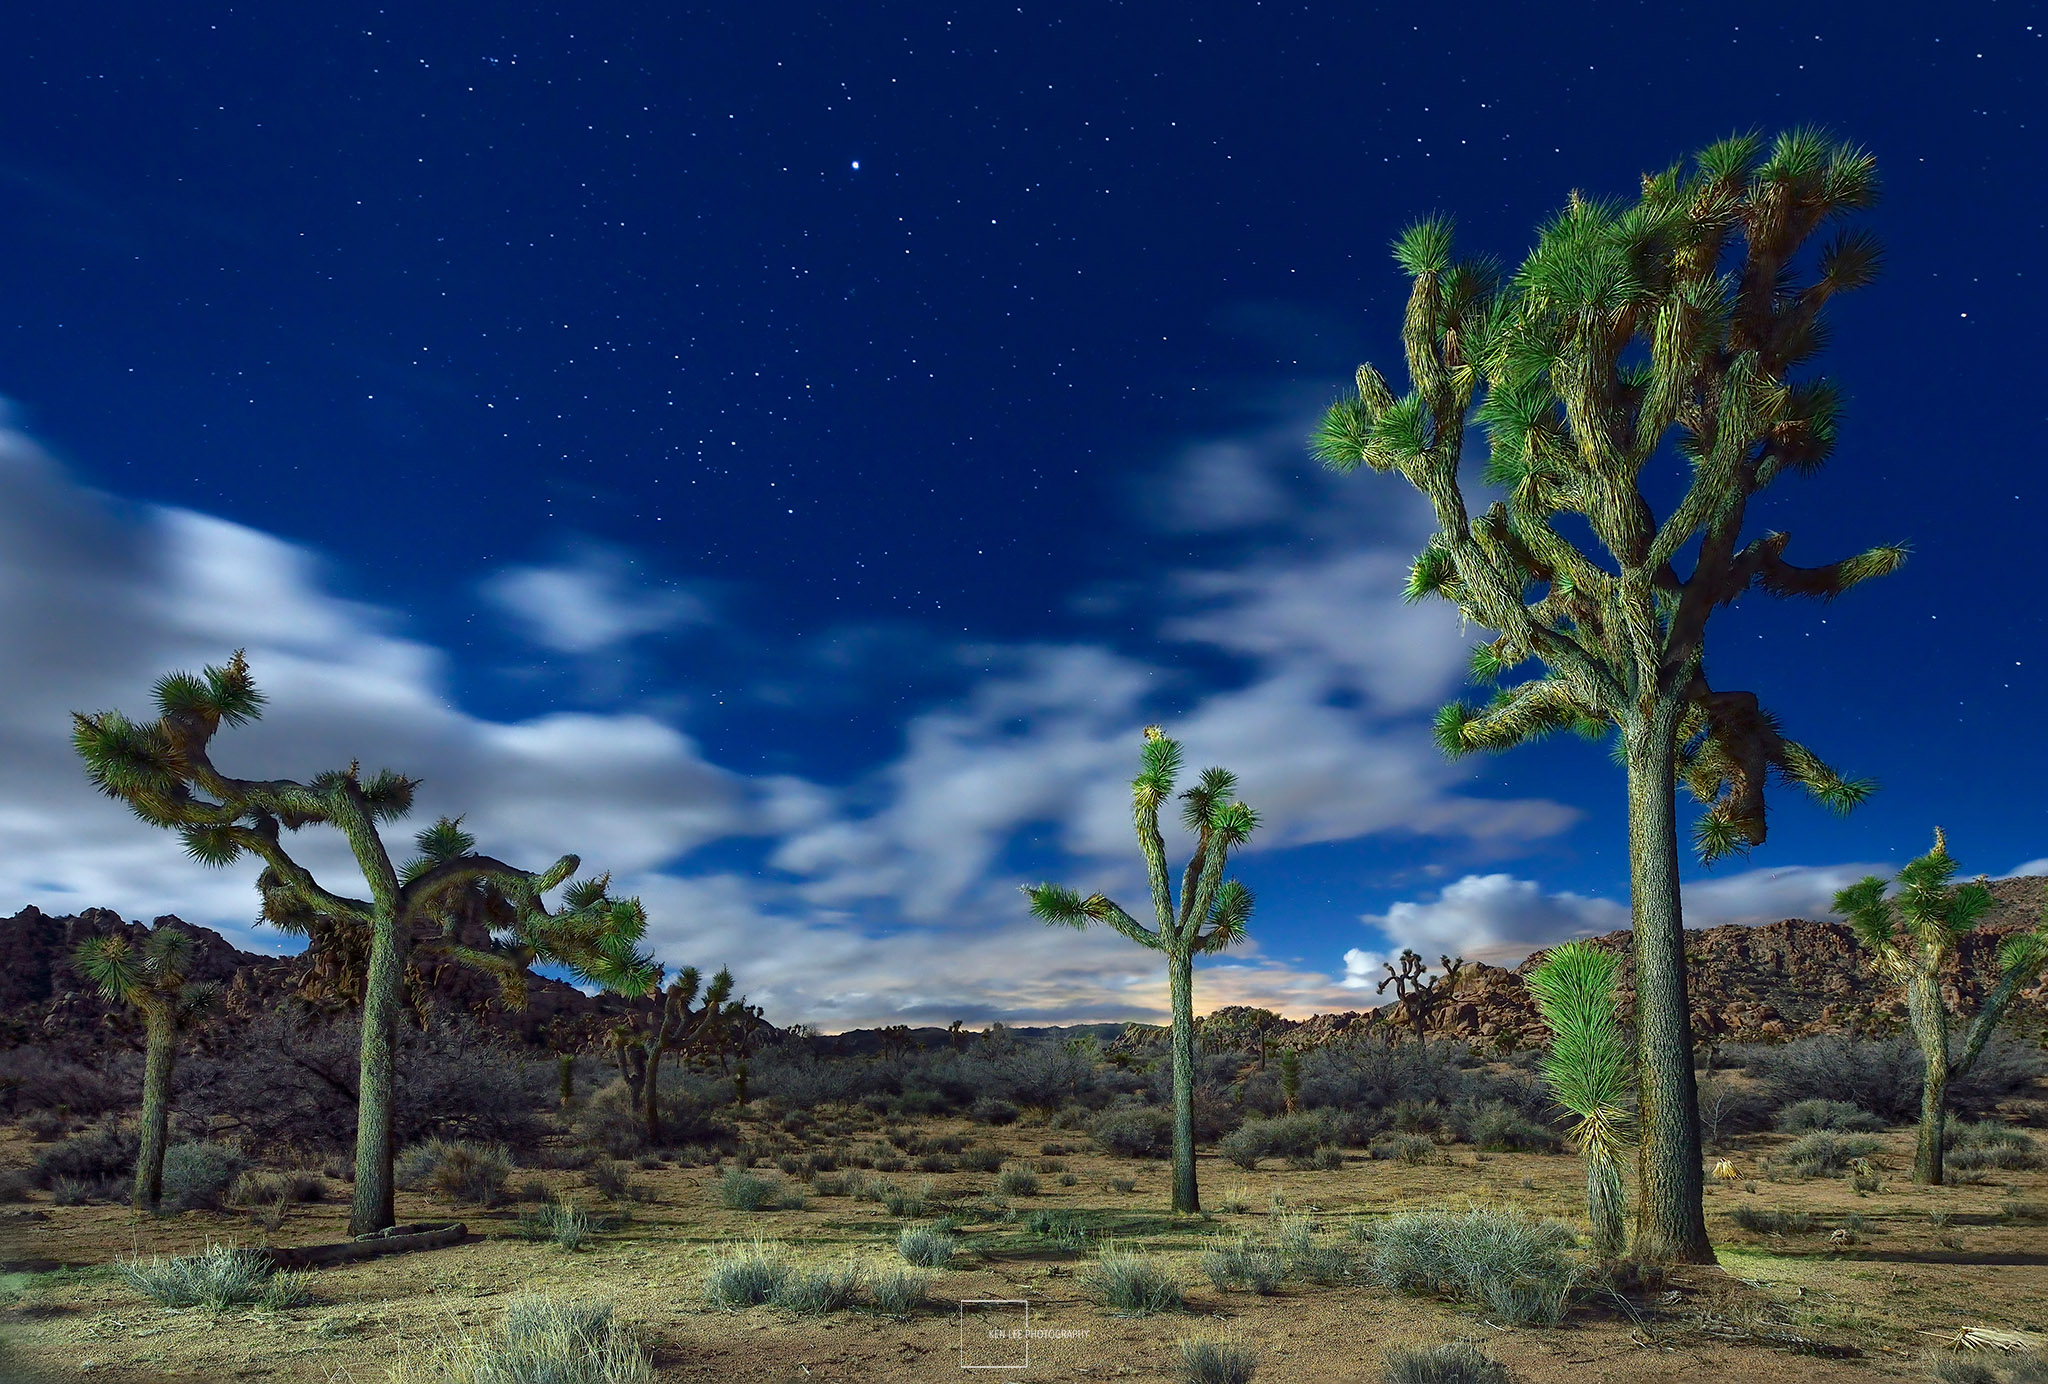
Use your imagination. Being out at night makes it easier to use your imagination anyway. Doesn't that old truck grille look like it's a weird alien face? If so, make it look even more like one! Does that tree look beautiful with the moonlight shining on it a certain way? Use the same angle to accentuate the details.
Some Tips for Making Your Light Painting Better
Don't Light Paint Behind Your Camera
Have you ever used the built-in pop-up flash in your camera or the flash on your cellphone to light people? It looks horrible, doesn't it? That's because the light is what we often call a "flat light." It's not a flattering light at all, and often looks blown out and garish.
If you light paint from behind your camera, you create the same kind of light. Stand away from the camera at an angle. This is more likely to produce a more pleasing light, one that creates shadows and detail.
Use a Decent LED Light
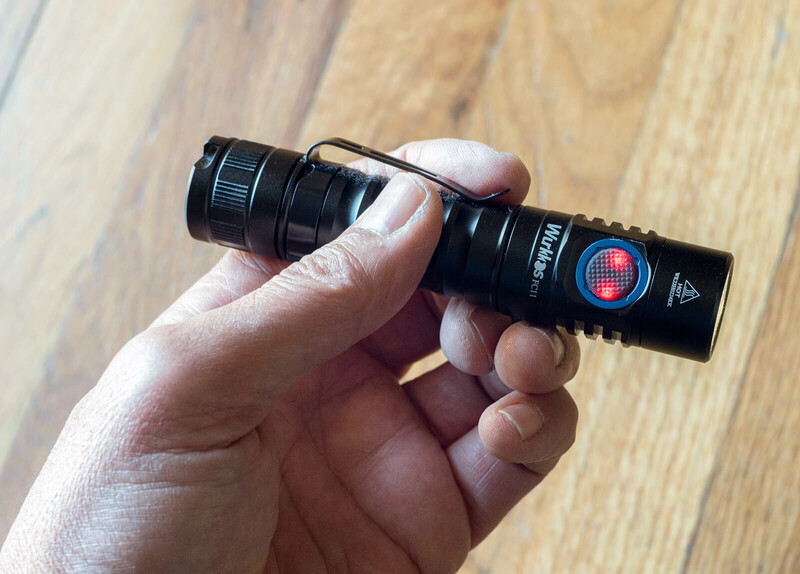
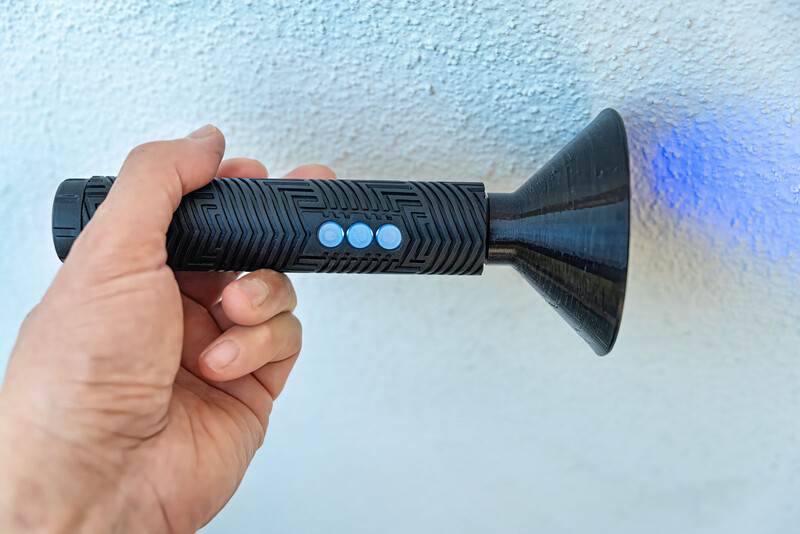
You don't need to purchase an expensive light for light painting. A decent LED flashlight will do. I prefer flashlights that have a warm white light and a CRI of 90 or higher so they hold detail better. And I prefer ones that have several levels of brightness.
The Wurkkos FC-11 light, for example, does not cost that much. It has a warm 4,000 Kelvin light, has a high CRI capable of holding detail, and has a brightness control that allows you to either ramp the light gradually from darker to brighter or adjust the brightness in five-step increments.
There are other lights, such as ones made by Coast, Streamlight, Convoy, ThruNite, and more, which are capable of giving you amazing light painting results.
Block the Light From Shining Directly Into the Lens
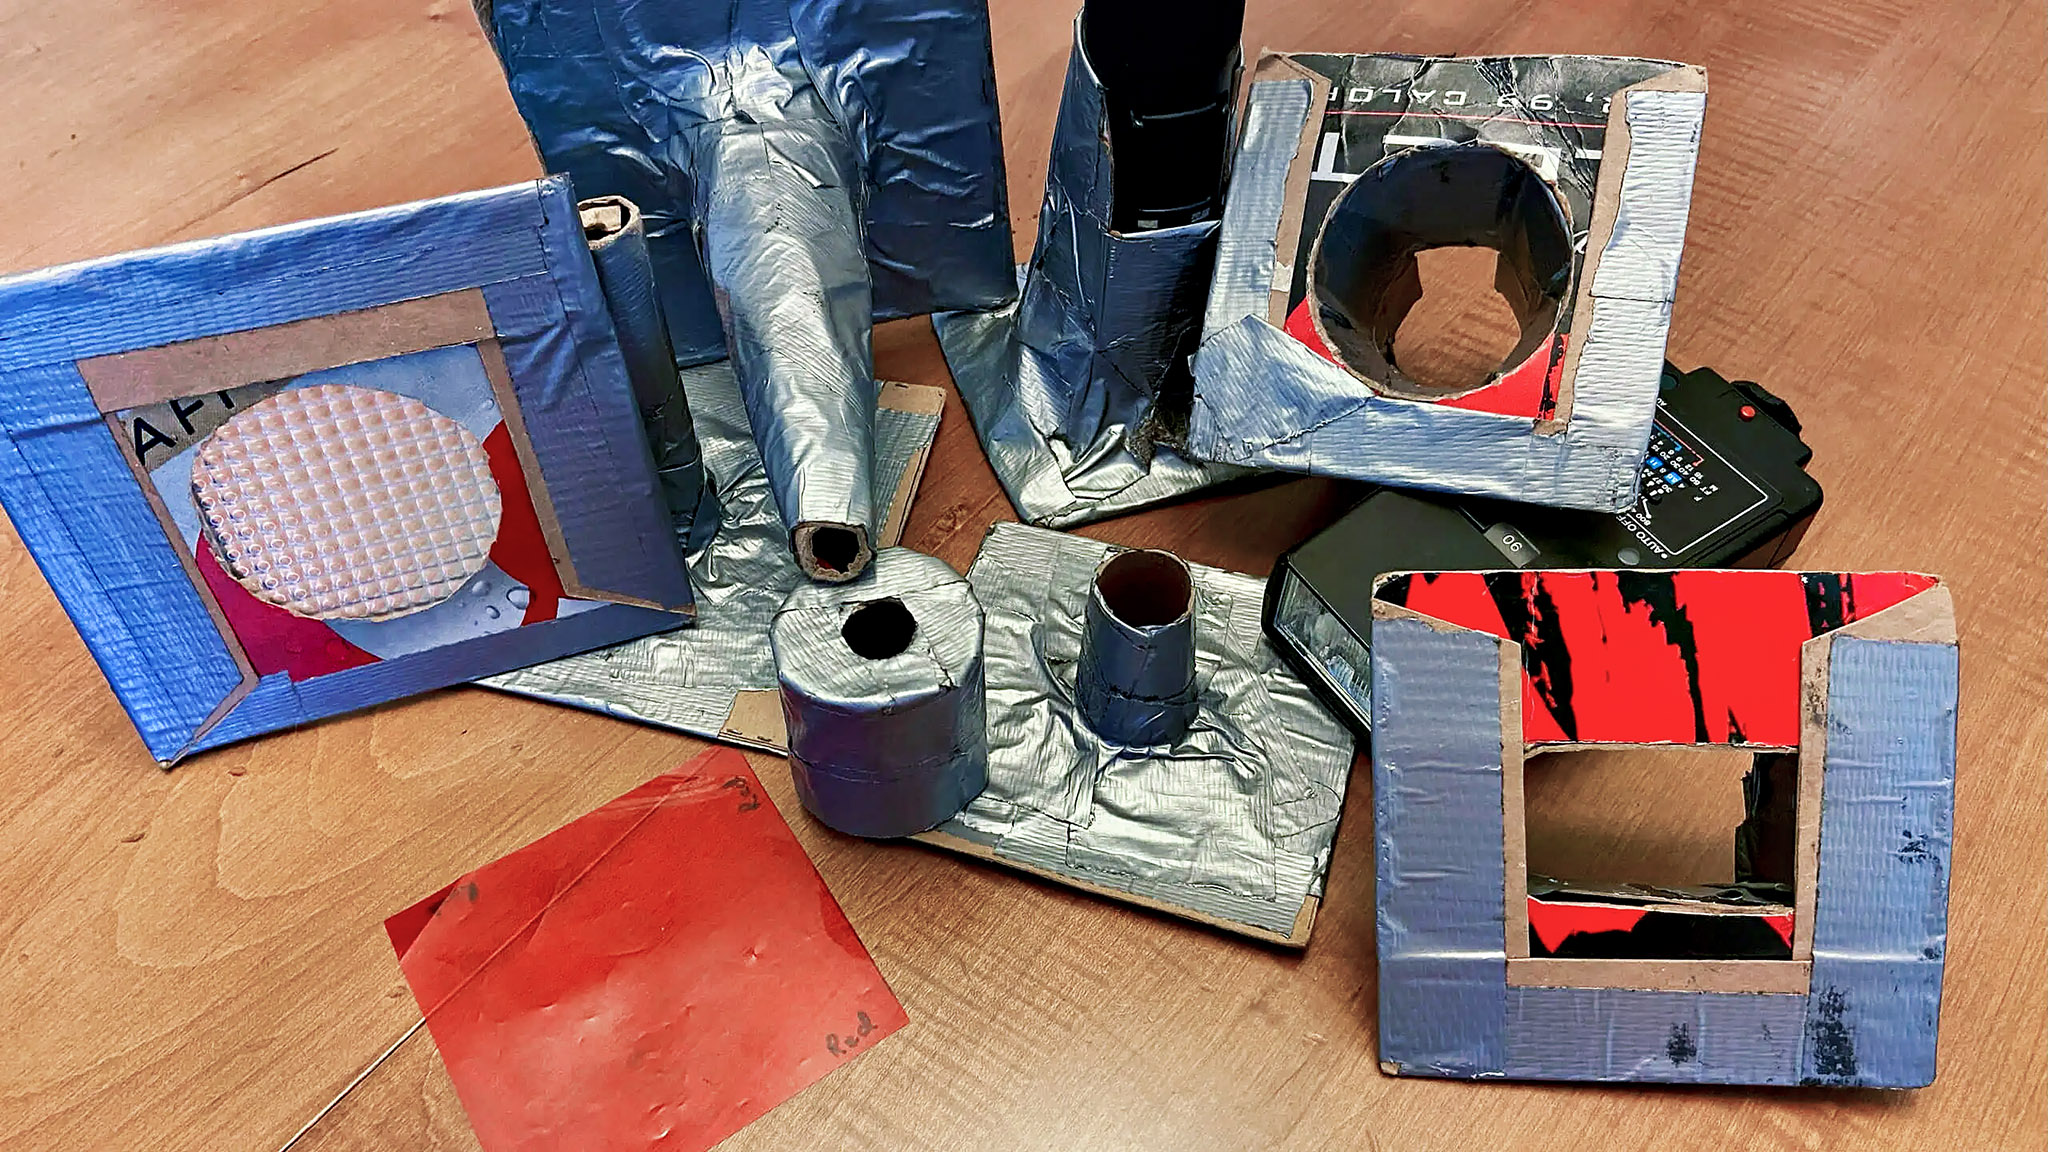
If you are illuminating the subject, you probably don't want the light shining directly into the lens. This will cause streaks. You can attempt to stay out of the frame. Or you can block your handheld light with your body or a piece of cardboard while illuminating.
Invisibility Is Your Superpower
You may not realize it, but you have a superpower. You can turn invisible—at least, you can in your night photos.
So far, we have discussed how you light paint. But we haven't talked about why you don't show up in your photo if you need to walk through it to illuminate subjects.
All you have to do is keep moving. That's right, it's that simple!
If you stay still for more than 10% of your total exposure, you begin to show up in your photo as a faint dark smudge. For a two-minute exposure, that's twelve seconds. So the answer to this is to just keep moving. And don't shine the light on yourself!
Wear Dark and Non-Reflective Clothes
When you are illuminating subjects, it's better to wear clothes that are dark and don't reflect anything. Some people who do this even dress almost like ninjas or wear gloves when they are illuminating things like automobiles, just to make sure that they don't illuminate their hand and have it show in the photo.
What If My Light Painting Looks Too Bright?
When you review your photo on your LED screen and the illumination on your subject looks too bright, you can adjust this on your next attempt by doing one or more of the following things:
-
Turn the brightness control of your light down
-
Step farther away from the subject when you are light painting
-
Illuminate your subject for a shorter time
What If My Light Painting Looks Too Dark?
Perhaps you don't have enough illumination on your subject. Your subject looks too dark for your tastes! Employ one or more of these strategies to brighten it up a little more:
-
Turn the brightness control of your light up
-
Get closer to your subject when you are light painting
-
Illuminate your subject for a longer time
Have Fun. Relax. Experiment.

Some people expect that their light painting will look perfect the first time out. Although we can discuss the Inverse Square Law and more, the truth of the matter is that it will take time and experimentation. In fact, it's the law of the universe: it's mandatory to make light painting photos that suck. Do not break the law of the universe. Instead, have fun. Relax. Experiment. When you get in your creative mindset, the hours will pass like minutes.
After a while, it won't feel like trial and error. You'll recognize how far back to get from a subject, and how dark wood requires more light, and shiny metal objects reflect very easily.
You're here to create.
Have fun. Relax. Experiment.

Join the Fstoppers community for free
-
Post comments and join in the discussions
-
Browse the site ad-free
-
Share your work and get featured in the community
-
Compete in the photo contests for fun and prizes
14 Comments
Now this is a fun article! Thanks.
Thanks, greatly appreciated!
Enjoyed this. Thank you!
Thanks, greatly appreciated!
Great article Ken! There's never been a better time to light paint considering all of the quality lighting options available these days.
Thank you. And I couldn't agree more. There's so many quality lighting options. And many of the options are inexpensive!
Great article, some of the best light painting examples I've seen.
Thank you, greatly appreciated! I'm hoping that it helps or inspires people to get into light painting subjects, something that has brought me great joy and creativity.
Excellent explanation for detail and minutia. You saved many folks of hours of trial and error.
Thanks! I truly, genuinely hope that this helps people and inspires them to give it a try. It's one of my favorite things to do, and supremely creative. And yeah, if this saves hours of trial and error for some people, that would make me extremely happy.
Thanks for this ... I wish I knew some of these tips several years ago out in Moab, when I lit a twisty juniper tree in front of the starry sky ... flat like a mugshot.
Y'know, I tried to publish these tips before you went out to Moab, but couldn't get it done in time. ;)
Seriously, hopefully this helps you going forward! You are gonna do more light painting, I hope!
Wonderful pictures and advice for light painting and night photography. I, too, have a few homemade light modifiers that work quite well, allowing me to walk into the scene and not be seen by the camera. Thanks!
Yes, you have a number of really nicely made light modifiers! Thanks for your comment.