
Just starting your photography or filmmaking journey and unsure how to spend your limited funds on limitless gear options? Today, I’ll offer eight simple steps to hopefully help you get the best bang for your buck.
This week, I was doing my usual renewal on my gear insurance policy, and I, once again, had a familiar refrain: Sweet Mary, I’ve spent a small fortune on gear.
Now, to be fair, we’re talking about decades of spending, so it’s not that I bought all of this for Christmas last year. But, over time, various upgrades, updates, and new toys—some long forgotten, many still active—have left me carrying insurance on a veritable armada of photo- and video-related gizmos. I realize having all my gear needs satisfied multiple times over is a good problem to have. I’m not complaining. Yet still, sending all that money every year to my insurance company leaves me unable to avert a very basic question: Could I have gone about acquiring all of this gear in a more efficient way? If I had this all to do over—if I could start back fresh as someone with loads of interest in photography and filmmaking but zero sunk investment—where would I begin? How would I go about building up my gear closet so that I would have more hits and fewer misses? I’m very happy with the majority of pieces I’ve acquired over the years, but there have definitely been many others that have cycled through faster than expected or now live only in my garage, which I wish I had done without.
So, in the name of helping newer artists be smarter than I was about the way they build their gear collection, here is an ordered, non-brand-specific list of how I would go about building my kit if I were to be starting again today.
Step One: Buy Camera
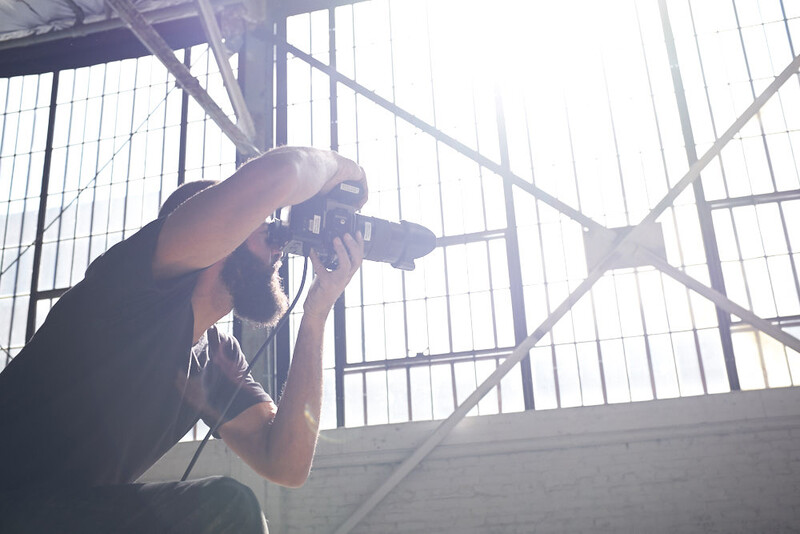
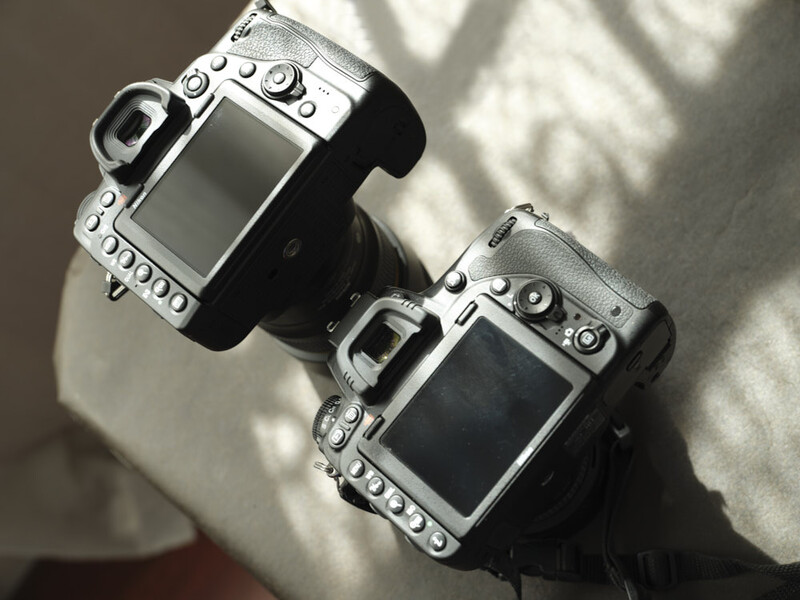
It’s hard to be a photographer or a filmmaker without something to create a photograph or a film. True, you could rent a camera. In fact, that’s probably a good place to start. Rent a prospective camera from each brand for a limited time. Shoot with it, and see what feels right. As much as we like to talk about specs, there is a wholly subjective, intangible "feel" aspect of the brand equation that can’t be summarized in numbers. Certain brands will just feel good in your hand, while others, regardless of the specs, won’t.
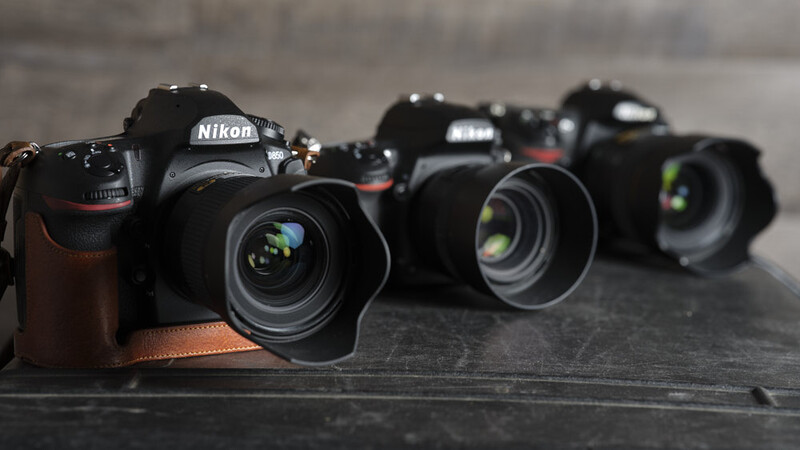
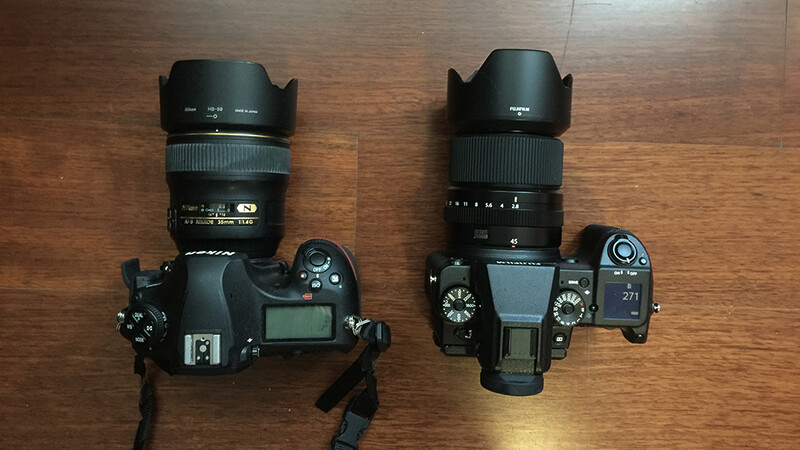
I’ve been shooting Nikon, for instance, since the start of my stills career. And it just feels right in my hand. There are certainly years when Nikon wasn’t the leader in terms of specs. During that time, I ventured out to try different brands. But still, none of the others felt as “right” to me as my Nikon cameras. Now, that last statement means absolutely nothing to anyone but me. It’s not a statement of quality one way or another. It is purely a matter of feel. I enjoy creating with their cameras the most. And because I enjoy them the most, I tend to be more effective when using their cameras. I shoot more because I enjoy the process more. I get better because I shoot more. I get more jobs because I keep shooting and developing my skills. All because I enjoy shooting in the first place. The feel of a camera is a stupid but vitally important aspect of a camera decision. And the only way for you to know what feels “right” to you is to actually hold each option in your hand.
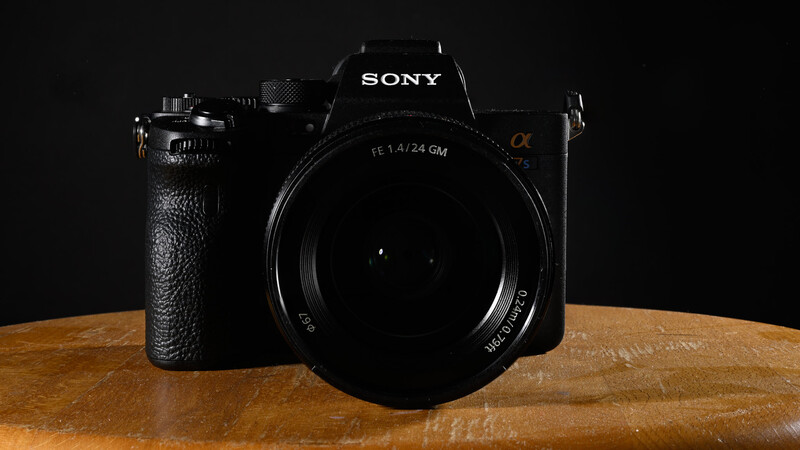
With that said, for the purposes of this article, we’ll be mostly focusing on long-term investing, so let’s assume you want to purchase a camera you envision using every day. So which camera should you start with? How much should you spend? In this scenario, you are just beginning. This means two things: One, you don’t have many clients yet. Or, if you do, they are likely all over the board because of point number two. Point two, you aren’t yet established in a particular genre. You have no idea if you are primarily going to get clients from advertising, wildlife, weddings, headshots, photojournalism, or anything in between. Because of this lack of certainty, it doesn’t make a lot of sense to spend the farm on a camera. We’ll assume you’ve got talent and every intention of doing this professionally. So we won’t assume you’ll be just fine with a camera phone. You should purchase a camera. But how much should you spend?
For me, the sweet spot, based on the cameras currently on the market, is something in the $2,000–2,500 range. You can certainly spend less. You can certainly spend more. But that level of camera generally will put you into the price range of a very capable all-around camera. Probably something with around 24 MP, which is plenty for anyone not doing heavy advertising/product work, which, remember, at this time, we have no idea of knowing if that’s where your work will land. Cameras in this range also tend to be excellent photo/video hybrids for those just beginning in their careers. So this is the kind of camera that is probably one step above where you are as a beginner, but gives you room to grow without having to upgrade again. At the same time, it’s not so expensive that you find yourself with a flagship-level camera and a beginner-level skill set.
You can double down on savings, and I would, by buying the previous generation of that camera used. So a camera that is $2,000–2,500 new, you may be able to pick up in the $1,000–1,500 range used. It may not have all the bells and whistles of the latest release, but you’ll quickly discover that most camera upgrades are highly overrated. When it comes to day-in and day-out performance, many older cameras are plenty capable of handling the job. And remember, at this point, you are still getting your feet wet. This isn’t the camera you are going to use for the rest of your life—just the camera that is getting you started. So, if you can find pretty much any body that’s been released in the last decade that fits your criteria and budget, it is well worth considering.

Even if your focus is video instead of stills, you can still find supremely capable tools in this price range. If you don’t want one of the hybrid options and prefer a cinema-designed body, companies like Blackmagic Design have led the way by providing excellent image quality in a cinema-focused body for a very reasonable price. True, it’s not an Arri Alexa, but you’ll have plenty of time to earn your way into a camera like that in the future. If you are an indie filmmaker and not yet getting hired to shoot the next Mission: Impossible movie, the odds are that one of the Blackmagic Design Pocket cameras (new or used) would get you the image quality you are after for a fraction of the price. Better yet, because this camera isn’t as automated as many of the hybrid mirrorless cameras, starting with a more tactile Blackmagic Design camera not only allows you to save money but forces you to strengthen your filmmaking skill set, which will only benefit you once you can afford the Alexas or Venices of the world.
For many photographers and filmmakers, this level of camera is all they are ever going to need. So that is why I would suggest this as the first step (after deciding that you love photography and want to invest in your journey). So, spend that money, then spend the time really getting to know your craft. Don’t spend too much time drooling over 100 MP cameras or arguing about pixel pitch and burst speed in internet comment sections. Instead, take your ample 24 MP or 4K and go out and work on basic skills like exposure, composition, and building your artistic eye.
Step Two: Buy Starter Lenses
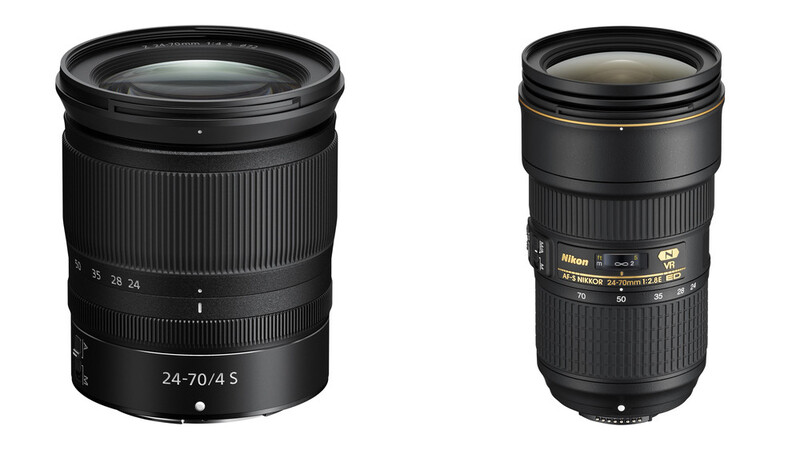
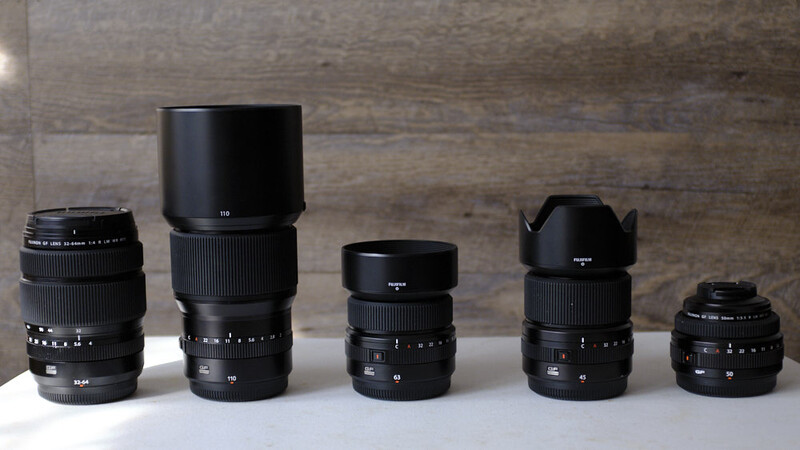
A great camera doesn’t amount to a hill of beans if you throw a dirty shot glass in front of it. Your camera lens is the key to your image, perhaps even more so in filmmaking versus photography due to the emphasis on the “character” of each element. But, in either world, glass is king.
As your career progresses, you’ll learn if you prefer zooms or primes. One day, you’ll likely own the Holy Trinity of short, medium, and telephoto f/2.8 zooms. But, when you are just starting out, don’t overlook the kit lens that came with your camera. It’s probably not flashy. It is probably f/4 at best. Perhaps it's even a variable-aperture zoom. But it is a good test case to discover which focal lengths you like to work with. Are you a wide lens person or a telephoto diva? Do you prefer the experience of having an all-in-one zoom, or do you prefer the smaller size of a prime? I remember starting out with the variable-aperture kit superzoom on my Nikon D200 way back when. Was it the most technically perfect glass on the market? No. But it allowed me to do a heck of a lot with my camera and explore all different types of photography.
To this end, I would suggest you limit yourself to an inexpensive kit lens upfront until you know more about what you like to shoot. Then, once you get a handle on what you need from a lens, it is worth investing in high-quality glass that fits your specific needs. But do things in that order. I remember spending a small fortune on a wide-angle f/2.8 zoom for my D850. That lens was a thing of beauty. Gorgeous glass. But I virtually never used it. So all that goodness spent most of its life in my bag. And all the money I spent on it just sat in the bag with it. So, it’s not like there was a problem with the lens. It just wasn’t necessary for my use case. Knowing that ahead of time could have saved me a great deal of money that I could have spent on other more useful tools—or a lifetime supply of potato chips.
Step Three: Invest in Test Shoots
Okay, this one isn’t fair to add to a list about gear, but it must be mentioned. Absolutely nothing that comes after Step Two is going to matter if you haven’t already built up some basic skills and developed some idea of what type of work you want to do. As they say, cameras, lights, etc., are all just tools. Tools exist to get a job done. But there’s no use in buying 20 hammers if you’re only ever going to use one. So take the time before moving on to the next step to take that camera and kit lens that you purchased and shoot everything you can. Start to recognize your preferences. Start to see what you actually need versus what you just want. The only way to get this knowledge is to actually go out and shoot. So, before moving on to Step Four, invest your time and money into actually… shooting.
Step Four: Upgrade Your Lenses
Now that you have a better idea of what your main subject will be, it is now time to return to the store to have a look at higher-quality glass.
It’s easy to be put off by the high price of high-quality glass. But there is one upside: When it comes to lenses, like shoes, you can only wear one lens at a time. So, investing in glass, while expensive, doesn’t need to be something you do again and again. In fact, that’s what makes glass a great investment.
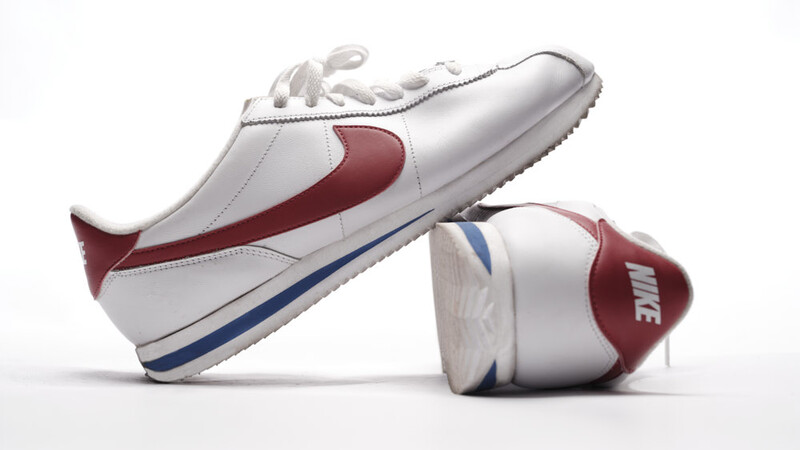
The other day I was reading a biography on my favorite actor, Cary Grant. It said that Grant’s father, a clothes horse, instilled in him a simple ethos when it came to buying clothes: It’s better to invest a lot in one great pair of shoes that are going to last a lifetime than buy a bunch of shoes that are all going to wear out in a month. In other words, spending once on high quality prevents you from having to spend multiple times to fix issues a less expensive option may pose.
Great lenses are like this. They tend to come with pretty steep price tags. But, when you get a good one, it is a lens that will go on a dozen bodies during its lifetime and more than pay off its return on investment.
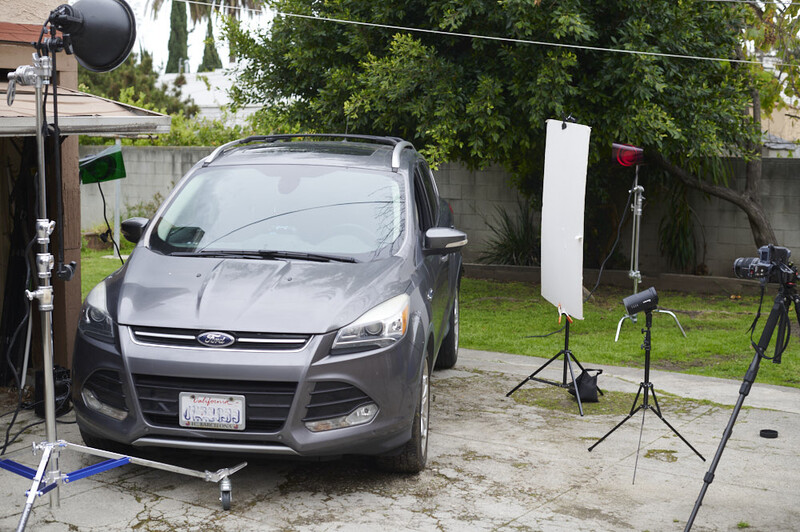
Step Five: Invest In Lights
Photography literally means "to paint with light." All the instinct and natural compositions in the world aren’t going to substitute for an ability to read light and utilize it to convey what you want to with an image. In Steps One to Four, you were just starting out. So following around the sun like a sick puppy is a great idea. And, hey, for some people, natural light is all they are ever going to need. But, if you intend to do this at a professional level, you are simply going to have to learn how to light things the way you want without the assistance of the perfect weather conditions. This doesn’t mean that you can’t still prefer a more “natural” look. But, if you are going to be producing images for a client, you need to know how to get that “natural” look 24/7, even when the real world might not be willing to cooperate. (NOTE: I realize there are genres like landscapes, for instance, where artificial light is less important, but every photographer, regardless of niche, should take time to learn this skill.)
I can’t give you a mathematical ratio, but figure that you should end up spending way more on test shoots and lighting gear over time than you do on cameras. I realize that cameras make the headlines. But think about it. Even the best camera is likely to last, what, like four to five years before you start thinking about upgrading? A solid lighting package can last you decades. I literally still use lighting packages, both flash and constant light, that I purchased 20 years ago. And, you know what, they still work just fine. They may not work forever, but they are certainly more long-term investments than upgrading one’s camera to earn a half millisecond of shooting speed. And upgrading your lighting skills will pay back 100 times the dividends of upgrading your camera.
Starting with lighting doesn’t have to cost you an arm and a leg either. Yes, I own a massive collection of Profoto, Arri, Aputure, and all other kinds of lights now. But when I was just starting out in photography, for example, all I had was a single Nikon speedlight. It may not be adequate for my current needs, but it was an excellent tool to learn on. And, when you learn how to create the beautiful images in your head with a simple, inexpensive source like that, then, when you do have the funds to invest in higher-end systems, lighting is a breeze. The concepts of lighting don’t change depending on how much you paid for your setup. Start simple; learn the basics with simple and inexpensive tools. Then, over time, as you learn more about your preferred lighting style and the type of subjects you are going to have to light, you can continue to build your lighting collection piece by piece.
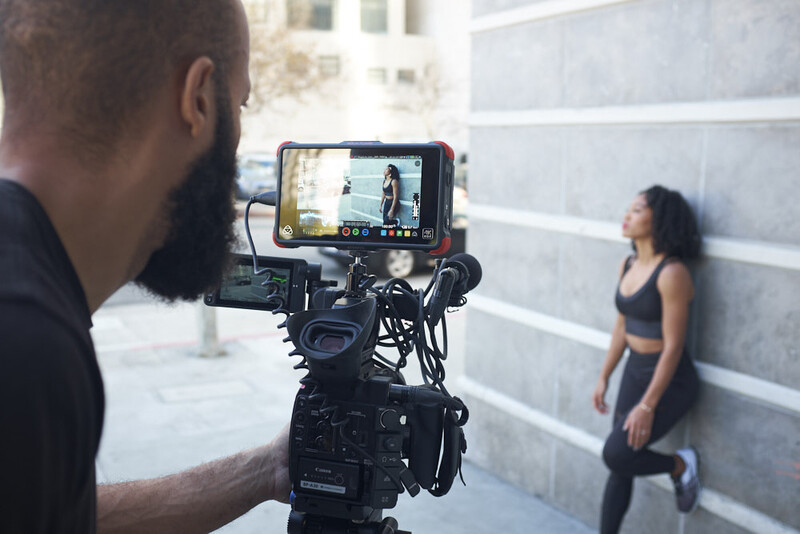
Step Six: Invest In Audio
If you are a photographer only and not at all interested in video, then you can skip to the next section. But, if you are even remotely interested in video, know that your images aren’t going to mean diddly-squat if your sound is trash. Perhaps you’re doing music videos and never need to record dialogue. Or maybe your path is to be a gaffer or a first AC, and you will never be tasked with recording sound. But, the odds are that you are going to need to, at some point, record audio for a scene, a documentary, an interview, or something else. And there’s simply no way around it: audio is absolutely crucial. You can’t get around it, so don’t try.
The good news is that audio equipment, overall, costs far less than most camera gear. So you can get a very complete audio recording setup going for about the price of a camera body (depending on how complete you want that setup to be). But whatever you decide to spend, investing money here is critical to making sure those beautiful videos you shoot have sound worthy of your skills behind the camera.
Step Seven: Invest in Light Stands
Like your gear, this should start simple and build up. A generic plastic stand off Amazon will likely do the trick as you’re starting. But as the lights get bigger (and heavier), you are going to want to start working with more sturdy and more efficient equipment. For photographers, a bunch of C-stands is likely all you’ll need. They aren’t terribly expensive and are easily malleable into various positions when working alone.
If you are a filmmaker, you’re likely going to want heavier stands. Those lights are physically much larger. And trust me, no matter how strong you are, that future torn rotator cuff just waiting to happen will be arriving much sooner if you don’t take care of your body. So investing in a solid rolling stand, for example, will make you, and your body, much happier than a new camera. And it will save you a fortune in medical bills.
Step Eight: Invest in Camera Support
I remember when I got my first cinema camera, I was super excited to rush to the store to blow even more cash on every accessory they had in stock. Then, the salesman asked a simple question: "Do you have a tripod?" I didn’t. He rightly looked at me as though I had missed a very important step.
Now, as a photographer, I almost never use a tripod. Again, this is because it's not really practical with the way I work or required for the type of work I do. Hence why buying a tripod didn’t come before doing the test shoots. But, as a filmmaker, doing long takes with actors, handholding the camera all the time isn’t always practical. You just are going to want to put the camera on sticks quite often. Even a still photographer who focuses, for example, on landscapes or architecture is going to see a benefit from locking down his or her camera on occasion.
There will be plenty of time to buy expensive gimbals or drones. But, out of the gate, start with a simple tripod. Again, think longevity. You don’t need to invest a fortune, especially if you, like me, aren’t likely to use a tripod a lot. But invest in something sturdy enough that it will last a couple decades and have enough adaptability to feature in multiple shooting scenarios.
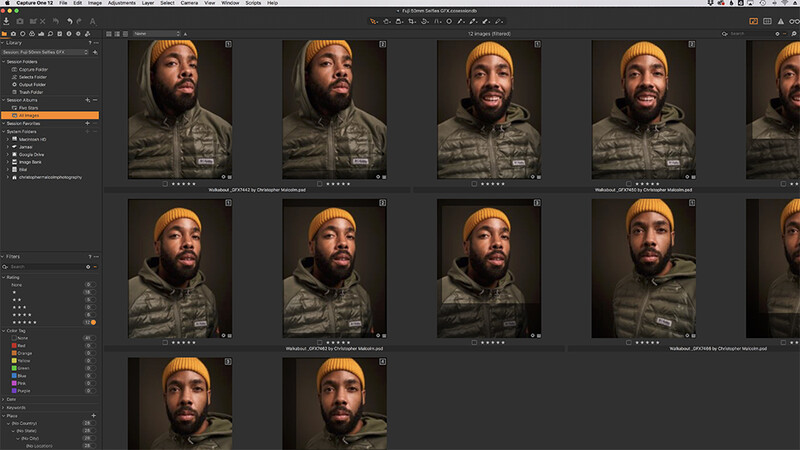
Step Nine: Invest In Computers
Depending on how much you shoot, turn-around time, megapixels, and so forth, you may either need a top-of-the-line computer that costs more than your car or will be perfectly okay with the least expensive laptop capable of running Photoshop. I was a writer before I ever picked up a camera. A computer capable of running a text program like Final Draft is not the same thing as a machine able to reliably push 100 MP medium format files or 8K video in real-time.
When you are first starting out, I would suggest spending as little as possible in this area. Don’t get something that’s going to crash mid-session all the time. But you don’t need to run out and buy the highest-powered Mac Pro quite yet either. As your career progresses, you may very well reach the point where that is the requirement. But, for now, you’d be better off spending that money on projects to develop your skill.
Bonus Tips: Putting It All Together
You may have noticed here that I keep saying to start small. When I say to start small, I’m not suggesting that you stay small. Rather, I’m saying start small because you don’t want to blow all your savings on gear that you don’t actually need yet. Let’s say, for instance, you start with a $2,000 camera (that you bought used for $1,200), one speedlight on a plastic stand with a $20 shoot-through umbrella, and a 10-year-old MacBook. You do your test shoots and build up your skills and portfolio. Two or three years later, the brands are banging down your door to shoot their next campaign.
Well, if you spent a fortune on day one of a computer or a flagship camera, then you probably won’t have enough money left over to invest in test shoots. Worse yet, by the time those paying clients come, that computer/camera you spent so much on day one will probably be about ready for an upgrade. So, you’d be, in effect, spending the money ahead of when you actually need the benefit. Instead, I’m suggesting that you keep expenses as low as possible until you secure the kind of work that can pay for the upgrade.
In addition, if you really want the secret sauce to intelligently building your gear kit, it’s pretty simple. I mentioned it earlier, but, whenever possible, buy used. As much as we want the latest and greatest, rarely do we need the latest and greatest. 45 MP and 24 MP cameras have been pretty standard for a while now. So you can purchase great second-hand cameras on the used market that will be more than capable of doing nearly any job. Even a 10-year-old camera is likely to be able to do the trick today. Products like lights and lenses, as we mentioned, are built to last. So, even if you buy a 10-year-old lens (assuming it’s from a reputable outlet), it’s likely to work just as effectively today as it did when it was new. If not, get your money back. But the point is that you don’t have to spend the farm just to get started.
Start with just as much camera as you need to explore your options. Get the best lenses you can afford, with an eye toward build quality that lasts. Work that camera and lens for as long as you can, only upgrading when you literally can’t achieve regular tasks with the system. I’m not talking about how you went on safari once in your life and now think you need to own a super-telephoto lens. I mean, you have put in the work and know that you like shooting fashion images at 85mm, so you are ready to upgrade your kit lens to an 85mm f/1.2 that you will use all the time. Test, test, test. Then, once you have a better idea of your path, start investing in the appropriate lighting gear to match your aspirations. Again, test, test, test. Get to know a single light inside and out. Then add one more. Get to know a two-light setup like the back of your hand. Then add one more. Learn three-point lighting, eventually upgrading your lights as you upgrade your skills. Master audio. Like mathematics, you may not think you’ll need it in the future, but you absolutely will. Then, eventually, fill out your system with camera support, lighting support, computers, and other ancillary equipment.
I’ve stayed away from name-checking many brands in this essay. I don’t want it to sound like all your problems are solved if you just invest in company A instead of company B. It’s not that simple. I will say that it pays to stick within one brand for the duration from a financial standpoint. This is why it makes sense to rent various brands up front to see which lane you want to commit to. Once you buy a camera from company A and lenses to match, you’ll want to be able to upgrade your camera body within that same brand and continue to utilize those expensive lenses you bought to go with the system. Constantly swapping brands, while you might incrementally boost your focus speed, isn’t likely to accomplish much other than drain your bank account.
So, okay, that’s it for today. Your gear purchases, like your career, will be filled with twists and turns. You won’t bat 1,000. You will make some purchases you regret. But the less that happens, the more money you get to spend on products you actually will use. So take a beat before diving headfirst into your buyer’s journey. There’s plenty of gear to go around. And there’s plenty of time to upgrade. Spend wisely. Spend well.


Join the Fstoppers community for free
-
Post comments and join in the discussions
-
Browse the site ad-free
-
Share your work and get featured in the community
-
Compete in the photo contests for fun and prizes
4 Comments
Christopher, this is an incredibly thoughtful and practical guide for anyone looking to build a photography or filmmaking kit without unnecessary spending. The emphasis on gradual investment, testing before committing, and prioritizing lenses and lighting over chasing the latest camera body resonates strongly.
As a fashion and editorial photographer, I have found that some of my most valuable purchases have been well-made lenses that have lasted across multiple camera upgrades. Similarly, investing in lighting early on was a game-changer for consistency and creative control. The idea that good lighting will outlast multiple camera bodies is something more photographers should consider when budgeting for gear.
Your point about renting cameras to determine what feels right is also crucial. Photography is an extension of the artist, and comfort with a system can impact workflow and creative expression. Cheers!
Paul Tocatlian
Kisau Photography
www.kisau.com
Thanks Paul.
Your analysis is excellent...I would even take it a step further...get yourself a top of the line I-Phone with a 5 axis gimbal and you are in for top photo and video production, I saw this when major TV news camera crews would appear at press conferences with heavy gear mounted over their shoulders, it was ridiculous compared to independent news journalists giving live stream TV and YT coverage with I-Phones and gimbals...btw, there are many photographers emerging on the market using I-Phones as their main photographic tool...considering all of that, I still love my DSLR camera...
Greetings...
Matthias
Matthias, I appreciate your perspective. The evolution of mobile photography has been incredible, and it is fascinating to see how tools like iPhones and gimbals are reshaping the industry. The portability and real-time capabilities they offer are undeniable, especially in fast-paced environments like news coverage. That being said, I completely relate to still loving the experience of working with a DSLR—the control, depth, and tactile connection to the process remain unmatched for me.