
In my journey as a portrait photographer, I've found foreshortening to be a creative look that you can use to produce some dynamic images. But what is foreshortening, and how can it add some dynamism to your portraits? Let's dive in.
What Is Foreshortening in Photography?
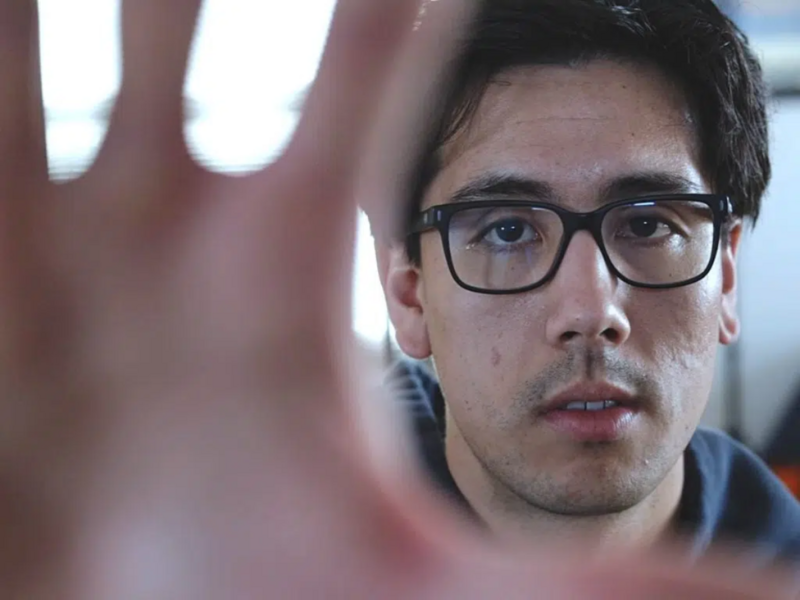
Foreshortening in photography is a technique used to give the illusion that a subject or object is closer than it actually is, reducing its perceived depth. This technique aims to produce a photograph where the subject seems to be reaching out towards the viewer. This approach adds an element of engagement and visual intrigue to the image.
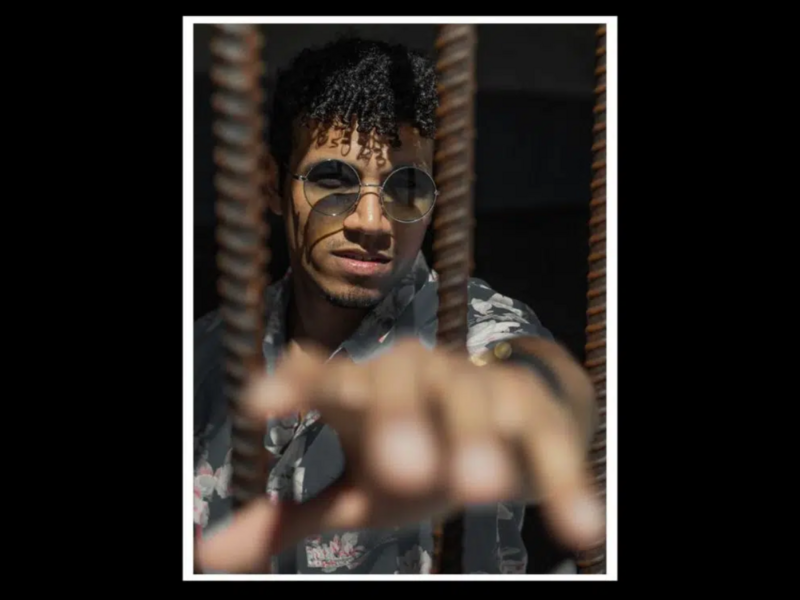
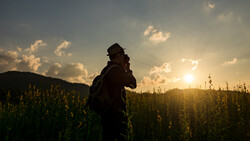
Take this photo I captured, for instance: the subject's hand is extended towards the camera, creating a foreshortened effect:
Foreshortening, outside the context of photography, means to depict an object as being closer than it actually is. It's key to remember that the term "foreshortening" originally comes from the world of art. In drawing or painting, it's a technique used to create the illusion that an object or figure is nearer by shortening its length.
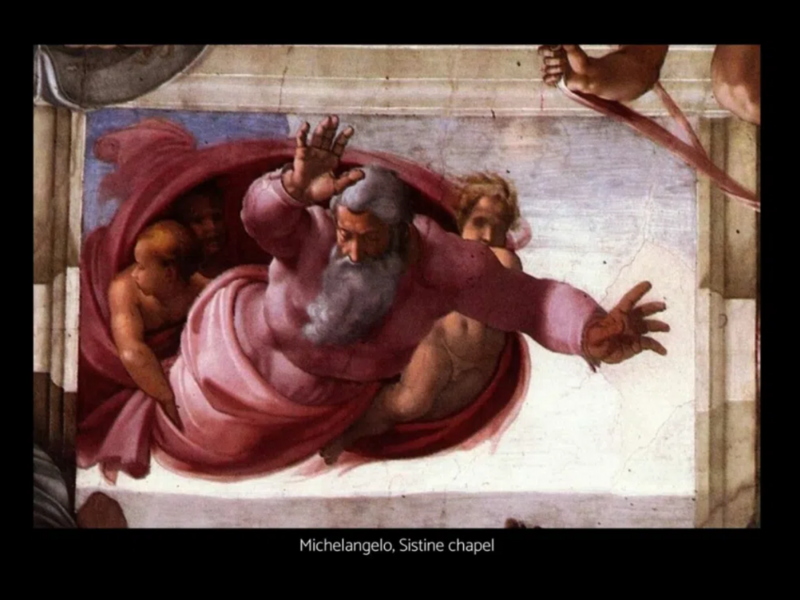
This technique isn't exclusive to photography; it's also widely used in other art forms like painting, drawing, sculpture, and even in filmmaking. In fact, one of the famous practitioners of foreshortening was Michelangelo:
What Causes a Foreshortened Image in Photography?
Foreshortening in photography happens due to the visual illusion that occurs when an object or distance appears compressed due to the angle at which it's viewed. This illusion is a result of how our eyes interpret depth and distance.
When we look at an object directly from the front, its proportions and dimensions seem accurate. But when viewed from an angle, these dimensions appear to alter. In this angled perspective, the parts of the object nearer to the camera lens seem bigger, while those further away seem smaller.
Take, for instance, those iconic pictures where people pose as if they're touching the top of the Eiffel Tower. This is a classic example of foreshortening in photography.
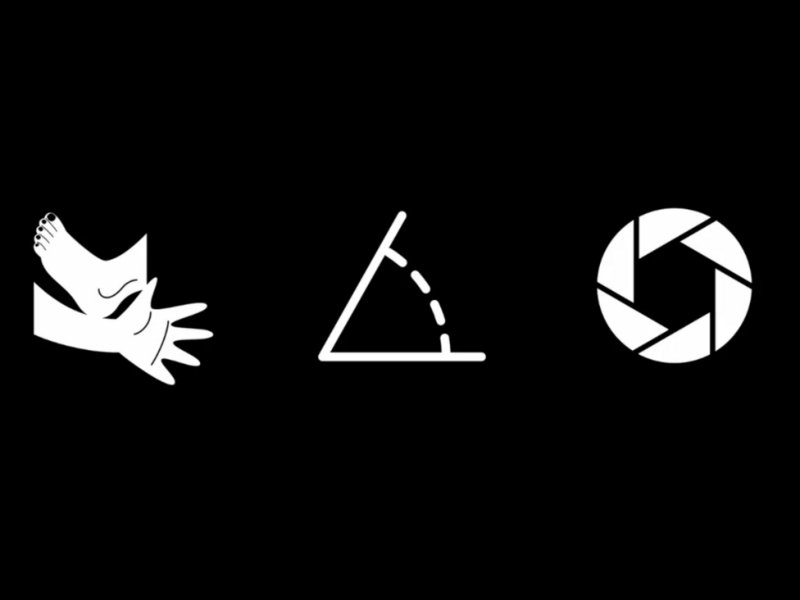
Foreshortening in photography is influenced by three main factors:
1. Camera Angle Changes
So, you know how you can get those trippy photos where stuff looks all out of proportion? That's all about how you angle your camera. When you tilt it just so, it messes with the proportions of your subject, making some parts look bigger or smaller. It's like an optical illusion.
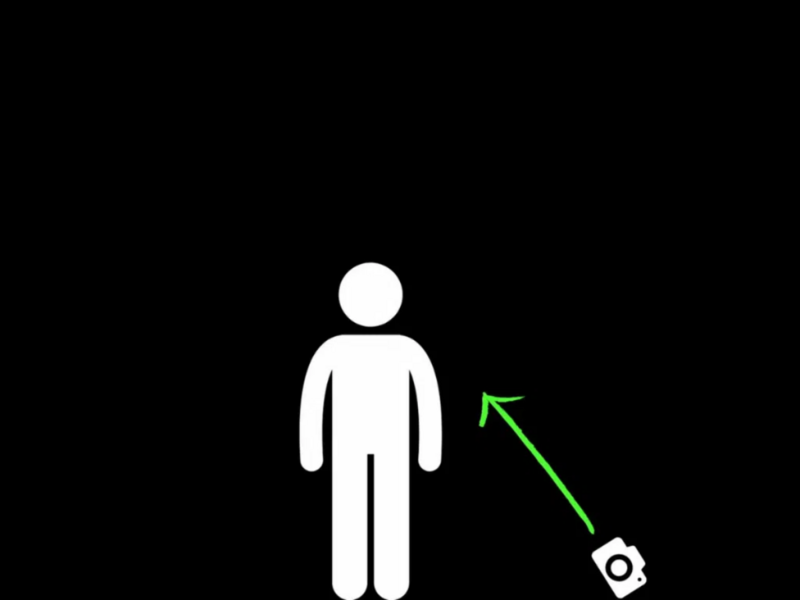
Take this, for example: if you point your camera down when you're photographing someone in a sitting pose, their head starts to look way bigger than the rest of their body.
And if you flip it, angling the camera up, the opposite happens.

2. Focal Length Adjustments
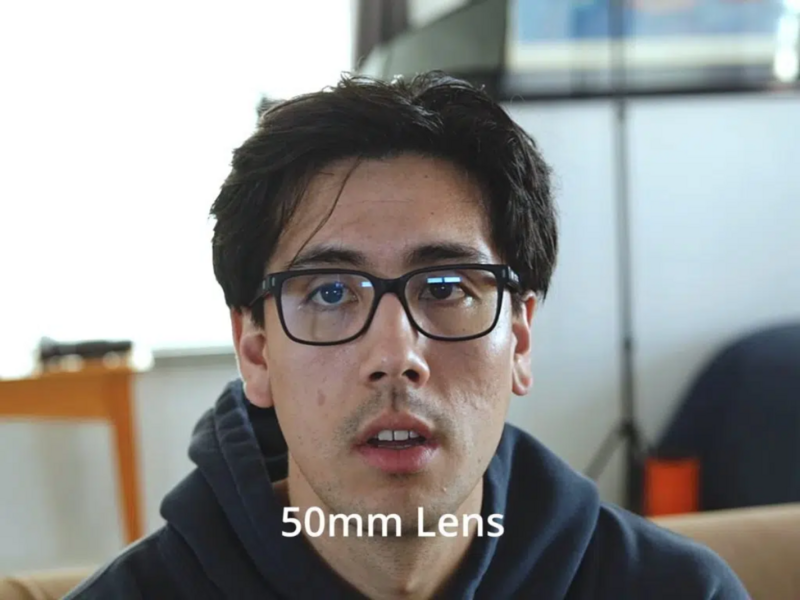
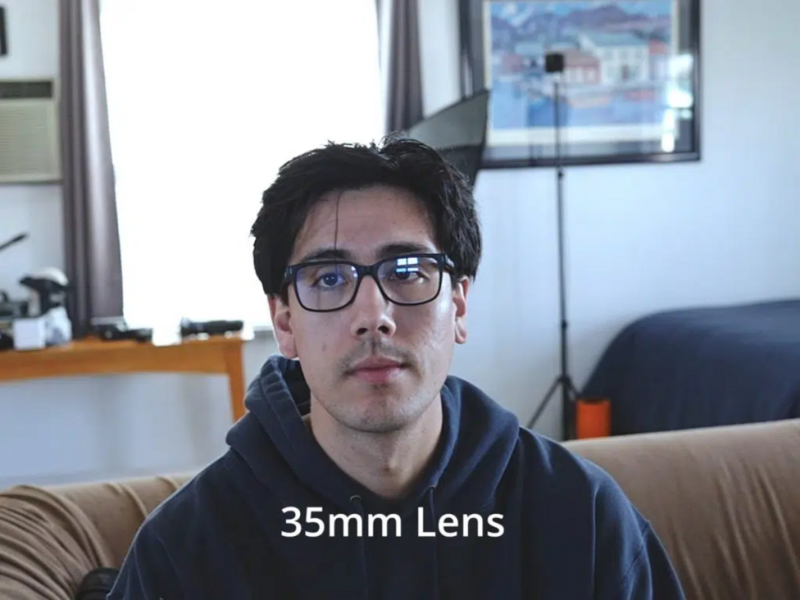
You know what else can make your photos have that cool stretched-out look? Messing with the focal length. Change the focal length on your lens, and you can make your subject look bigger or smaller right in the frame. So, if you use a lens with a longer focal length, your subject will look bigger in your photo. But if you go for a shorter one, your subject gets smaller. It's like magic!
Here, picture this: take a photo with a 50mm lens and then another one at 35mm, standing in the same spot. You'll see the difference.
And when you use a longer lens and shoot at an angle, the parts of your subject that are closer to the lens get all magnified, giving you that foreshortening effect.
3. Change Subject's Position
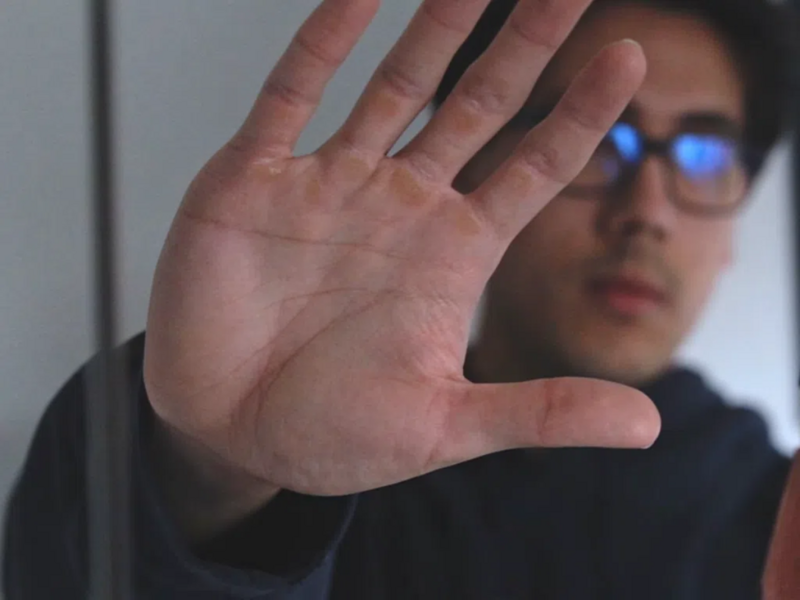
The third thing you can do to get those foreshortened shots: play around with where your subject is in the frame. For example, you could tell your subject to lean in or away towards the camera. This makes their head look way bigger compared to their body in the photo.
Or, for the more creative foreshortening look, get them to reach their hand towards the lens. It creates a cool 3D, foreshortening effect, almost like they're reaching out of the photo at the viewer.
In short: mix and match different lenses, switch up your camera angles, and get your subject to move around. Doing all this, you can come up with all sorts of great foreshortening effects.
How To Take Foreshortened Images in Portrait Photography
Let's dive into how to capture foreshortened images in portrait photography.
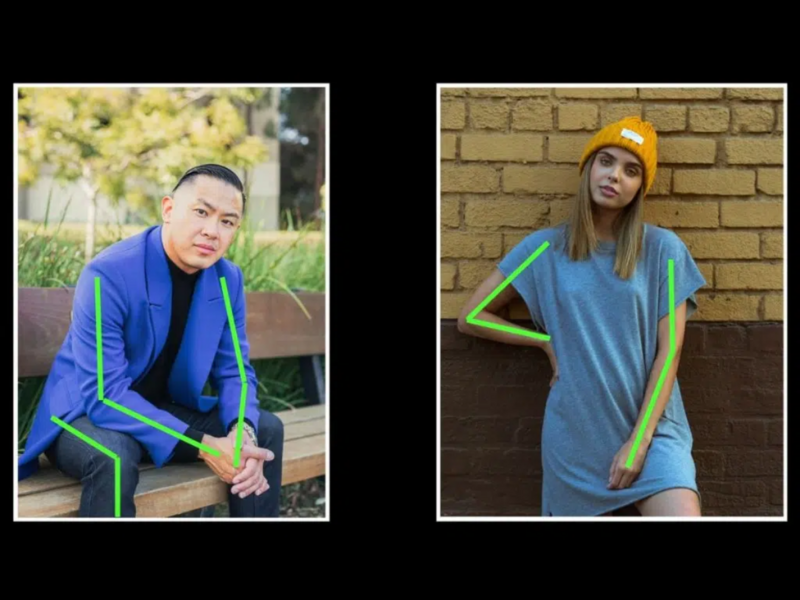
When you're snapping portraits and you want to really dial up the depth, drama, and emotion, foreshortening is your go-to technique. What I always consider when I'm aiming for that foreshortened look in a portrait are which body parts I want to foreshorten, the angle I'm shooting from, and the lens I've got on my camera.
When you're thinking about which parts of the body to foreshorten in your photo, it's usually the hands and arms or the legs and feet.
A popular move I've taken from social media is to have your subject stretch their hand towards the camera lens. This will make their hand and arm look foreshortened.
Or, you could try having them extend their foot towards the lens. This will make their leg and foot look foreshortened.

When you're using foreshortening in your portraits, I've found a couple of angles to be really handy. If you're trying to foreshorten someone's leg and foot, go for a low shot with the camera angled upwards.
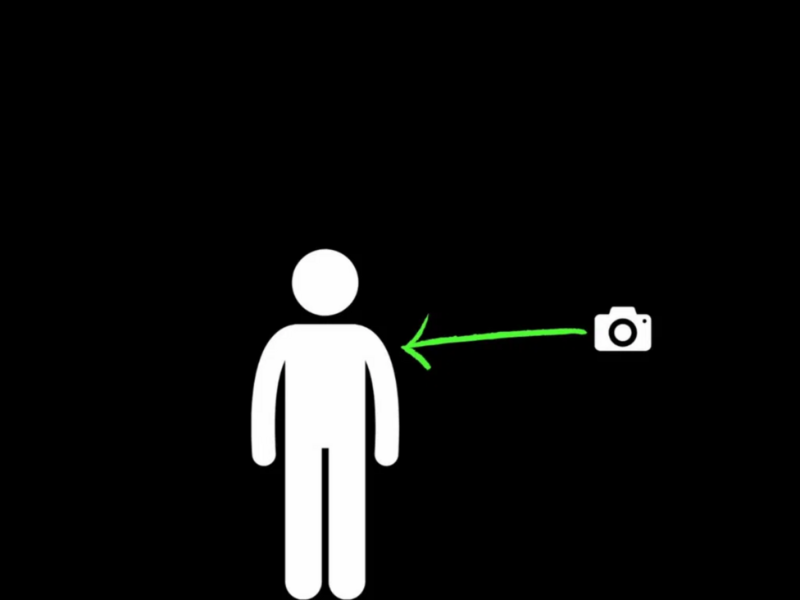
But if you're focusing on their hand and arm, you're better off shooting straight or with a slight downward tilt.
The important thing to remember with foreshortening, especially in portraits, is to avoid making it look weird. What I mean by that is you don't want someone's leg appearing shorter than the other, or their arm looking like it's fused into their body. To keep things looking good, make sure your subject's limbs are bent and angled correctly. This helps keep the shot flattering.
For these kinds of photos, I usually go for a 35mm lens. It's on the wider side, which works great for these effects.
Mistakes To Avoid When Foreshortening
Here's the lowdown on the usual mistakes I've found when trying this effect and how to avoid them:
1. Don’t Go Overboard With Perspective
Foreshortening is all about playing with perspective, but don't get carried away. Push it too far, and your photo might end up looking more weird than wow, with a sort of distorted, unnatural vibe.
2. Background Matters Too
It's easy to get so focused on your subject that you forget about the backdrop. A messy or busy background can steal the thunder from your foreshortened subject.
3. Keep Your Subject in the Spotlight
This one's sort of obvious, but easy to mess up. Let's say you've got someone sticking their hand out for that foreshortening effect, but oops, now their hand's blocking their face. You've got to keep your subject the star of the show, not hidden behind a giant hand!
Wrapping it up, foreshortening is a neat trick to add to your portrait photography skills. If you haven't given it a shot yet, I say go for it and see how you like it. Best of luck and enjoy your photography adventures!


Join the Fstoppers community for free
-
Post comments and join in the discussions
-
Browse the site ad-free
-
Share your work and get featured in the community
-
Compete in the photo contests for fun and prizes
1 Comment
Is this a serious article or is it one like the dude who has revolutionised photography by holding his camera in a different way? Sometimes with fStoppers its hard to tell.